This tutorial guides you through integrating Google Cloud services with Outranker AI to enhance your SEO optimization capabilities.
Go to www.outranker.com
1. Introduction
“In this video, you’ll learn how to configure Google Cloud integration with Outranker AI.” “This setup allows Outranker to securely connect with Google services using OAuth, which is essential for authenticated access and deeper platform integrations.” “We’ll walk through the full process step by step — from creating a Google Cloud project to generating OAuth credentials and completing authorization.”
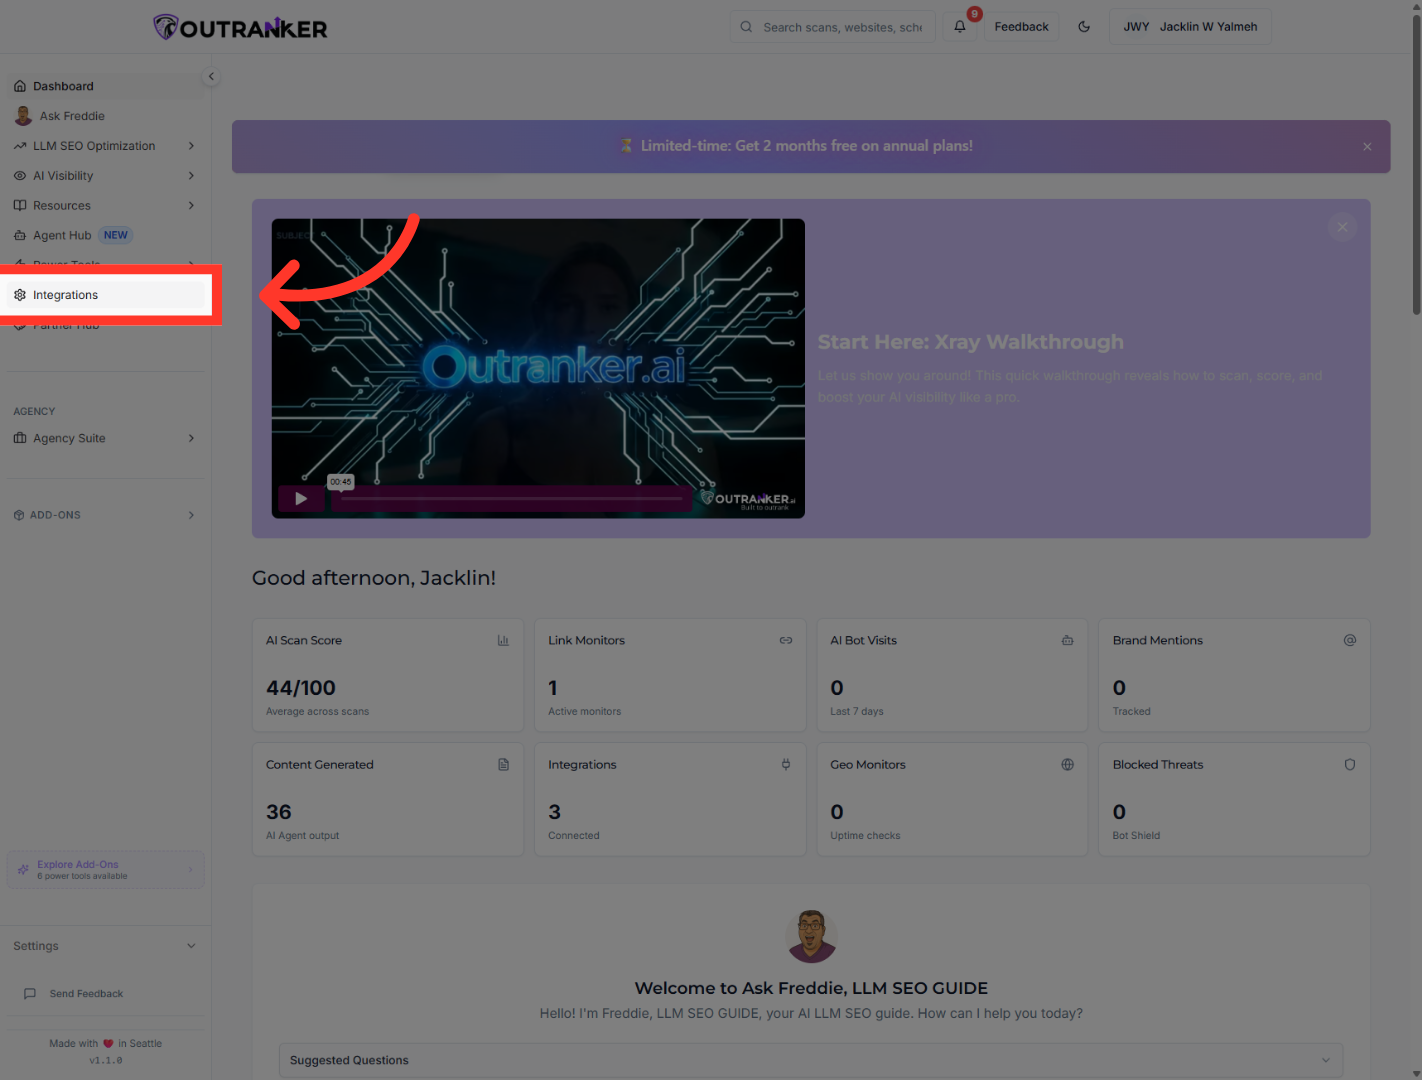
2. Access Integrations Section
“In this video, you’ll learn how to configure Google Cloud integration with Outranker AI.” “This setup allows Outranker to securely connect with Google services using OAuth, which is essential for authenticated access and deeper platform integrations.” “We’ll walk through the full process step by step — from creating a Google Cloud project to generating OAuth credentials and completing authorization.”
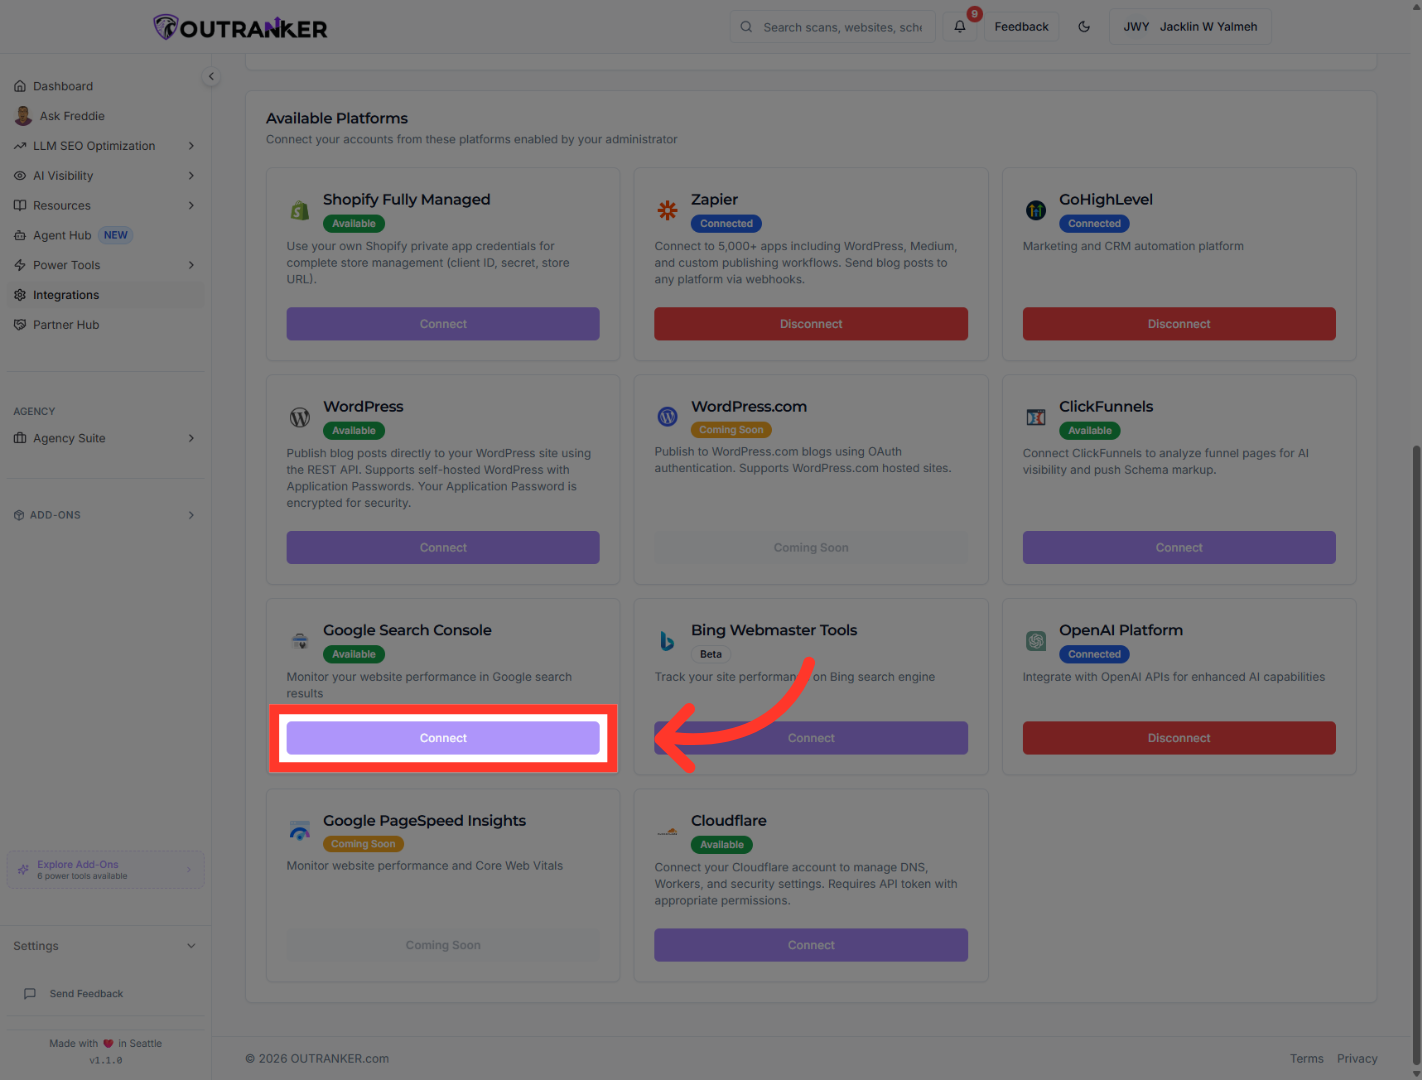
3. Initiate Connection Setup
“Find the Google Cloud connection option and click Connect to begin.”
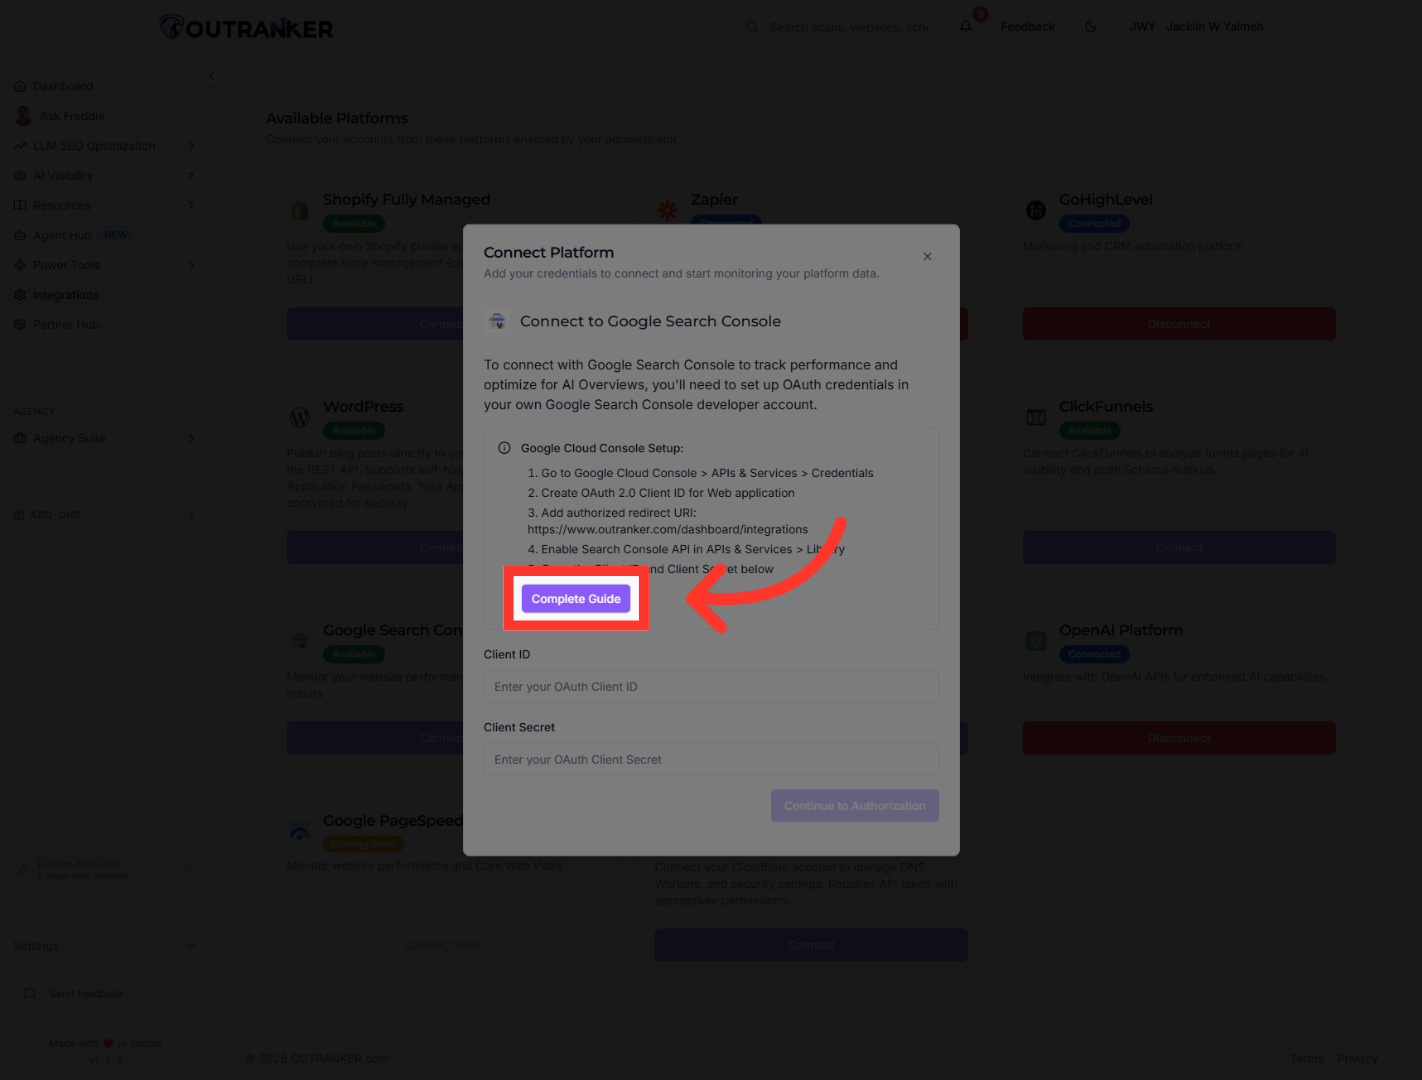
4. Open Complete Guide
“Then open the Complete Guide so you can follow the full setup process with the correct steps and redirect details.”
5. Navigate To Google Cloud Console
“Next, open Google Cloud Console and go to the Credentials area.” “This is where you’ll manage the project, the OAuth consent screen, and the client credentials required by Outranker.” “You can also use the direct credentials link provided inside Outranker to make the process easier.”
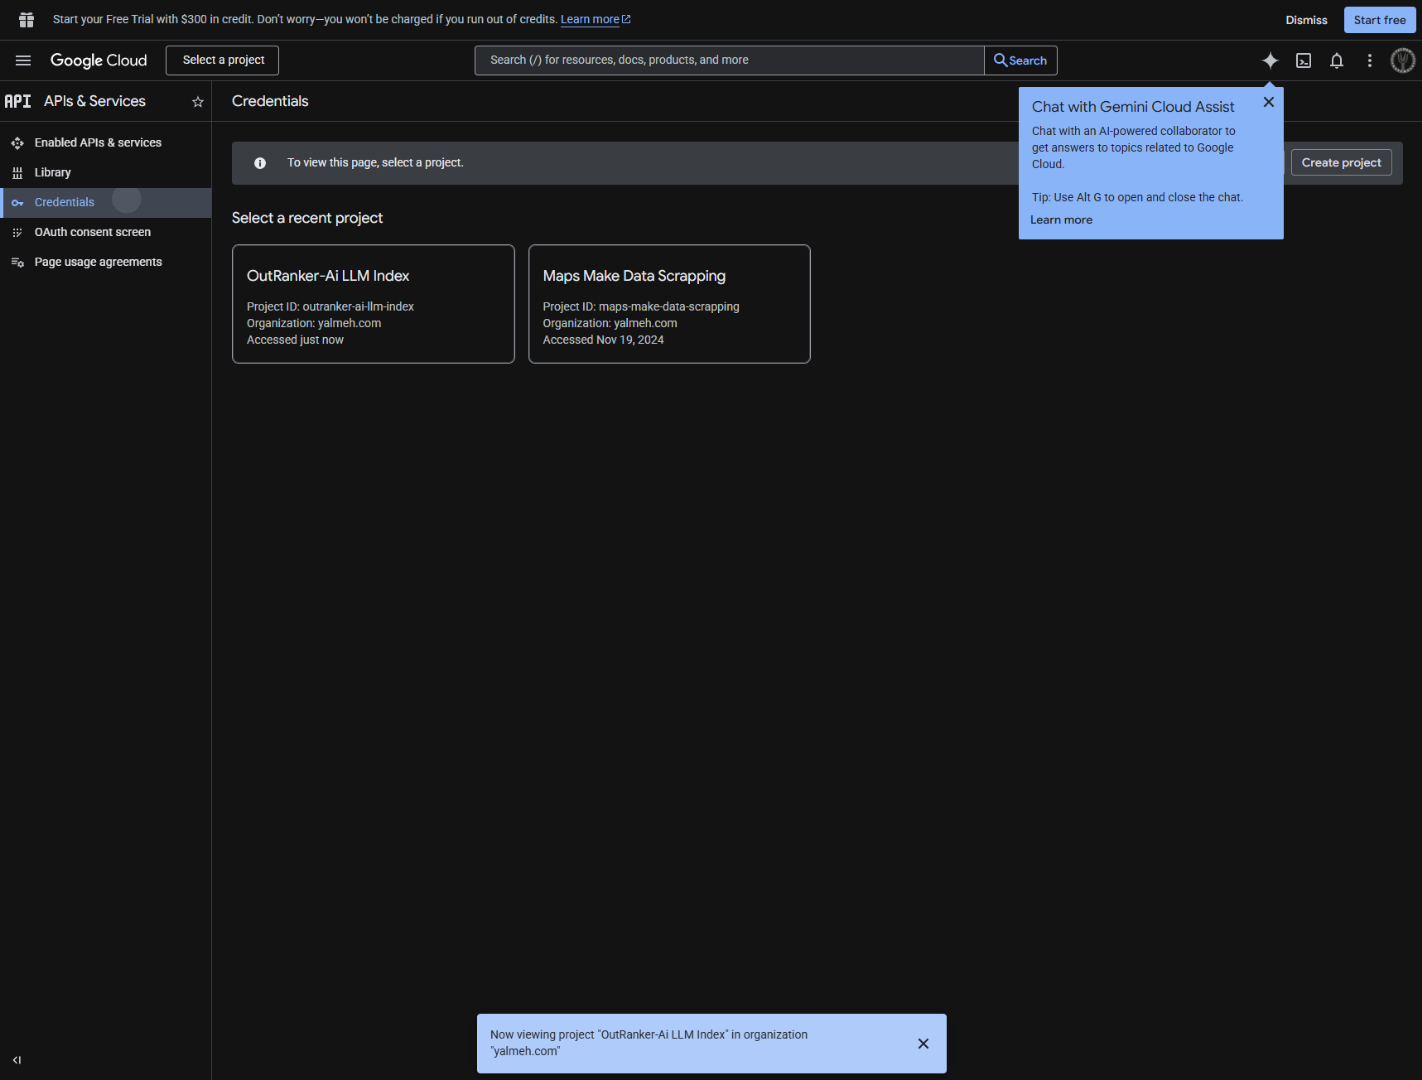
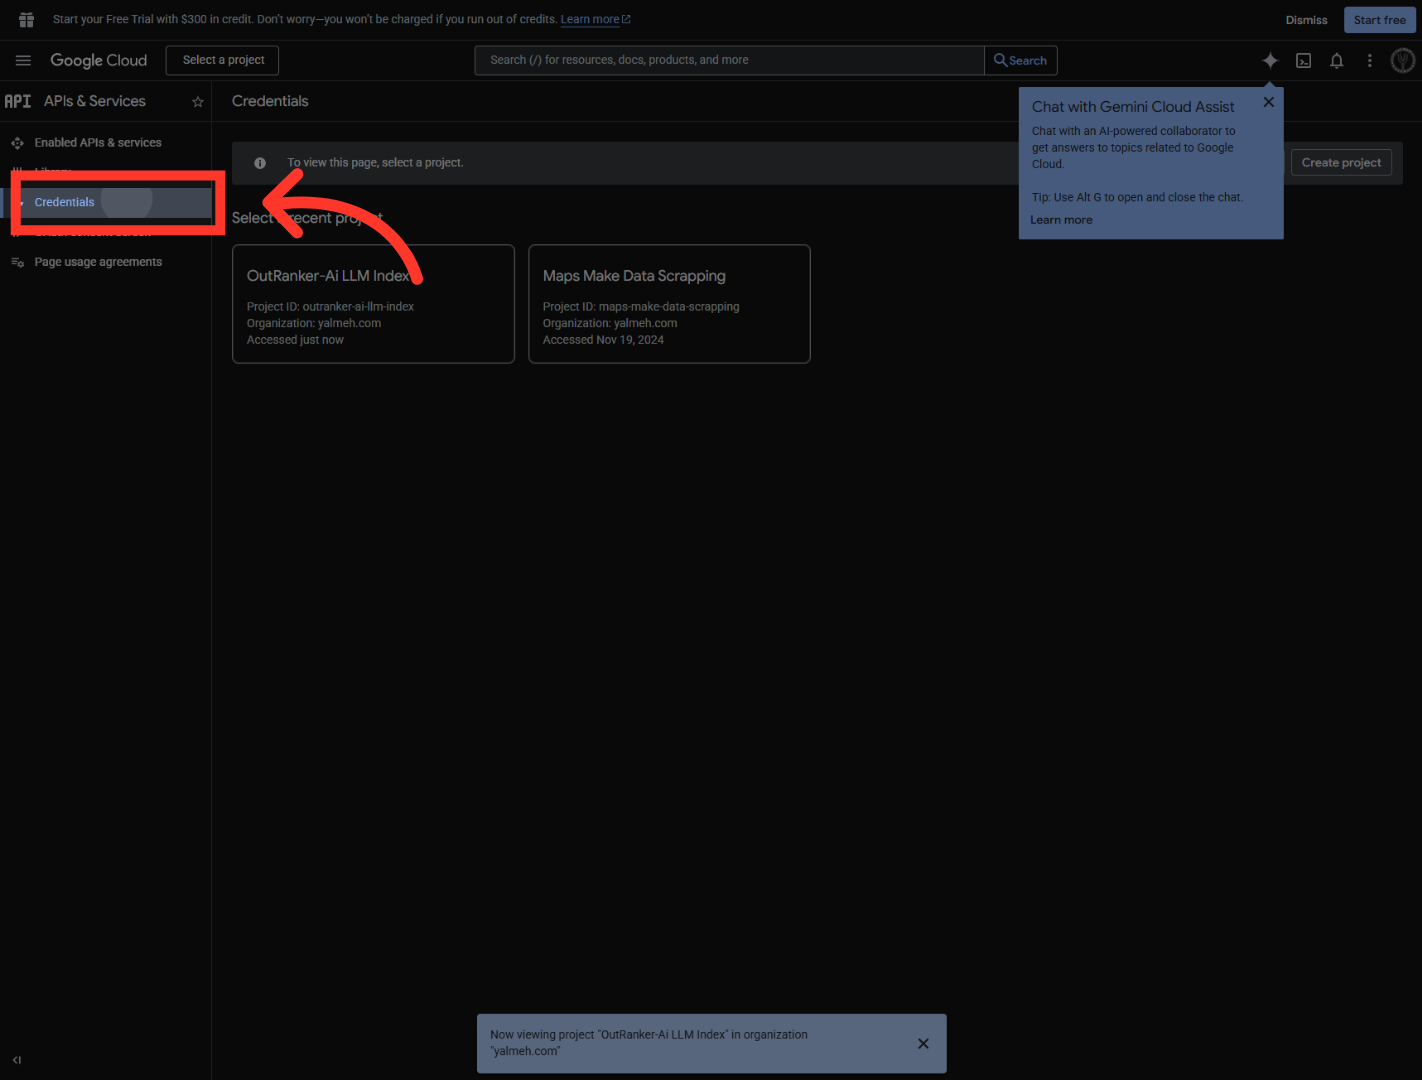
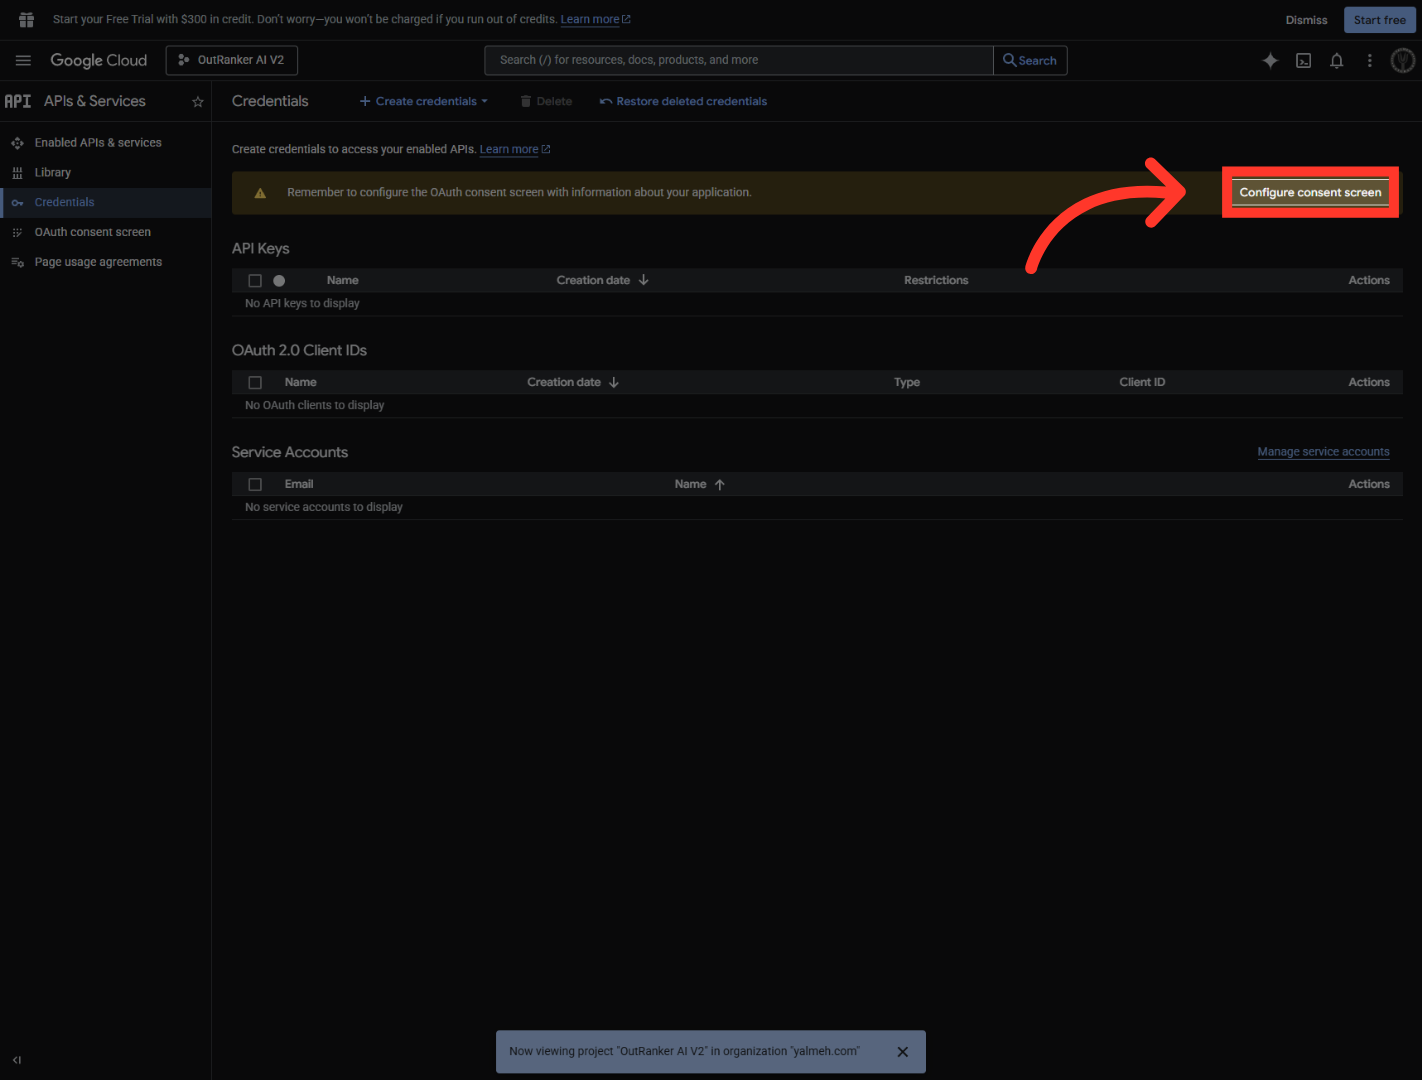
6. Open Credentials Section
“Next, open Google Cloud Console and go to the Credentials area.” “This is where you’ll manage the project, the OAuth consent screen, and the client credentials required by Outranker.” “You can also use the direct credentials link provided inside Outranker to make the process easier.”
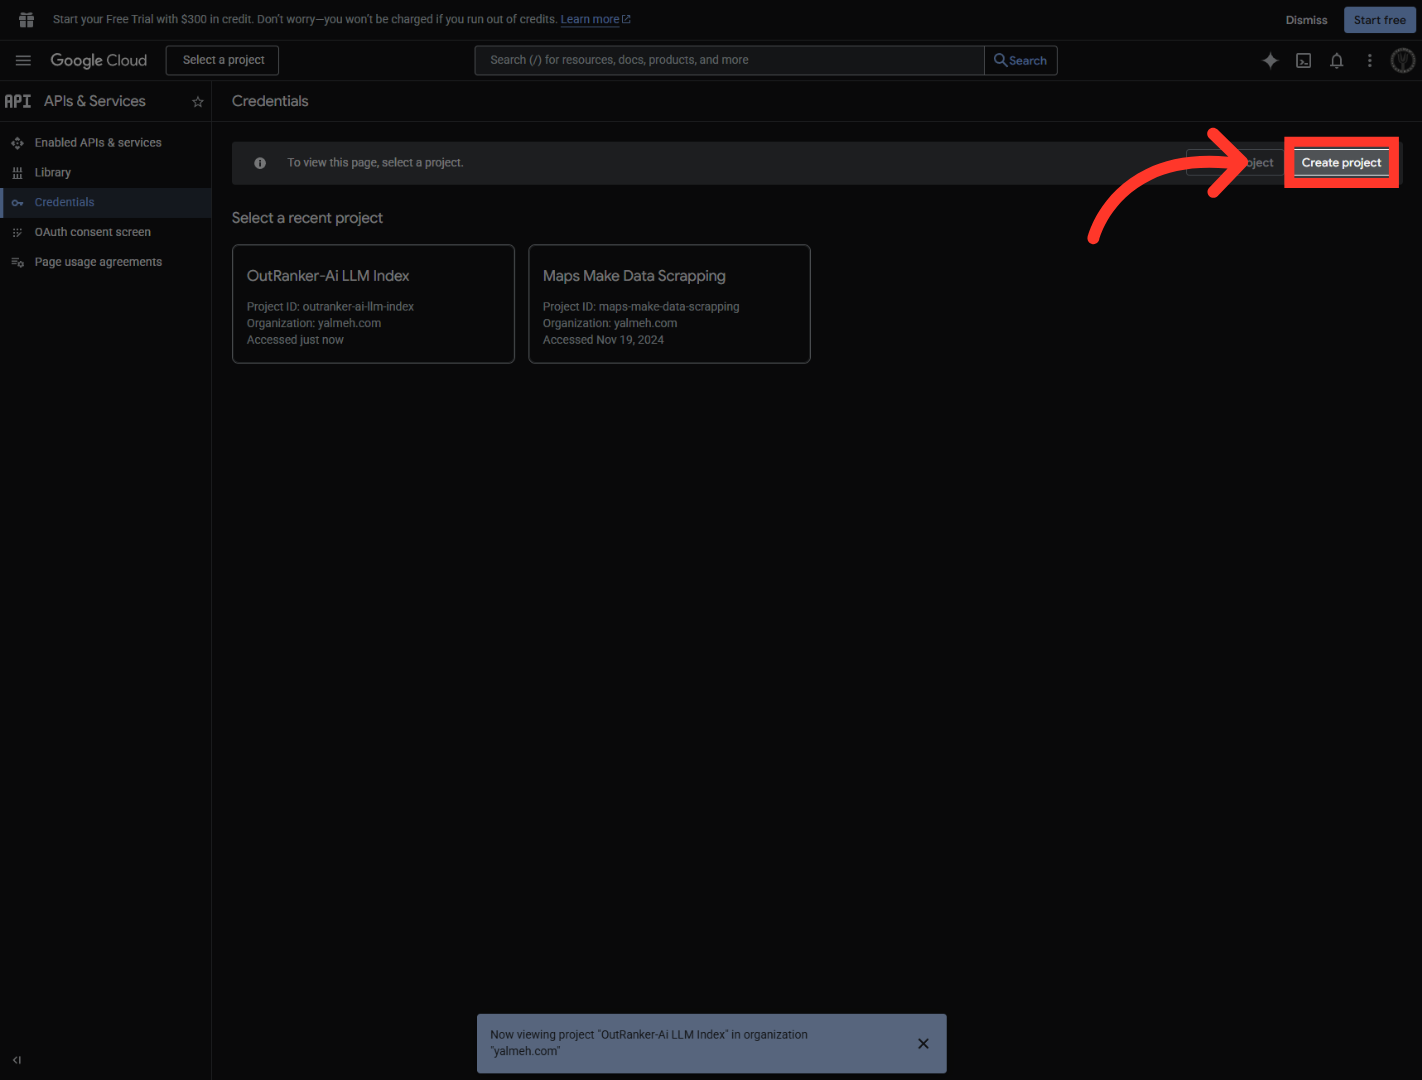
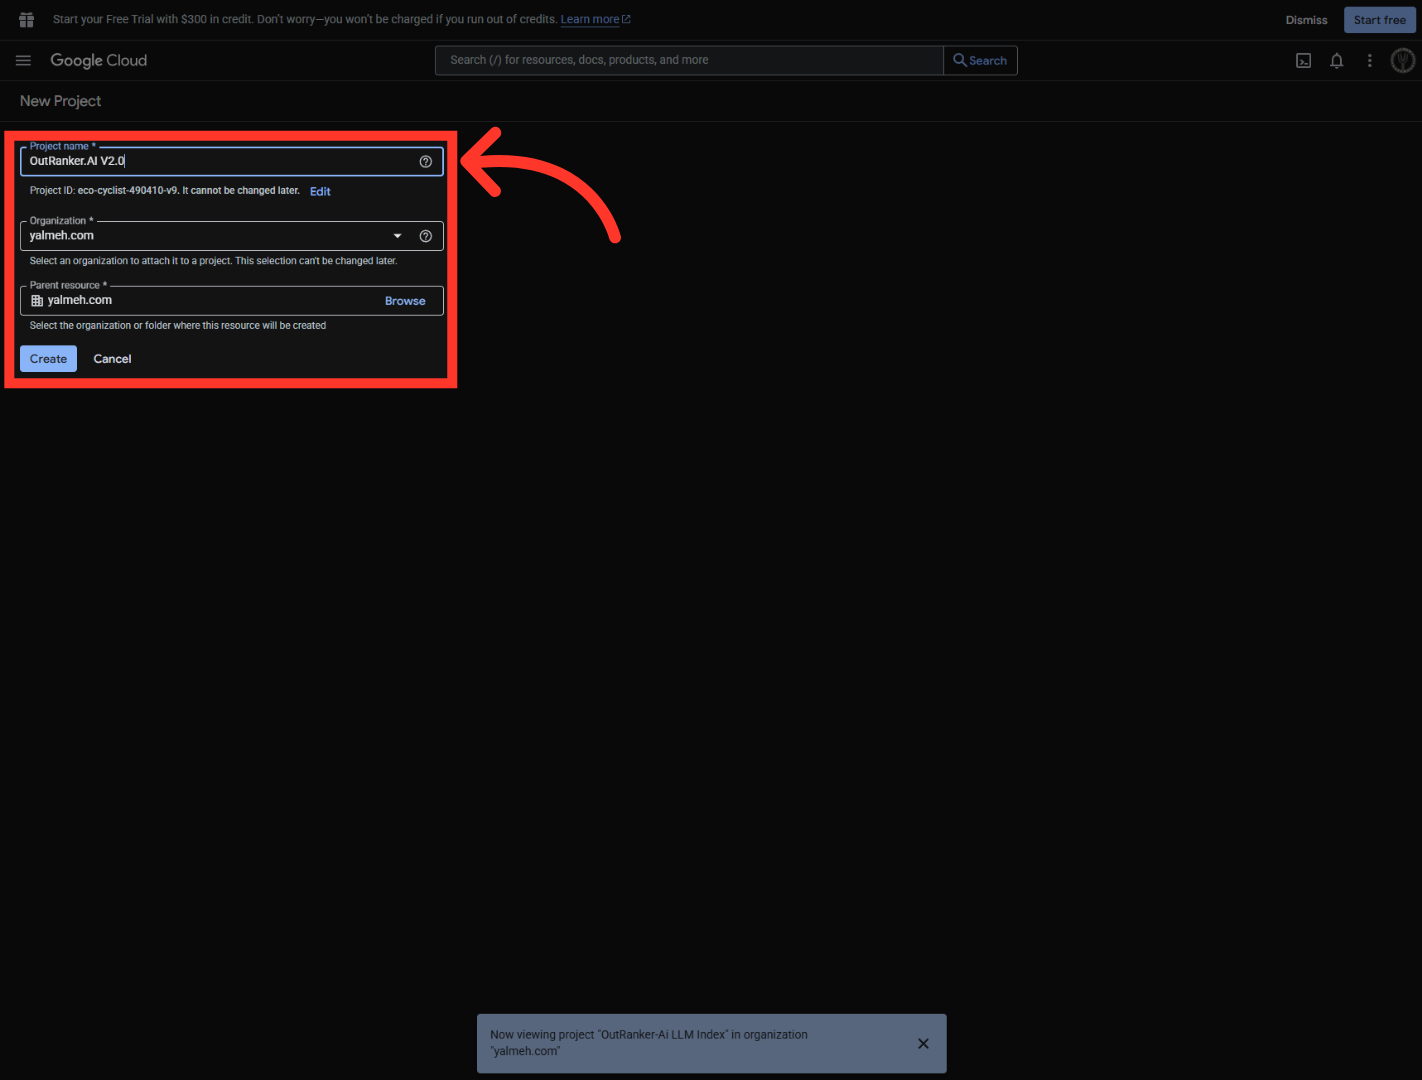
7. Create New Project
“If you don’t already have the right project set up, create a new Google Cloud project for this integration.” “Give it a clear project name related to Outranker so it’s easy to identify later.” “As you name the project, make sure it follows Google Cloud naming rules.” “Then confirm the correct organization and parent resource before clicking Create.”
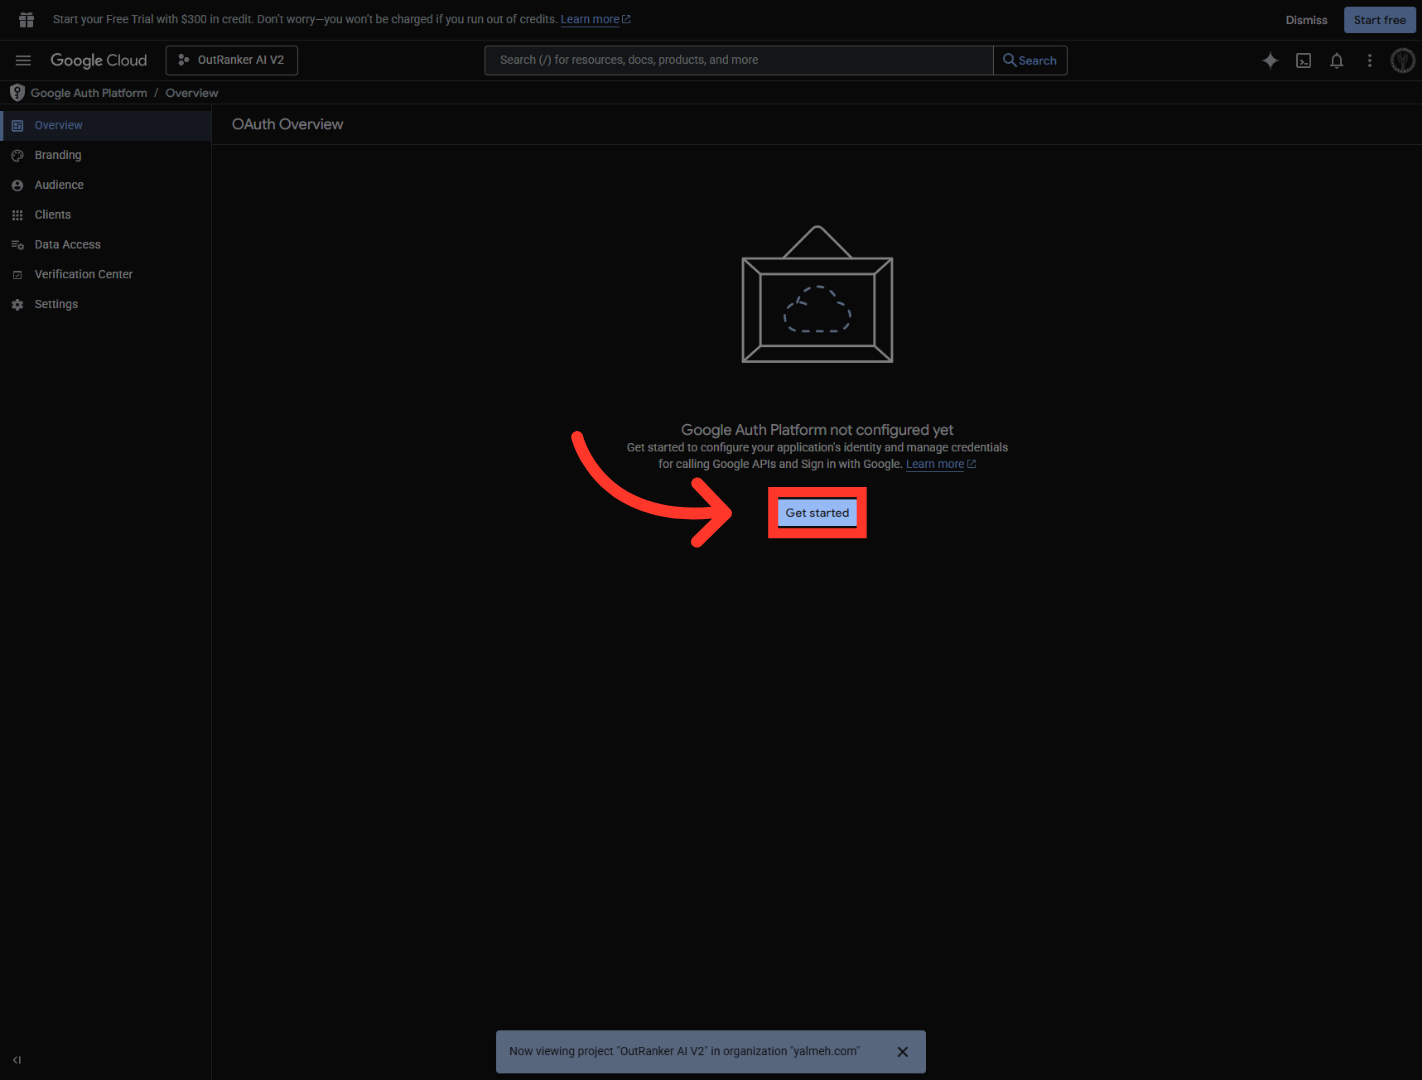
8. Name New Project
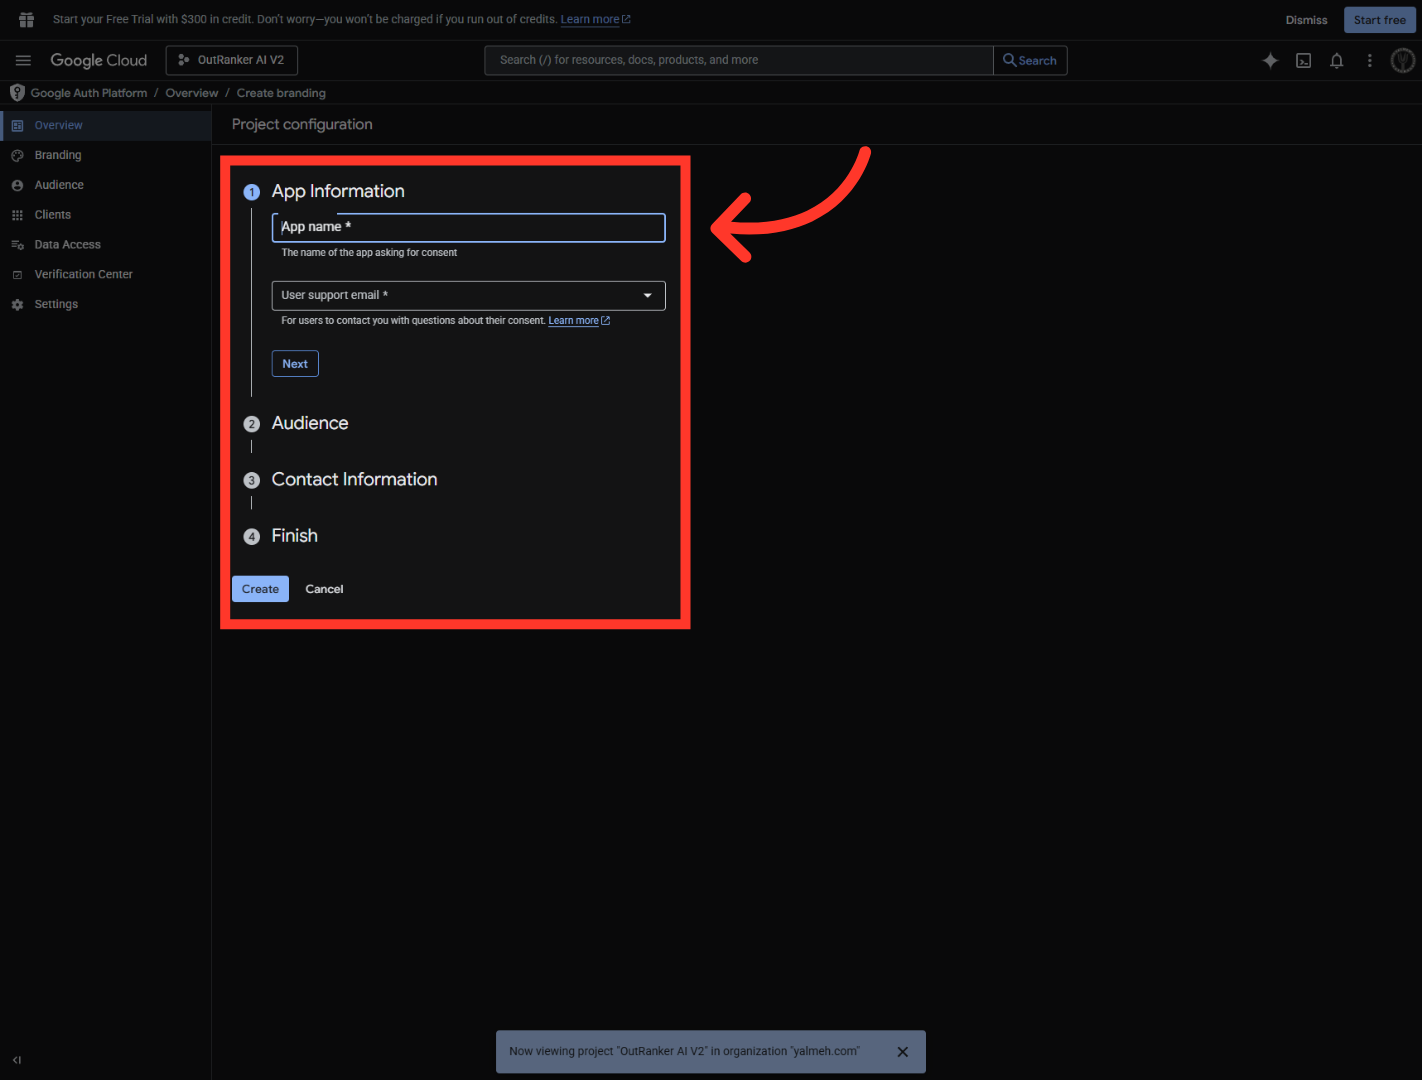
“Once the project is ready, begin configuring the OAuth consent screen.” “Click Configure consent screen, then choose Get started.” “Set the app name to Outranker.ai so users clearly understand what they’re connecting to.” “Then select the appropriate support email address for the integration.” “This consent screen defines how Google presents your app during authorization.”
9. Open Consent Screen Setup
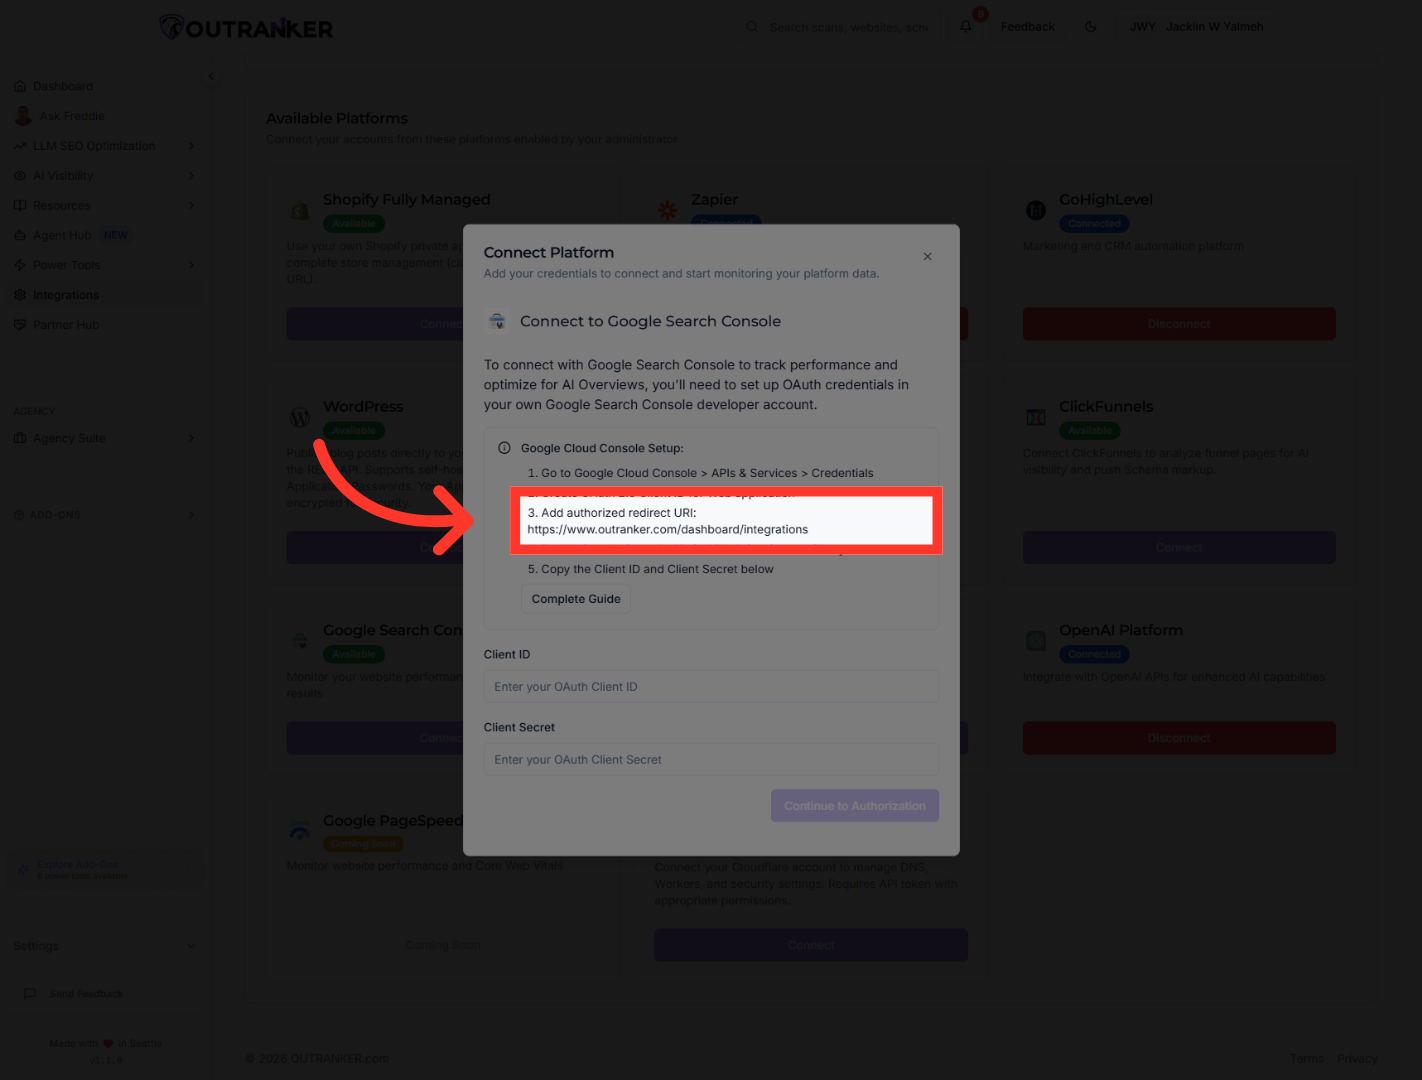
“Next, return to Outranker and copy the authorized redirect URI shown in the integration instructions.” “Then go back to Google Cloud and use that exact redirect URI in your OAuth setup.” “This step is critical, because the redirect URI is what allows Google to send users back to Outranker after authentication.”
10. Start Consent Configuration
Click "Get started" to begin setting up the OAuth consent screen details.
11. Edit App Name
“Now continue the consent screen setup by selecting the appropriate user type — in this case, External.” “Add the required test email address so the app can be used during setup and verification.” “Then accept Google’s user data policy, continue, and create the consent screen.” “At this point, the consent screen configuration is complete.”
12. Add Authorized Redirect URI
“With the consent screen ready, the next step is to create the OAuth client.” “Choose Create OAuth client, then select Web application as the client type.” “Add the authorized redirect URI exactly as provided by Outranker.” “Review the configuration carefully, then click Create to generate the client credentials.”
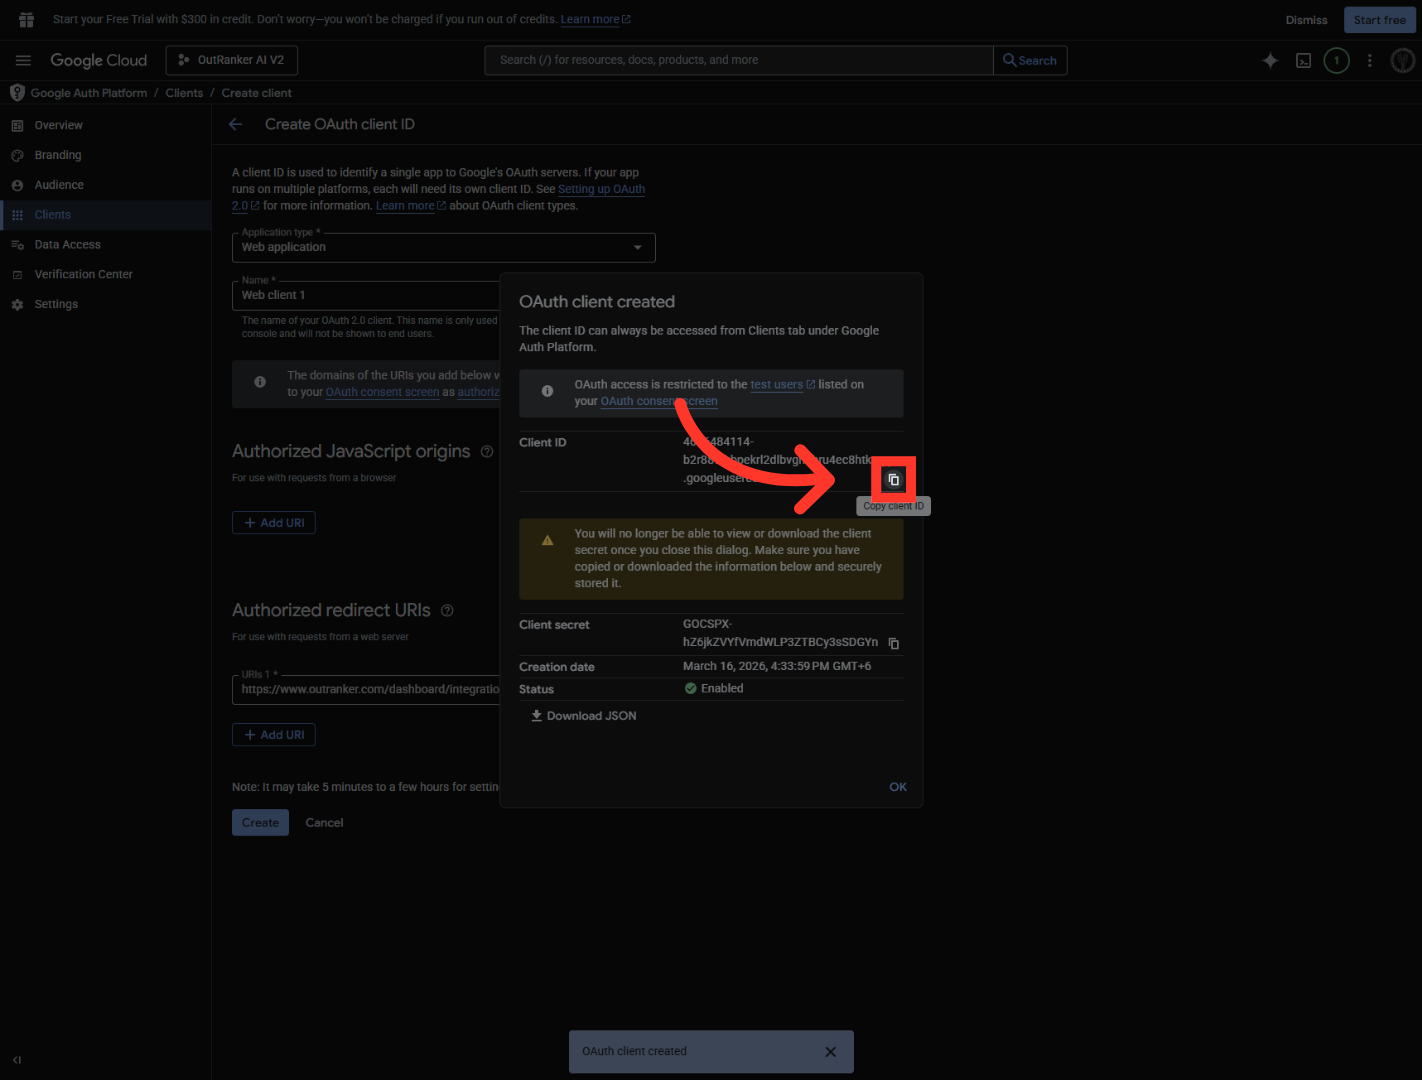
13. Access OAuth Client Credentials
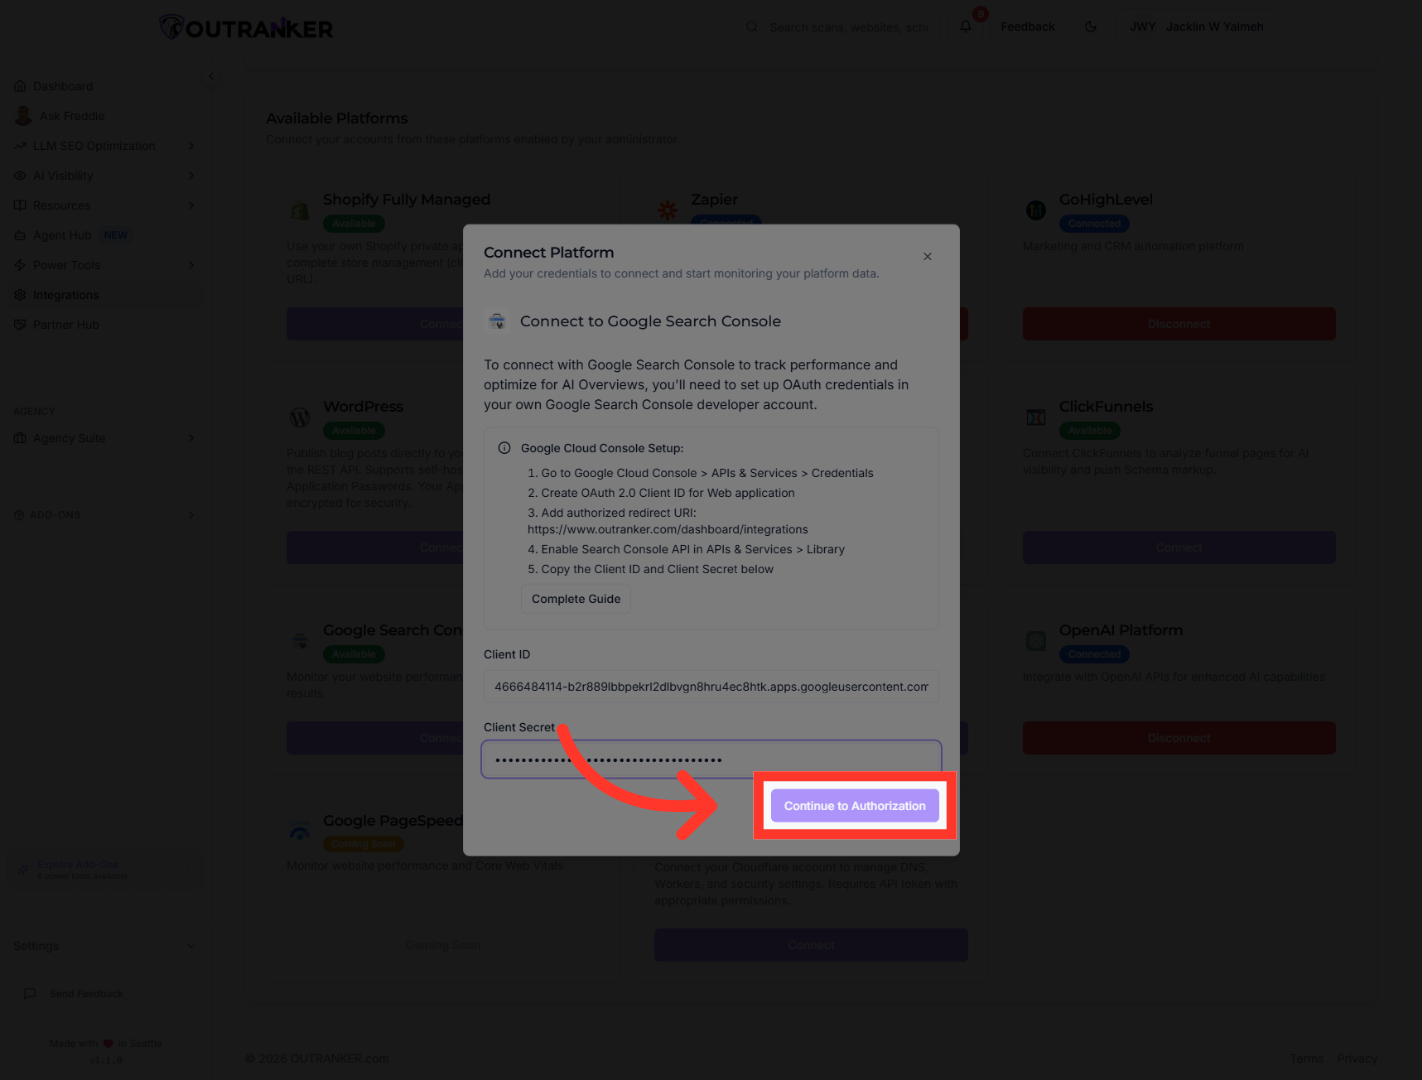
“Once the OAuth client is created, open the credentials and copy the Client ID.” “Return to Outranker and place it in the appropriate field.” “Then go back to Google Cloud, copy the Client Secret, and paste that into Outranker as well.” “These two values are what connect the Google Cloud project to your Outranker integration.”
14. Proceed To Authorization
“After entering the credentials, continue to the authorization step.” “You’ll be redirected to Google sign-in, where you’ll choose the Google account you want to use for the integration.” “Then confirm the authorization to complete the setup.” “Once approved, Google Cloud and Outranker will be securely connected.”
“You’ve now successfully configured Google Cloud integration with Outranker AI.” “You created the project, set up the OAuth consent screen, generated the OAuth client credentials, and completed Google authorization.” “This gives Outranker the secure access it needs to work with your Google-connected services more effectively.” “In the next video, we’ll walk through how to use this integration inside your actual optimization workflows.”
