This tutorial guides you through connecting and configuring integrations within the Outranker platform.
Go to www.outranker.com
1. Introduction
"In this video, we’ll walk through how to configure integrations inside Outranker and connect your Business Hub account. This setup gives Outranker the information it needs to link your business location, connect your blog, and support smoother monitoring across your connected platforms."
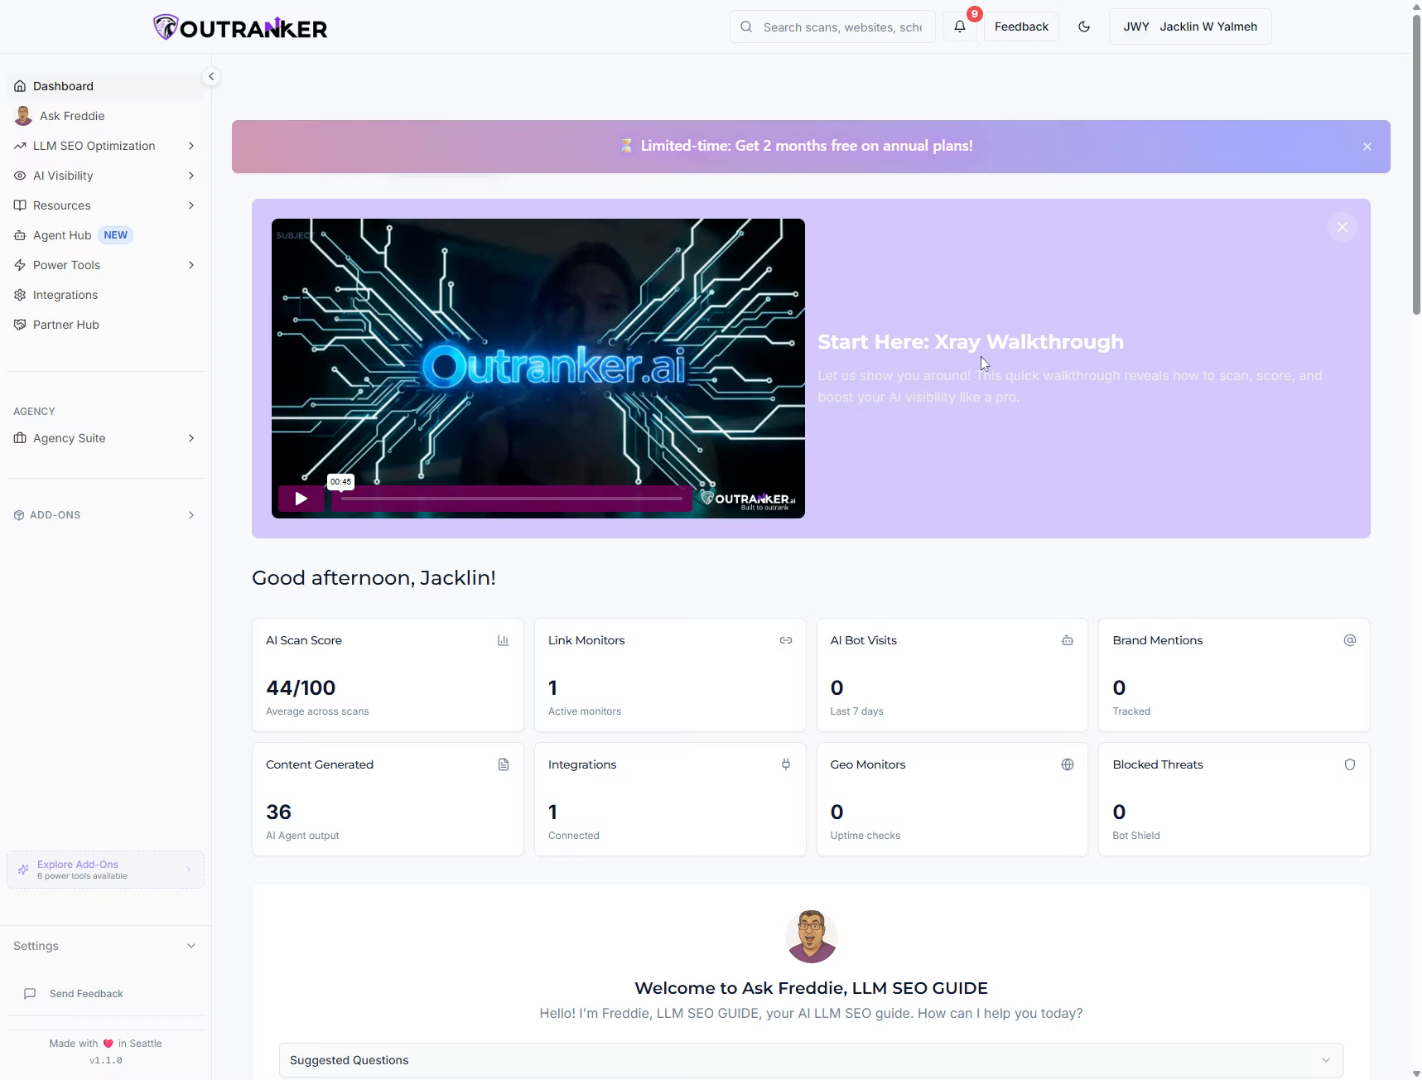
2. Access Integrations Section
"Start by logging into Outranker and opening the Integrations section from the left-hand menu.
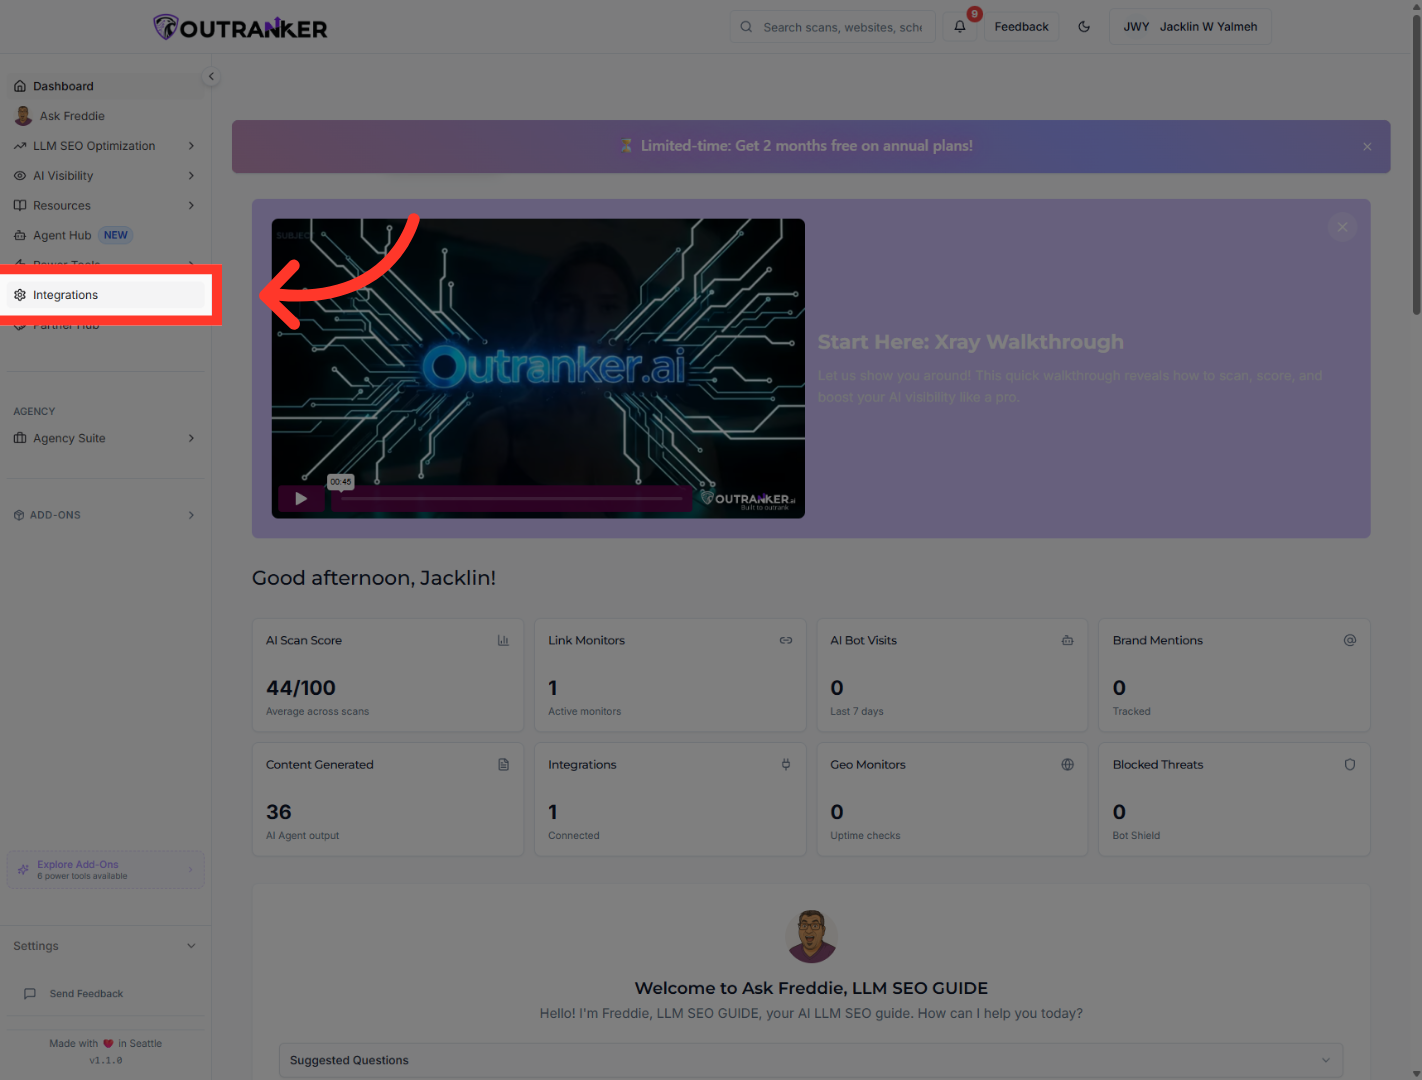
3. Initiate Connection Setup
From here, choose the platform you want to connect and click Connect to begin the setup.
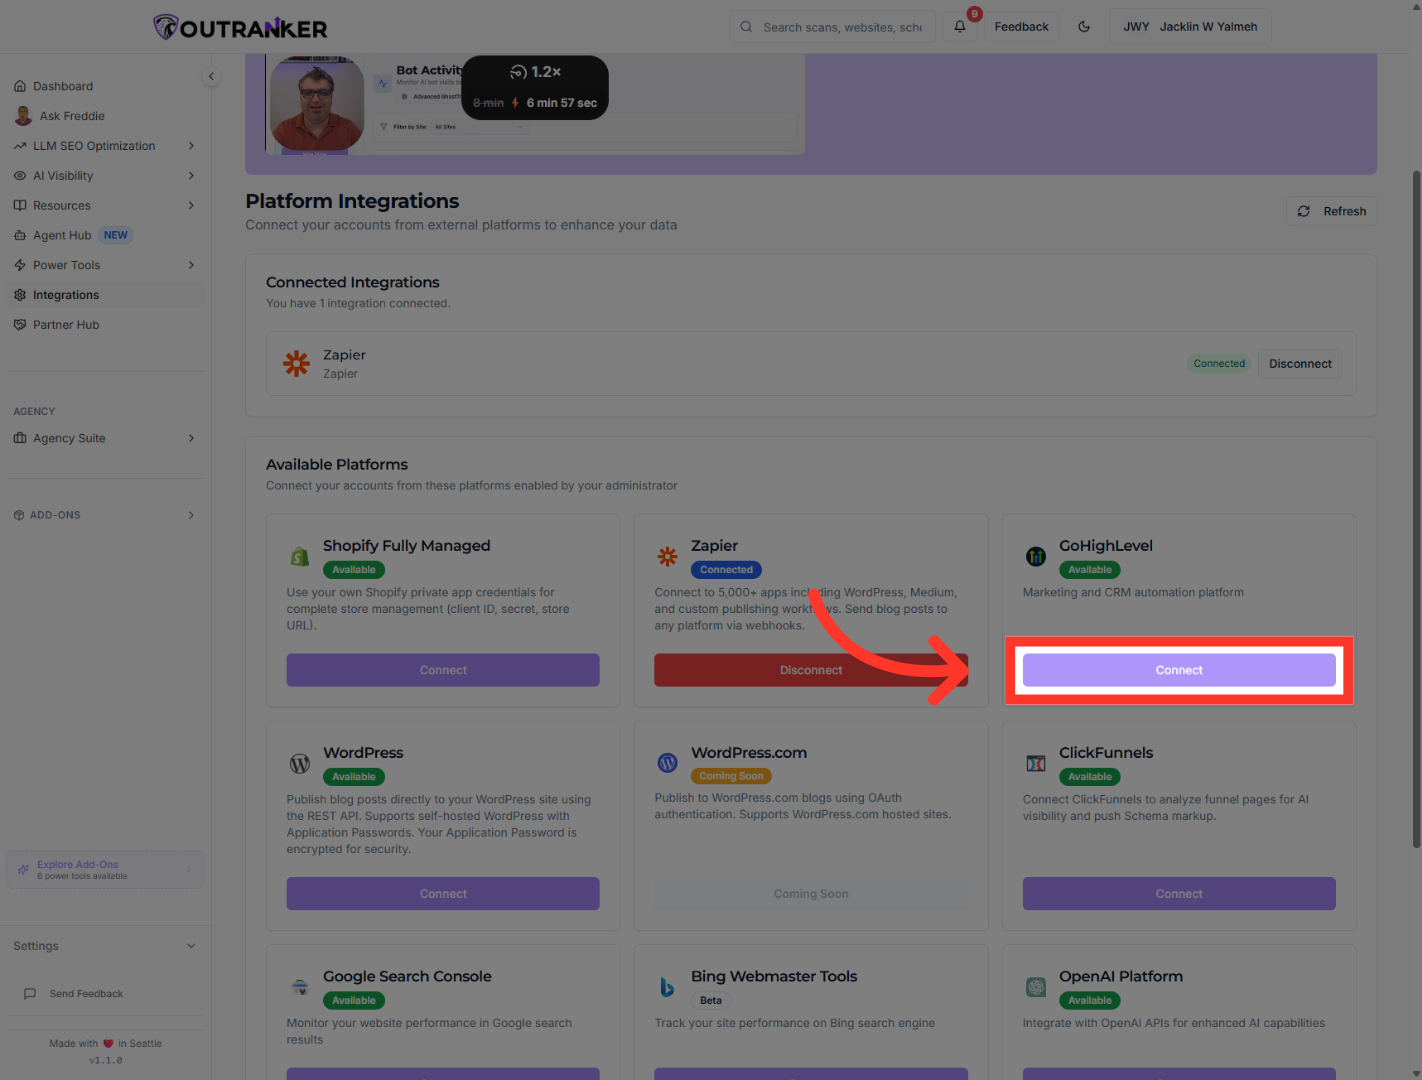
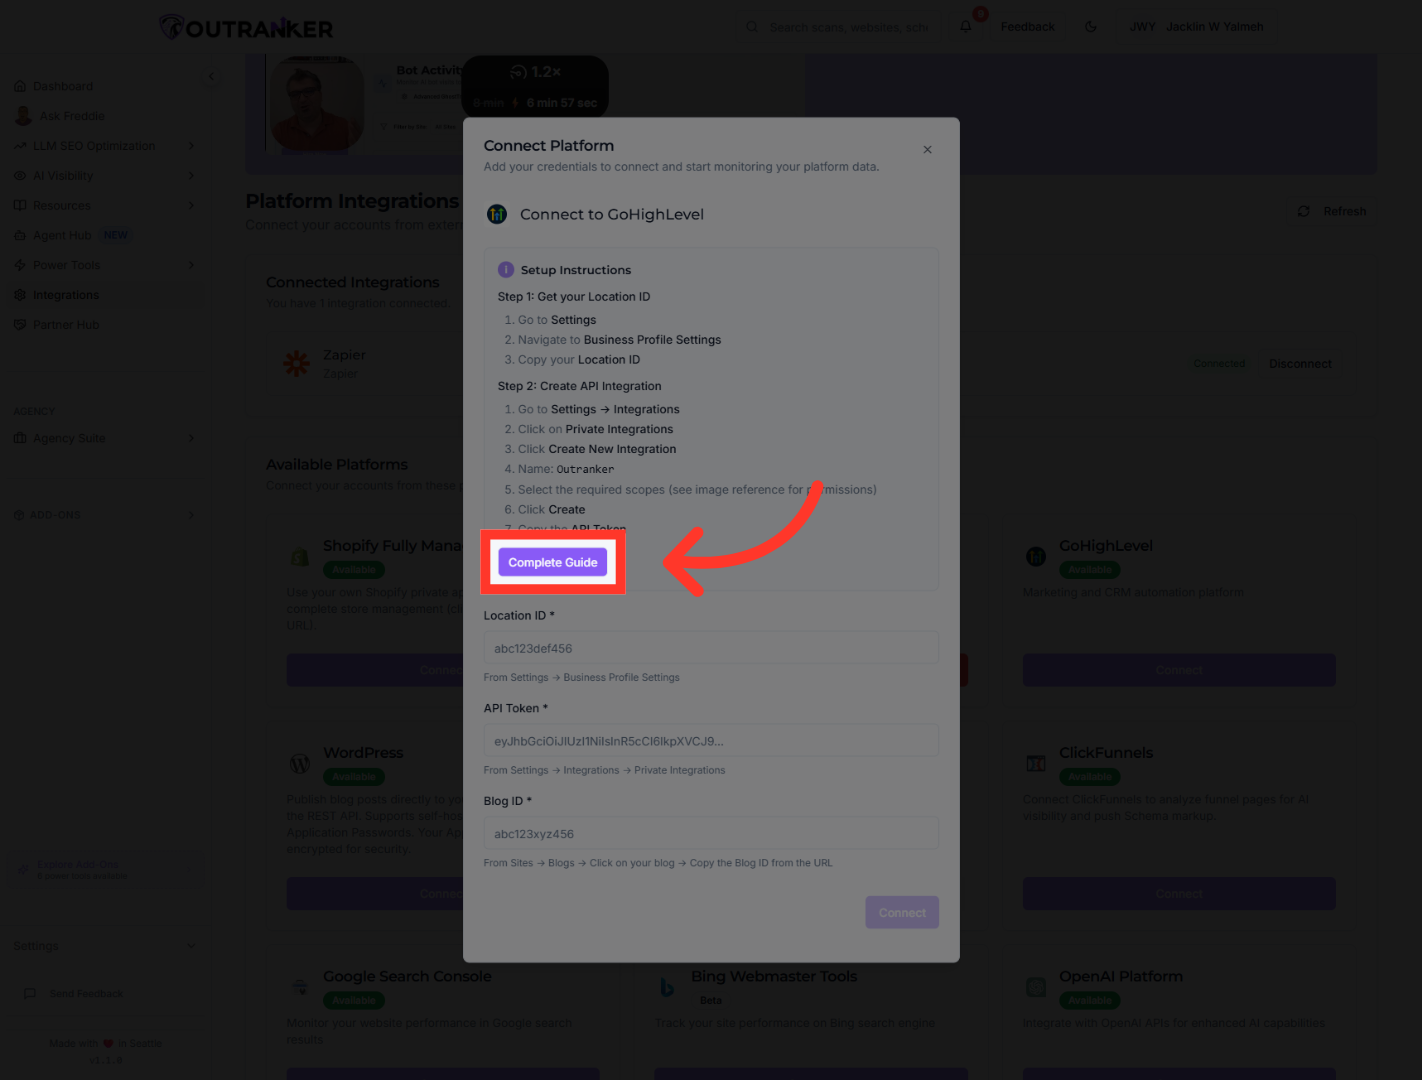
4. Open Complete Guide
Outranker provides a Complete Guide, open that first so you can follow the required steps with the right account details in hand.
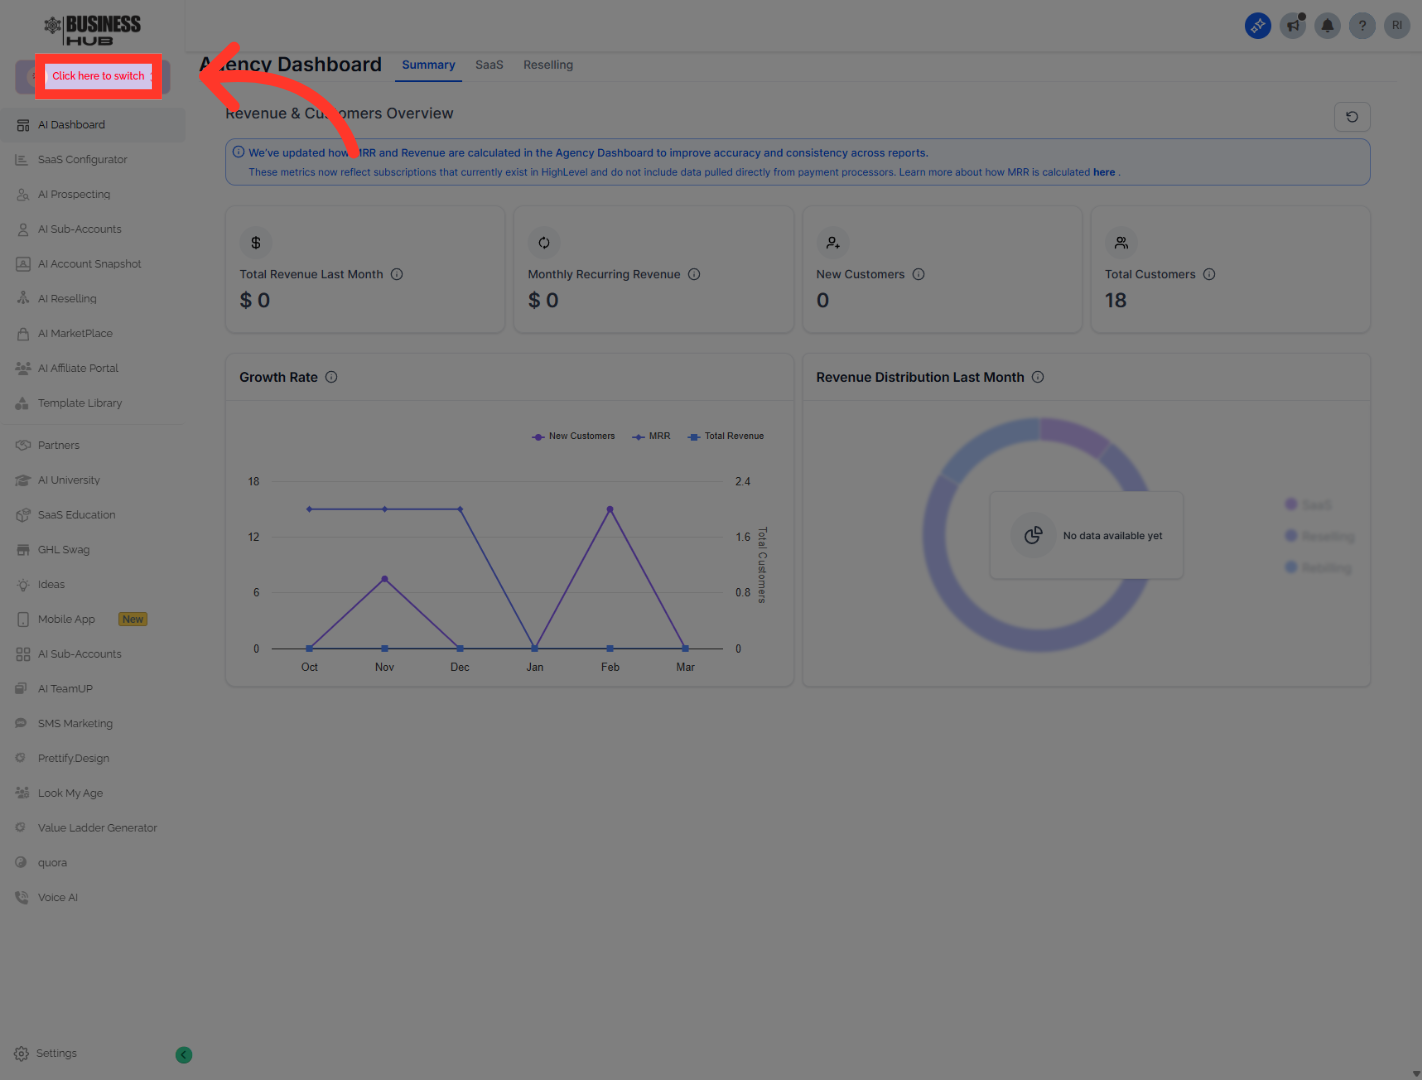
5. Confirm Account Switch
"Next, move over to your GoHighLevel account. Switch into the correct account, choose the right business location, and make sure you’re working inside the exact profile you want connected to Outranker. This part matters, because the integration needs to point to the right business record from the start."
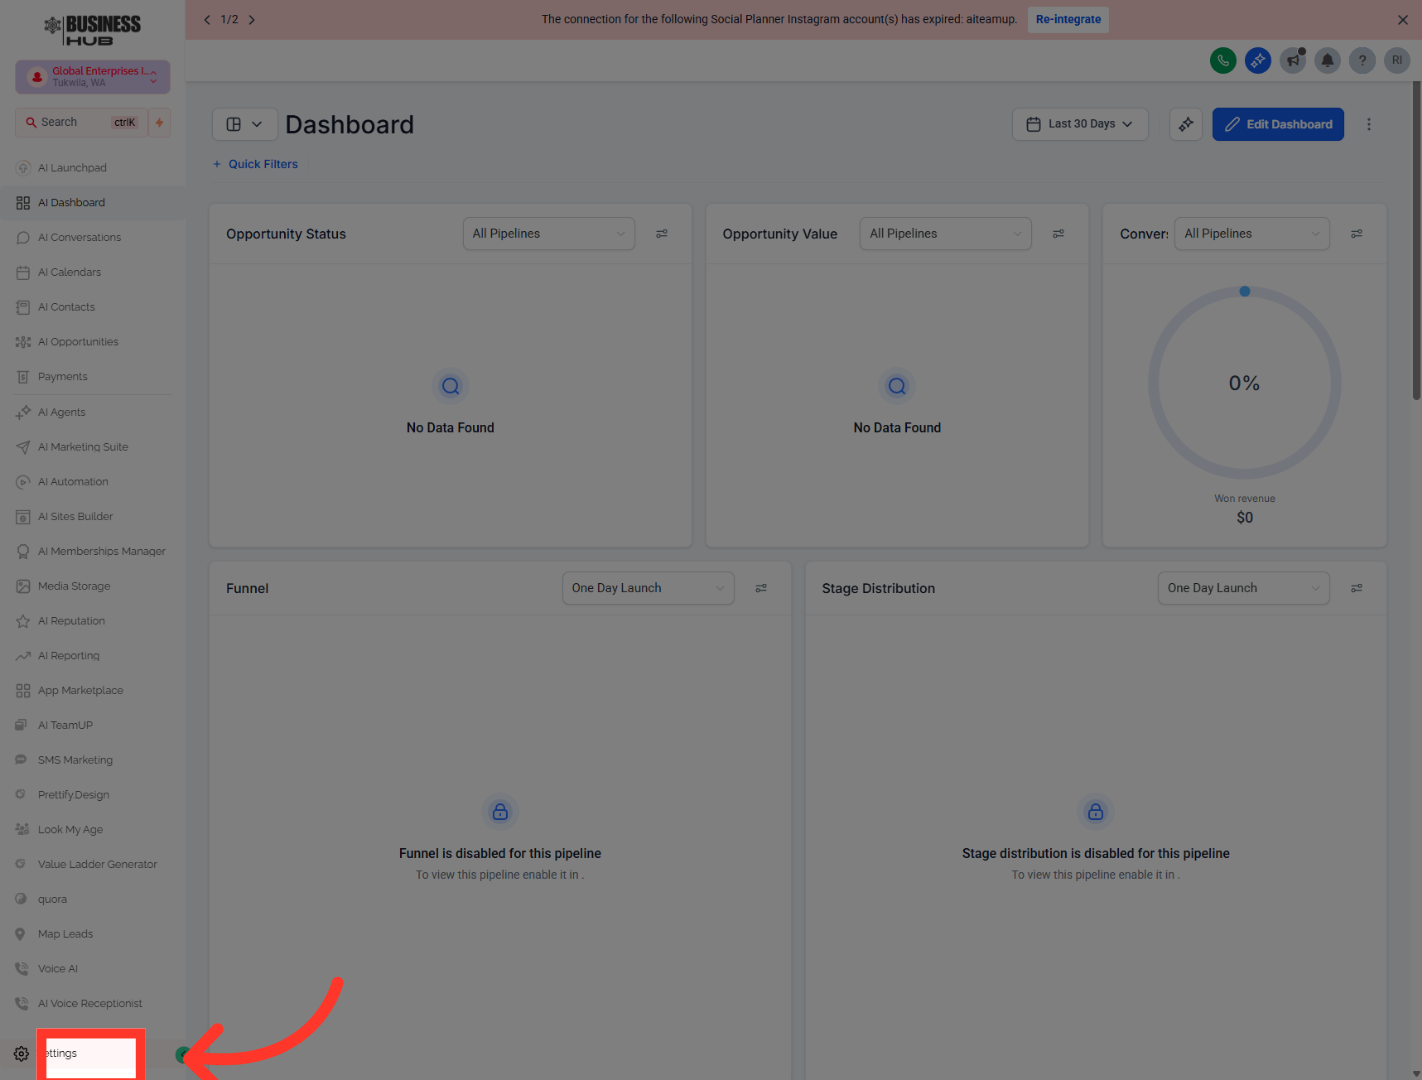
6. Open Business Hub Settings
Click "Settings" to access configuration options in Business Hub.
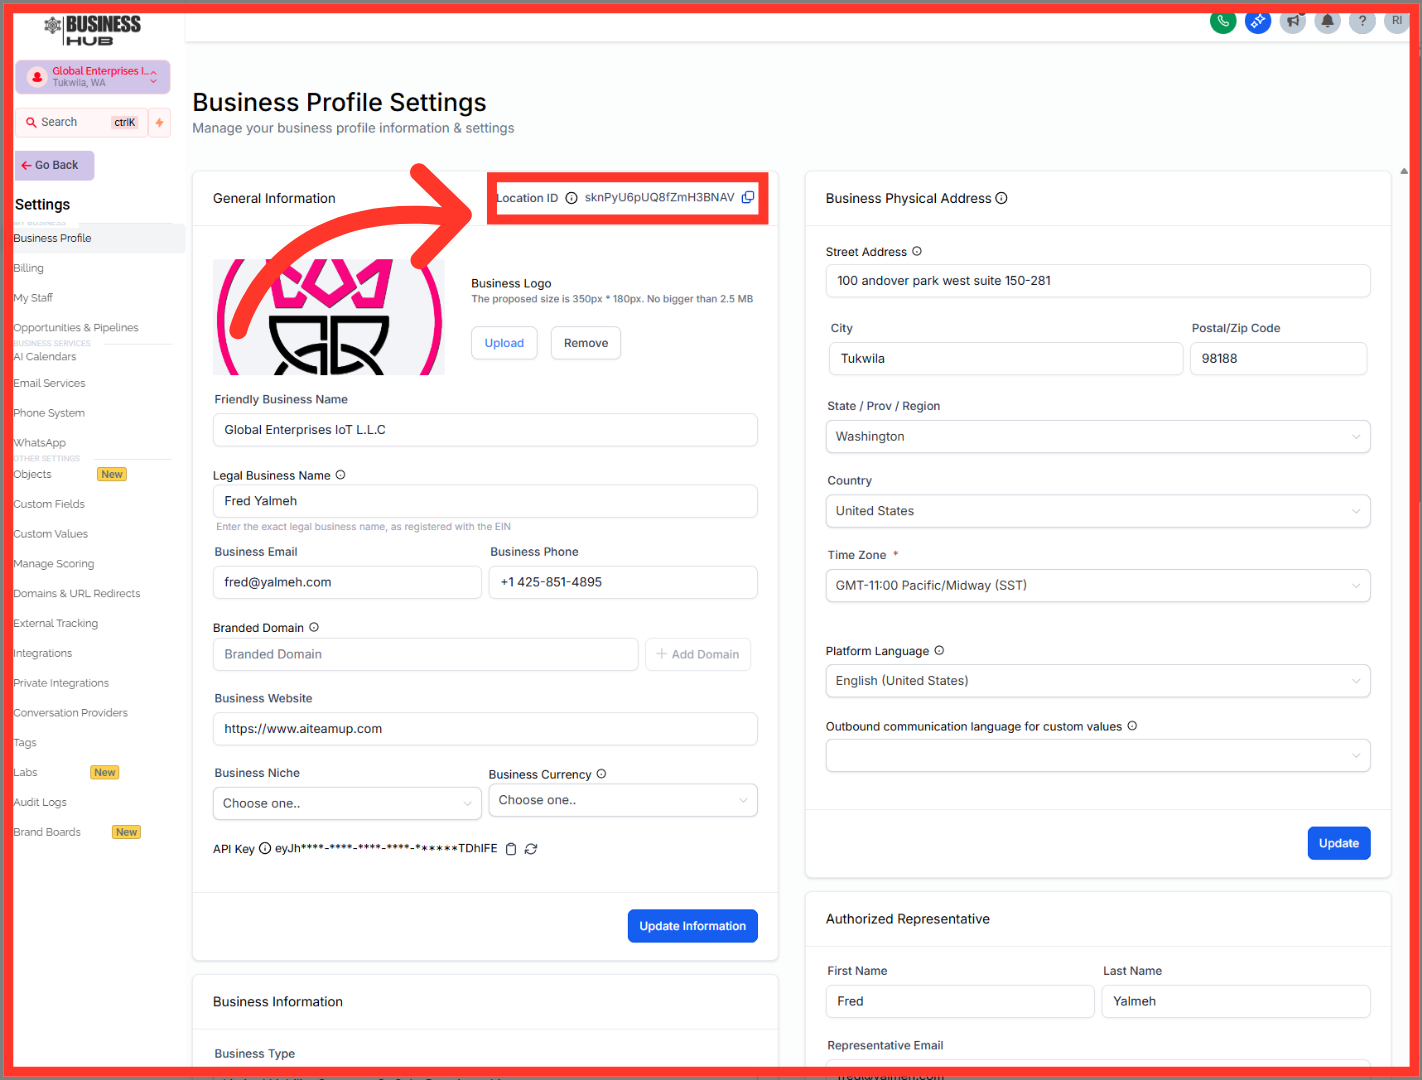
7. Proceed in Business Hub
"Once you’re inside the correct Business Hub profile, locate the Location ID in the business profile settings. Then go back to Outranker and paste that value into the Location ID field. This is what tells Outranker exactly which business location it should connect to."
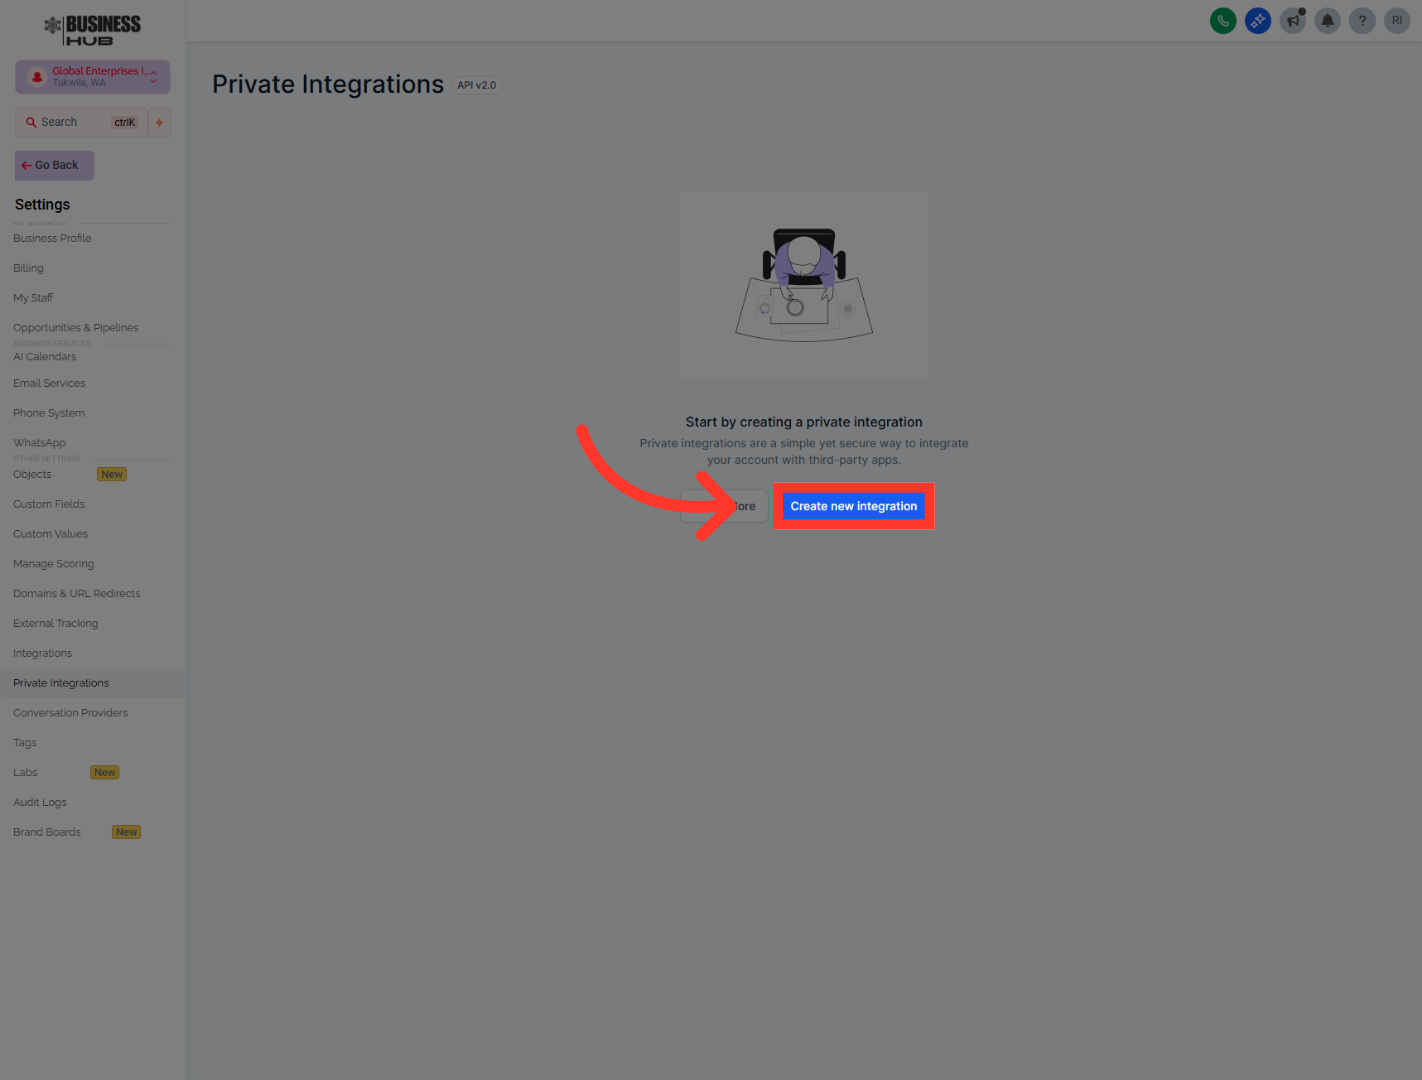
8. Open Private Integrations
"After that, head back into Business Hub and open Private Integrations. Create a new integration, give it a clear name such as OutRanker.AI, and add a short description so it’s easy to recognize later. This private integration creates the secure connection Outranker will use to work with your GoHighLevel data."

9. Initiate New Integration
Click "Create new integration" to start setting up a new private integration.
10. Access Integration Name Field
Click "Enter name" to specify a name for your integration.
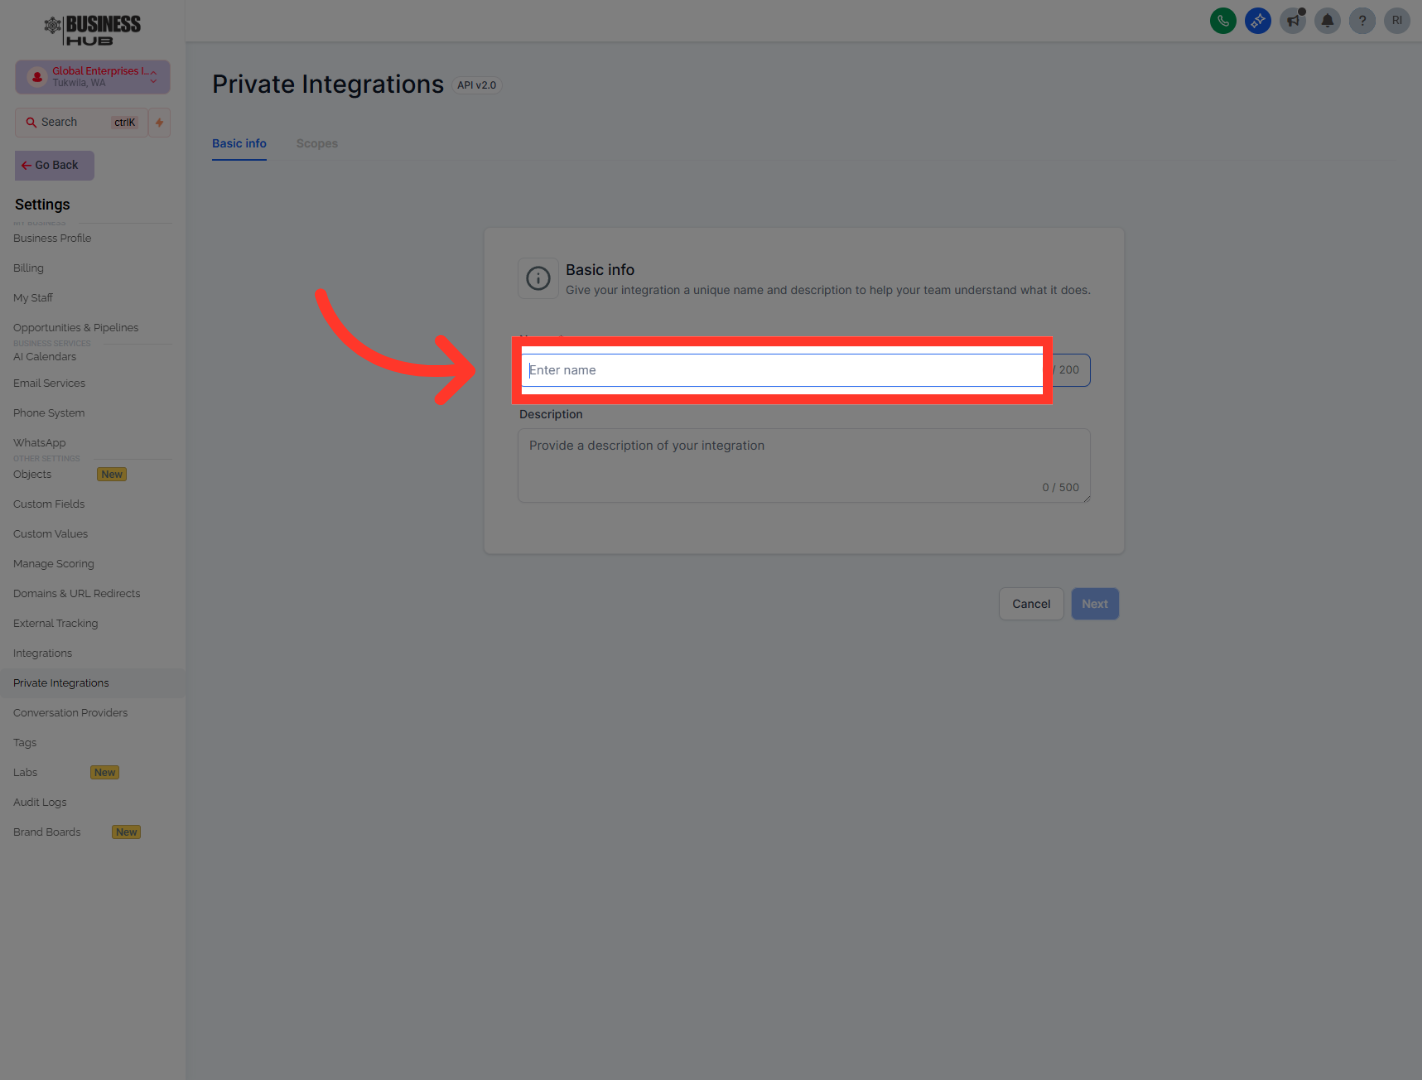
11. Name Your Integration
Fill in "OutRanker.AI" as the integration name for identification.

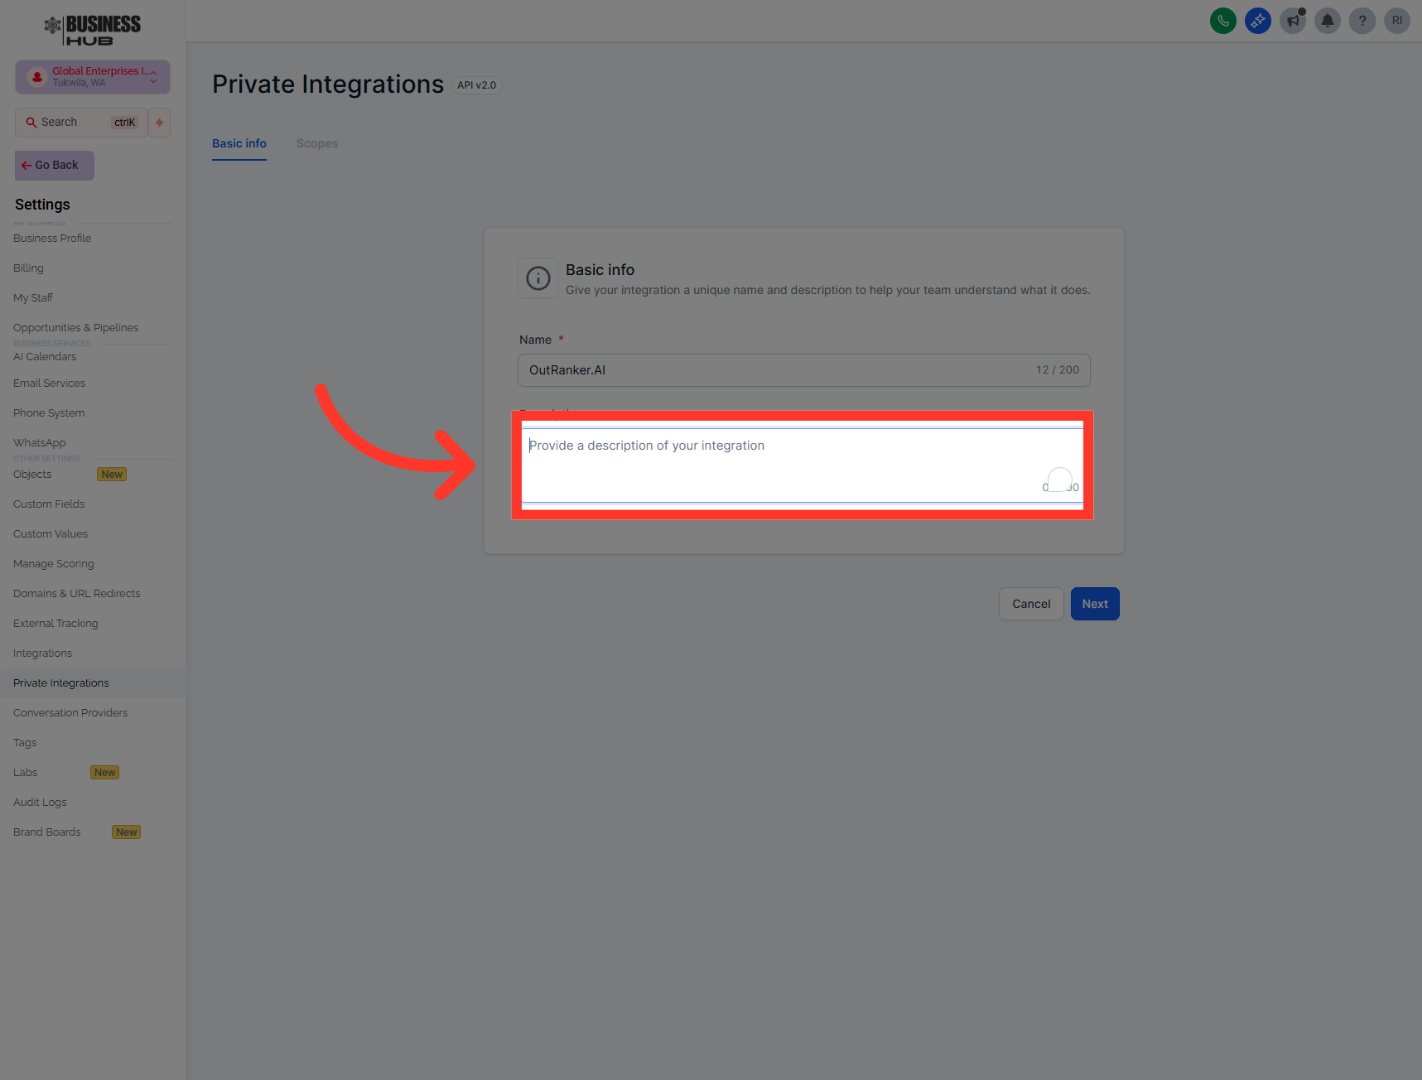
12. Provide Integration Description
Click "Provide a description of your integration" to add details about its purpose.
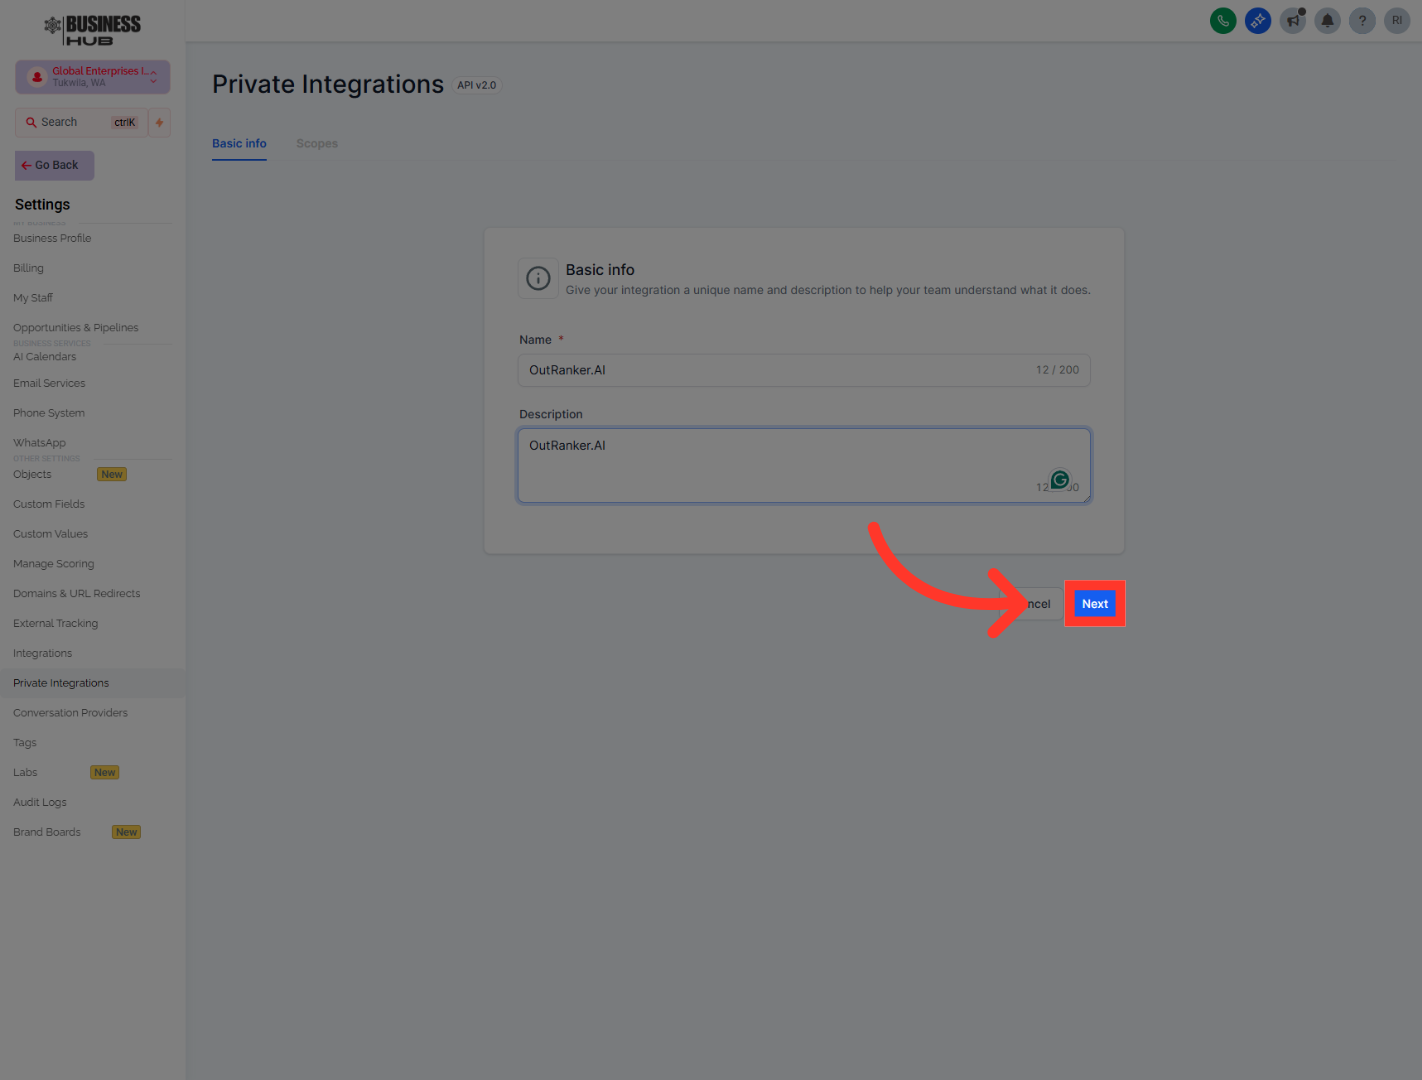
13. Proceed to Next Step
Click "Next" to continue with the integration setup process.
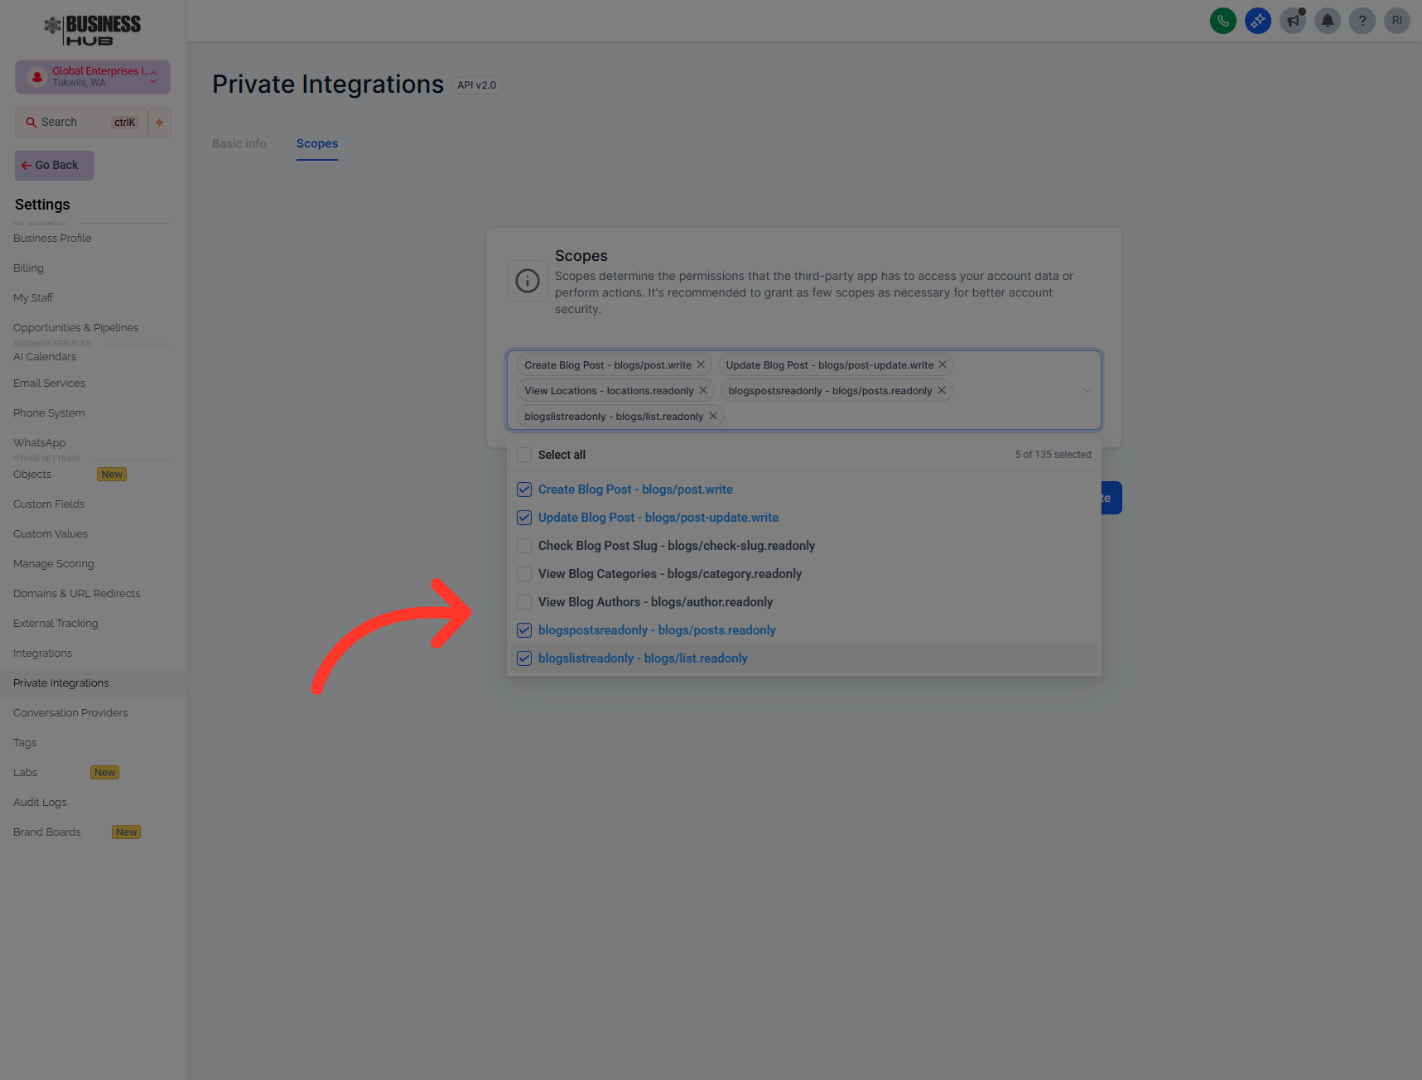
14. Open Private Integrations API
"As part of the setup, you’ll be asked to choose permissions, also called scopes. Select the permissions needed for blog publishing and location access, including the ability to create and update blog posts, and to view locations. Keeping the permissions focused helps the integration work properly without giving broader access than necessary."
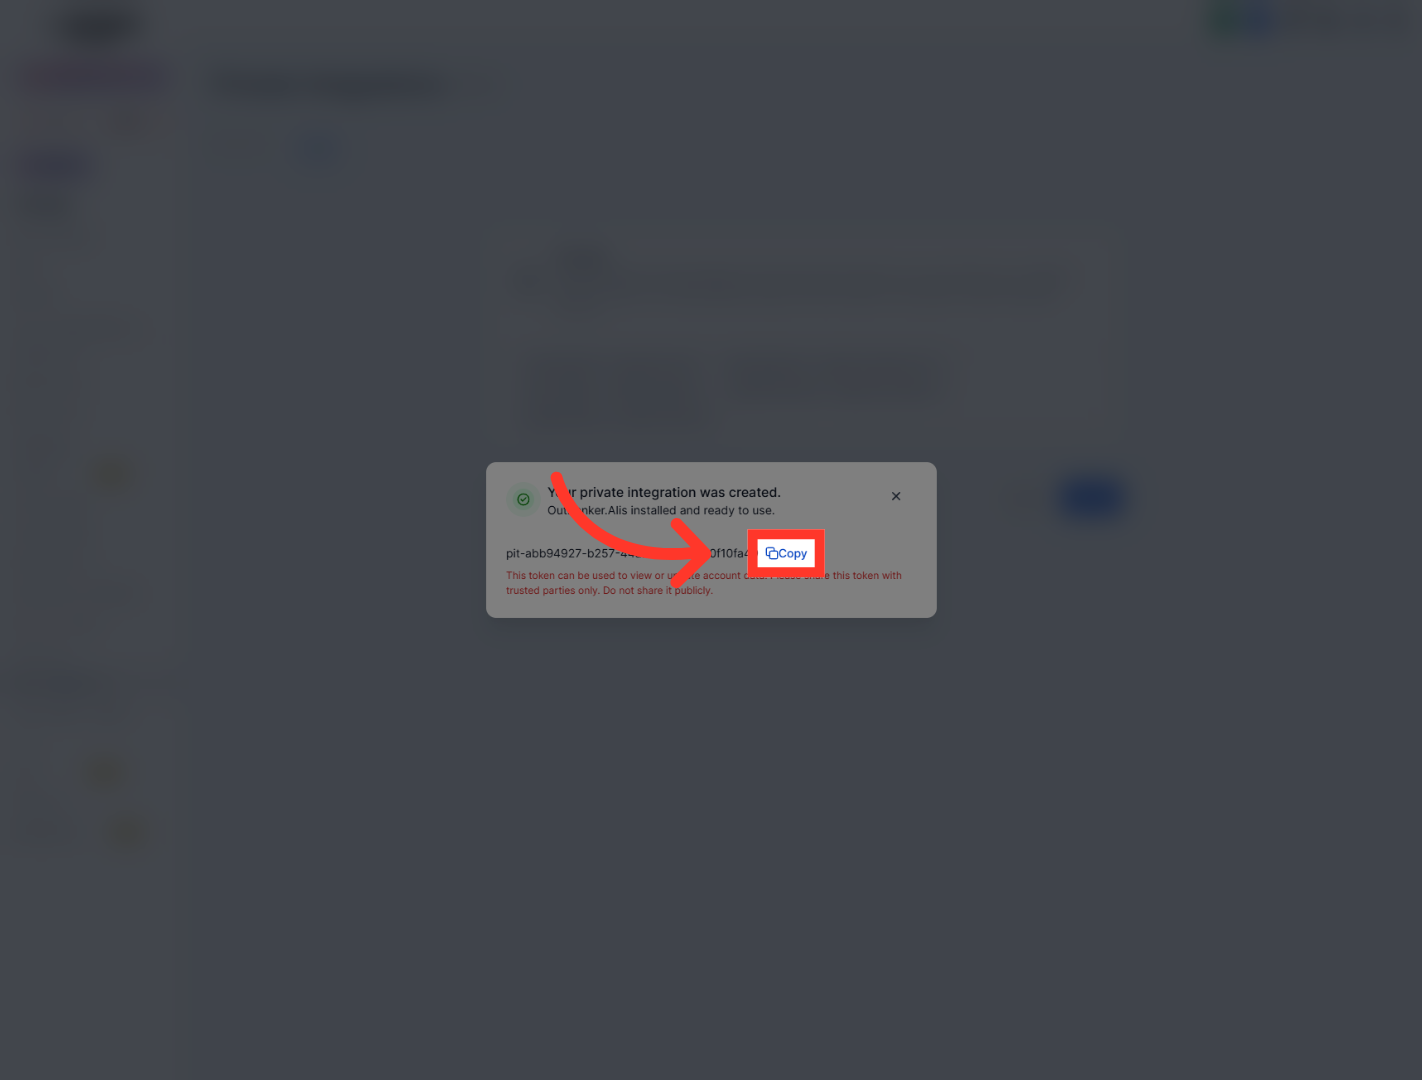
15. Copy Integration Token
"When the private integration is created, Business Hub will generate an API token. Copy that token, return to Outranker, and paste it into the API Token field. This token is what securely authenticates the connection between both platforms."
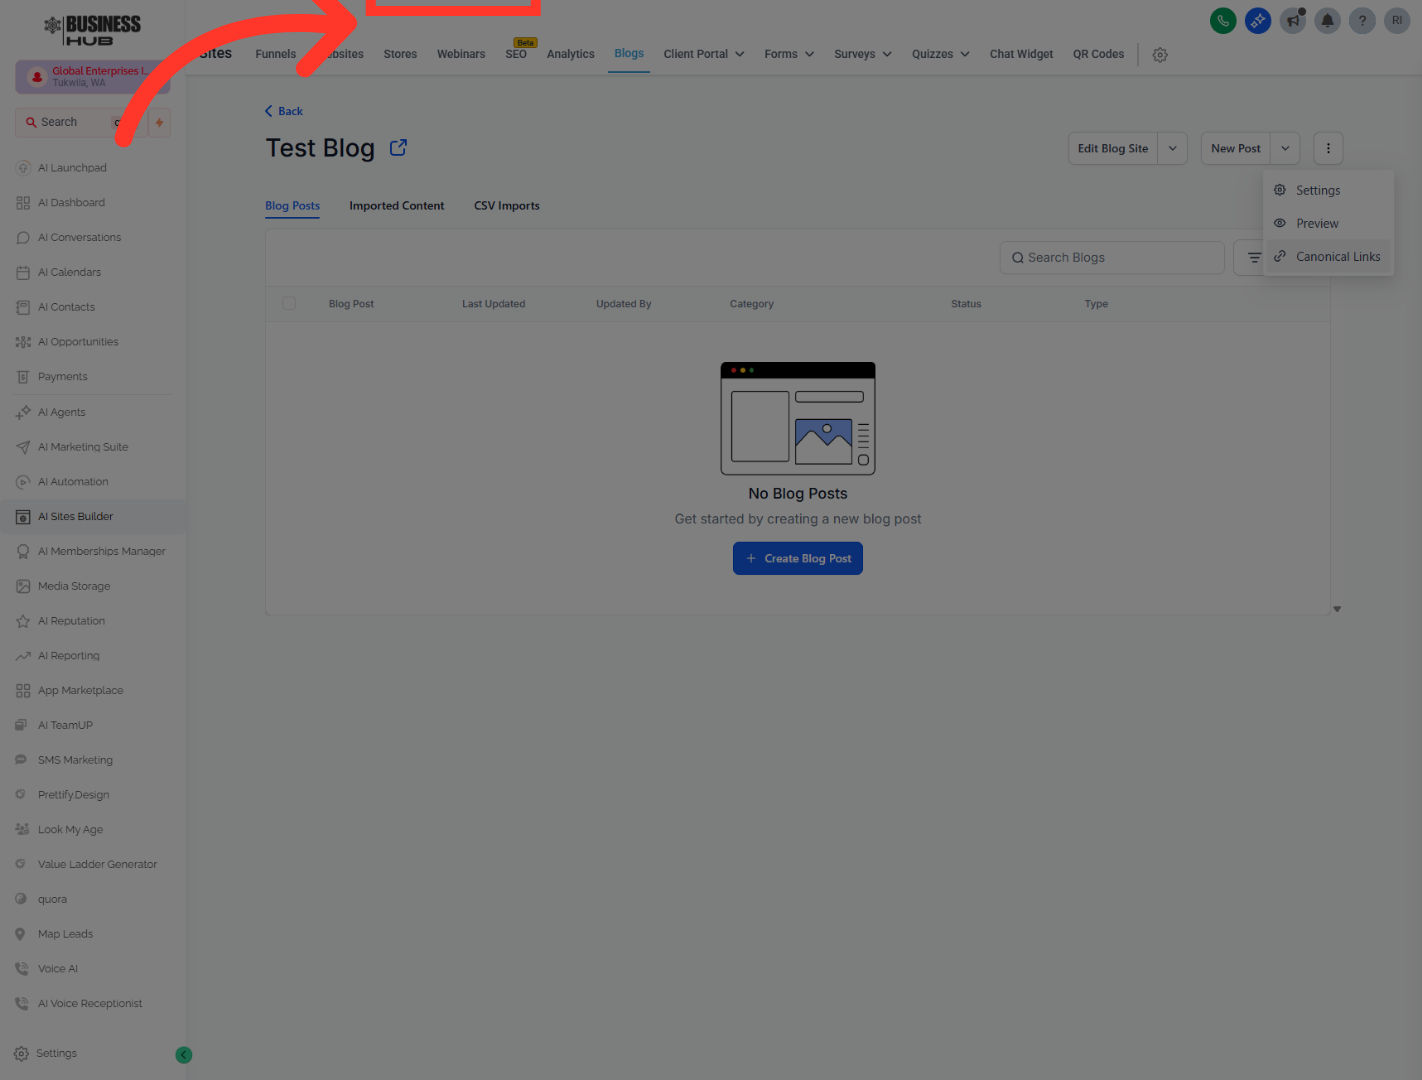
16. Open Canonical Links
"To finish the connection, Outranker also needs the correct Blog ID. In Business Hub, go to Sites, then Blogs, and either create a new blog or open the one you want to use. Once that blog is ready, copy the blog identifier and paste it into the Blog ID field back in Outranker."
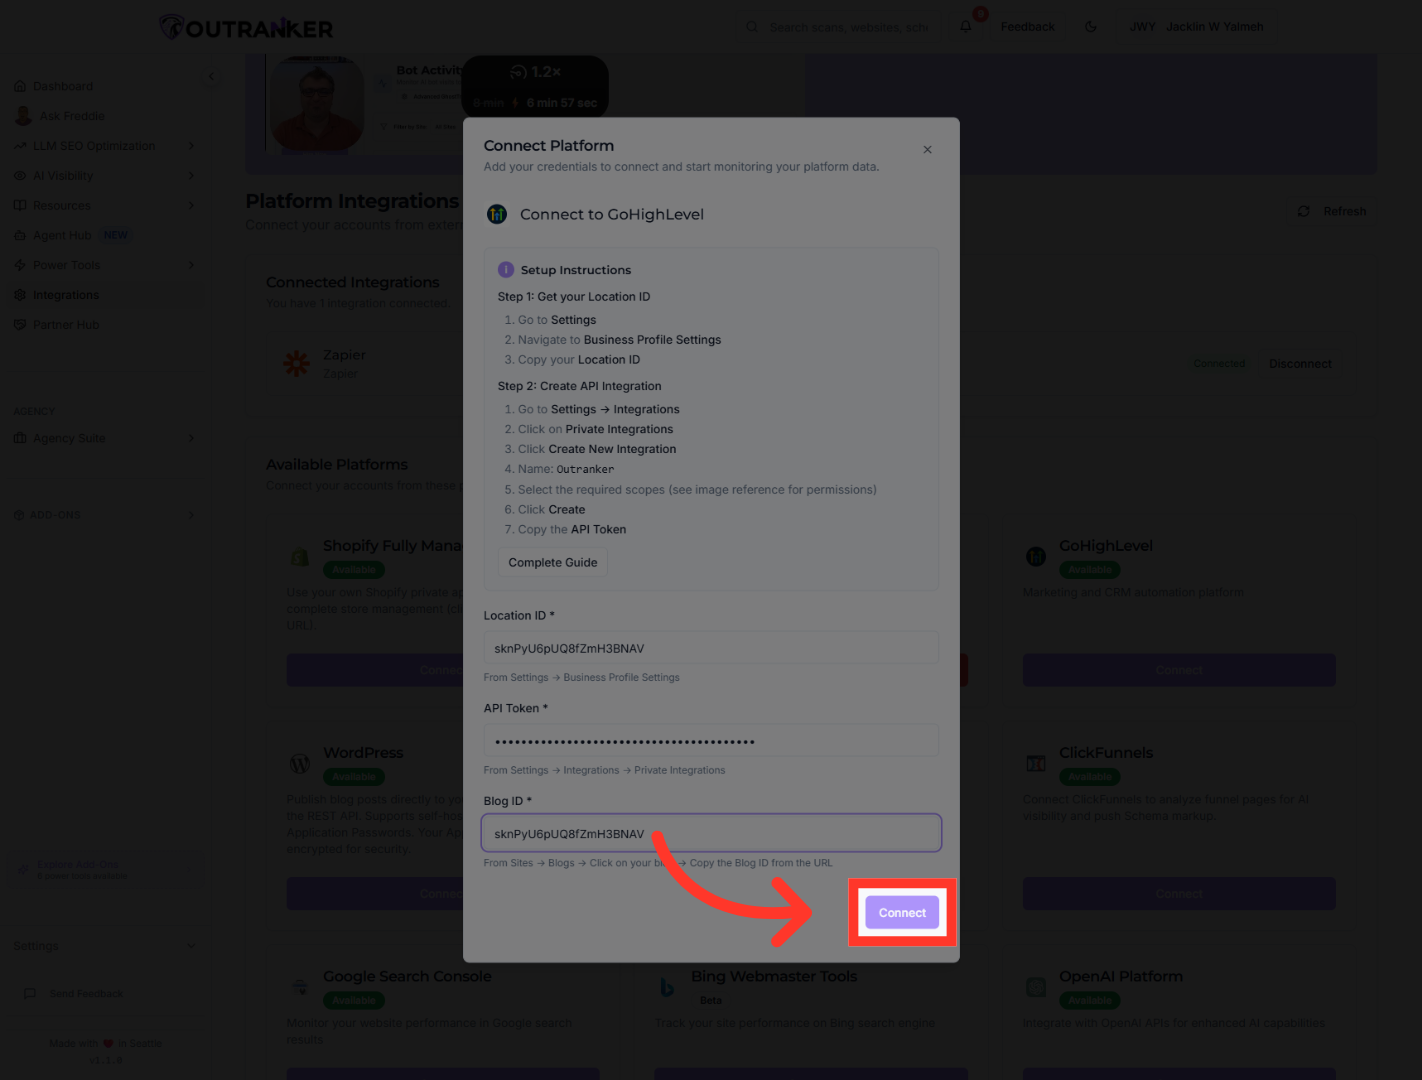
17. Complete Connection
"With your Location ID, API token, and Blog ID in place, click Connect in Outranker to complete the integration. At this point, your Business Hub account and blog setup are linked, and Outranker is ready to use that connection for ongoing monitoring and management."
"You’ve now configured your integrations and connected your Business Hub account to Outranker. Your business location, private integration, and blog setup are all in place, giving you a solid foundation for managing connected platform data inside Outranker. From here, you’re ready to move into the next workflow and start using those connected assets more effectively."
