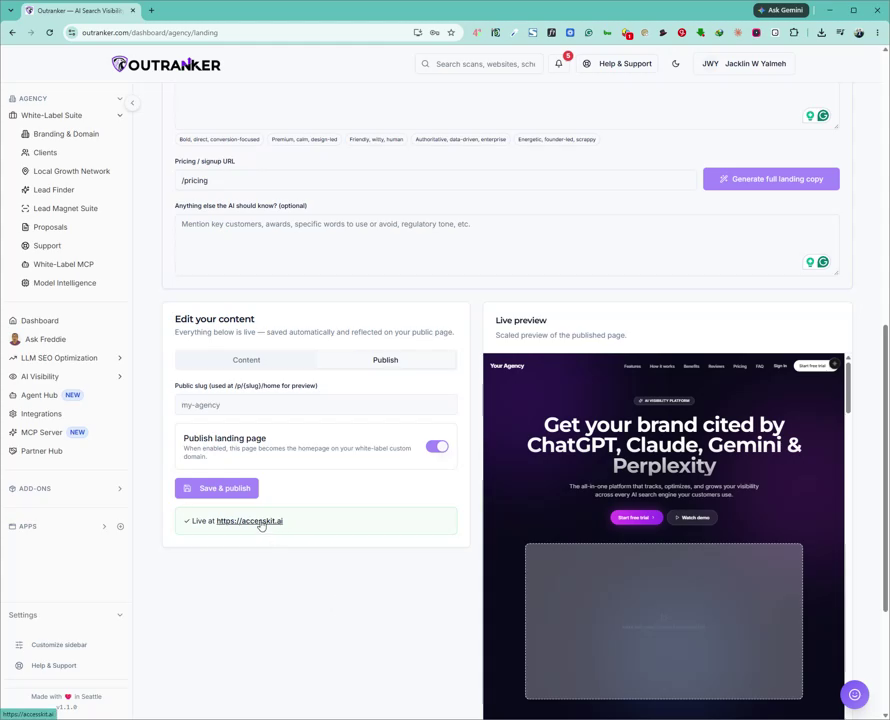
This document explains how to create, customize, and publish a white-label landing page for your agency inside Outranker, using the built‑in templates, AI copywriter, and visual editor.
Go to www.outranker.ai
1. Access the White Label Suite
Log in to your Outranker account at outranker.com. From the main navigation, click on Agency, then select White Label Suite.
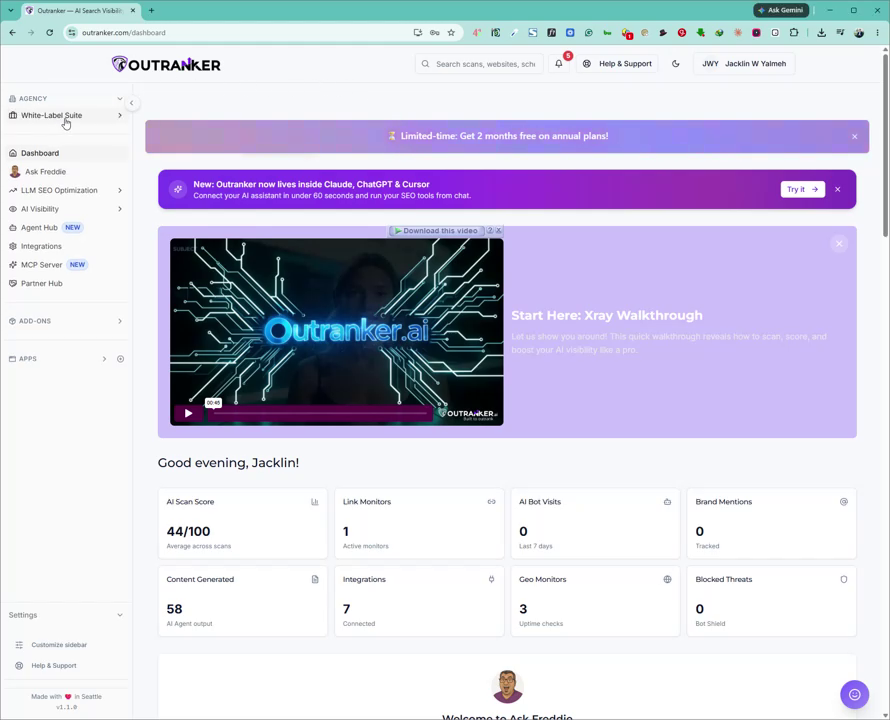
2. Open the Landing Page Builder
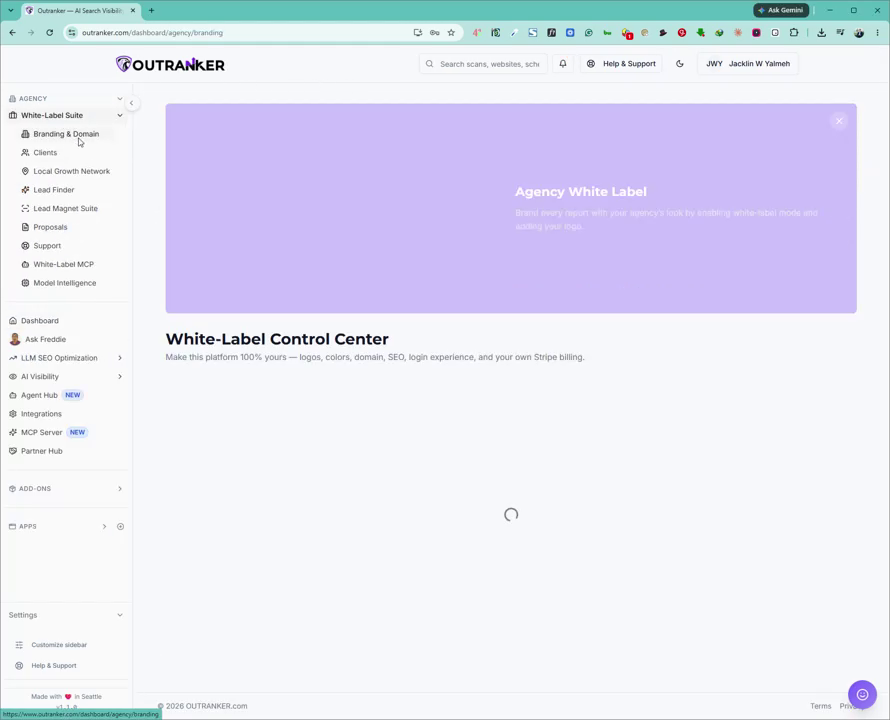
Within the White Label Suite, click on Branding & Domain.
Scroll down until you see Landing Page Builder, then click on it to open the landing page creation area.
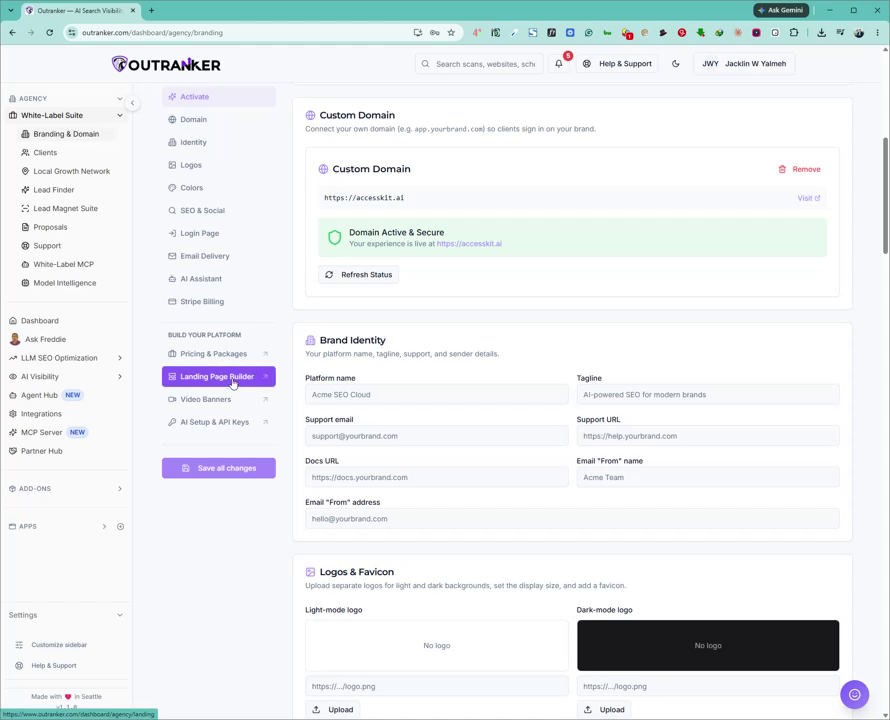
3. Choose a Pre‑Built Landing Page Template
You will see three pre-built templates, each with its own title and description. Review them and select the one you prefer for your agency’s landing page.
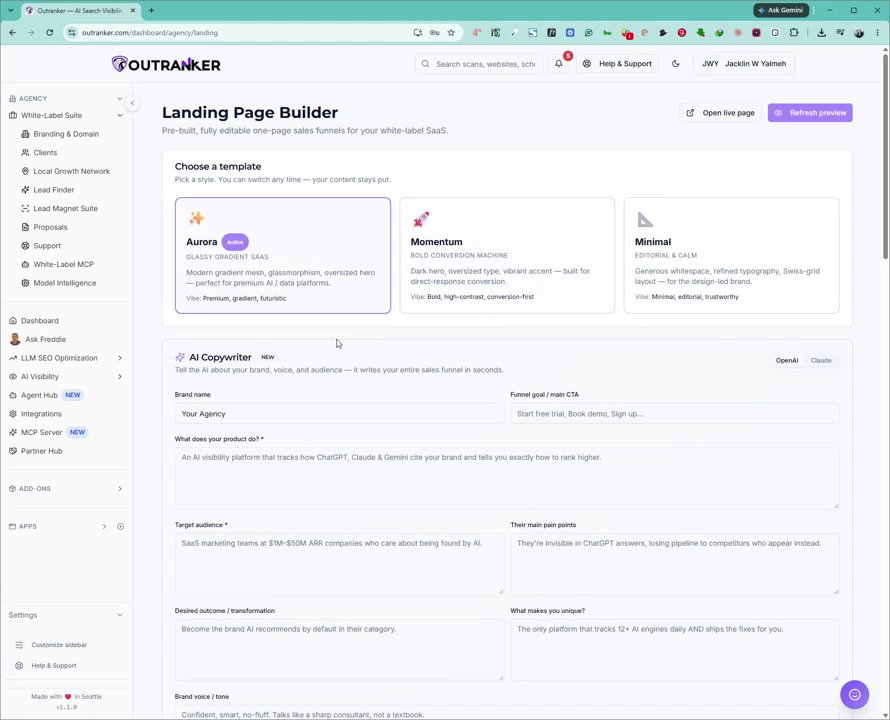
4. Configure the AI Copywriter and Landing Page Brief
Choose which AI copywriter to use (OpenAI or Claude). Keep OpenAI selected if that’s your preference.
Fill in all the fields that help the AI generate tailored copy for your page:
Brand name
Funnel goal / main CTA (primary action you want visitors to take)
What your product/service does
Target audience
Main pain points of your audience
Desired outcomes for your audience
What makes your offer unique
Brand voice / tone (how you want the copy to sound)
Pricing page URL
Optionally, add any extra information or context you want the AI to consider. When ready, click Generate Full Landing Copy.
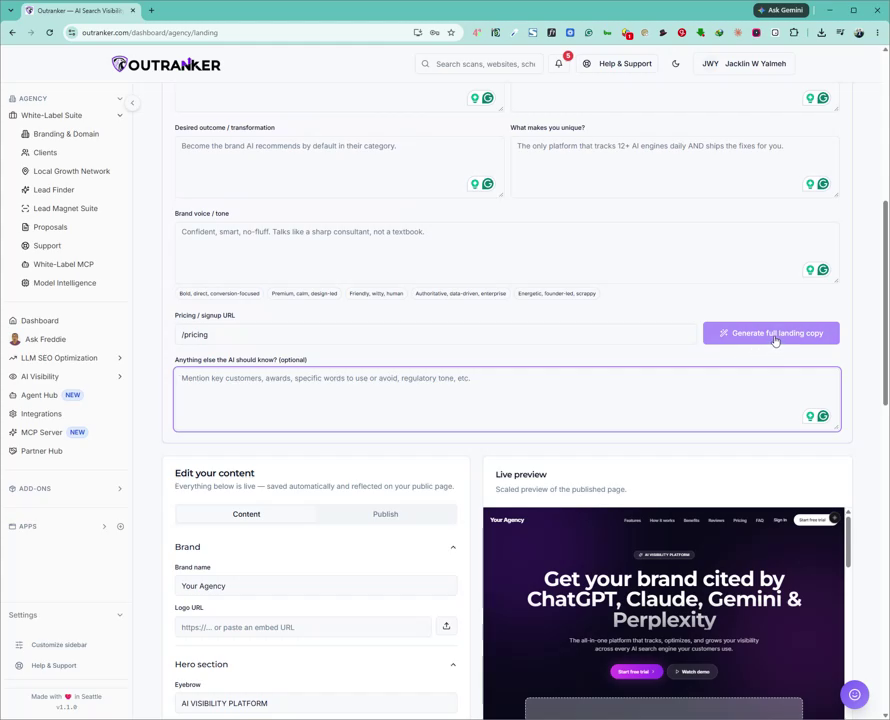
Wait for the system to generate the full landing page copy for you.
5. Edit and Customize Landing Page Content
After the copy is generated, go to the Content section to customize it.
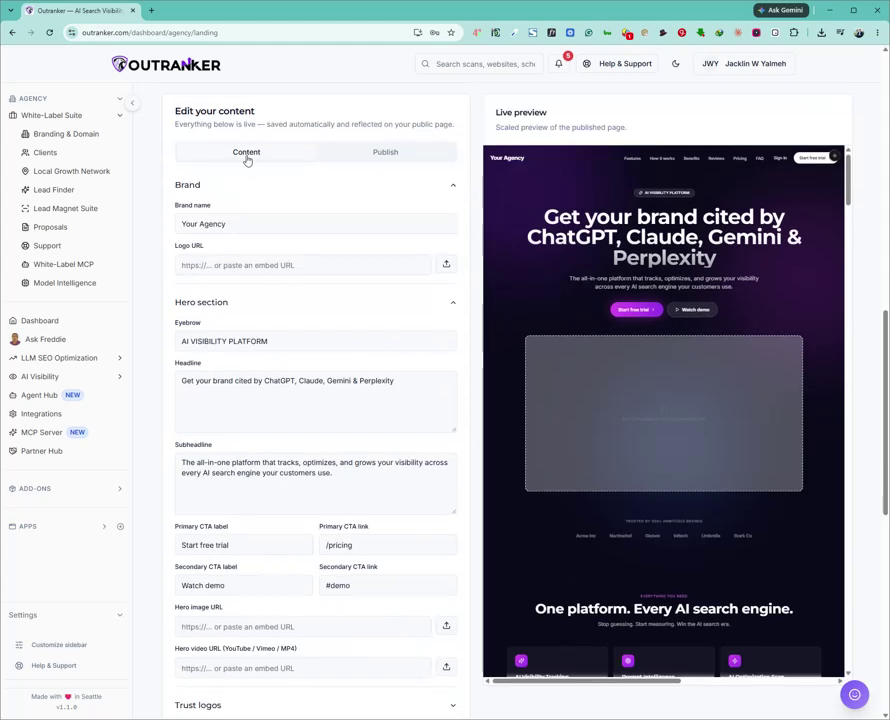
Here you can modify:
Brand name
Logo URL
Hero section (headline, subheadline)
Primary CTA button label and primary CTA link
Secondary CTA button label and secondary CTA link
A live preview on the right side shows how your landing page will look as you make changes.
You can also:
Upload a hero section image or video
Review and edit the FAQs: add, edit, or delete FAQ items as needed
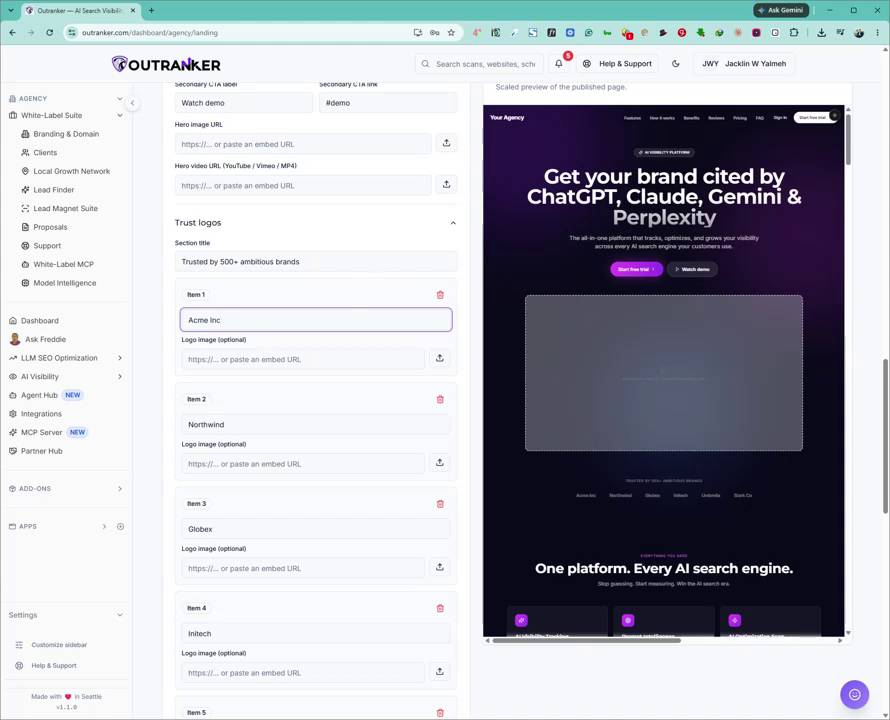
Upload trust logos and other logos
Configure features and different sections (e.g., FAQ, pricing, call to action, footer)
Expand each section you want to include on your landing page and customize the content and layout as desired.
6. Publish Your Landing Page
Once you are satisfied with your customizations, scroll back to the top and click Publish.
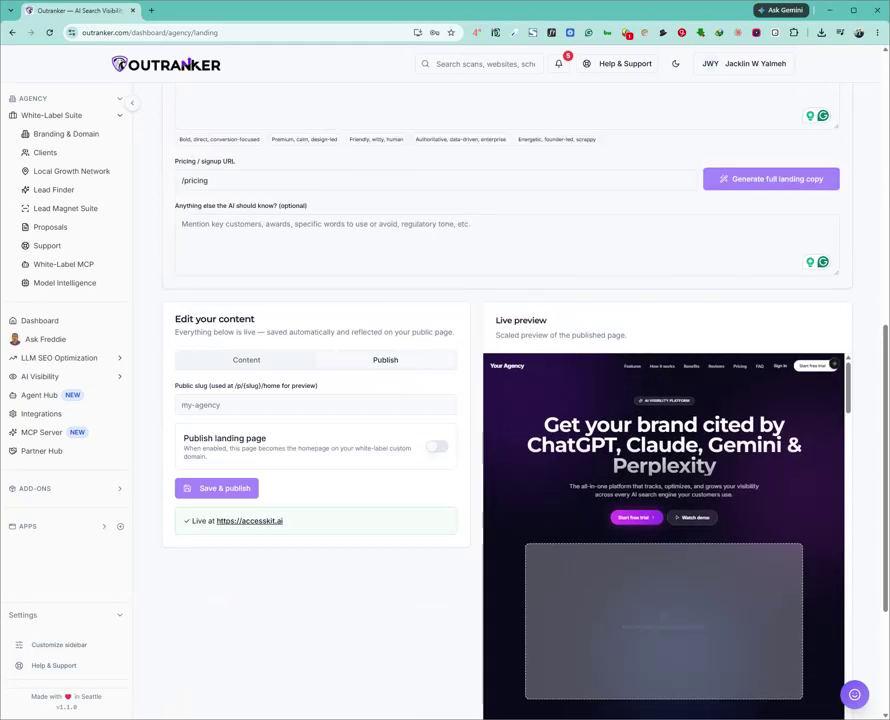
Set the slug (URL path) for your landing page. Then click Publish Landing Page.
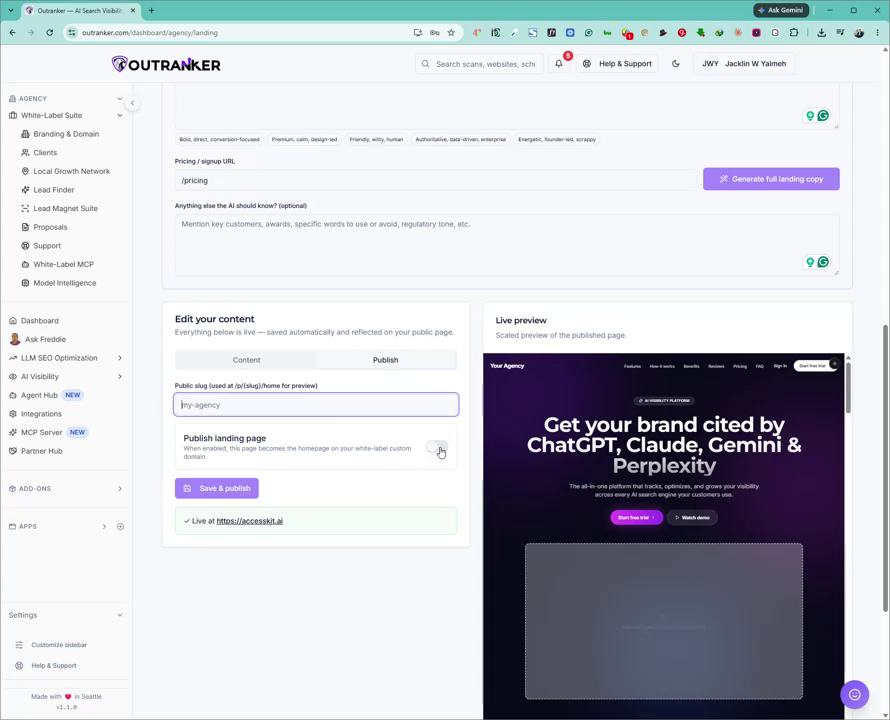
Finally, click Save & Publish to save your changes and make the page live.
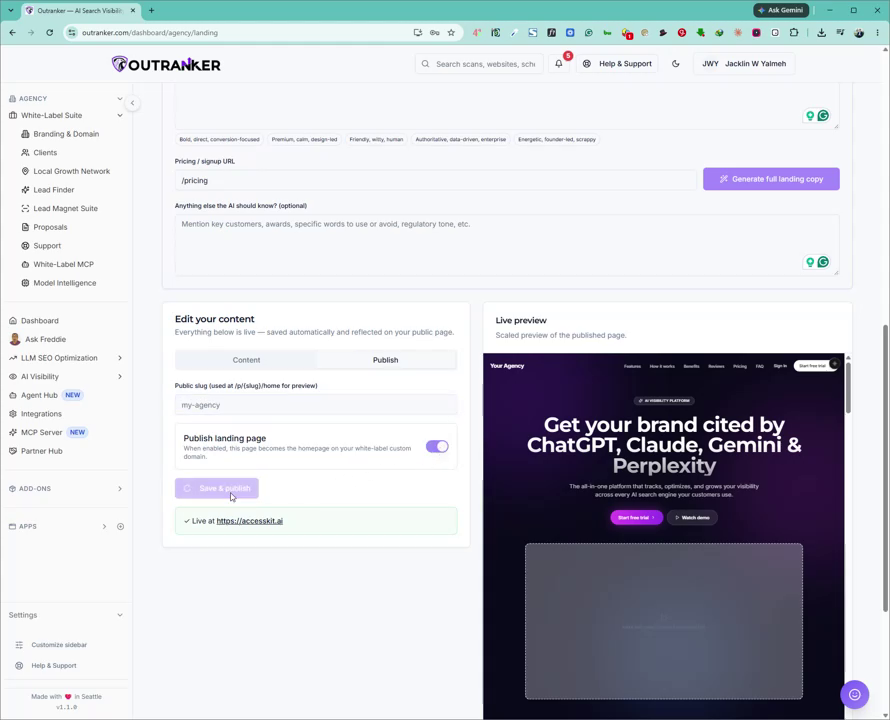
7. View Your Live Landing Page
After publishing, Outranker will display the domain and URL for your new landing page. Click on this domain link to open and review the live landing page you just created.