This document explains how to configure and customize pricing plans for your white label agency in Outranker, including using templates, creating your own plans, and managing feature access for each plan.
Go to www.outranker.ai
1. Access the Agency Menu
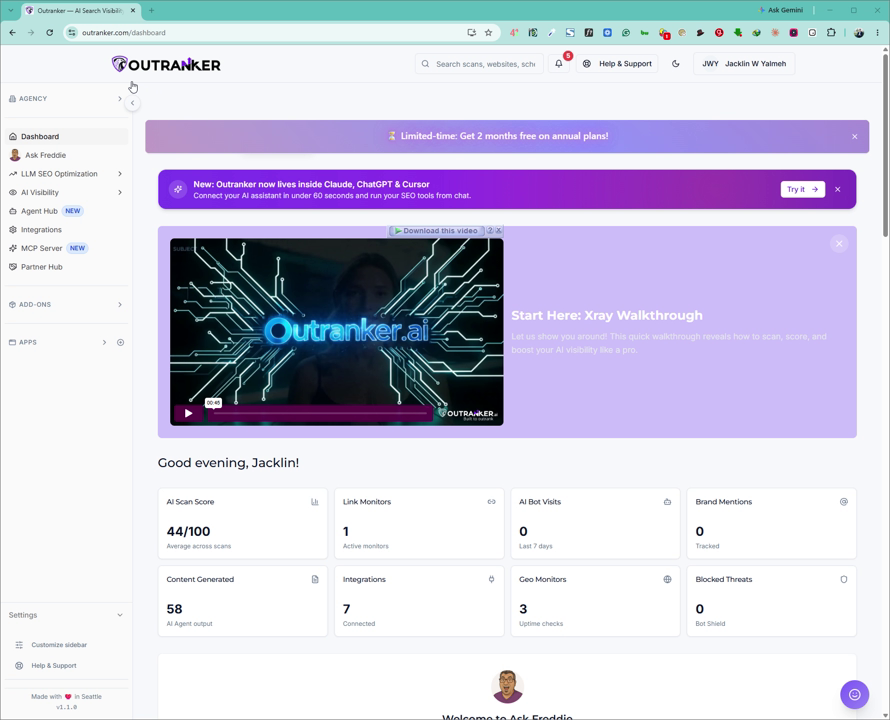
Log in to your Outranker dashboard, and from the left-hand navigation panel, click on the Agency menu.
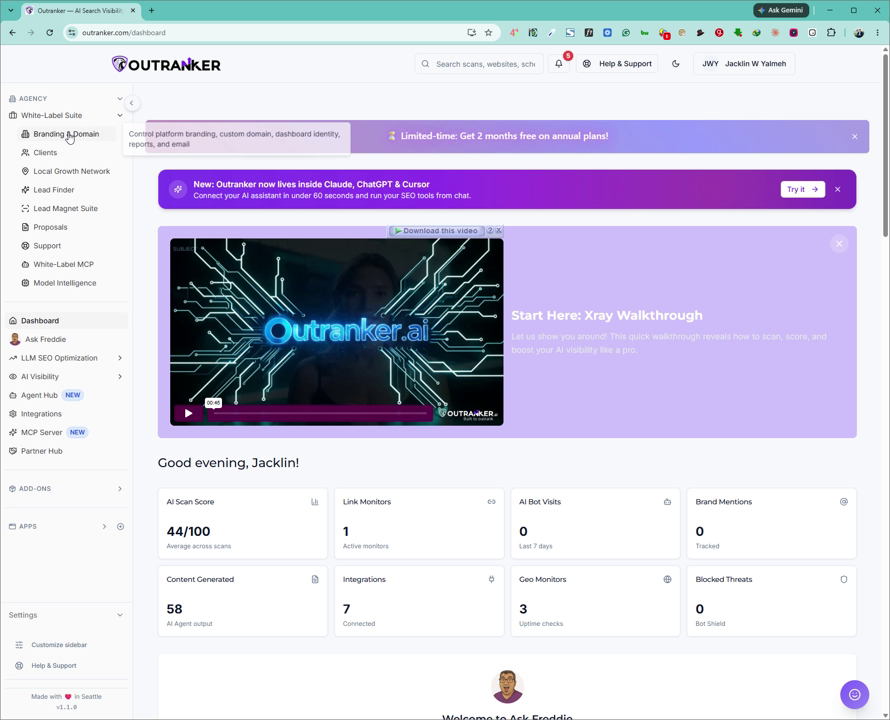
2. Open Branding and Domain Settings
Within the Agency section, go to White Label Suite and click on Branding and Domain.
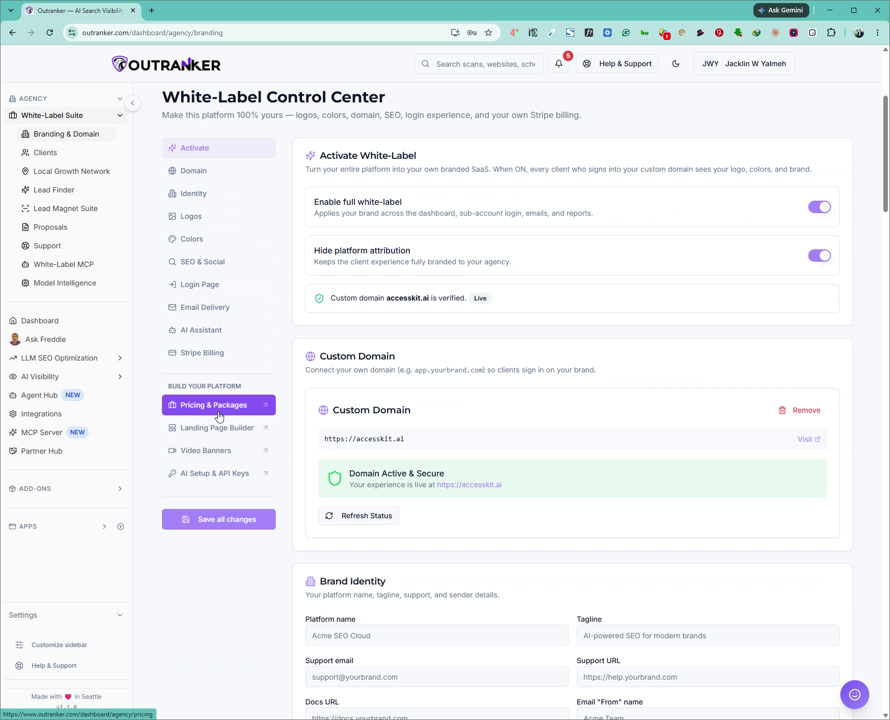
3. Navigate to Pricing and Packages
On the Branding and Domain page, scroll down until you see Pricing and Packages, then click on it to open the Pricing and Packages page.
4. Review Existing Plans and Ensure Stripe Is Connected
On the Pricing and Packages page, review the list of existing plans currently configured for your account. Before making any changes to pricing or adding new plans, ensure that your Stripe account is properly connected so payments can be processed.
5. Use Pre-Built Pricing Templates
To start from pre-built pricing options, click on Browse Templates.
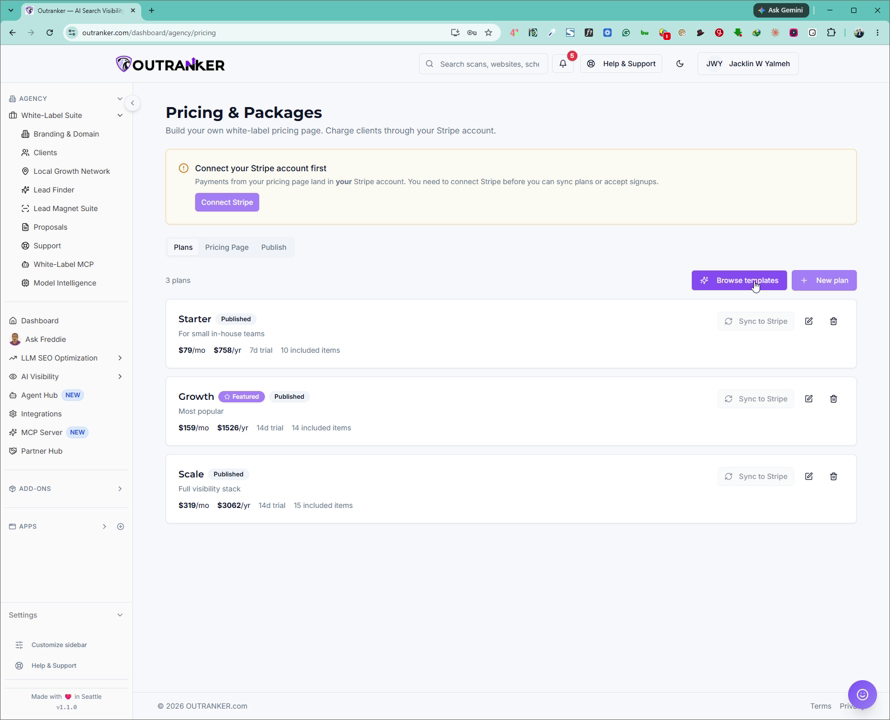
Choose any of the available template sets and either add those plans to your existing ones or replace all existing plans with the selected template plans.
6. Create a New Custom Plan
If you prefer to create your own plan instead of using a template, use the option to create a new plan.
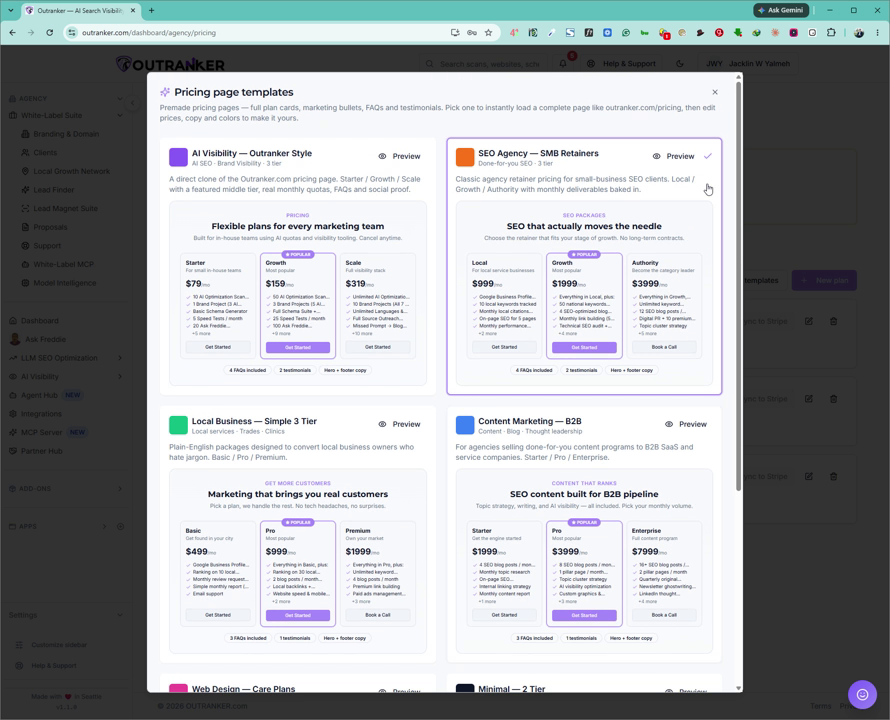
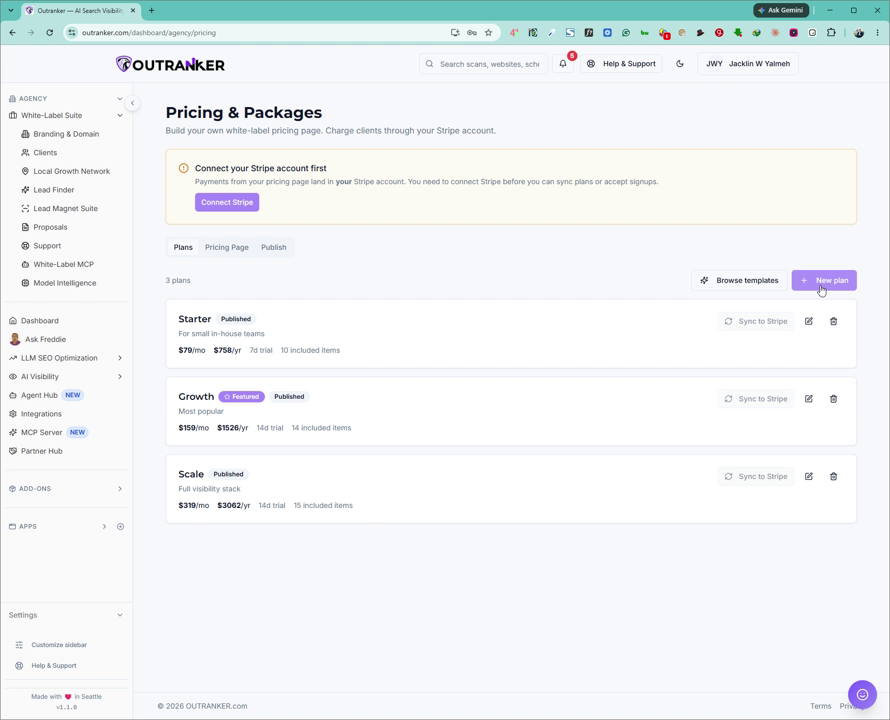
Configure the plan details, including:
Plan name and tagline
Description
Monthly price and annual price
Free trial days
Sort order (display order)
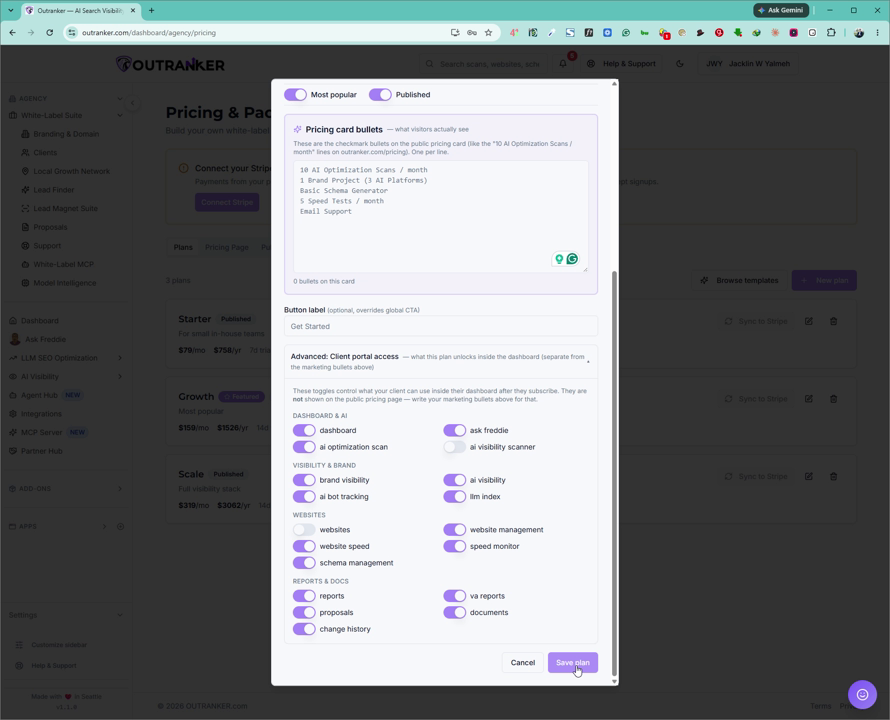
Flags such as Most Popular and Published
Price card bullet points (key features shown on the pricing card)
Button label (the call-to-action text on the pricing page button)
7. Configure Advanced Client Portal Access
Under the Advanced section, click on Advanced Client Portal Access.
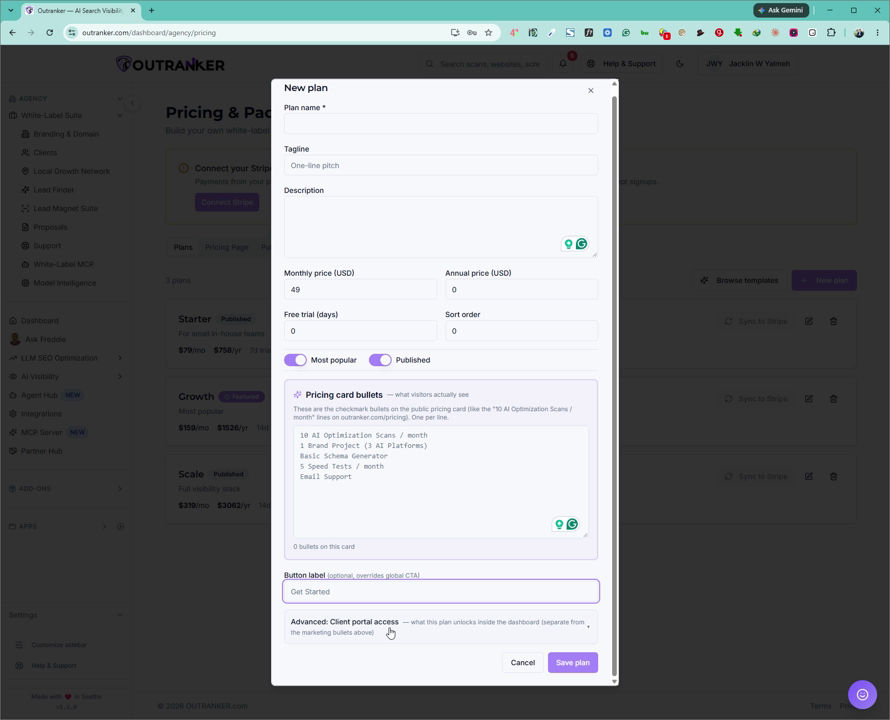
From here, select and customize which features and modules are available to customers on each pricing plan, tailoring access according to the plan level.
8. Save Your Plans
After configuring your pricing, plan details, and feature access, click Save Plans to apply your changes and update your live pricing page.