
This process walks you through configuring a custom, branded login page for your agency suite in Outranker, including selecting your agency, accessing white label settings, and updating the login page logo, headline, and sub-headline.
Go to www.outranker.ai
1. Open Your Agency from the Dashboard
From your Outranker dashboard, ensure you are logged in to your account. In the left-hand menu, click on your agency to open its settings.
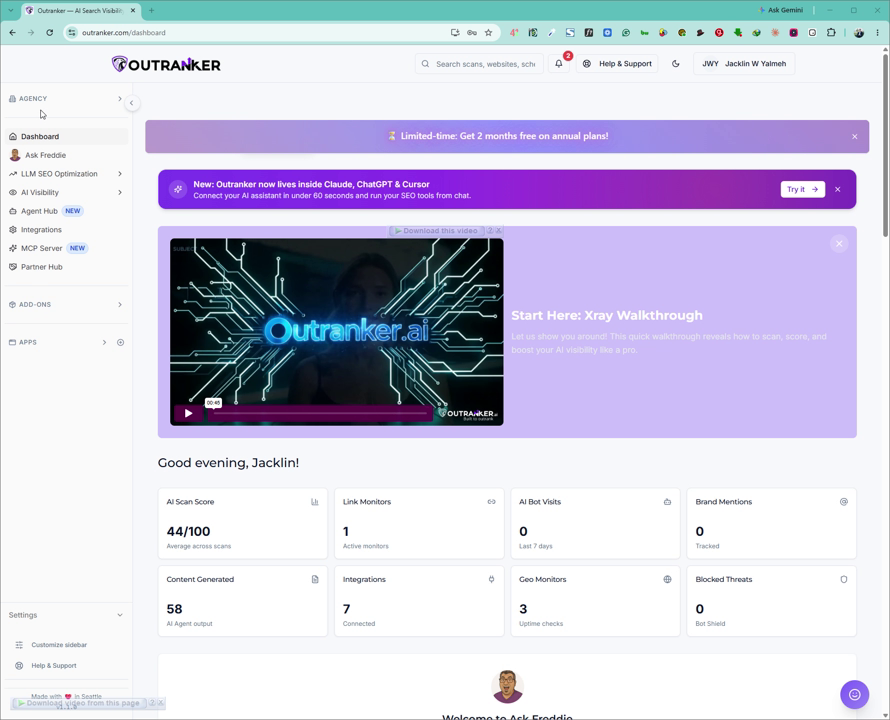
2. Navigate to Branding and Domain
Within your agency settings, locate the White Label Suite section. Under this section, click on Branding and Domain to access your white label configuration options.
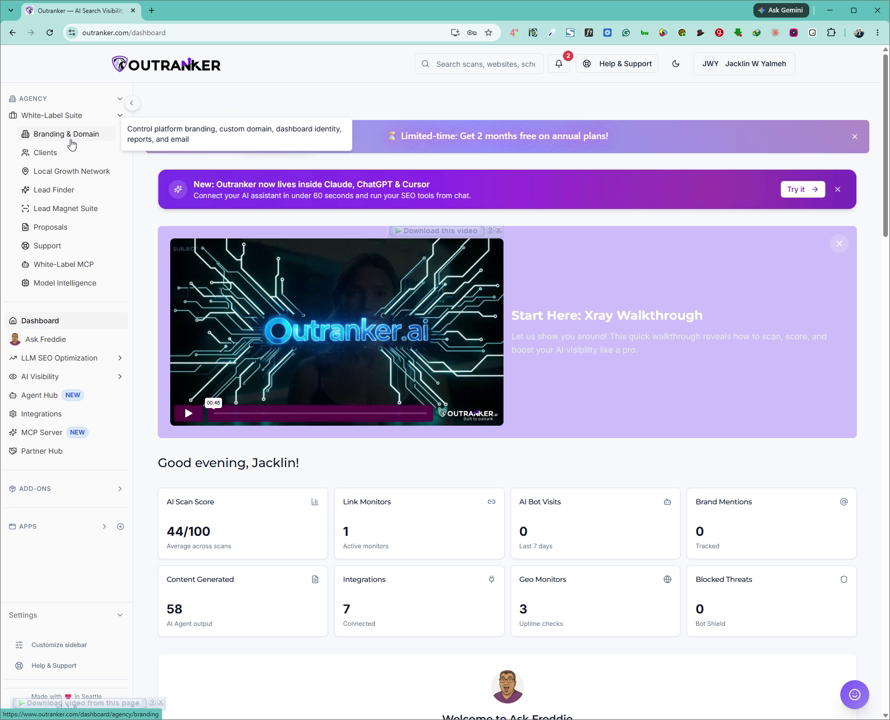
3. Open the Login Page Settings
In the left-hand menu of the Branding and Domain area, click on Login Page. This will open the login page customization screen where you can edit visual and text elements.
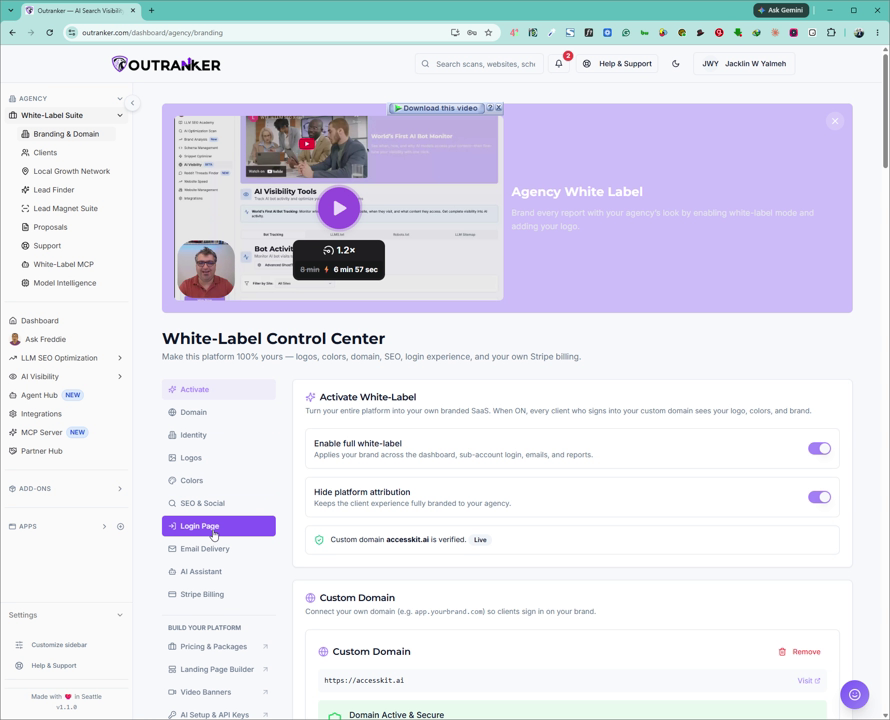
4. Customize Logo, Headline, and Sub-headline
On the login page customization screen:
Upload your logo by clicking the Upload button and selecting your logo file.
Enter your desired headline for the login page.
Enter a supporting sub-headline that matches your brand messaging.
Review the preview (if available) to ensure the branding looks correct.
5. Save Your White Label Login Page
When you are satisfied with your logo, headline, and sub-headline, click Save All with White Label Settings to apply your changes.
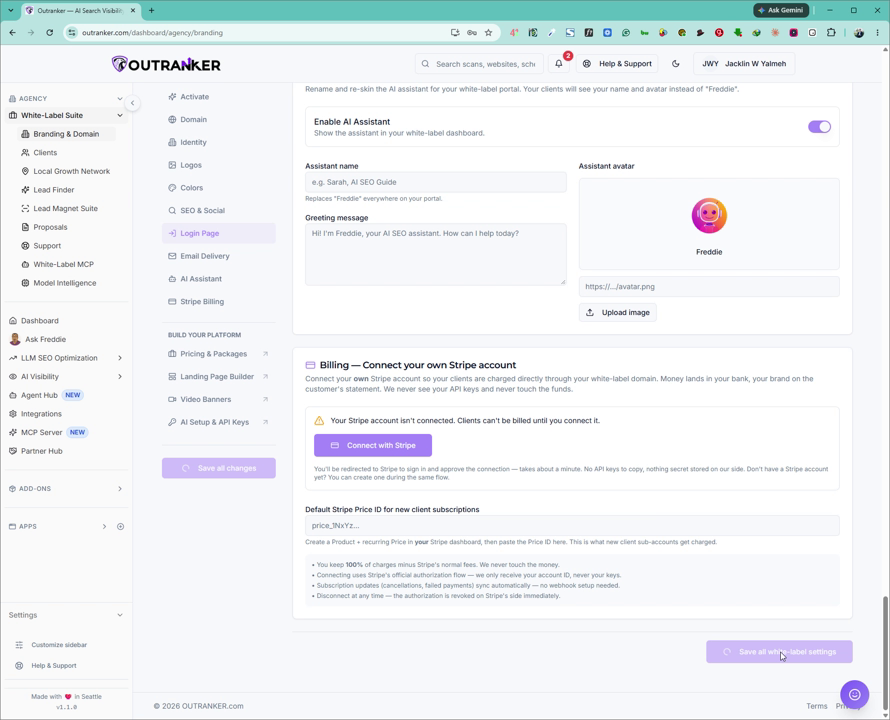
Your branded login page will now be updated and saved for your agency suite.
