This document explains how to configure your agency’s light and dark mode logos and favicon in the Outranker white label suite, so your clients see your own brand throughout the platform.
Go to www.outranker.ai
1. Access the Agency Menu
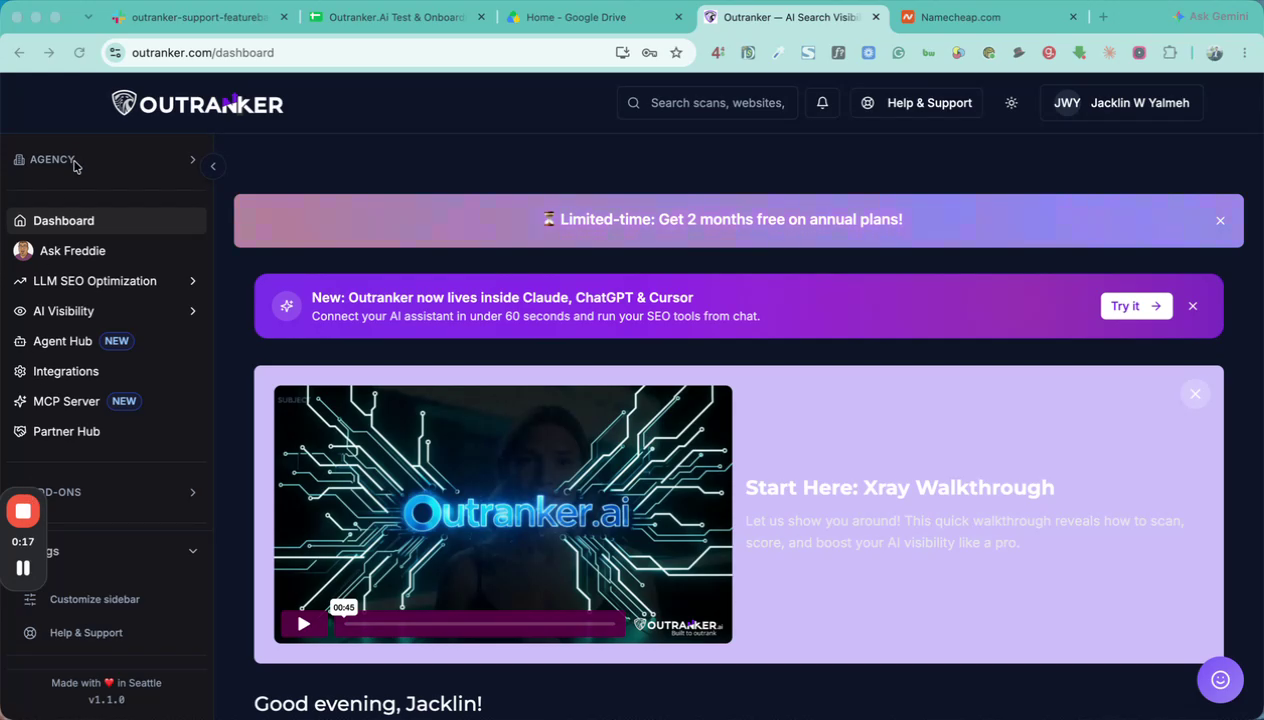
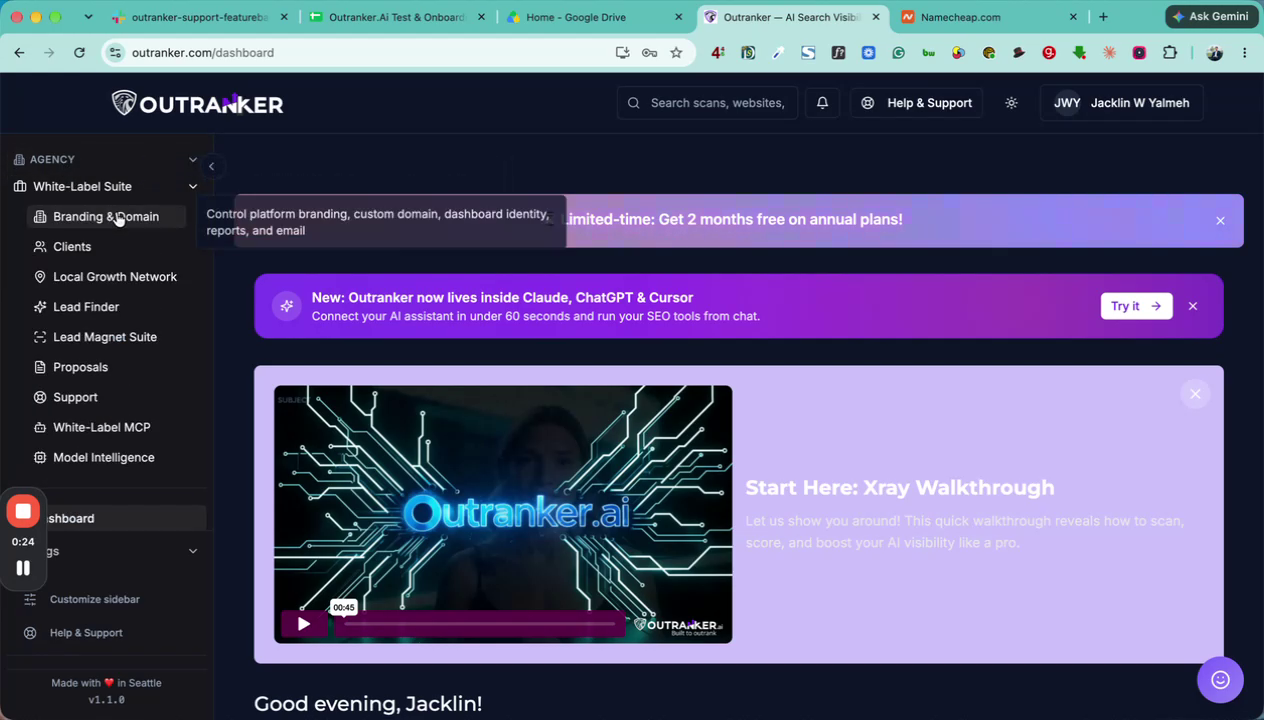
Log in to the Outranker platform. From the left-hand navigation panel, locate and click on the Agency menu.
2. Open the White Label Suite
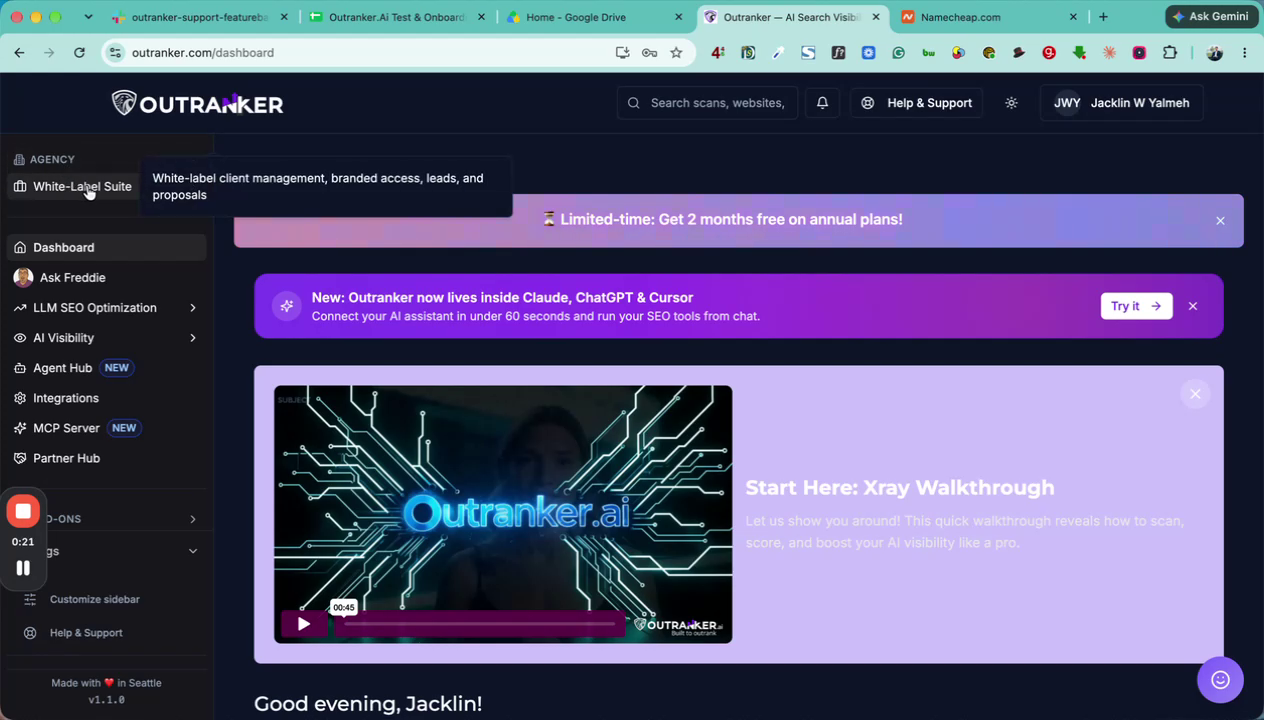
Within the Agency menu, click on White Label Suite to open your white label configuration area.
3. Navigate to Branding & Domain
In the White Label Suite, click on Branding & Domain to access your branding settings.
4. Open the Logos Section
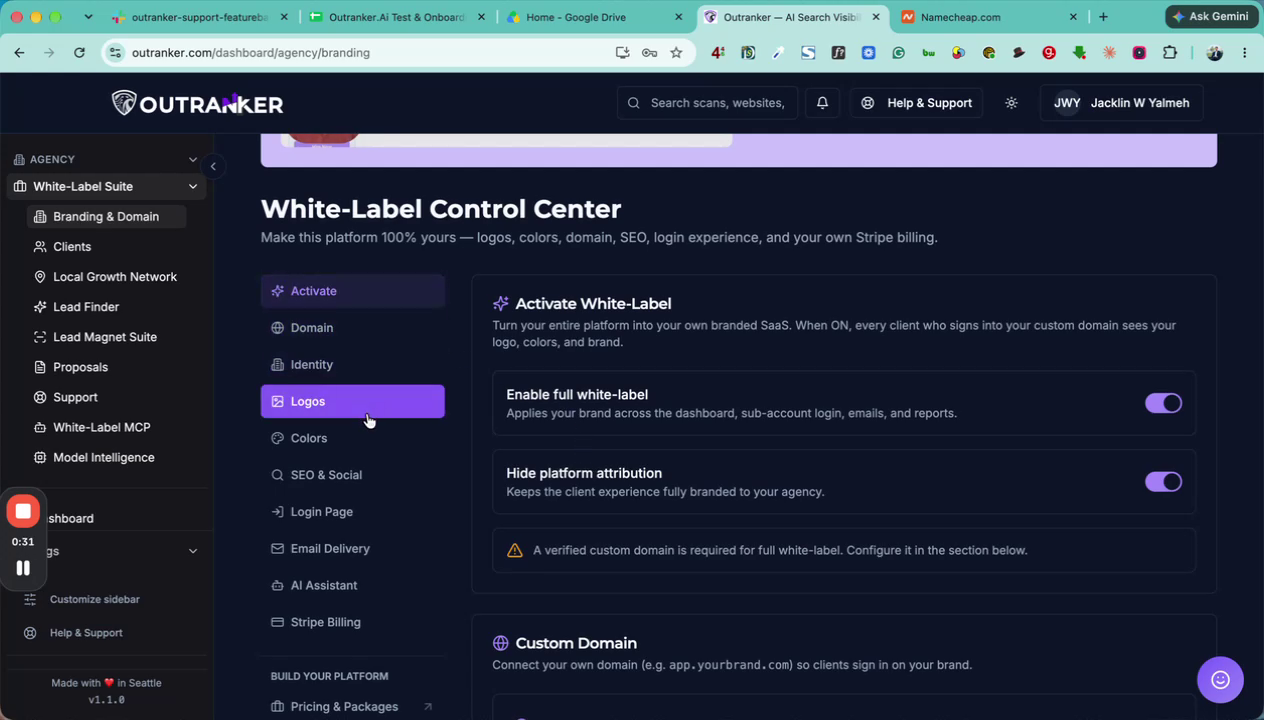
Ensure you are on the Logos tab within the Branding & Domain section, then click it to open the logo configuration page.
5. Upload Light and Dark Mode Logos
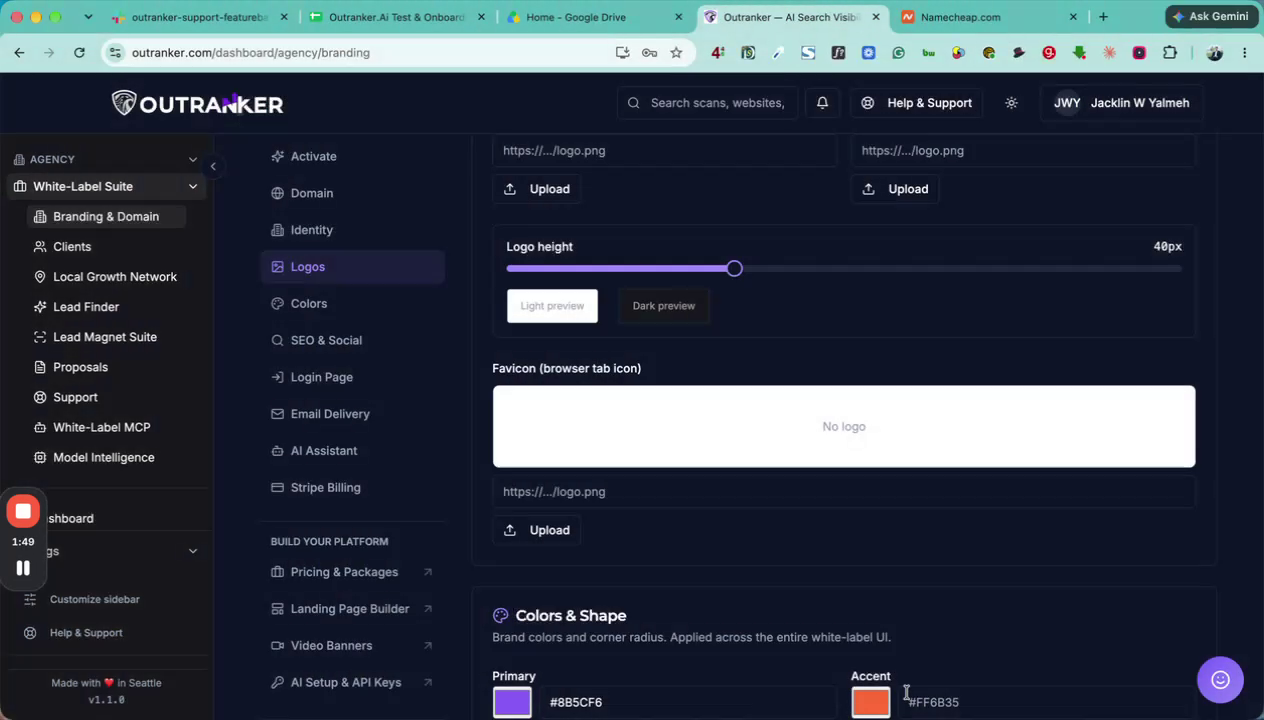
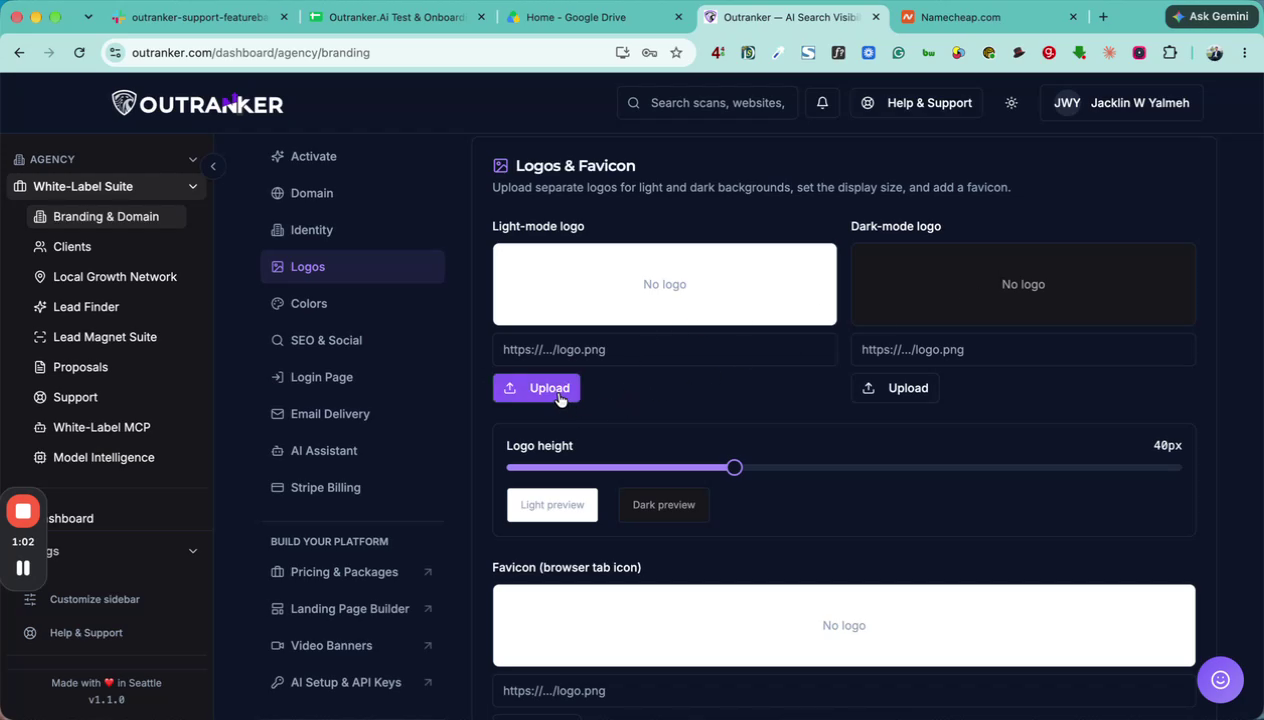
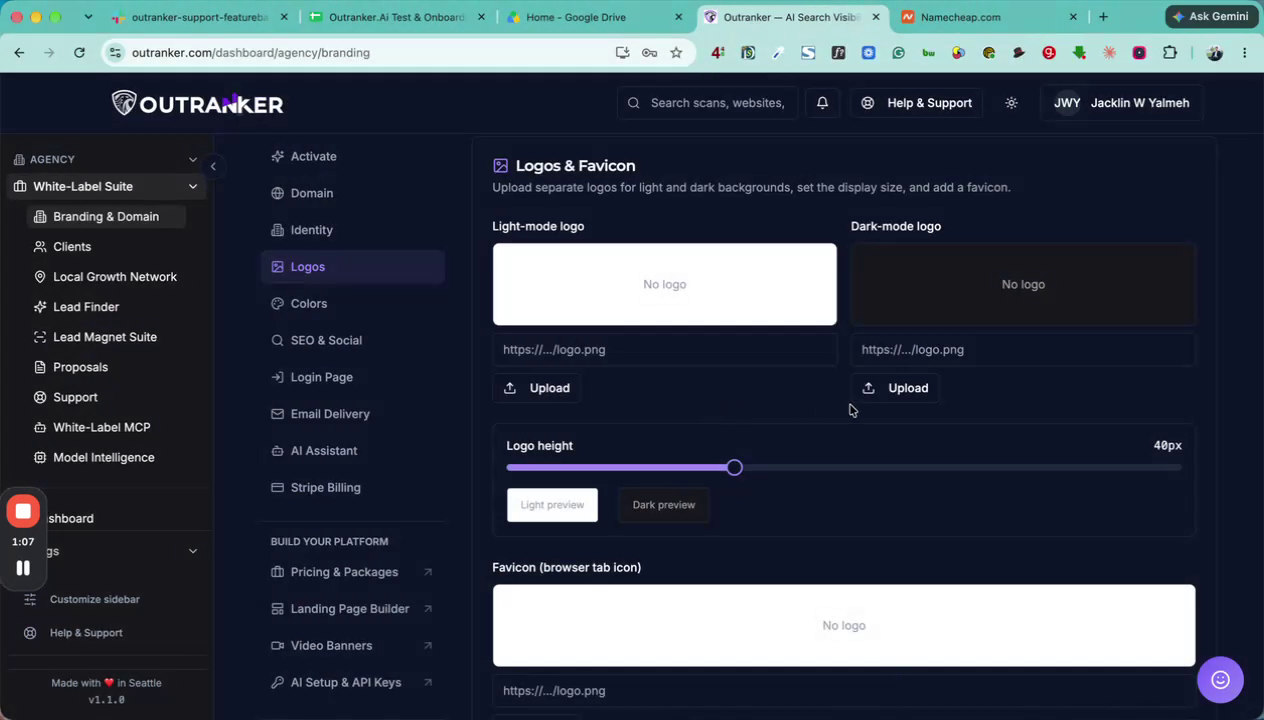
On the logo configuration page, you will see two logo options: Light Mode and Dark Mode. Your branding supports both modes, so you must upload a separate logo for each.
Click Upload under the Light Mode logo section and upload your light mode logo file.
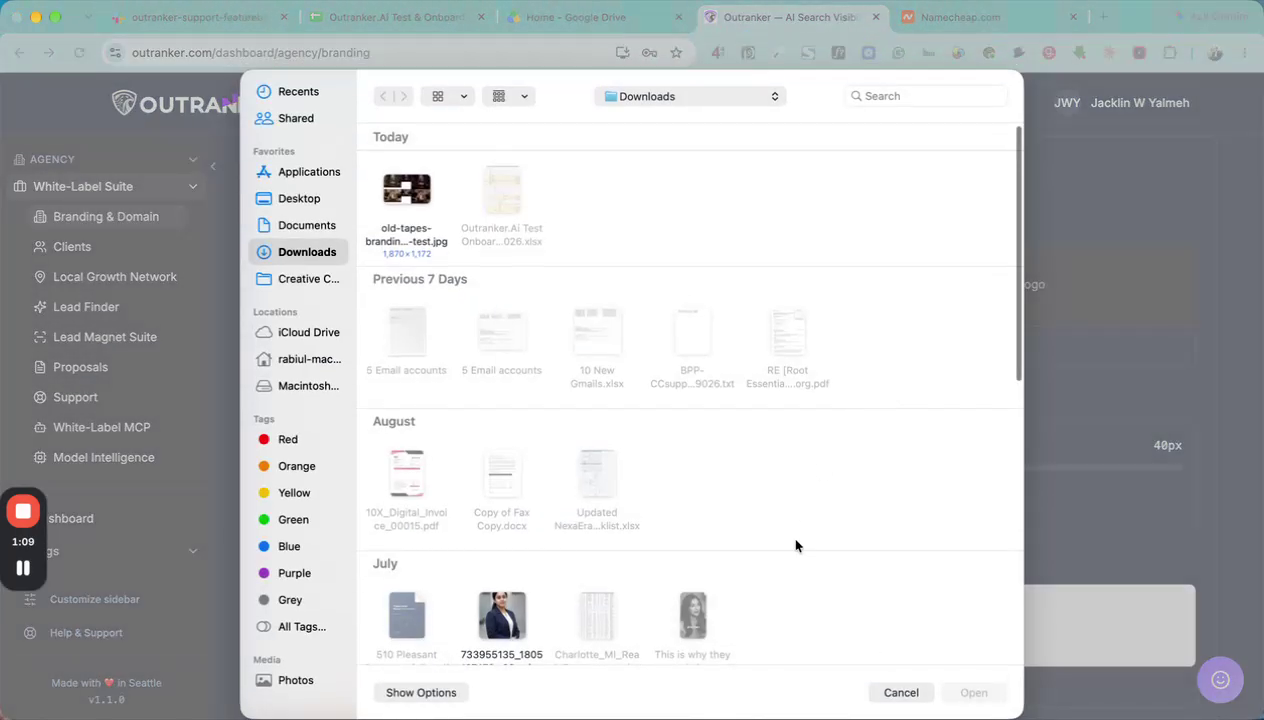
Select and confirm your light mode logo upload.
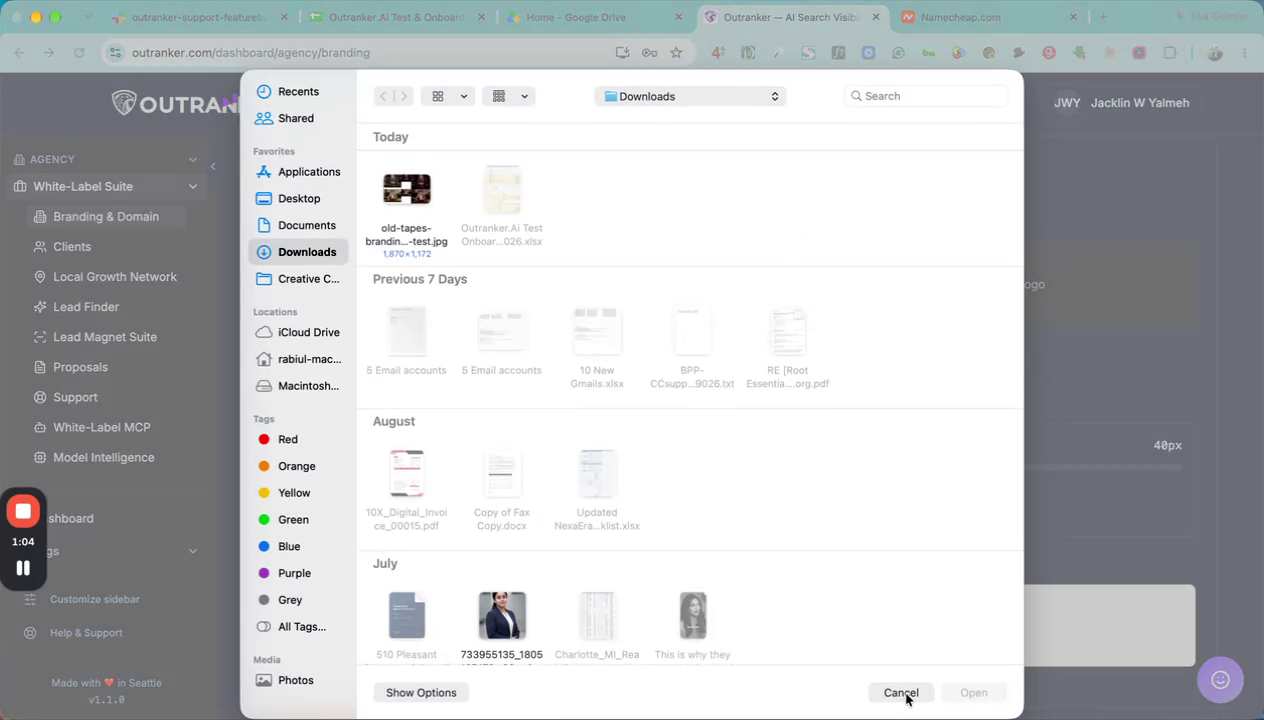
Then repeat the same process for the Dark Mode logo: click Upload and select your dark mode logo file.
6. Adjust Logo Heights
After uploading both logos, configure their display size.
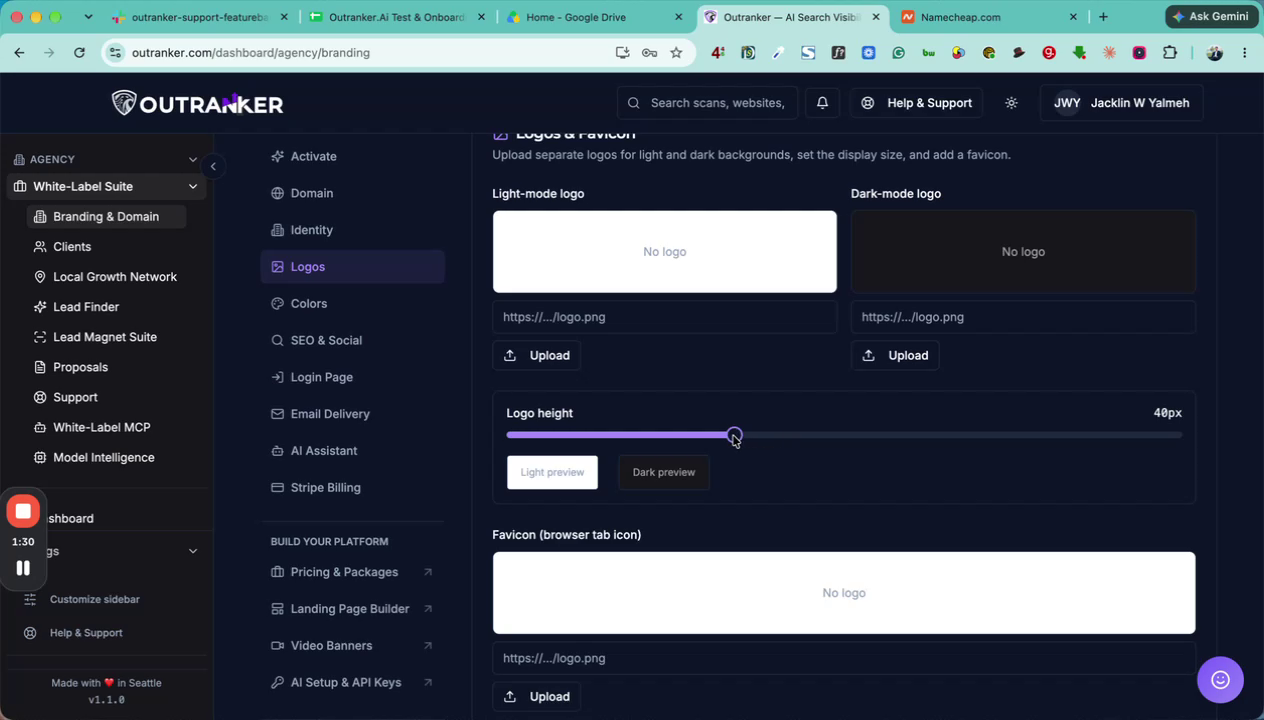
Set the logo height (in pixels) for both the light and dark mode logos using the provided height controls.
Adjust the height as desired from this menu; the default height is 40 pixels.
7. Upload Your Favicon
Scroll down slightly on the same page until you see the Favicon option, which controls the small icon shown in the browser tab next to your site title.
Click Upload in the Favicon section.
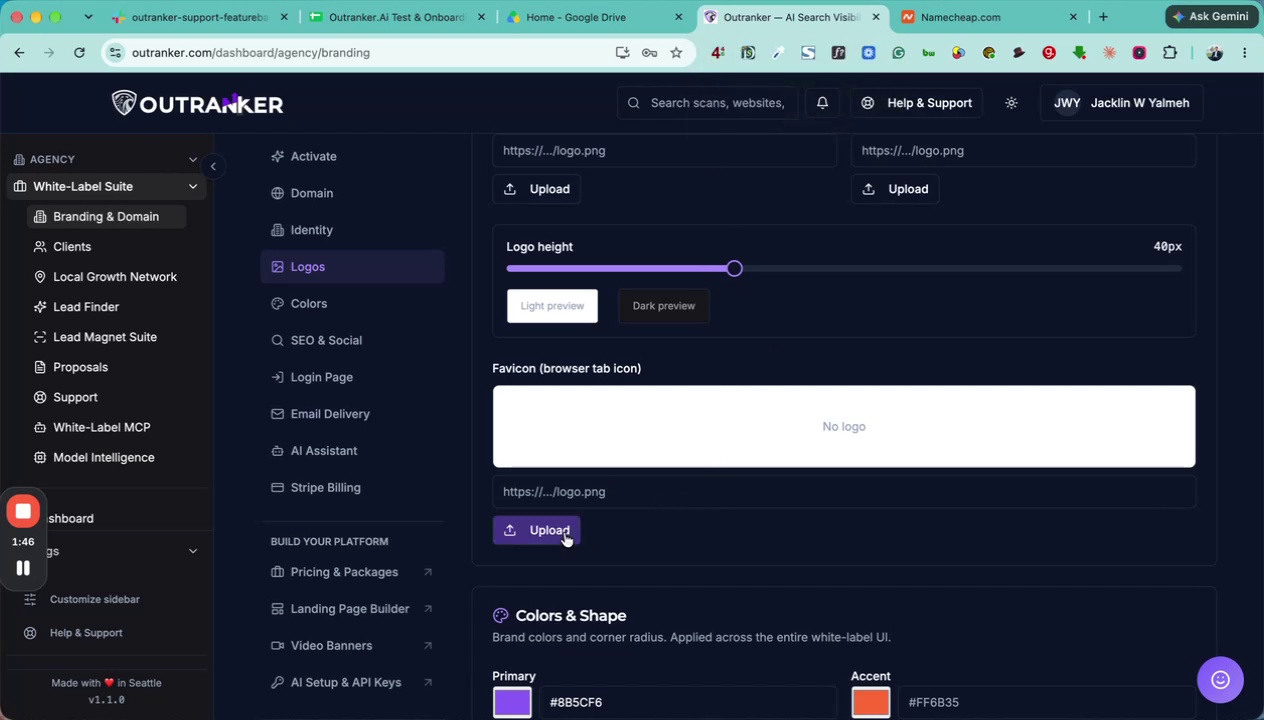
Select and upload your favicon file so the browser tab icon reflects your own brand.