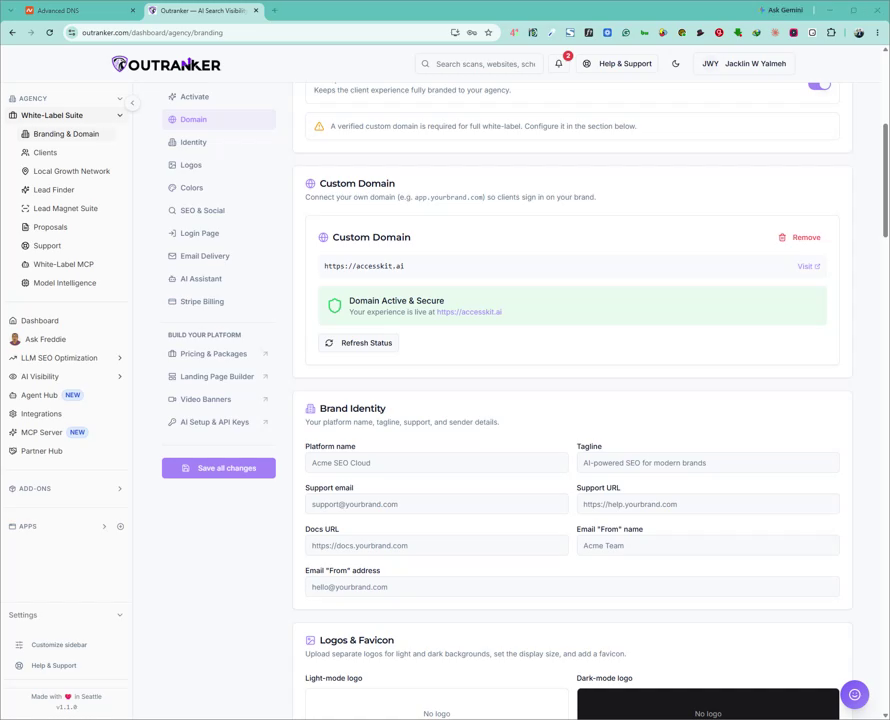
This document explains how to connect a custom domain from your DNS provider (e.g., Namecheap) to your Outranker Agency Suite using CNAME and TXT DNS records. Follow these steps in sequence in Outranker and your domain registrar to activate and secure your custom domain.
Go to www.outranker.ai
1. Access the White Label Suite in Outranker
Log in to your Outranker dashboard. From the main menu, click on Agency, then select White Label Suite.
Next, click on Branding and then Domain to open the domain configuration area.
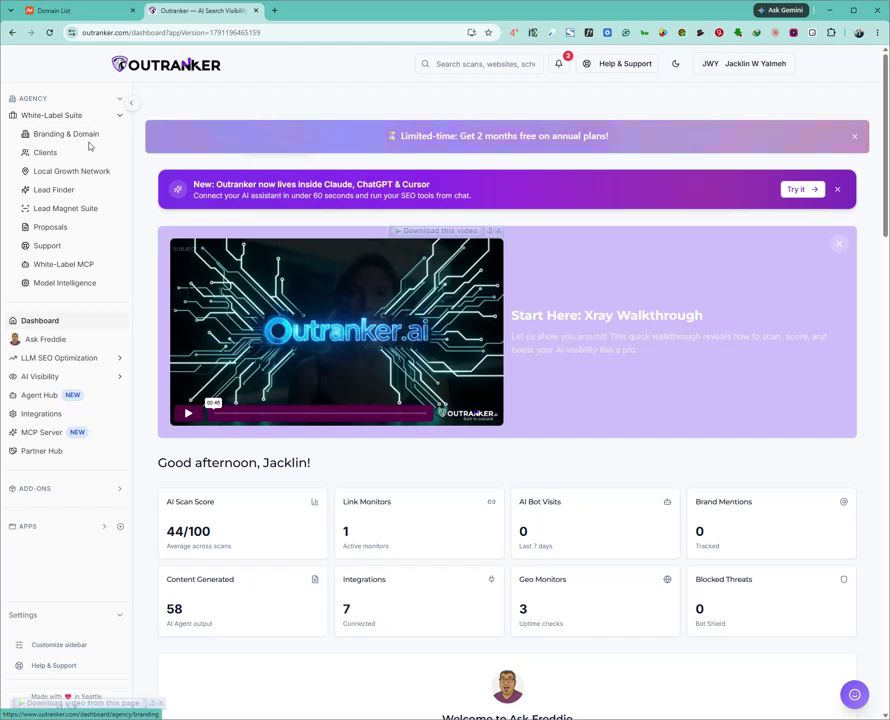
Here you will see the Domain option.
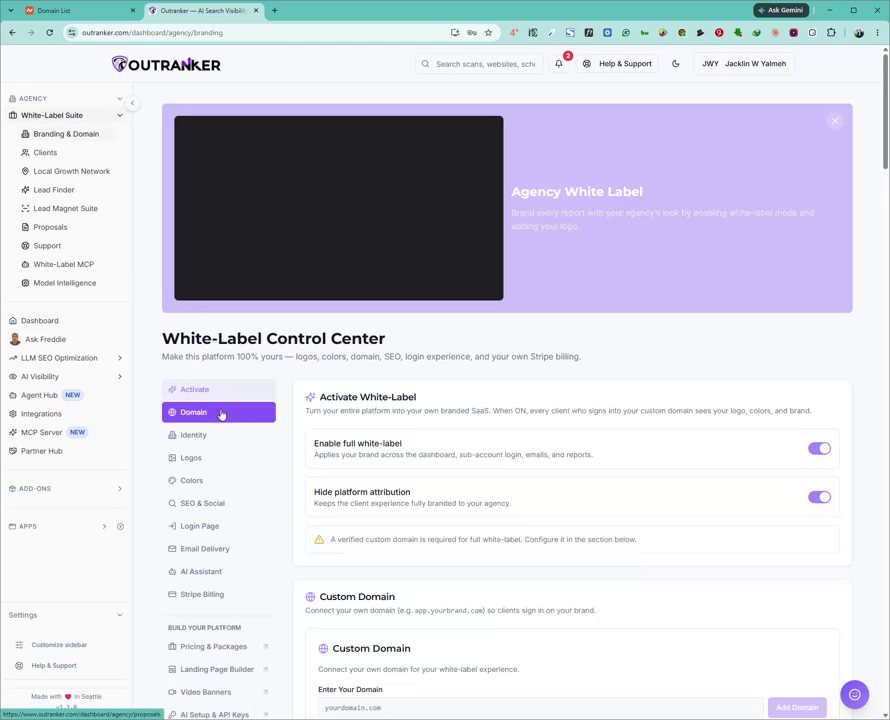
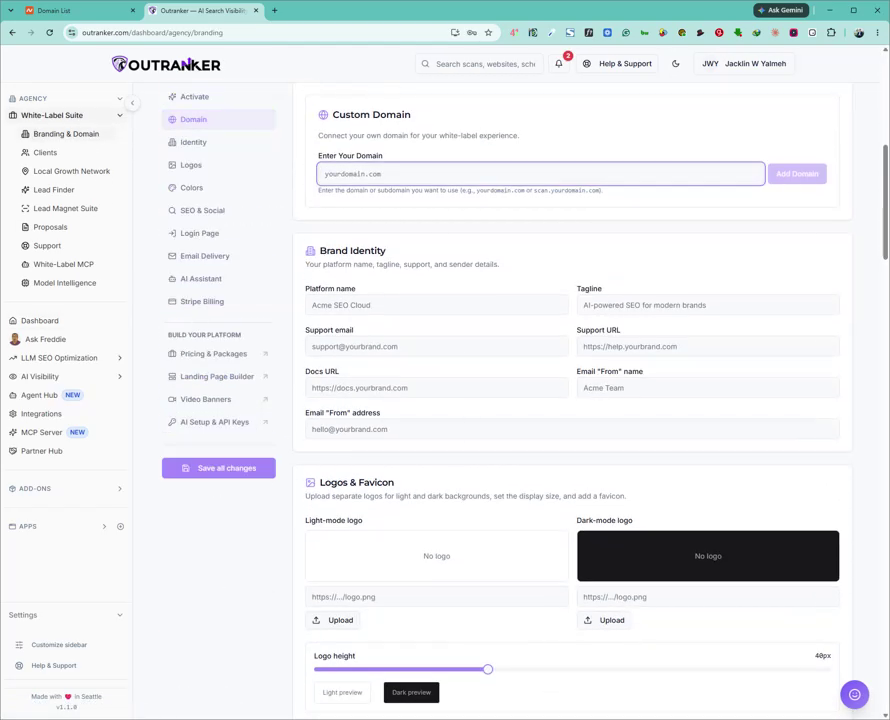
Click on it to go to the domain setup page.
2. Prepare Your Domain in Your DNS Provider
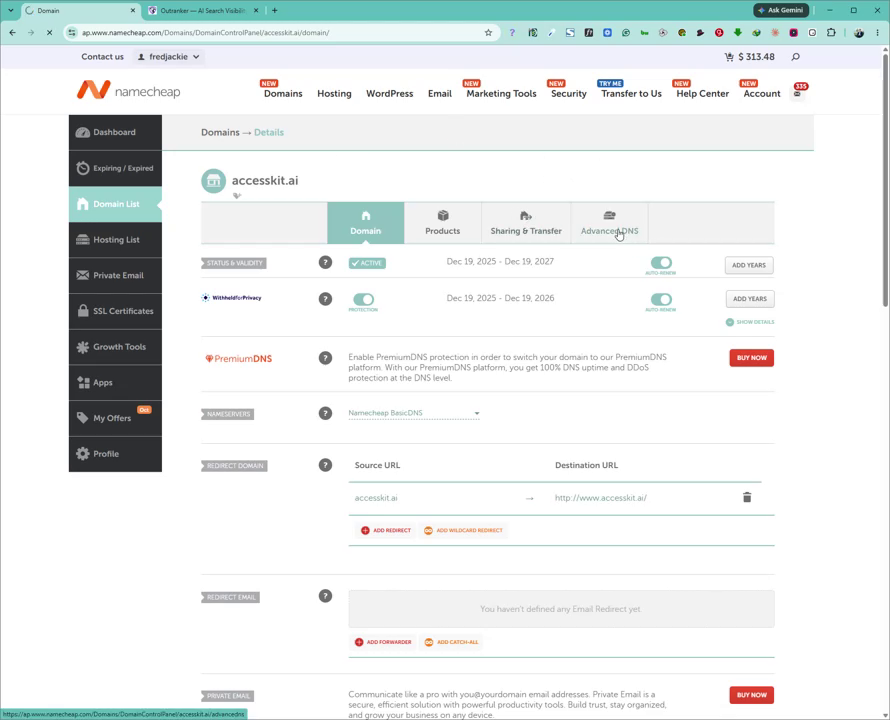
Identify the domain you want to connect to Outranker in your DNS provider account (for example, Namecheap; other providers will have a similar process).
In your DNS provider, open the DNS management for that domain and click on Advanced (or equivalent advanced DNS settings).
3. Add Your Domain in Outranker
Copy your domain name from your DNS provider.
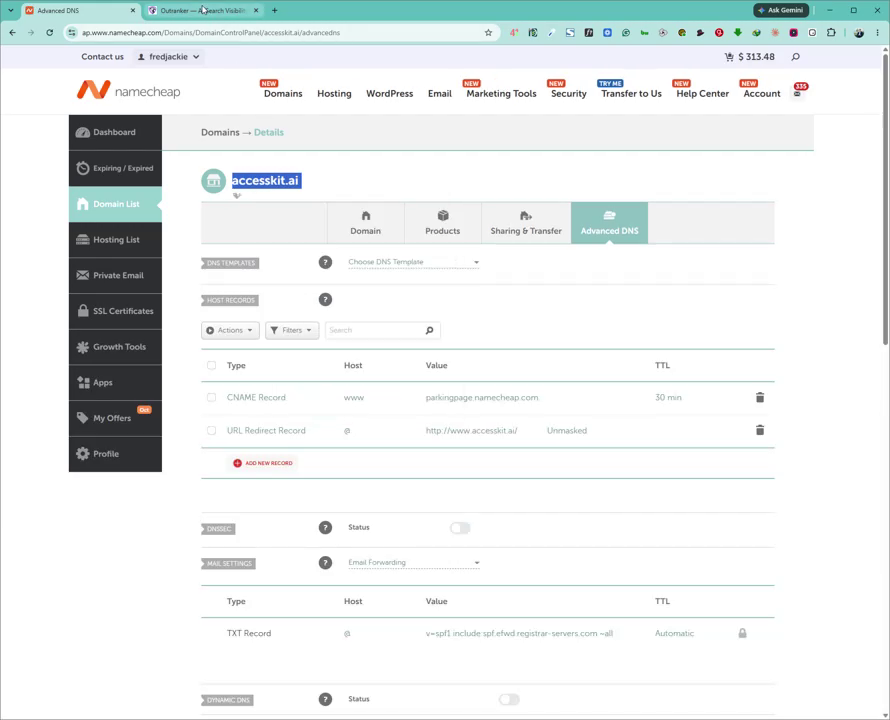
Return to the Outranker domain setup page and paste your domain name into the domain field, ensuring there are no leading or trailing spaces.
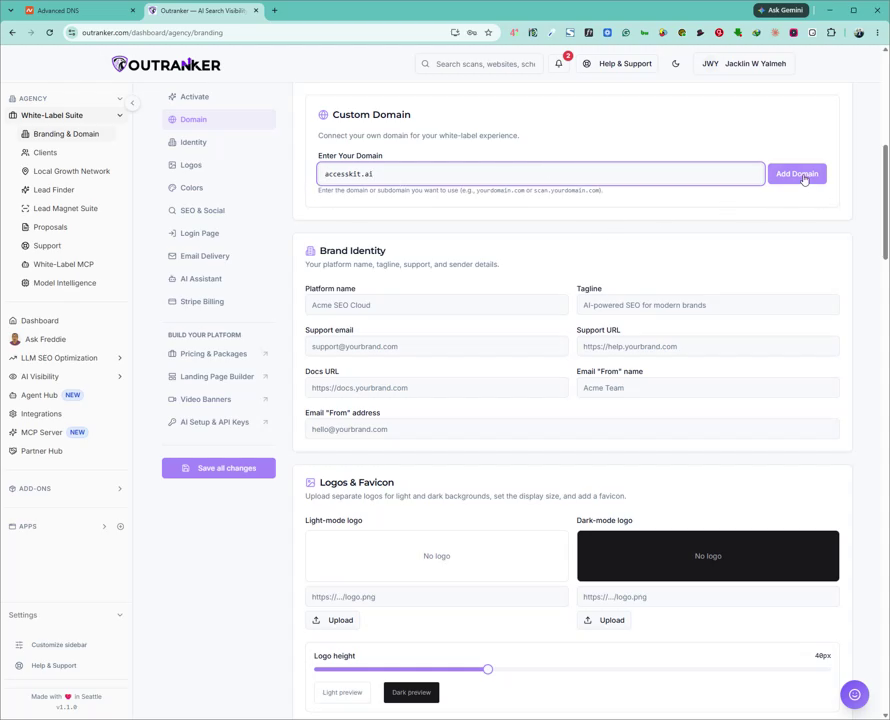
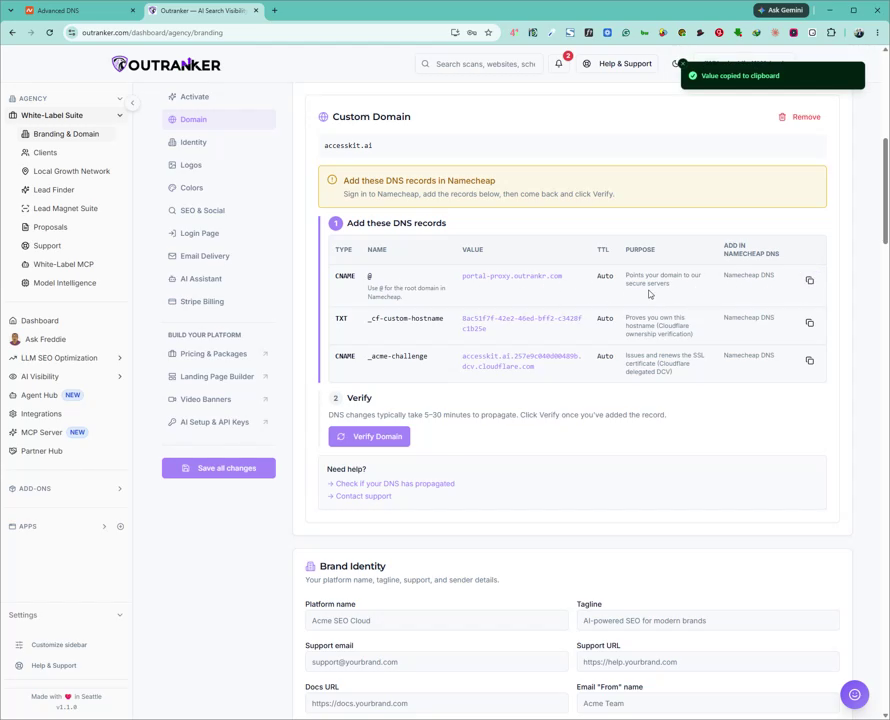
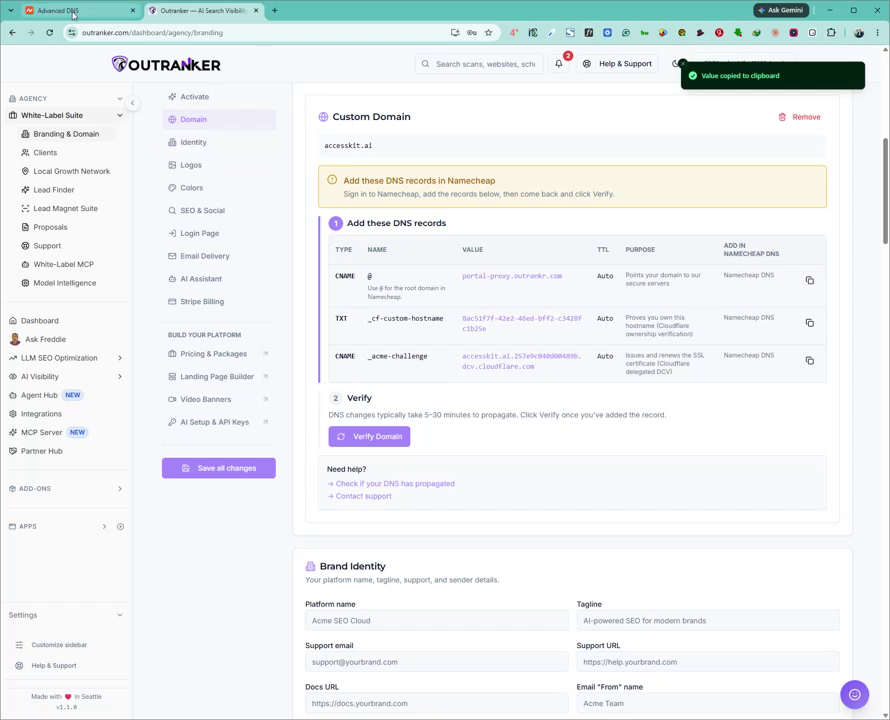
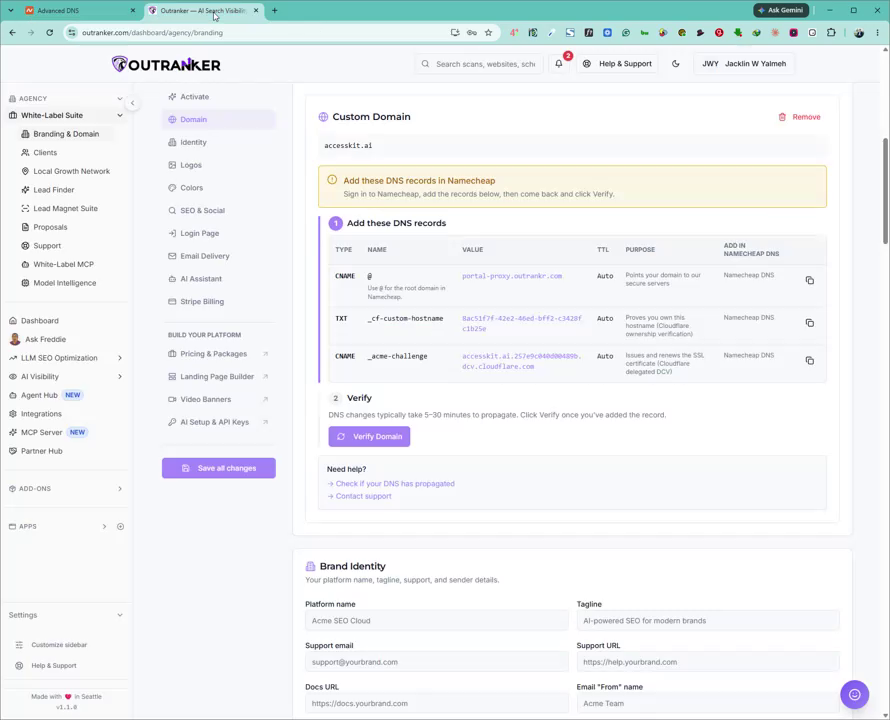
Click Add Domain. Outranker will now generate the DNS records you need to add: typically two CNAME records and one TXT record.
4. Copy the First CNAME Record from Outranker
On the Outranker domain page, locate the first CNAME record shown.
Click the Copy button next to the CNAME value to copy it.
5. Clean Up Existing DNS Records (If Needed)
Go back to your DNS provider (e.g., Namecheap).
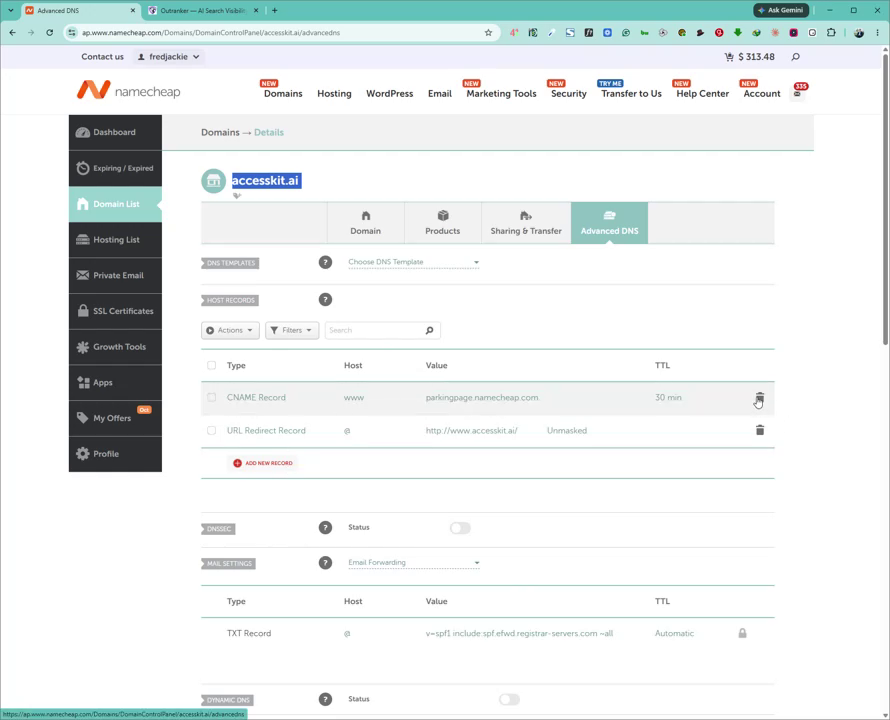
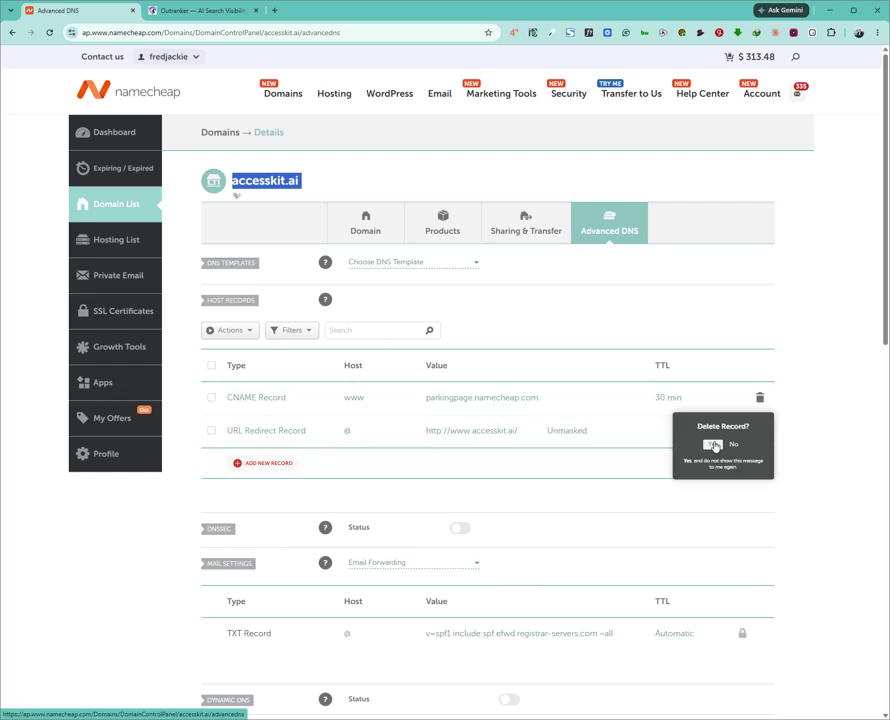
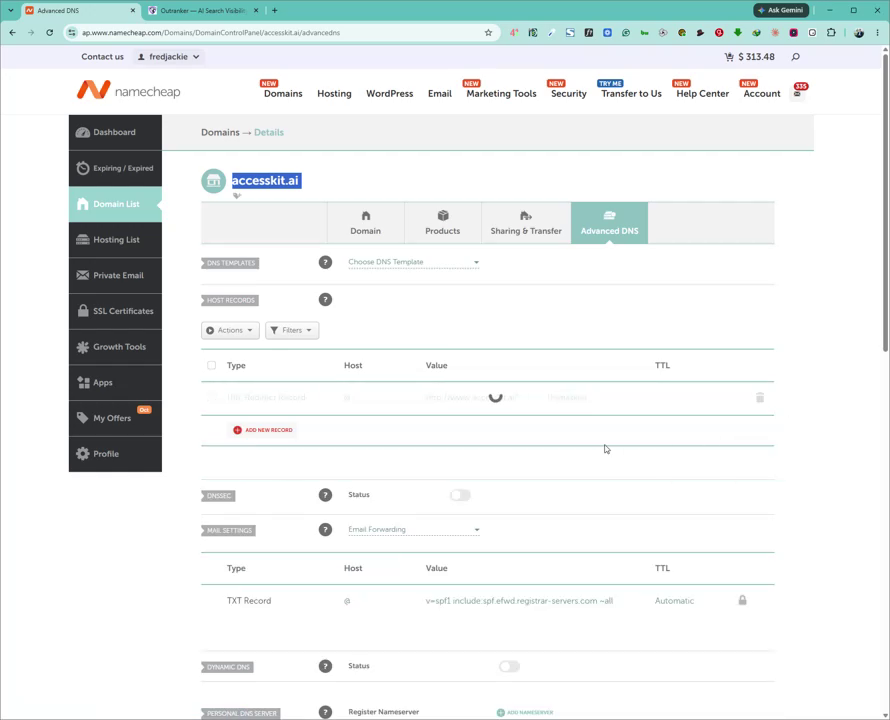
Delete any existing DNS records that conflict with the new setup (for example, older CNAME or A records for the same host).
6. Add the First CNAME Record in Your DNS
Start fresh by adding a new DNS record. Choose CNAME Record as the type.
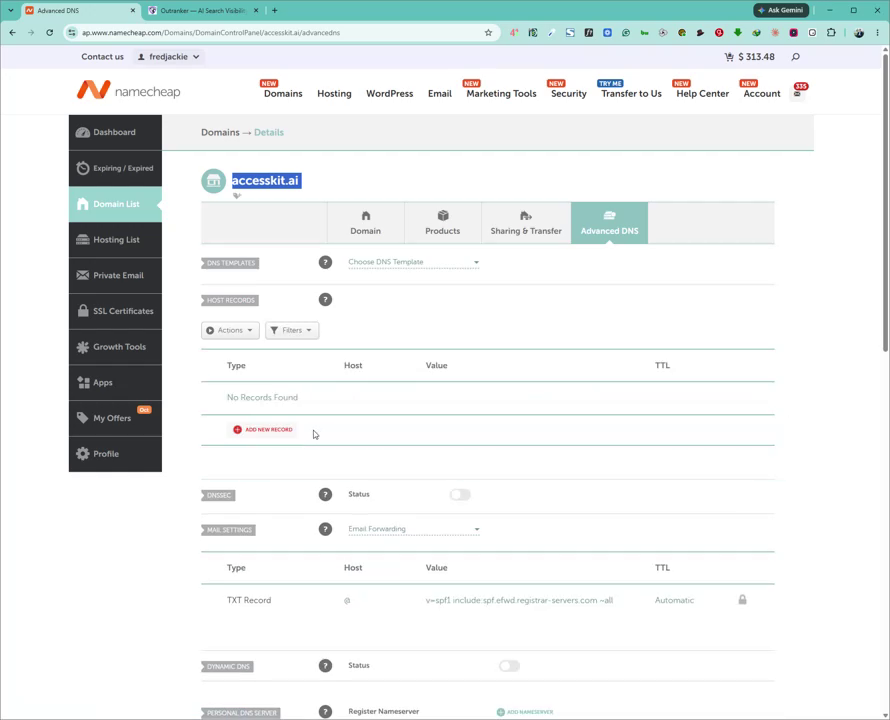
Click Add CNAME Record (or equivalent).
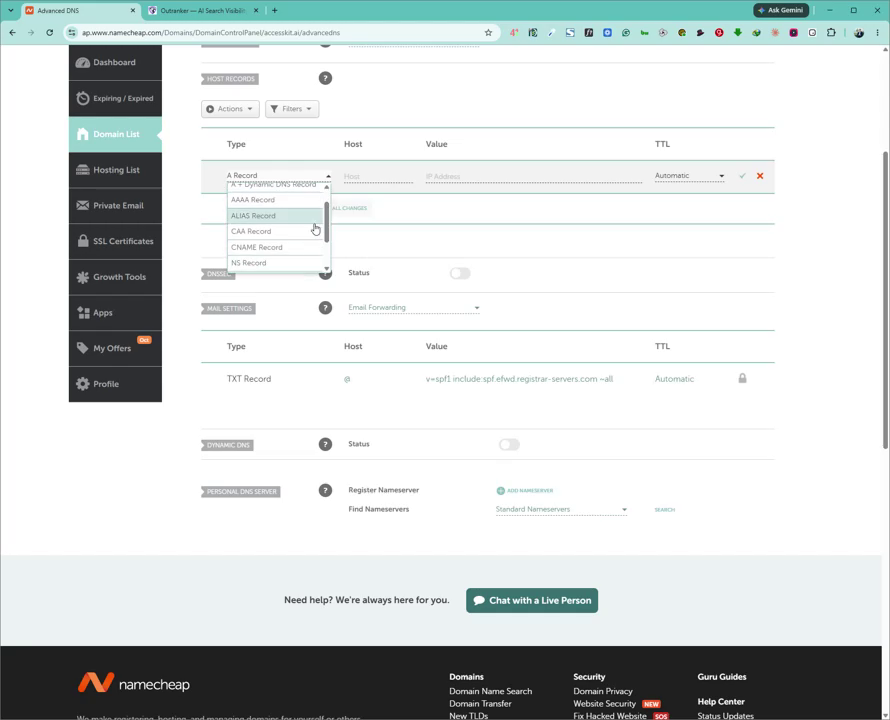
In the new CNAME record:
Set the Host/Name to
@(or as instructed by Outranker;@typically represents the root domain).Paste the copied CNAME Target/Value into the value field.
Set TTL to Auto (or the default automatic option).
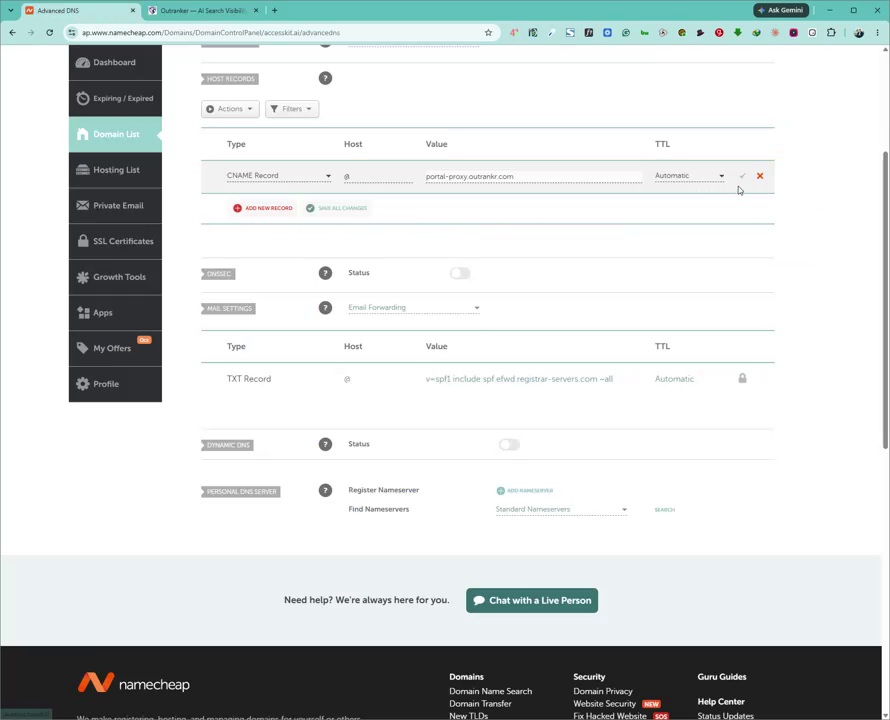
Save the CNAME record.
7. Add the TXT Verification Record
Back in Outranker, locate the TXT record details. Copy the Name/Host for the TXT record.
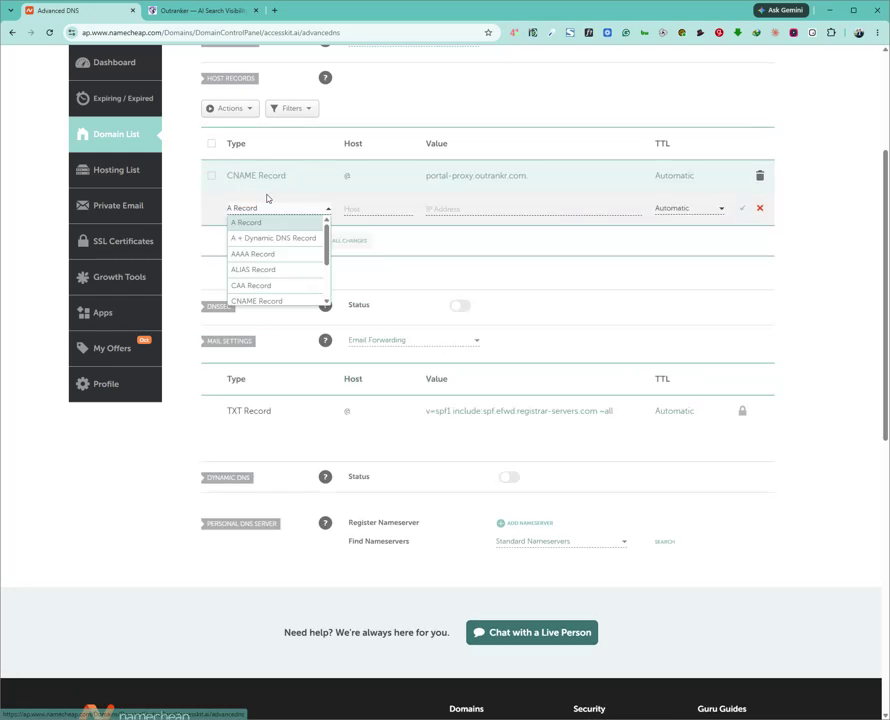
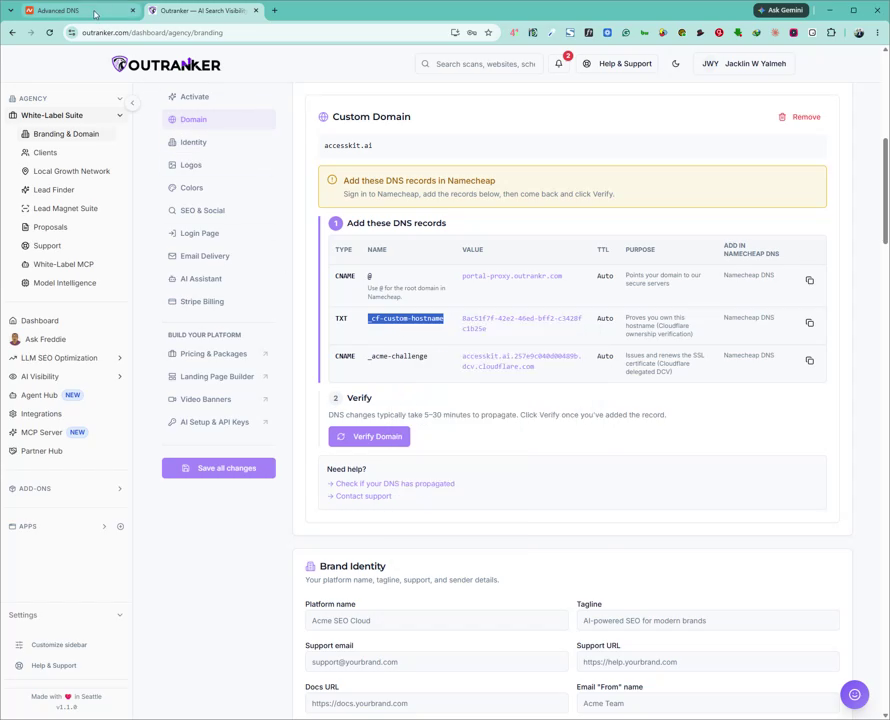
Return to your DNS provider and add a new record of type TXT Record.
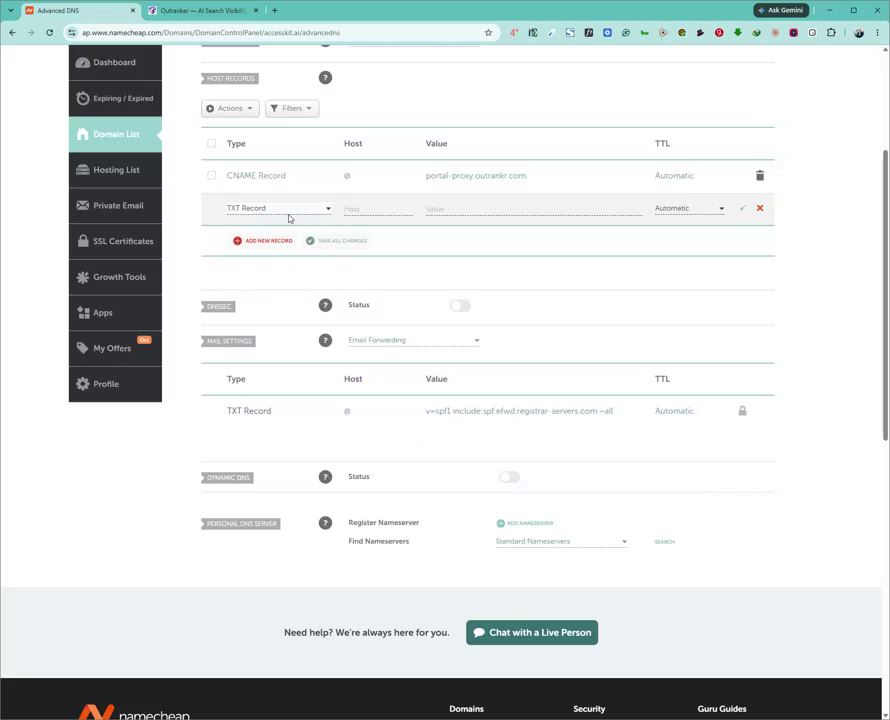
Paste the copied TXT Name/Host into the host field.
Then, in Outranker, click the copy button next to the TXT Value.
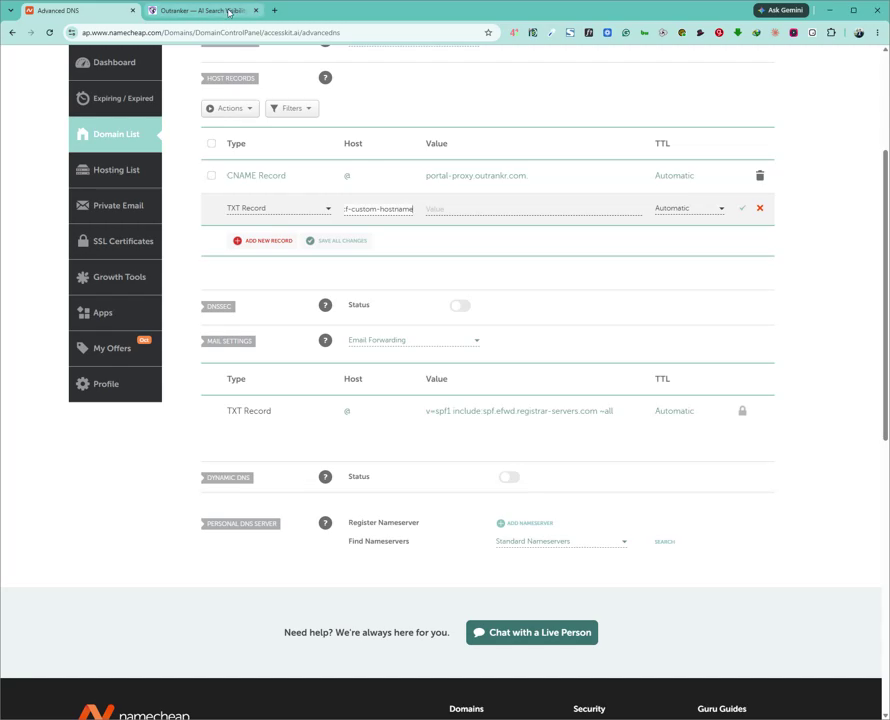
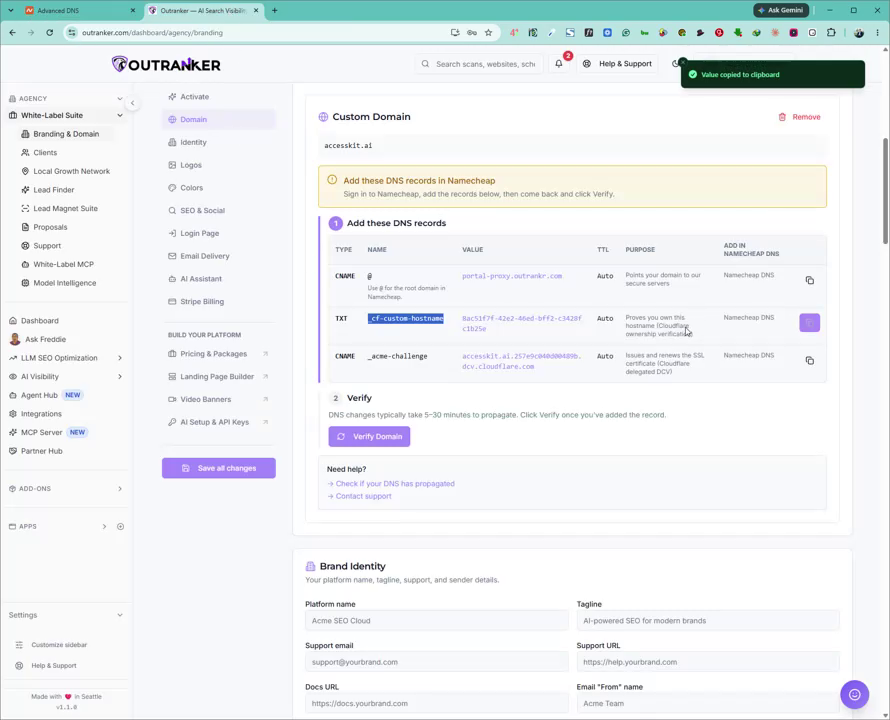
Go back to your DNS provider, paste this value into the TXT value/content field, and save the record.
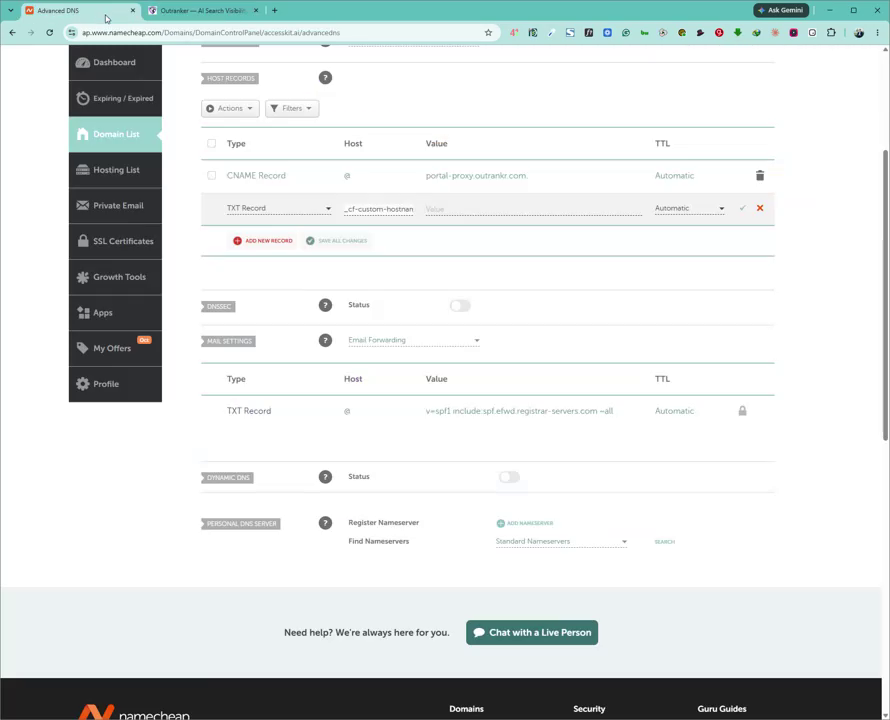
Click Save Changes for the TXT record.
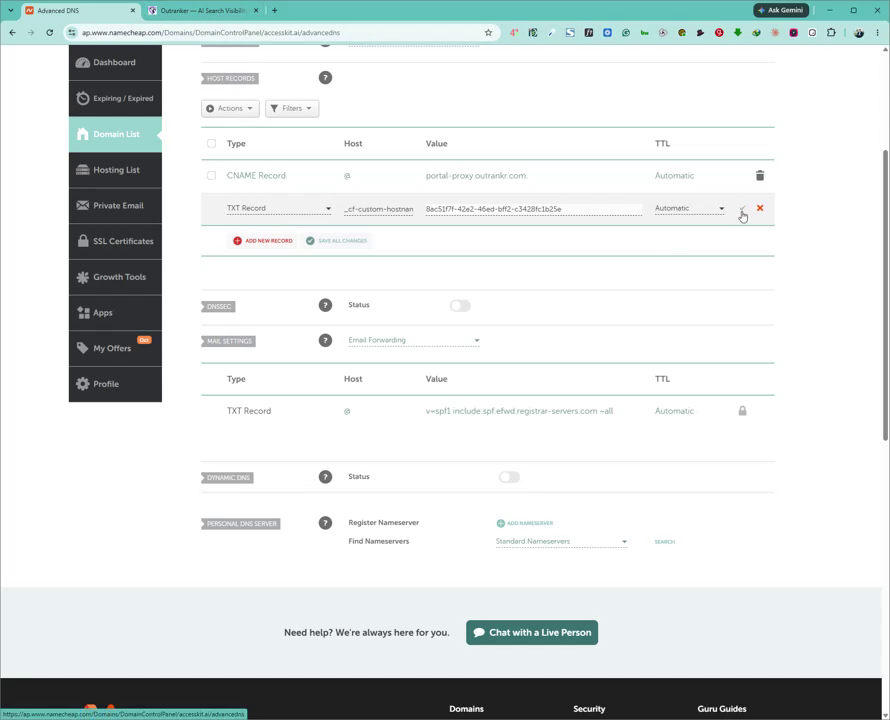
8. Add the Second CNAME Record
In Outranker, locate the second CNAME record and copy its Name/Host.
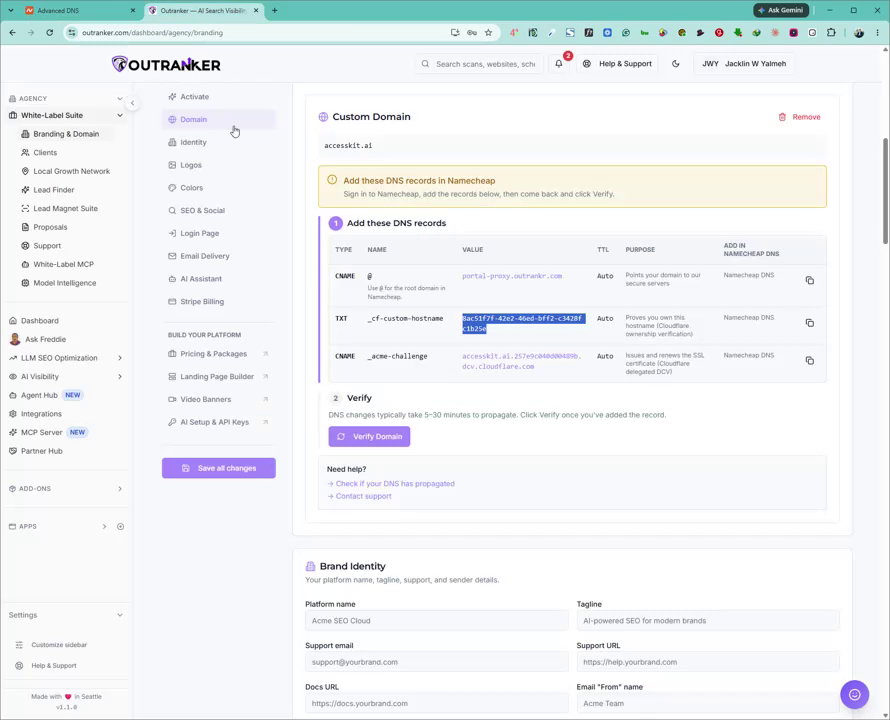
Copy the name.
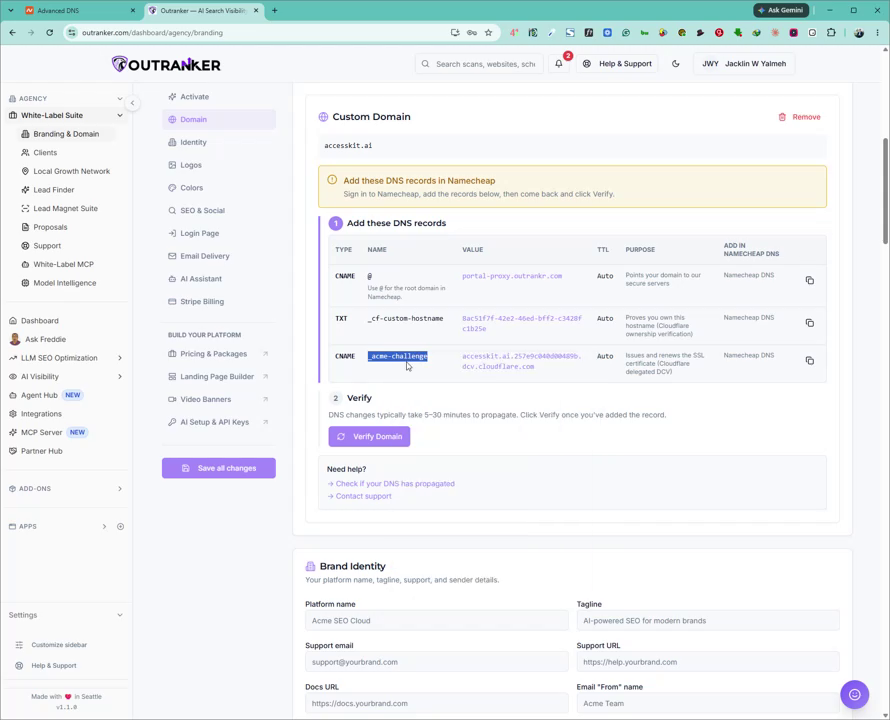
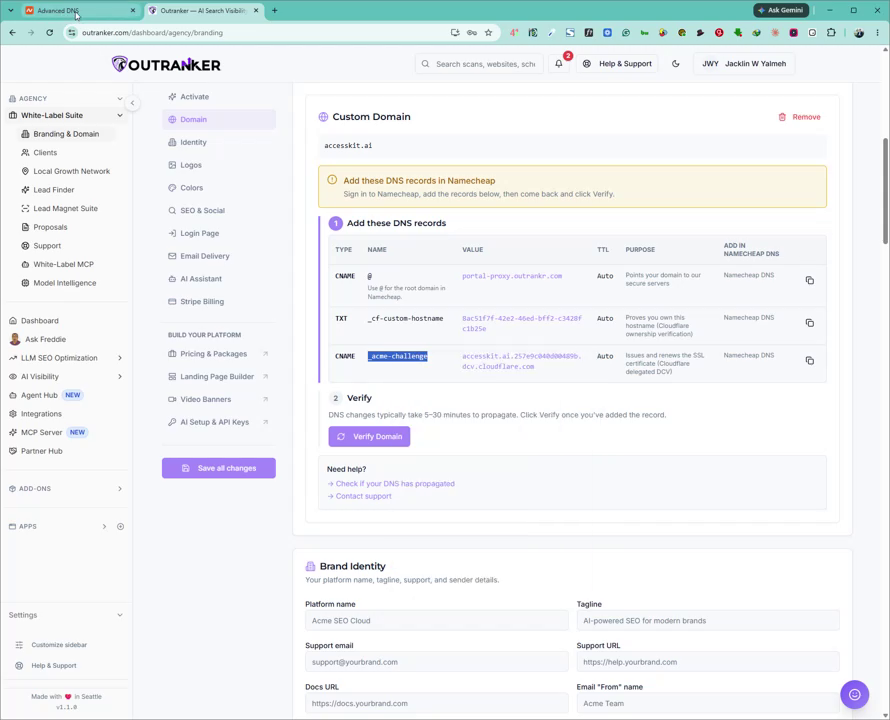
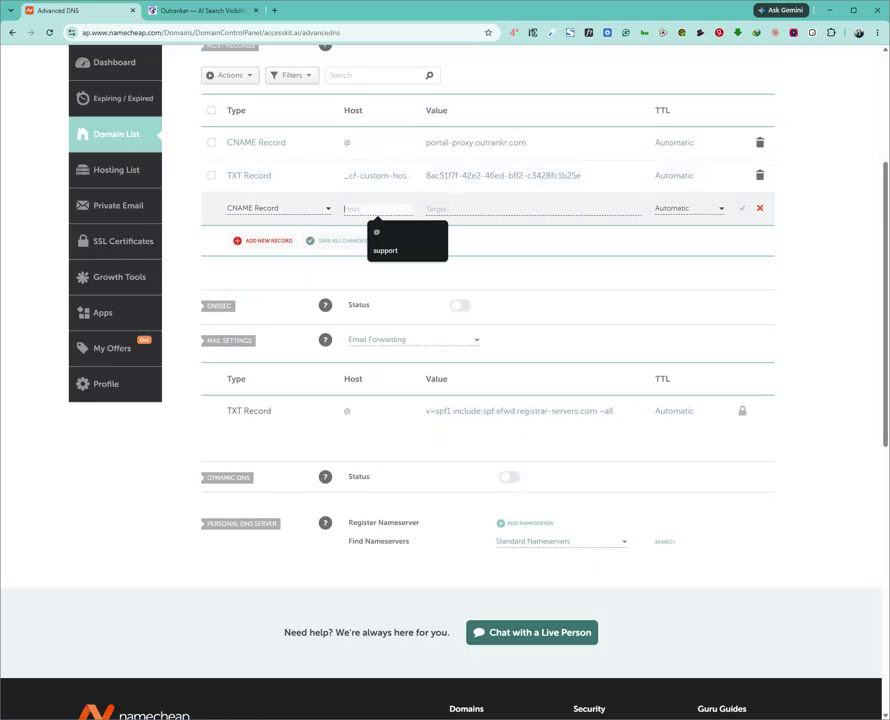
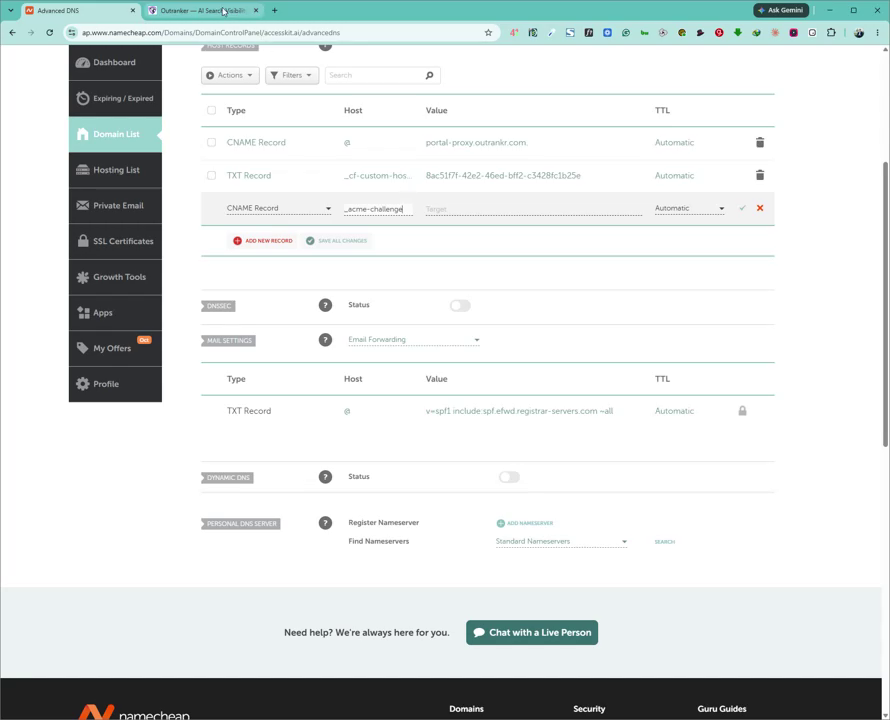
In your DNS provider, click to Add New Record.
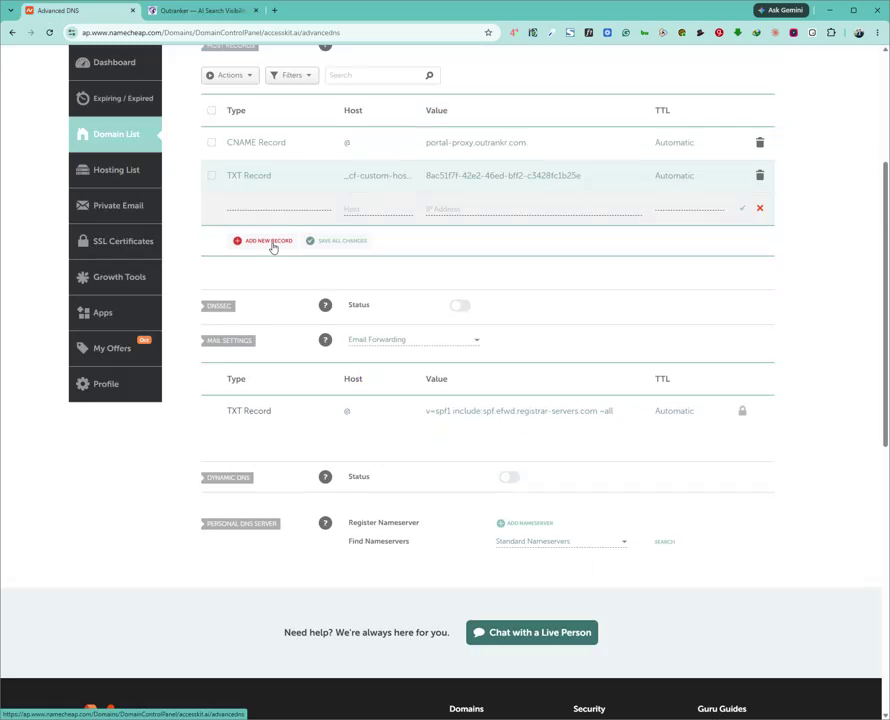
Select CNAME as the record type.
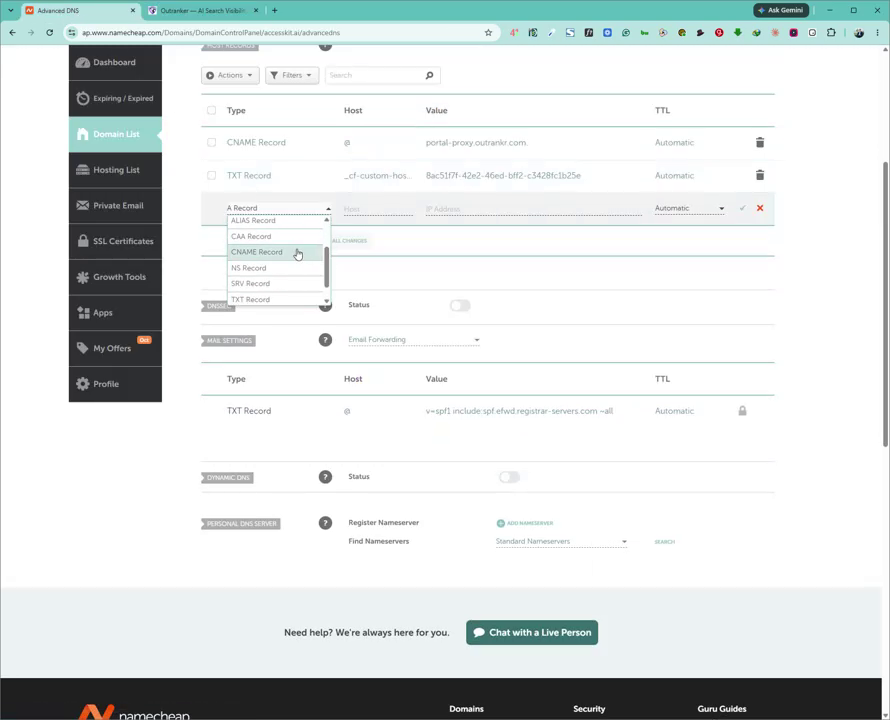
Paste the copied CNAME Name/Host into the host field.
In Outranker, click the copy button next to the CNAME Value/Target.
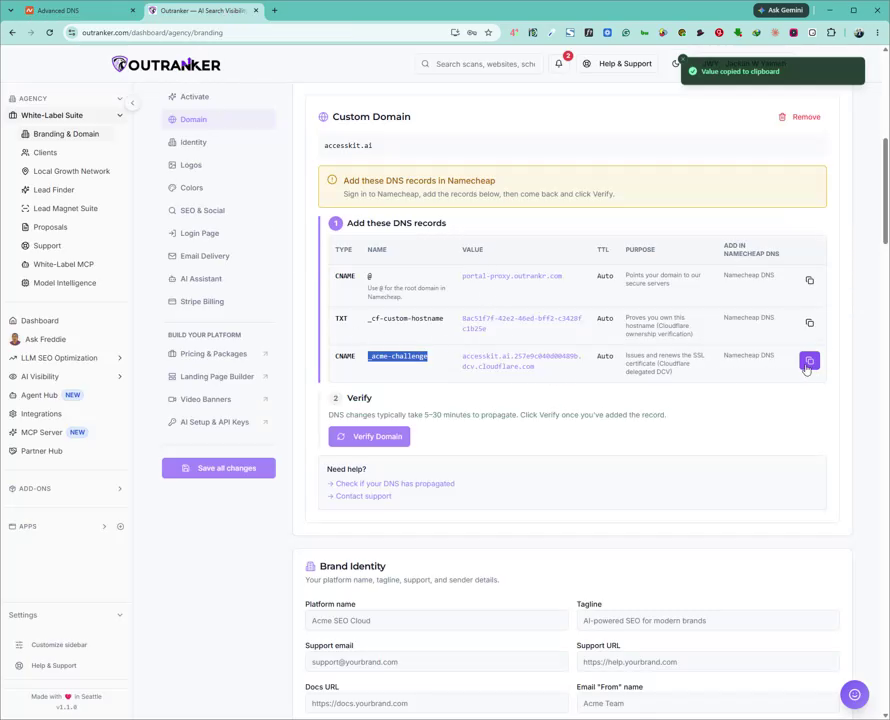
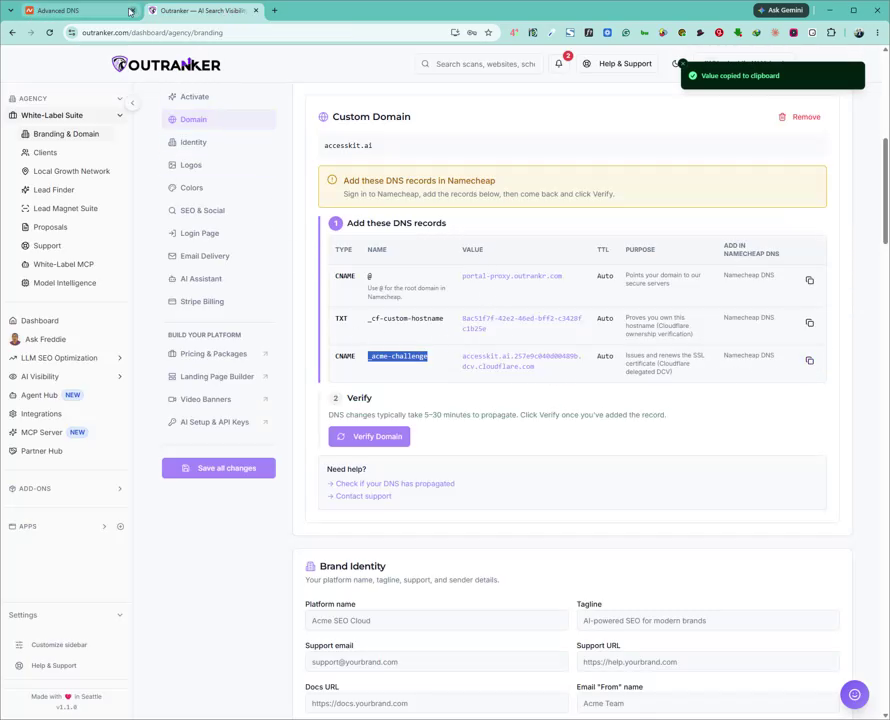
Paste this value into the value field in your DNS provider, then save the record.
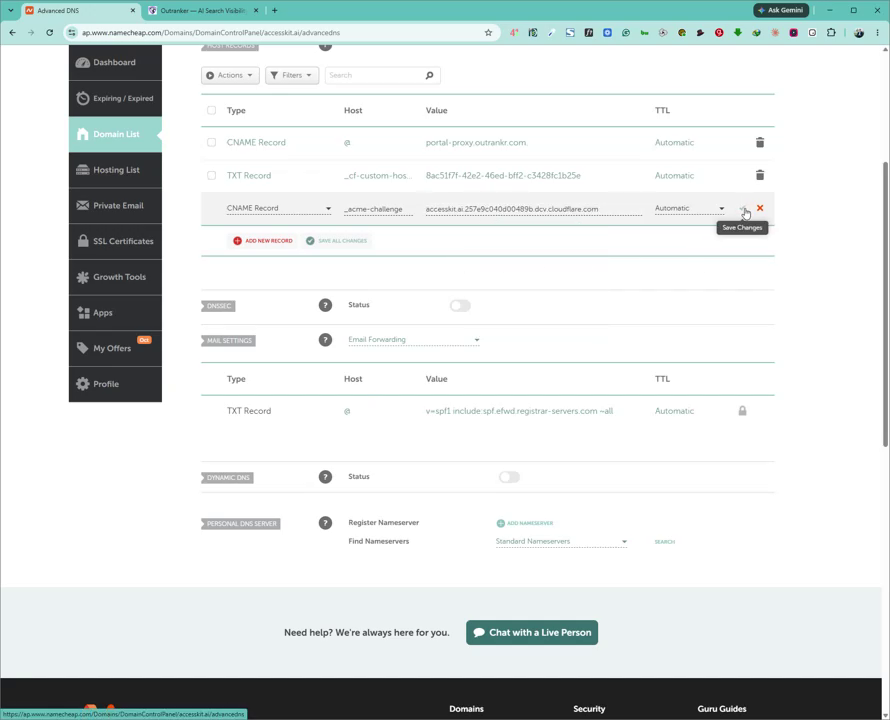
Click Save Changes.
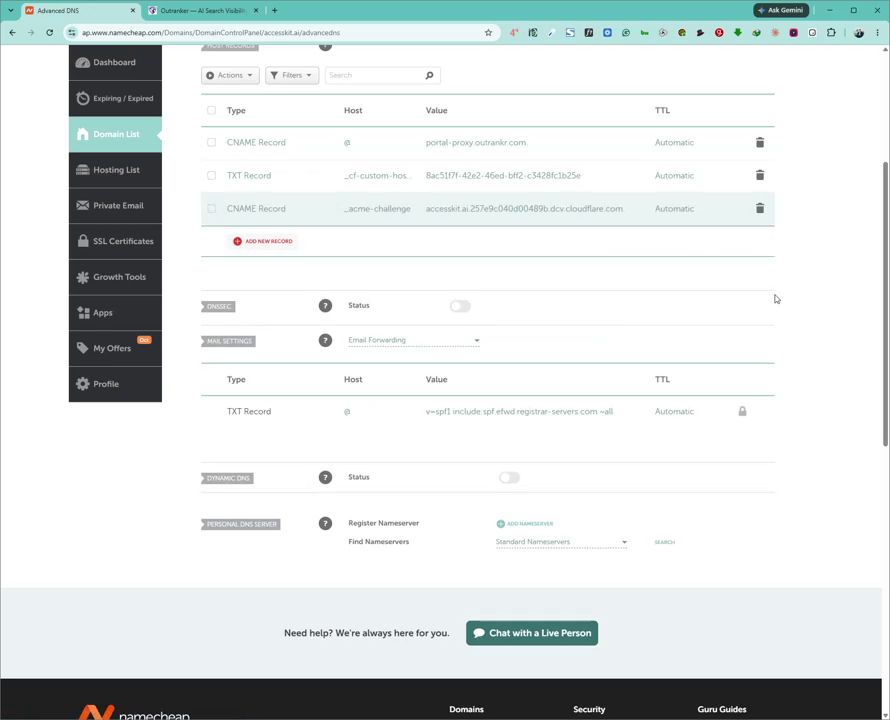
9. Allow DNS Propagation
Wait for DNS changes to propagate. This can take from 5 to 30 minutes, depending on your domain provider.
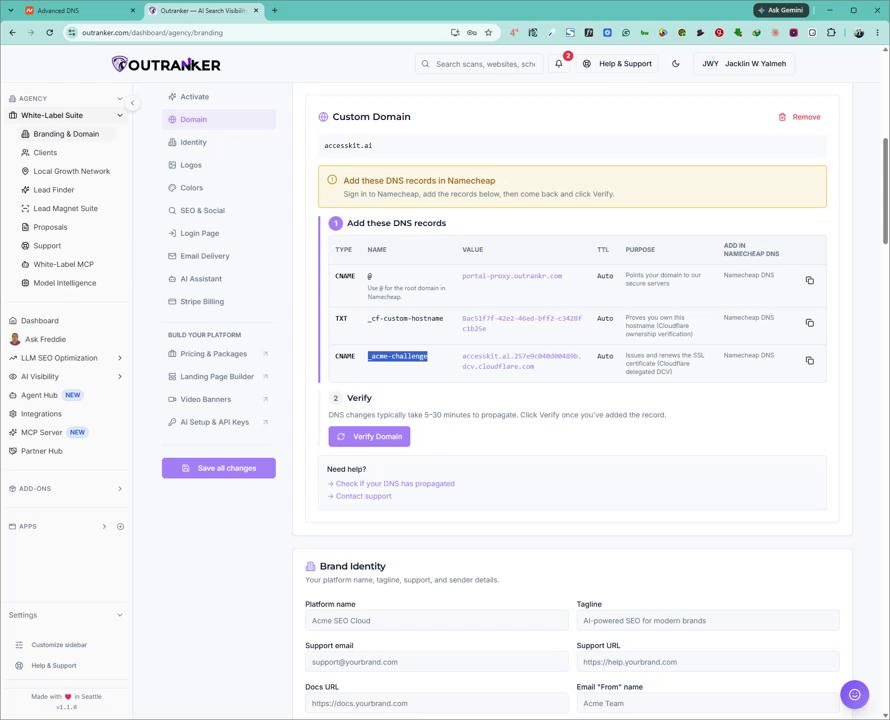
10. Verify and Activate the Domain in Outranker
After waiting a few minutes, return to the Outranker domain page and click Verify Domain.
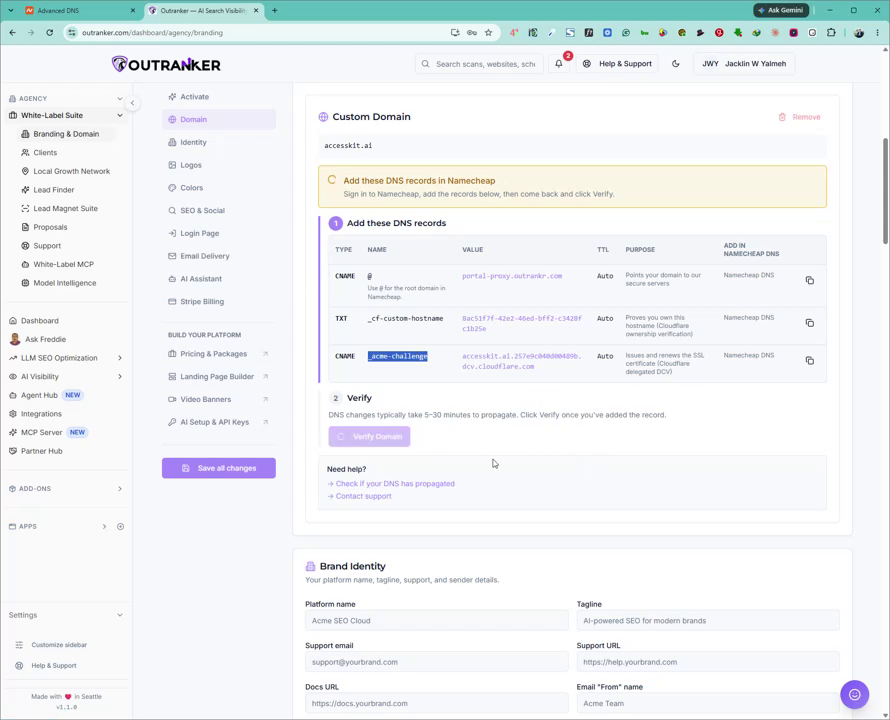
Outranker will check the DNS records you added. Once verification is complete, you should see that the domain is activated and secured, indicating everything is correctly connected.