This process walks you through enabling the full white-label experience in Outranker so you can present the platform to your clients under your own brand, including hiding Outranker attribution and preparing for custom domain and branding configuration.
Go to www.outranker.ai
1. Log In and Open the Agency Section
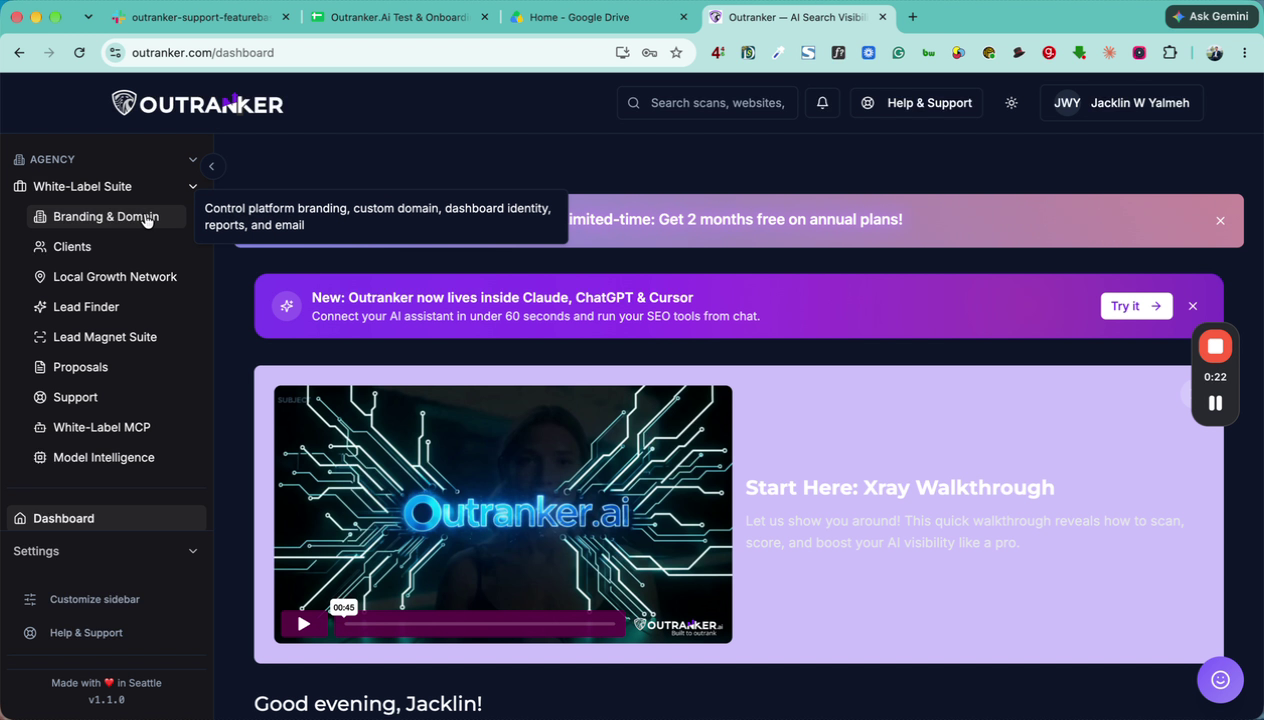
Log in to your Outranker portal using your account credentials. Once logged in, click on Agency from the left-hand menu.
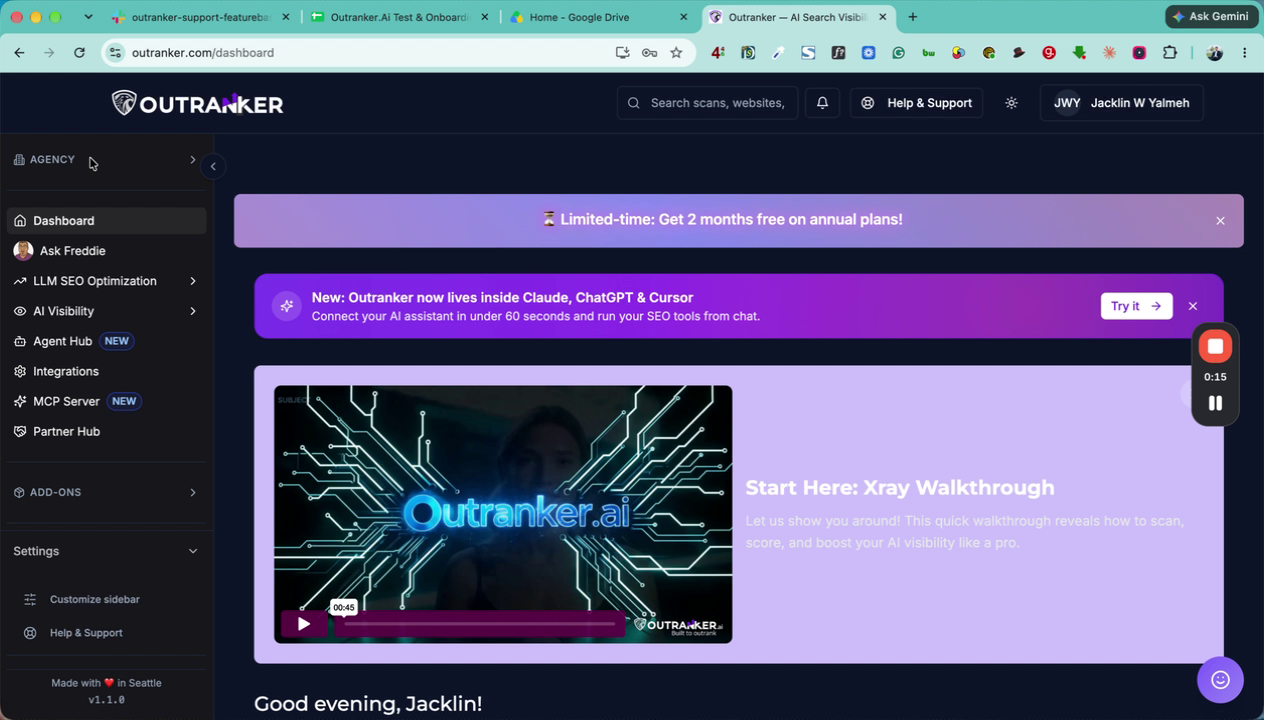
In the Agency section, locate and open the White Label Suite.
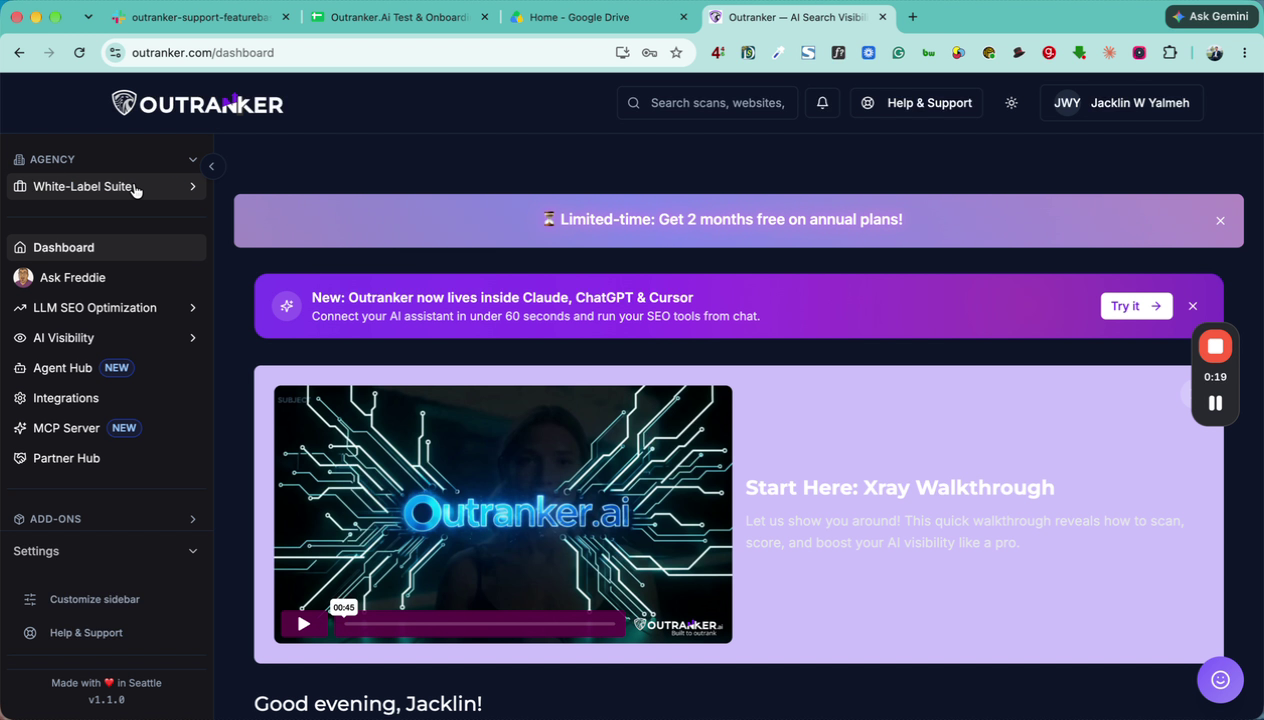
2. Access Branding and Domain Settings
Inside the White Label Suite, click on Branding & Domain to open the white-label configuration options.
3. Enable the Active White Label Option
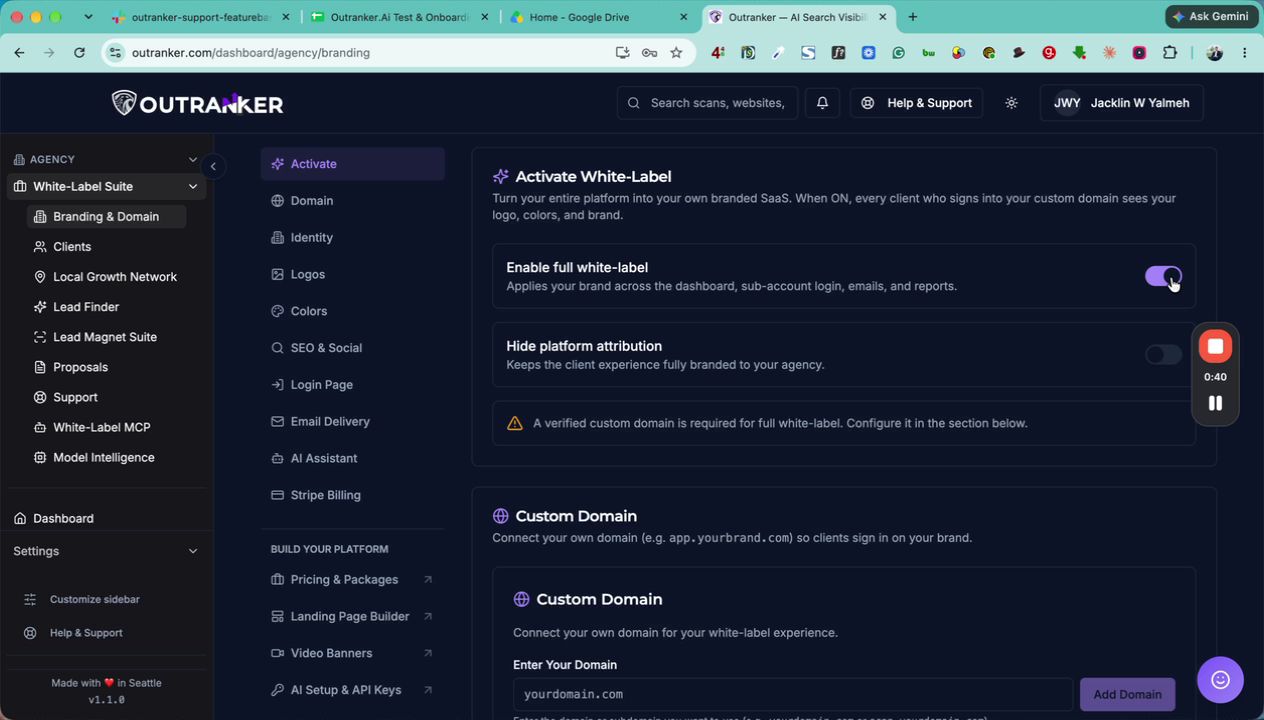
Scroll down the page and ensure the appropriate white-label configuration is selected as Active. On the right side, locate the Active White Label option and click Turn Full White Label to enable it.
4. Hide Platform Attribution
After enabling full white label, turn on the Hide Platform Attribution option to remove Outranker branding from the client-facing interface.
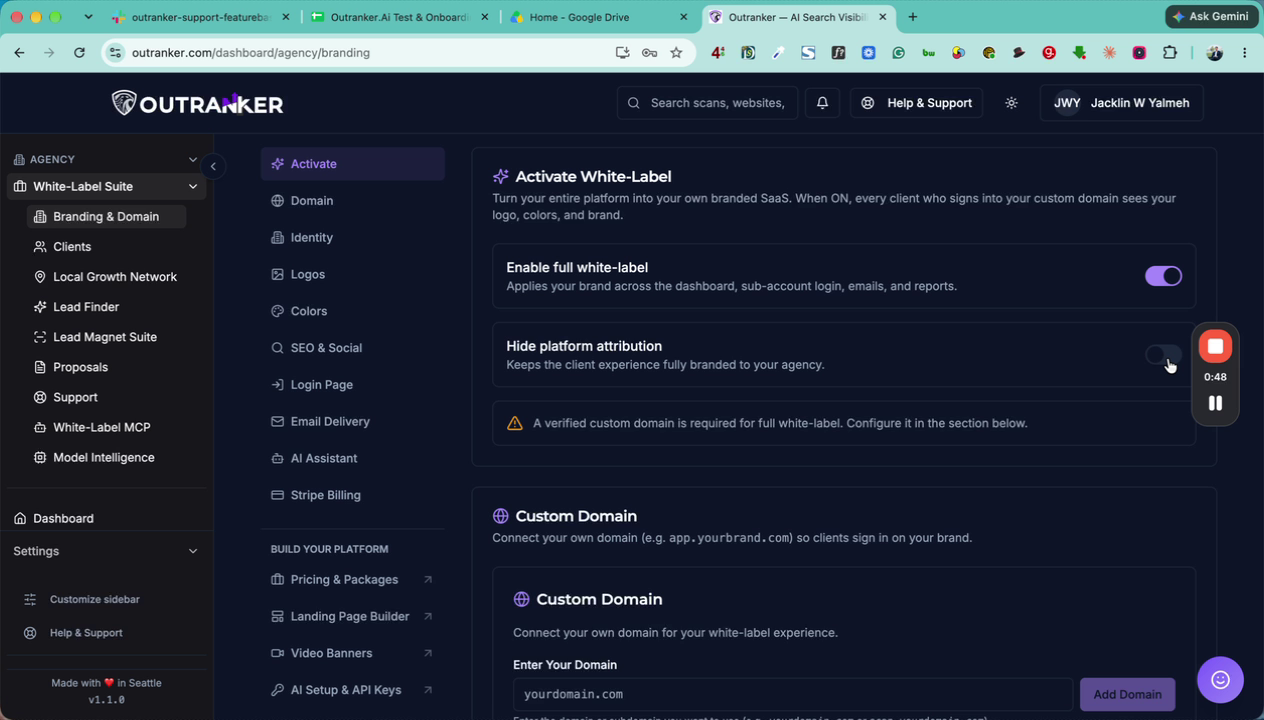
With both options enabled, your clients will see a fully white-labeled platform. You can also configure your custom domain, branding identity, logos, favicons, and other brand elements (covered in a separate walkthrough).
5. Save Your White Label Settings
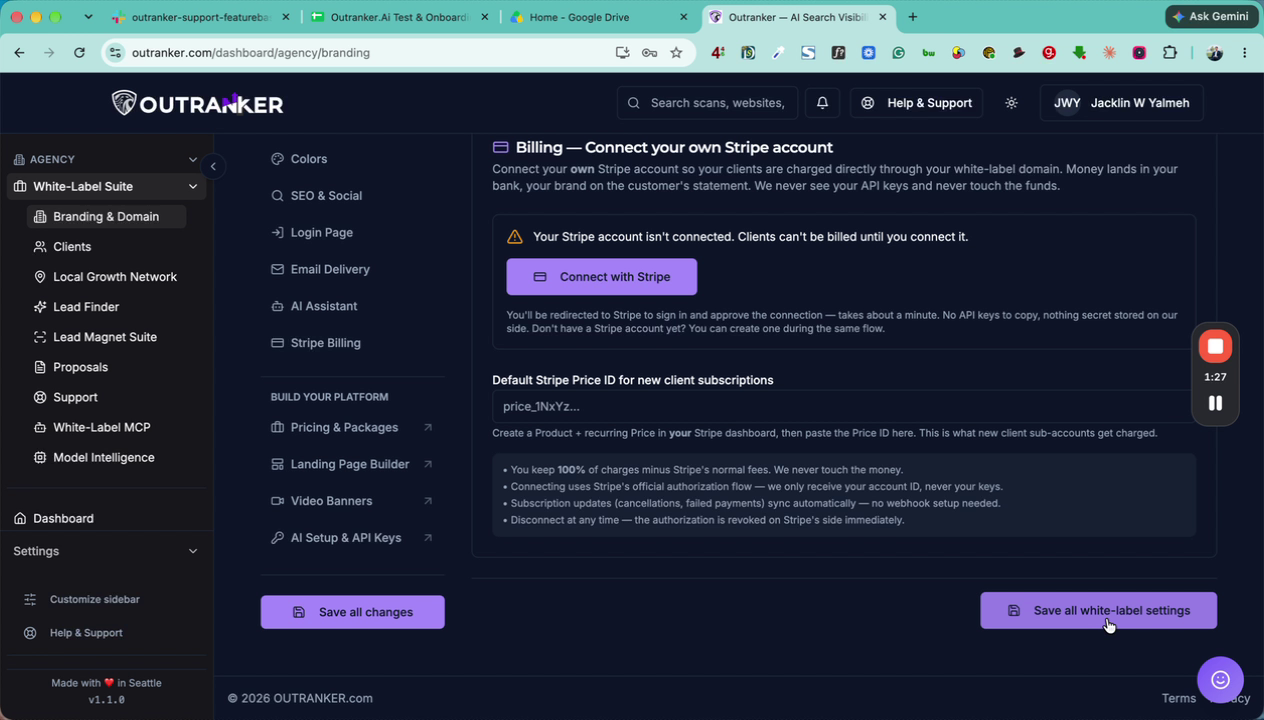
When you have finished configuring your white-label options, click Save All White Label Settings to apply the changes.