
This document explains how to access the LLM Index in Outranker, connect your search console accounts, submit URLs (individually or in bulk), and configure sitemap and notification settings for automated monitoring.
Go to www.outranker.ai
1. Access the LLM Index in Outranker
Log in to your Outranker account. From the left-hand menu, click AI Visibility, then select LLM Index.
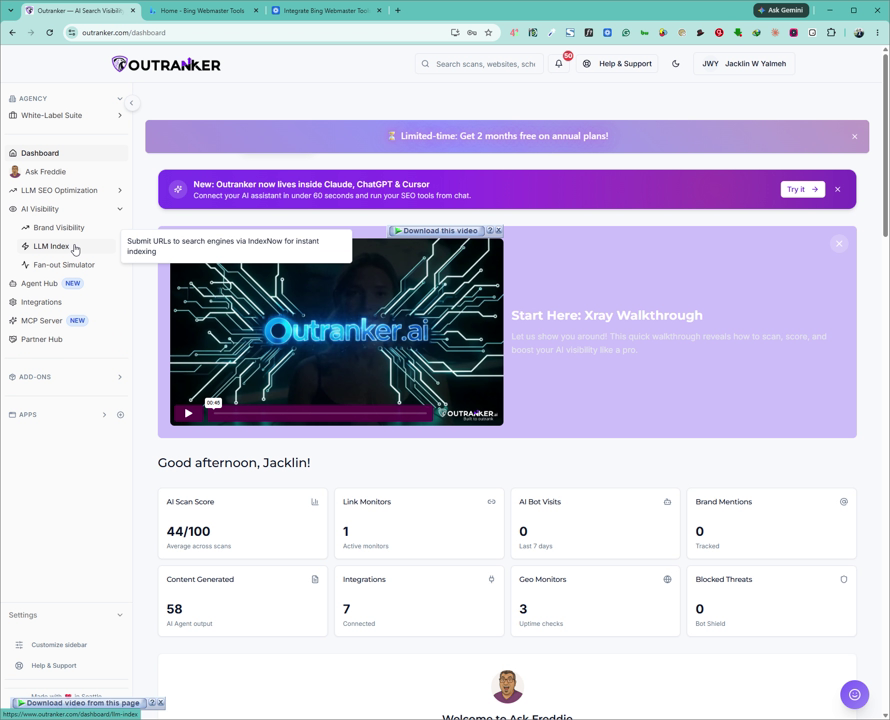
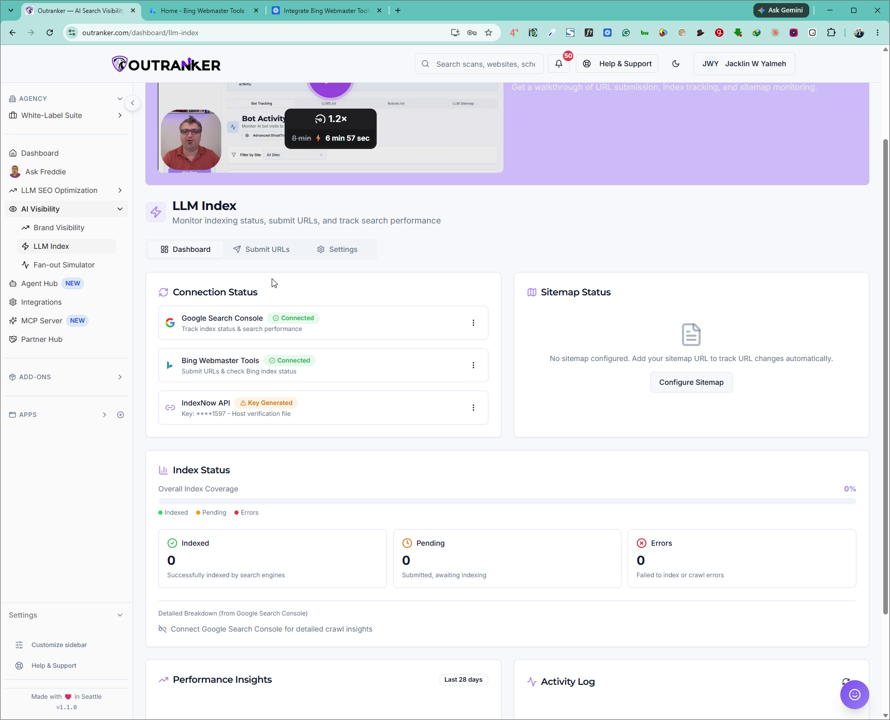
2. Connect Google Search Console and Bing Webmaster Tools
On the LLM Index page, first locate the Connections section. Connect your Google Search Console and Bing Webmaster Tools accounts. If you are unsure how to complete these connections, refer to the dedicated integration video mentioned in the interface.
3. Submit URLs to the LLM Index
After your accounts are connected, go to the Submit URLs area.
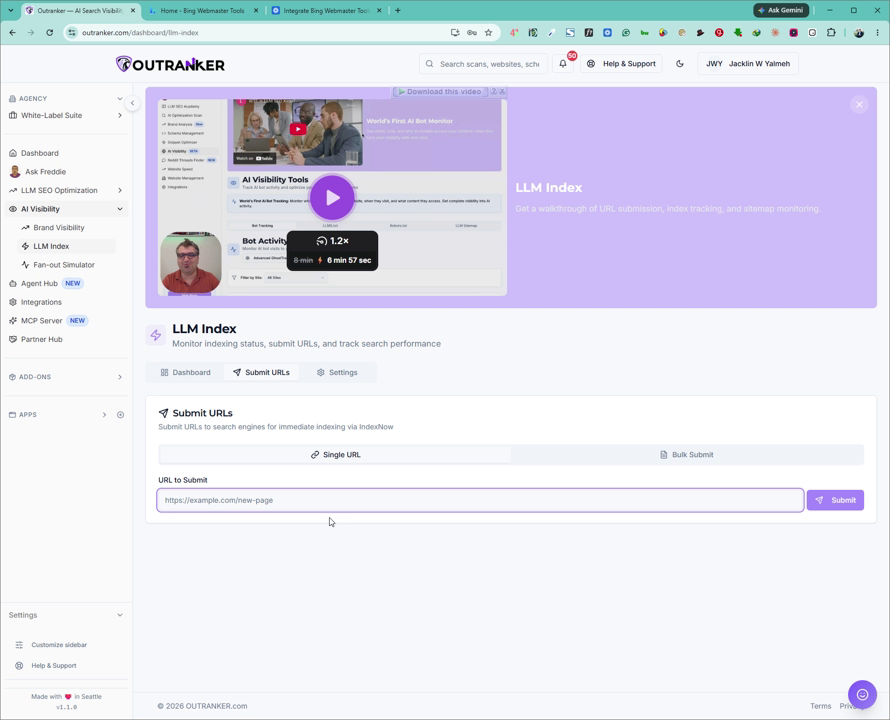
Here you can choose to submit a single URL or submit URLs in bulk.
Enter your website URL in the field provided and click Submit.
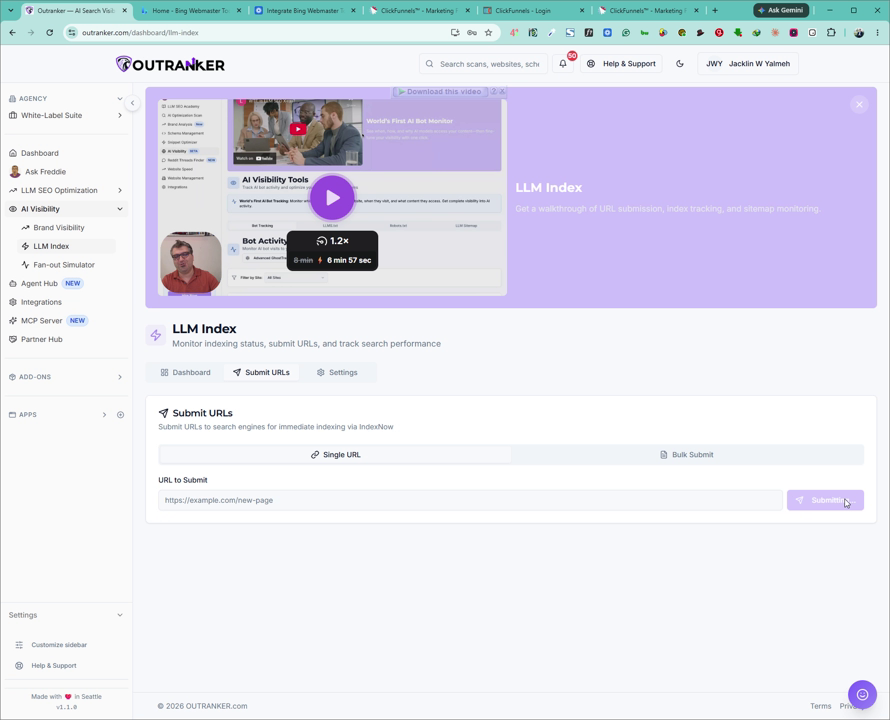
The system will process and submit the URL automatically. You can also prepare a list of all the page URLs you want indexed, paste them into the bulk submission field, and submit them all at once.
4. Open Settings to Configure Sitemap Options
Next, go to the Settings section of the LLM Index.
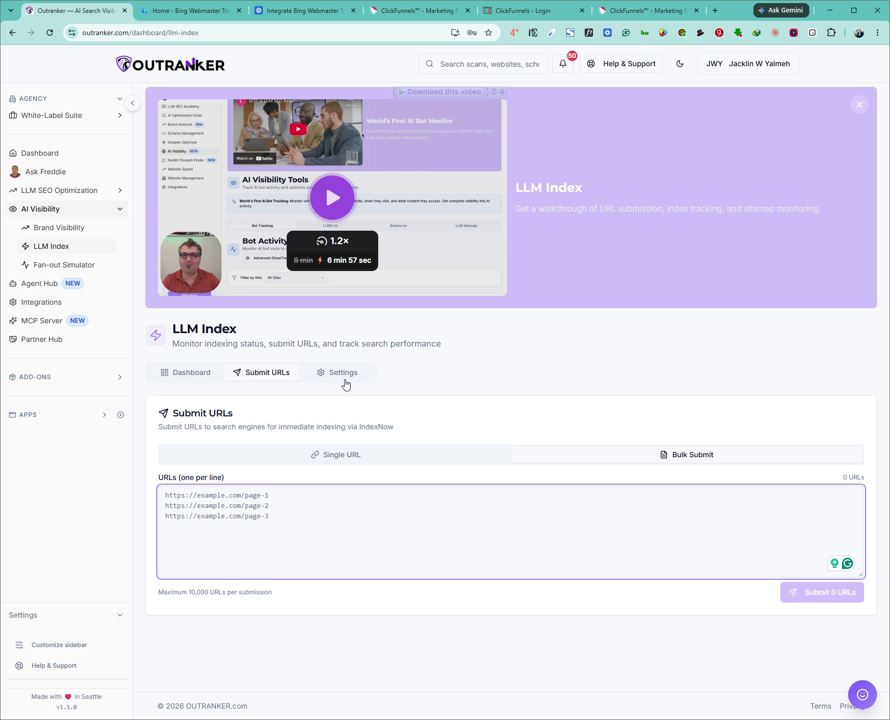
From here, you can configure how your sitemap is generated.
5. Generate the Sitemap (Auto Discover Recommended)
In Settings, choose how you want to generate your sitemap. You can select either Auto Discover or Manual configuration. For most users, Auto Discover is recommended.
Enter your website URL in the sitemap configuration field and click Discover.
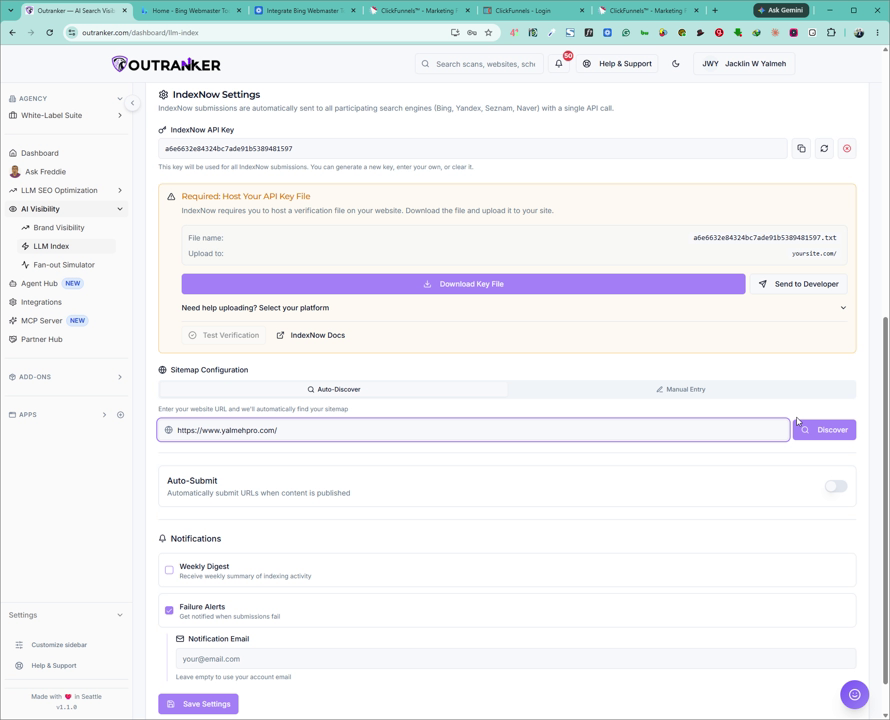
The system will automatically discover your URLs and generate the sitemap for you.
6. Enable Auto Submit and Finalize Sitemap
In the same Settings area, turn On the Auto Submit option so URLs are submitted automatically.
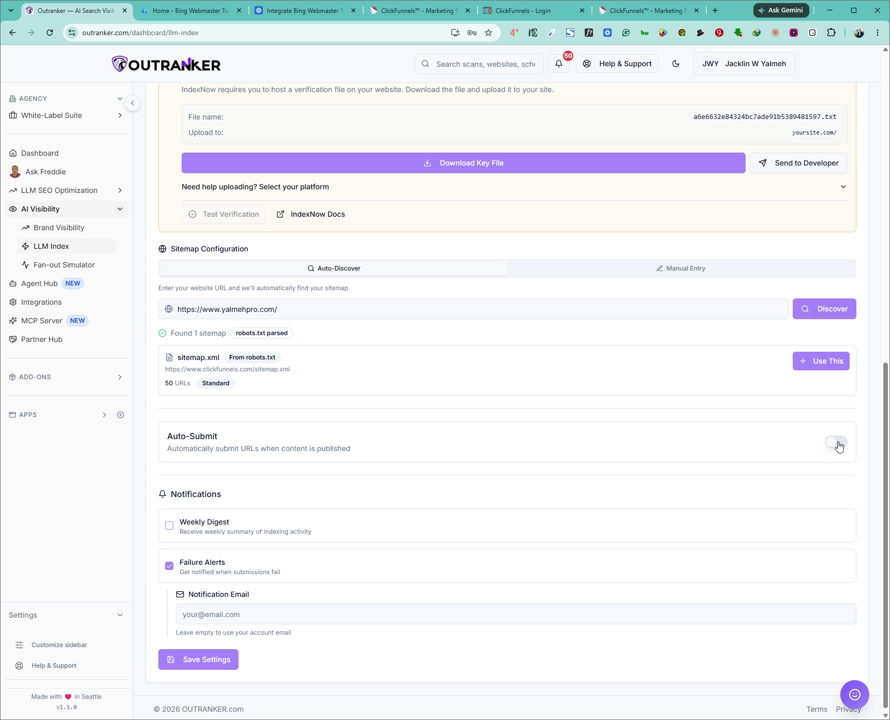
Then click on Use This URL (or similarly labeled button) to confirm and apply the discovered sitemap.
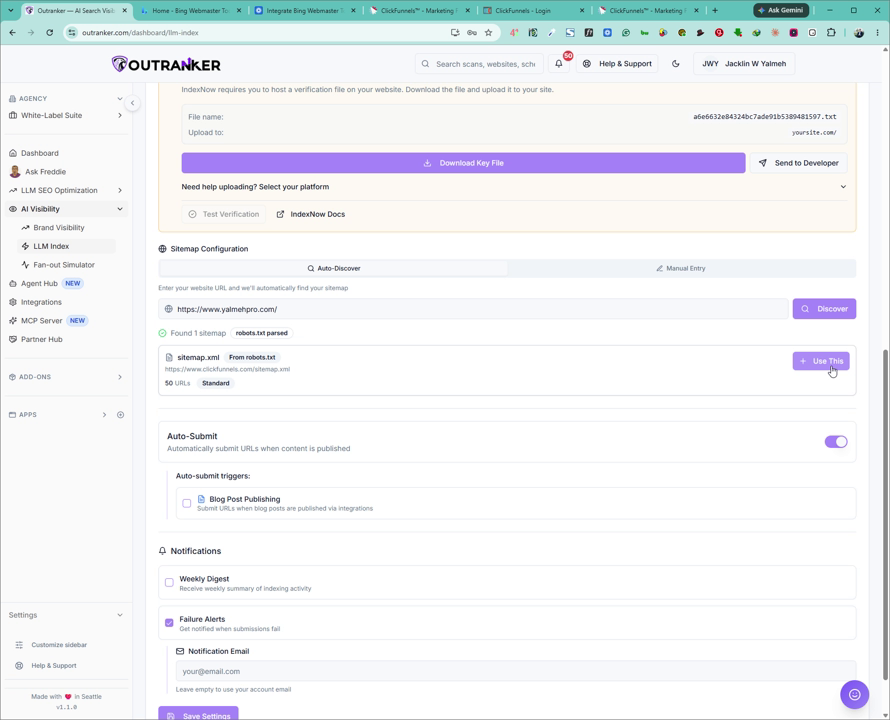
This will finalize your sitemap configuration and enable automatic sitemap submission.
7. Configure Email Notifications and Alerts
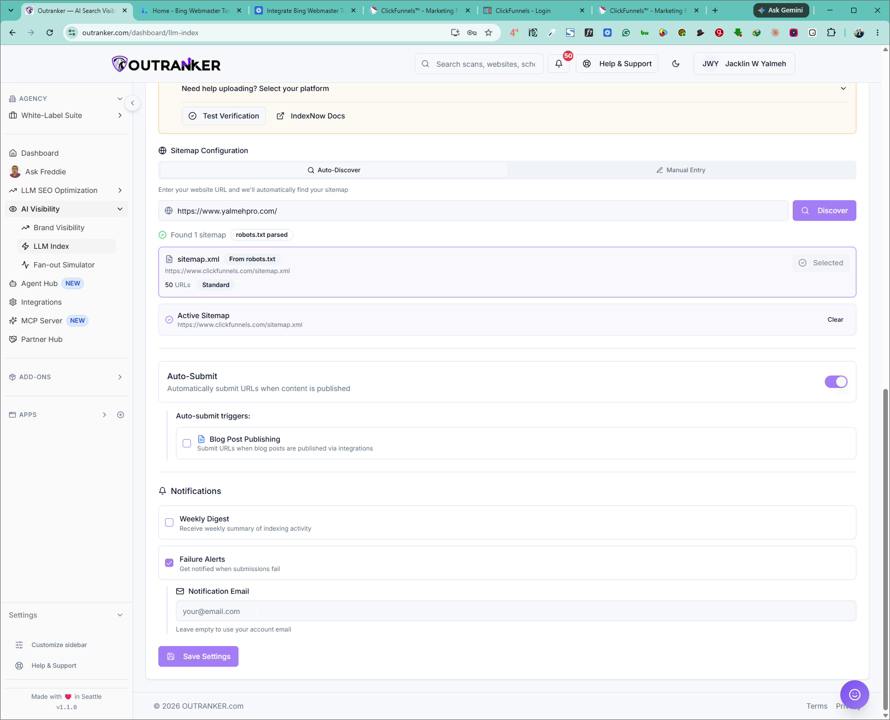
Optionally, enable Notifications so you receive updates about your sitemap. Turn on the Weekly Digest to get regular summaries, and enable error notifications so that if anything goes wrong with the sitemap, you will be alerted.
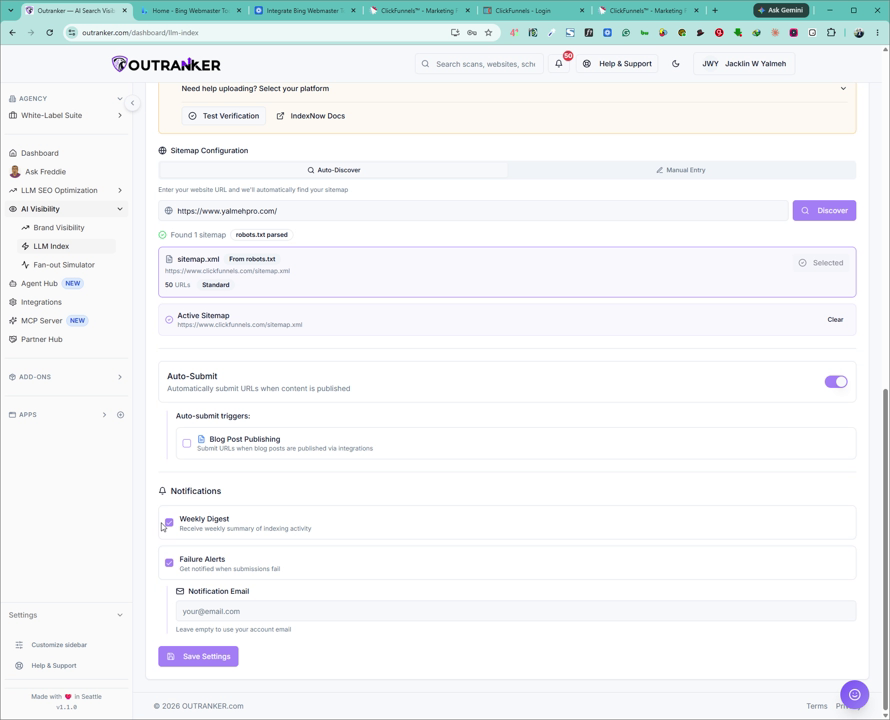
If any issue occurs with the sitemap, the system will notify you.
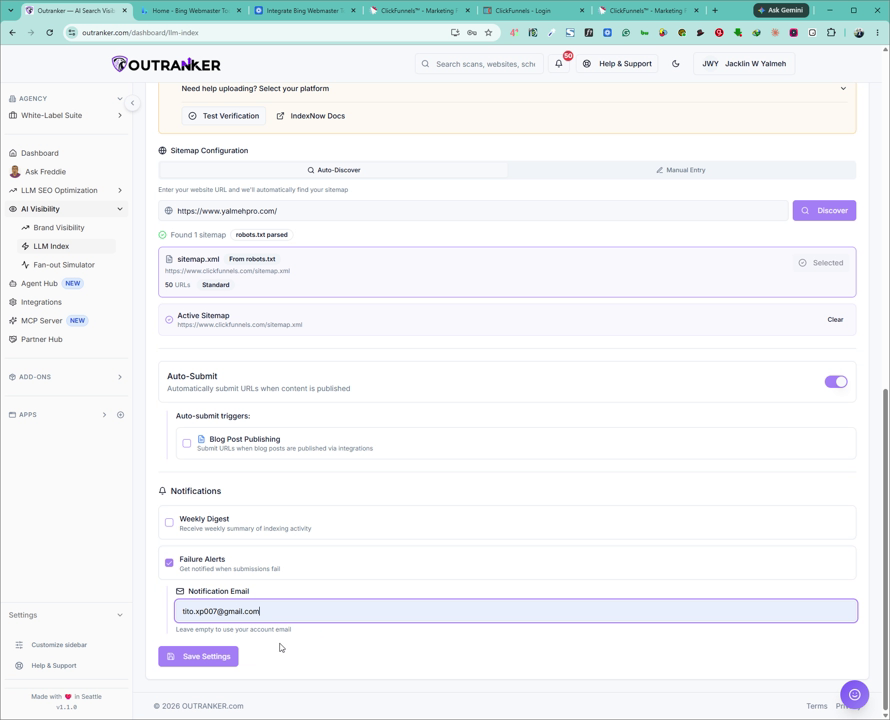
Enter your email address in the notification email field.
Then click Save to store your notification preferences.
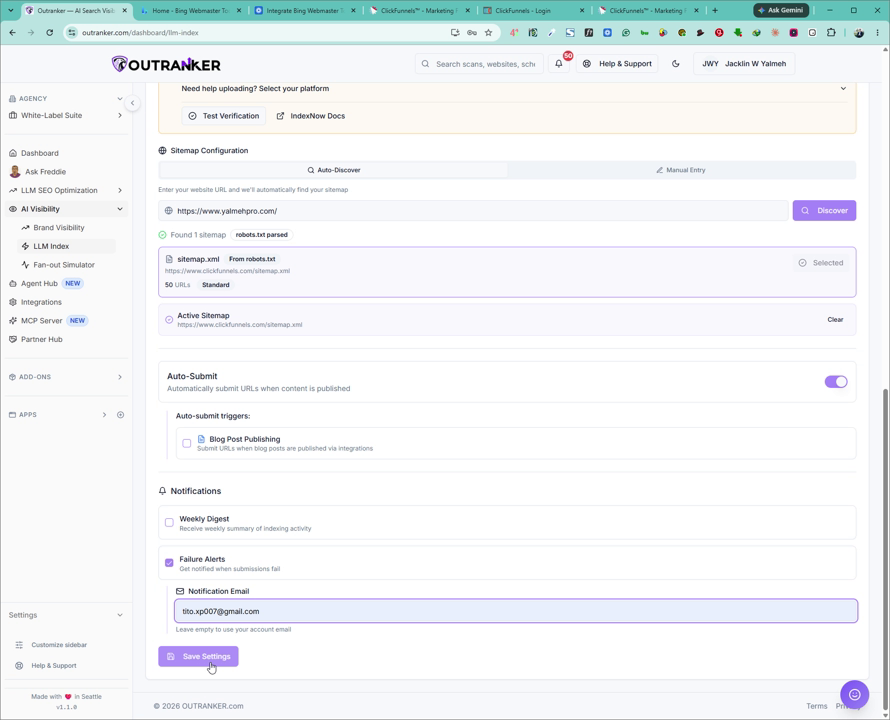
You will now receive email notifications if any problems occur with your sitemap or submissions.
