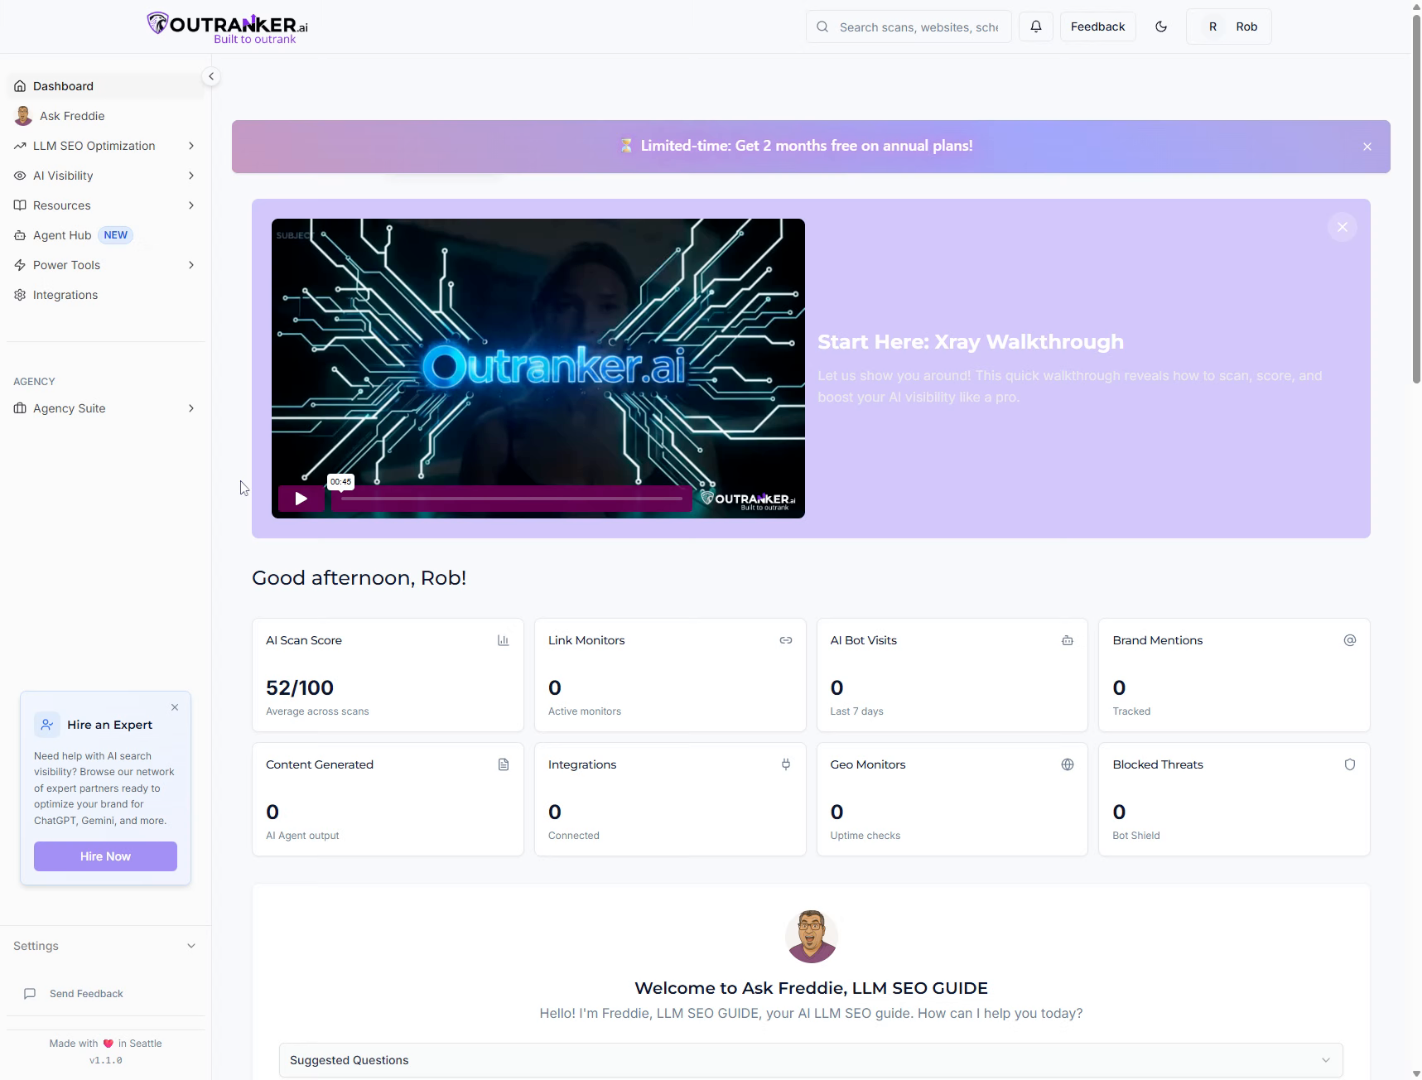
Go to www.outranker.ai
1. Introduction
“In this video, you’ll learn how to enable White Label Mode in the Agency Suite.” “White labeling allows you to replace Outranker branding with your own agency’s identity — creating a fully professional, client-facing experience.”
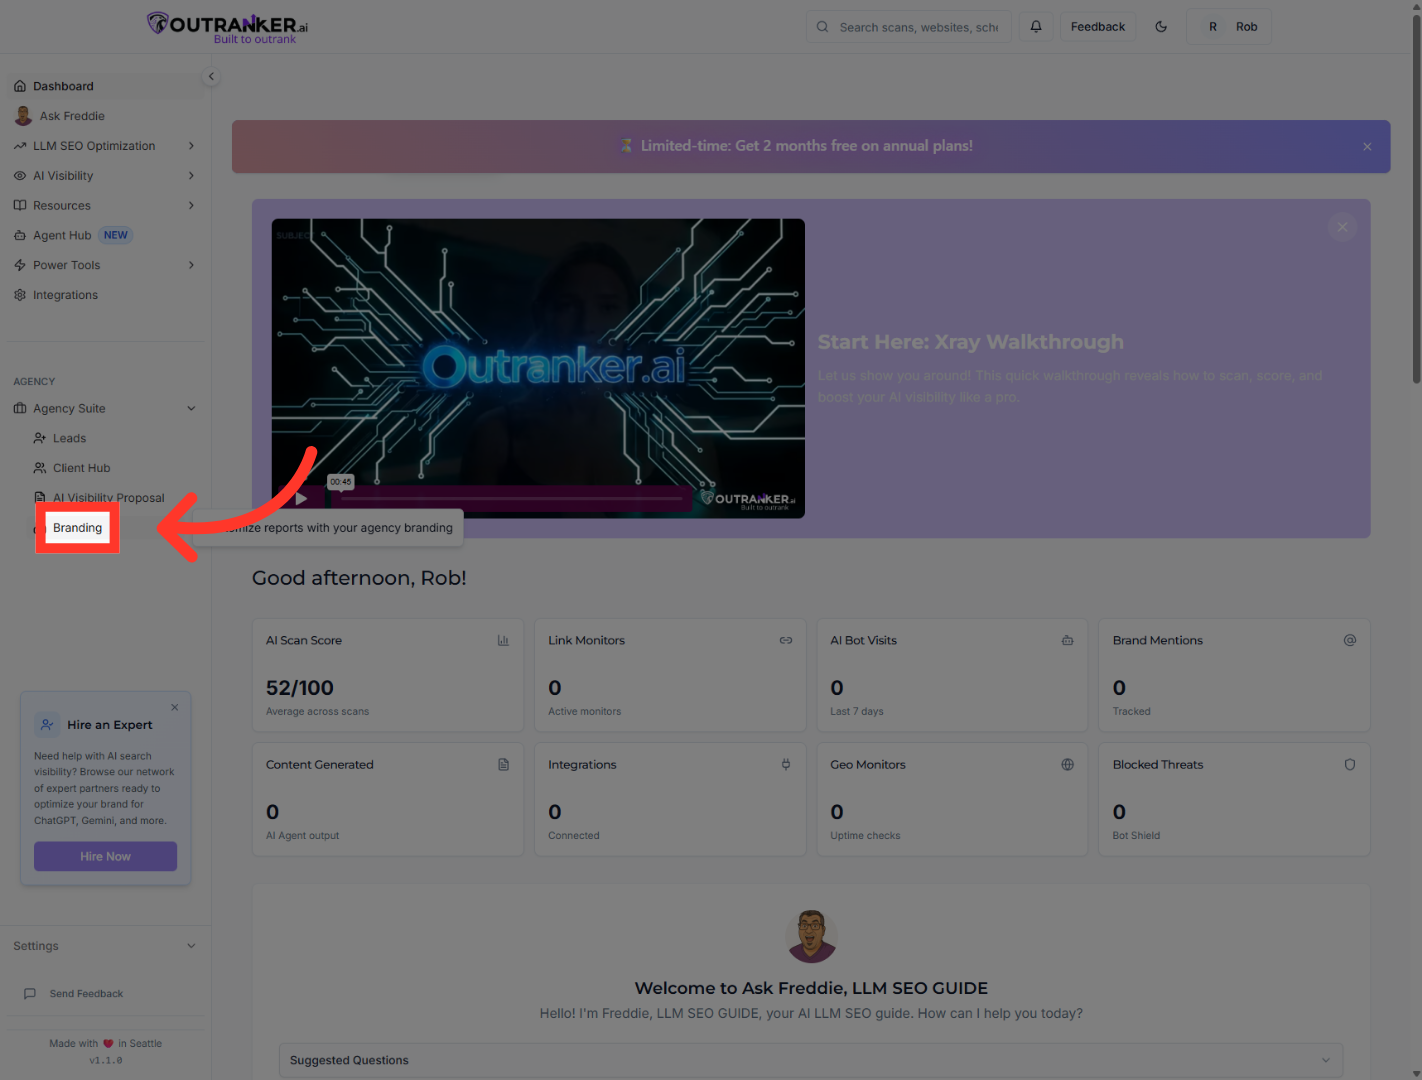
2. Open Branding Section
“Start by logging into your Outranker.ai account.” “From the left-hand menu, click Agency Suite, then select Branding.”
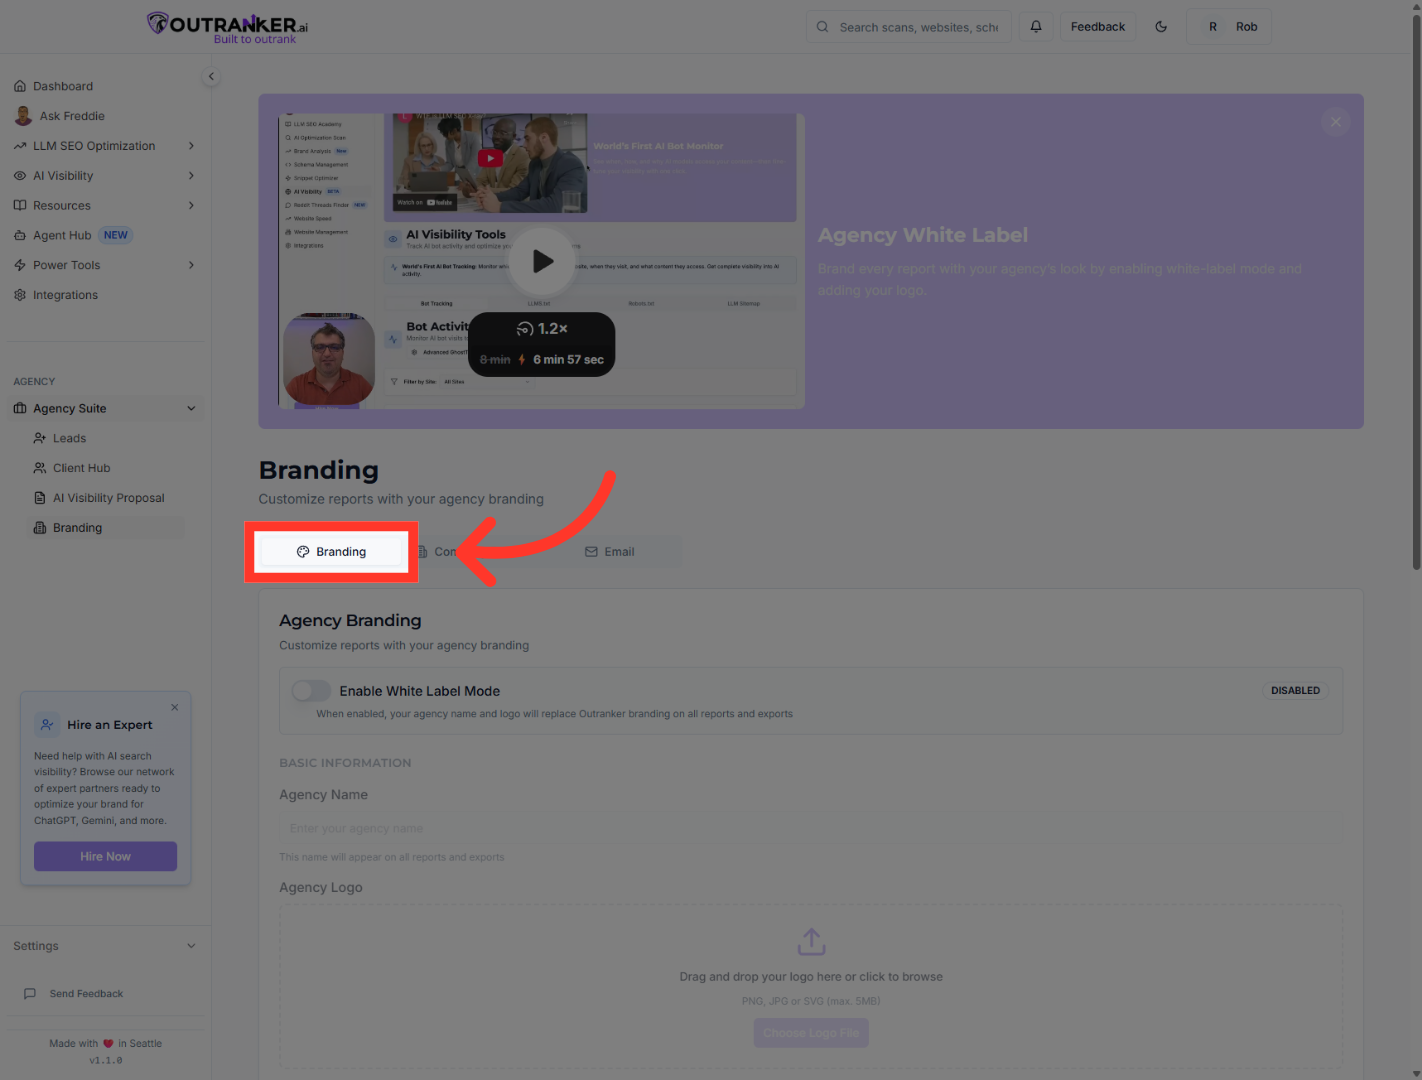
3. Access Branding Settings
“Click Branding again to open the full customization settings.”
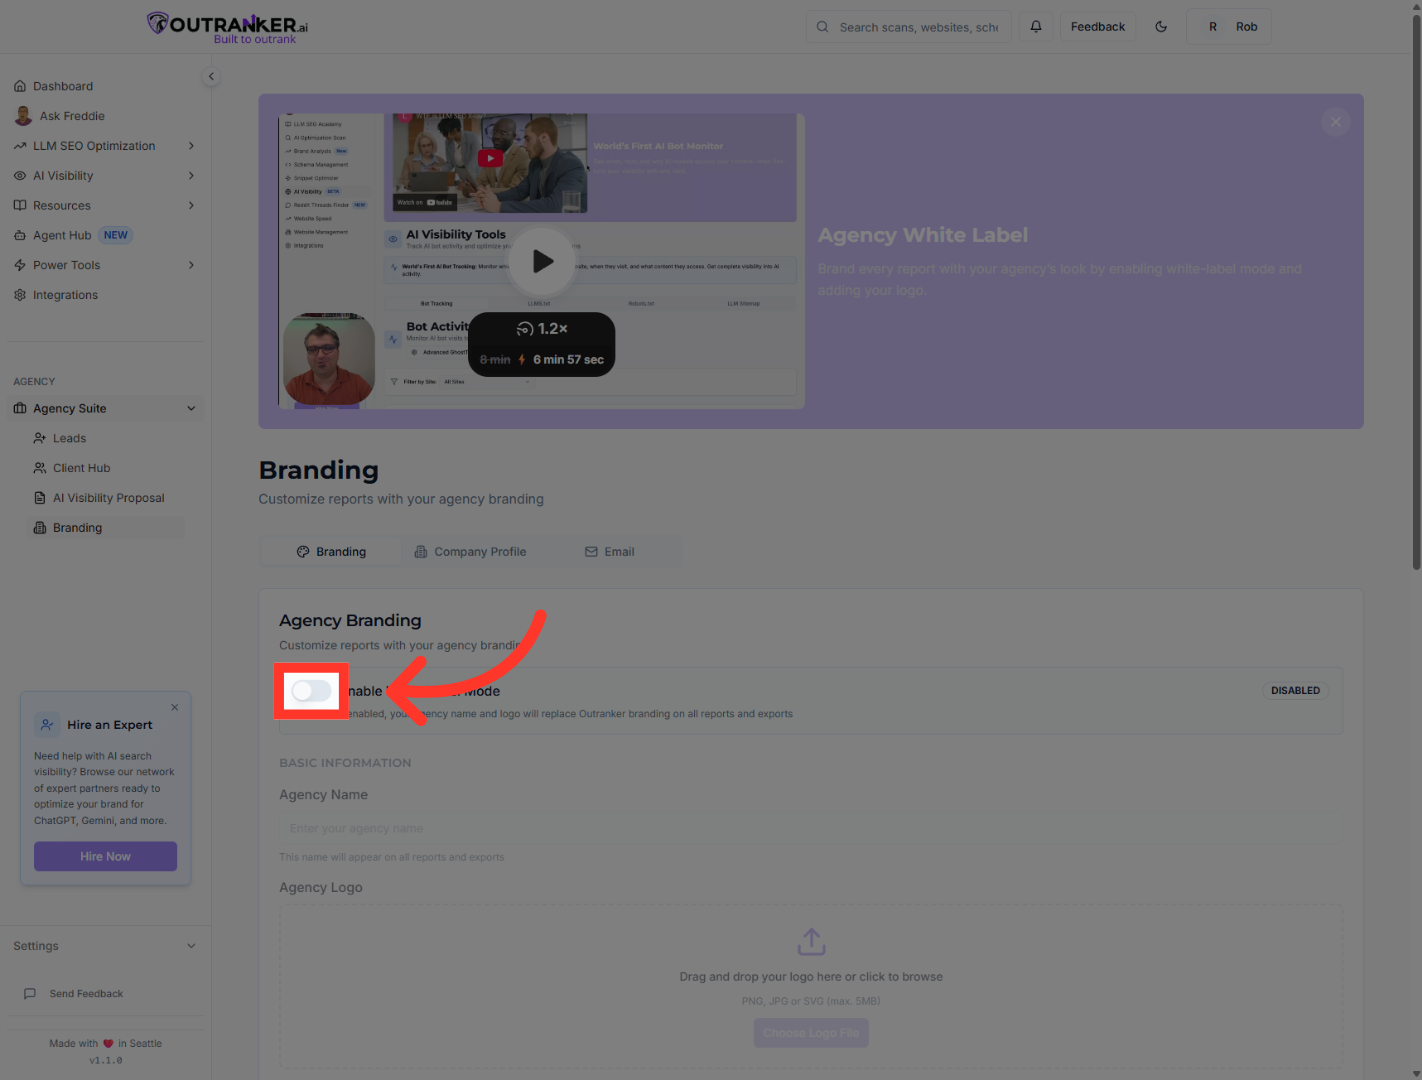
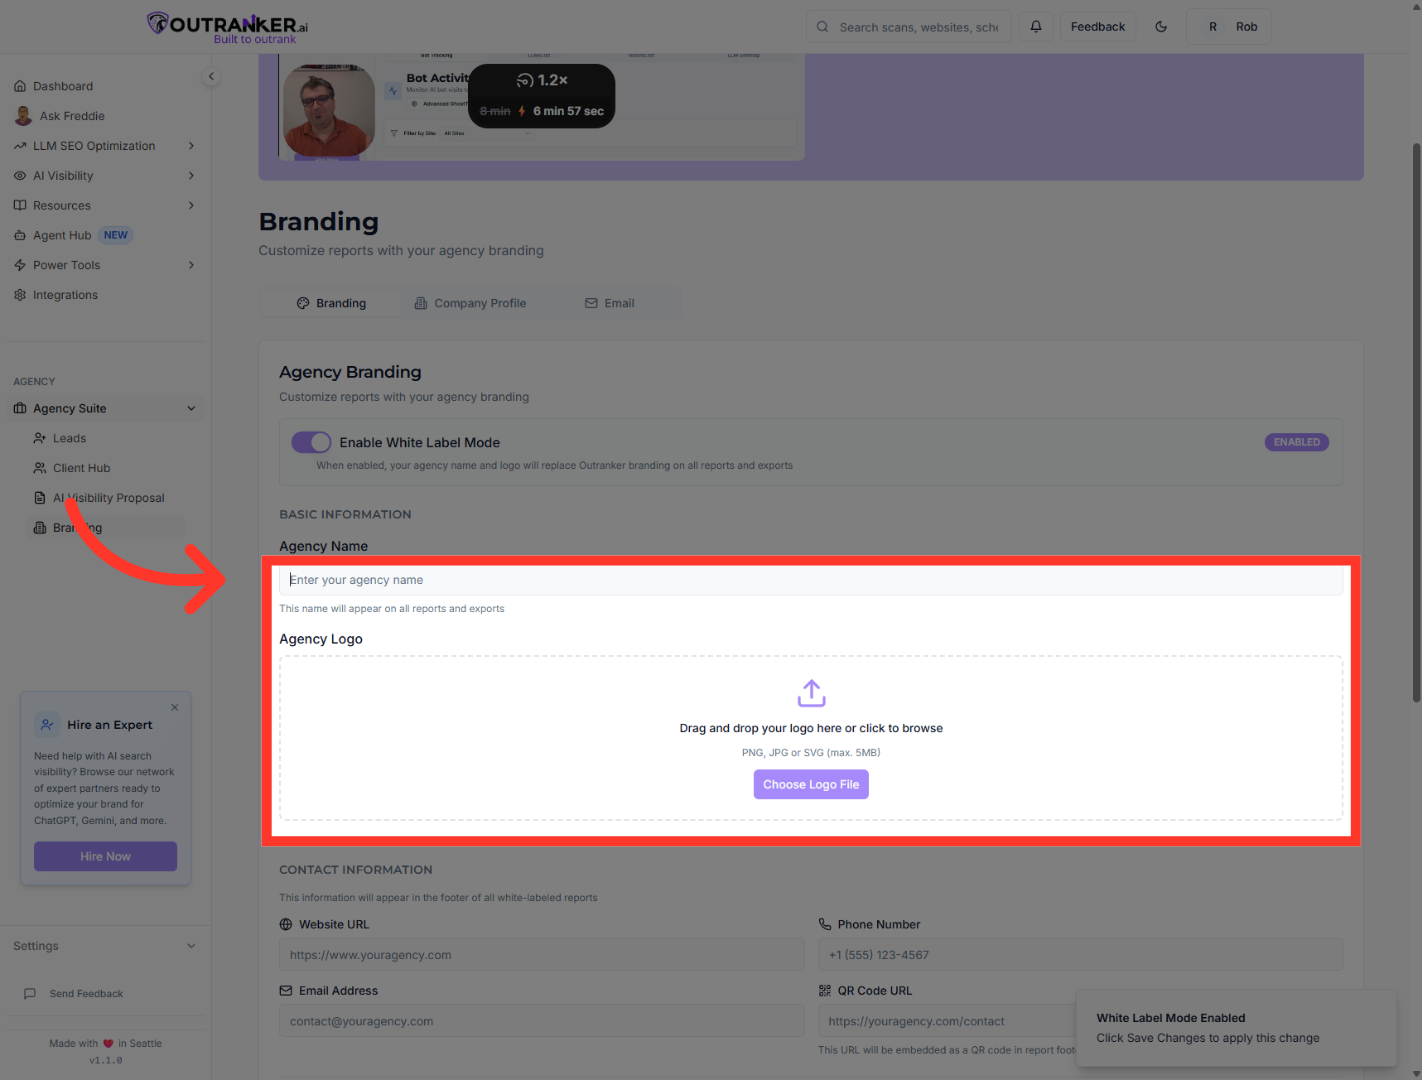
4. Enable White Label Mode
“At the top of the Agency Branding section, enable White Label Mode.” “This activates the ability to fully customize the platform under your agency’s name.”
5. Select Agency Name Field
“Enter your Agency Name to replace the default platform label.” “Then upload your Agency Logo.” “Your logo will appear across reports, dashboards, and client-facing pages.”
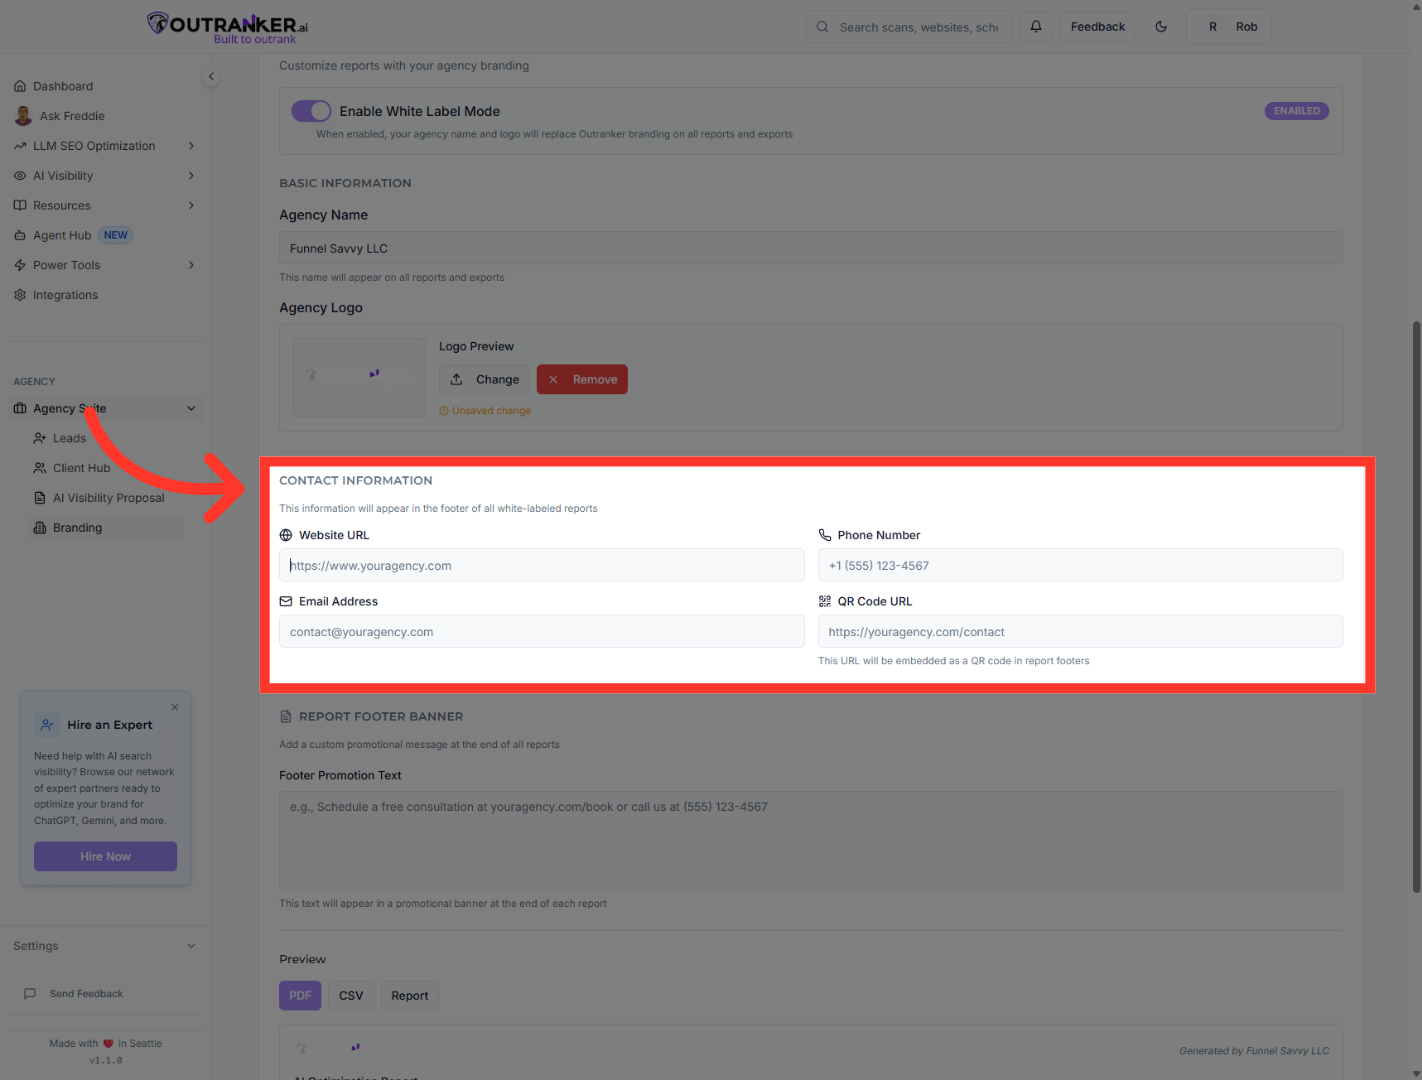
6. Select Website URL Field
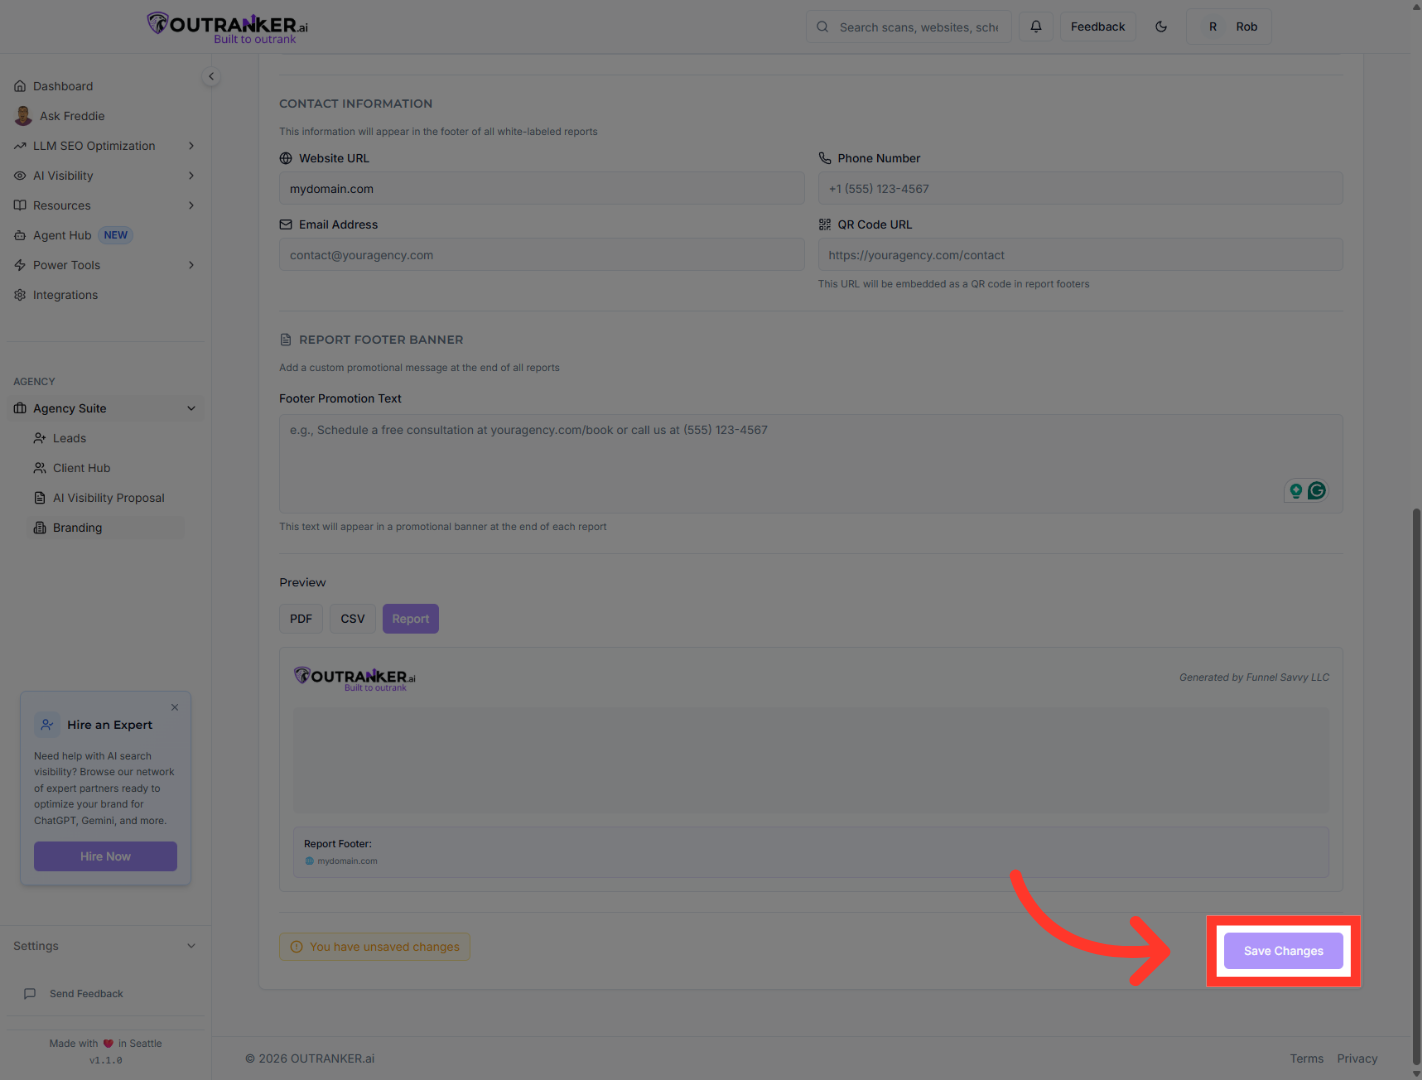
“Next, enter your agency’s contact details.” “Add your Website URL, Phone Number, and Email Address.” “You can also include a QR Code URL if you’d like clients to quickly access additional resources.” “These details will appear on branded reports and client pages.”
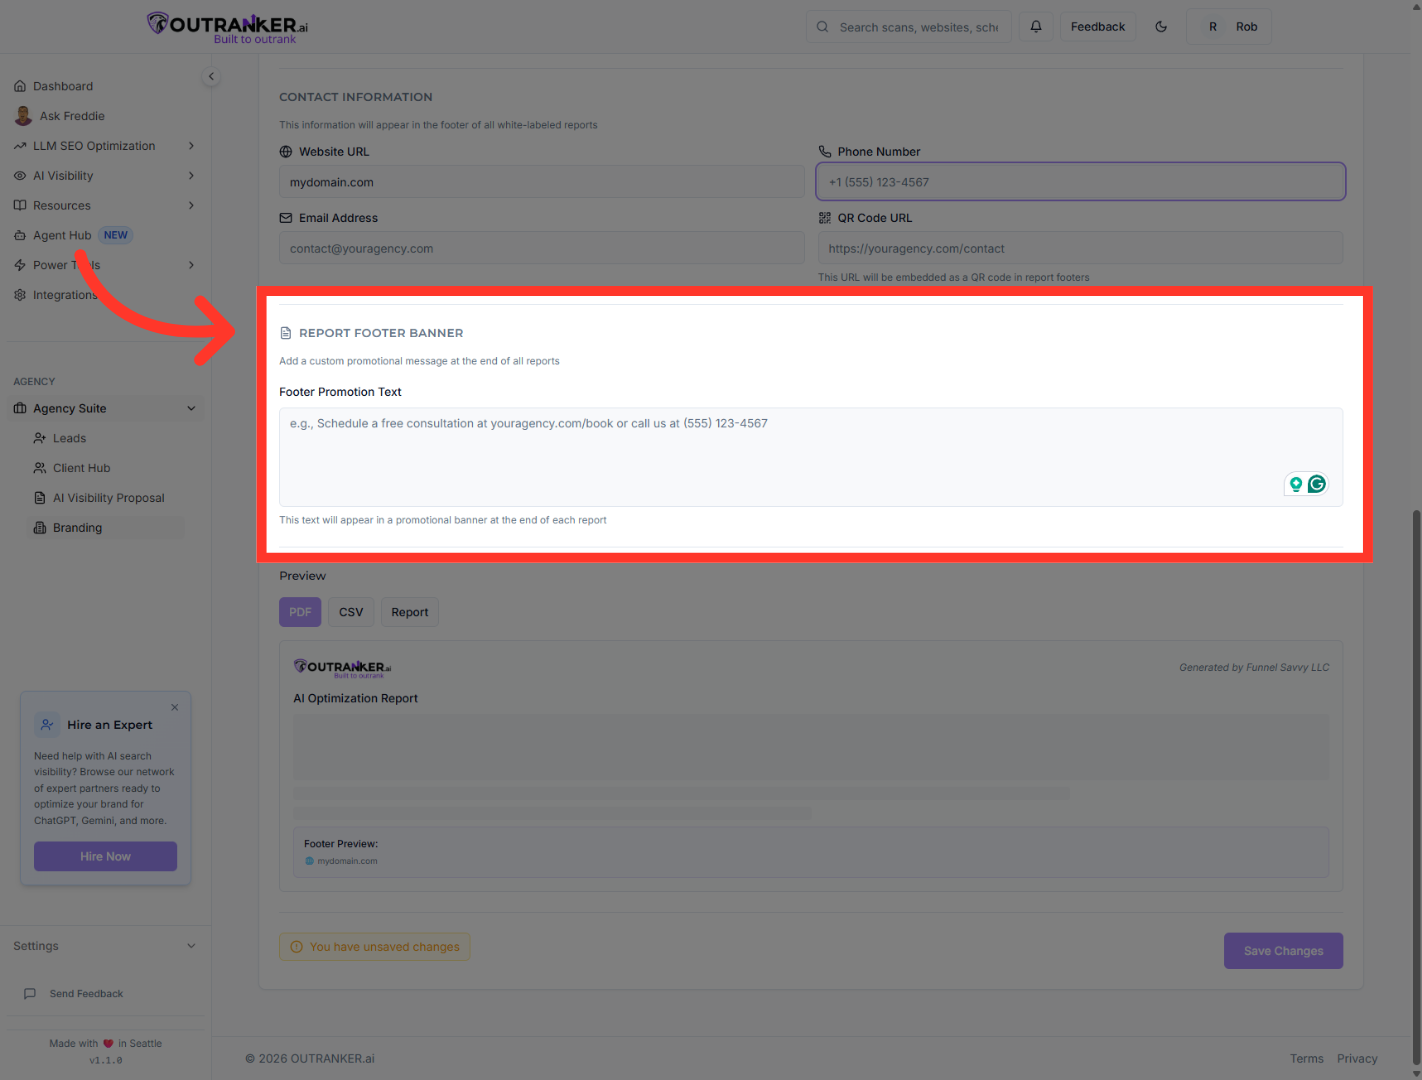
7. Select PDF Export Option
“You can customize the Footer Promotion Text to include a message, offer, or call-to-action.” “You may also update the Footer Logo for consistent branding.”
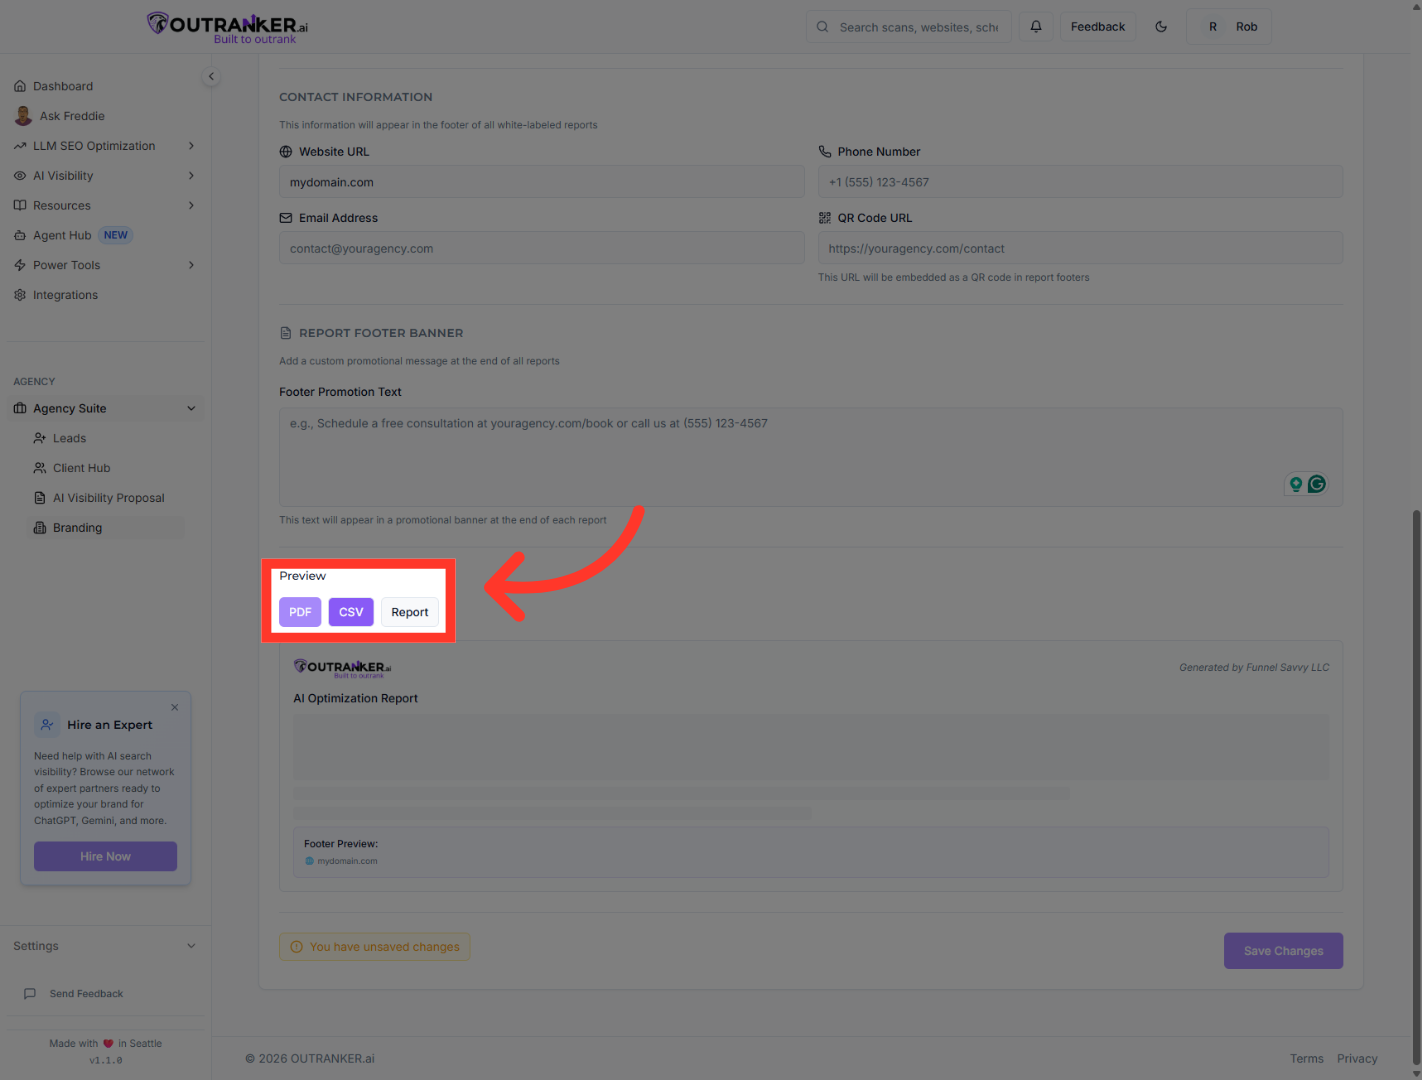
8. Select CSV Export Option
“Next, choose how reports are exported.” “Enable PDF Export to generate branded PDF reports.” “Enable CSV Export for data analysis.” “You can also configure report display options to reflect your agency’s white-label preferences.”
9. Save White Label Settings
“Once everything looks good, click Save Changes.” “Your white-label settings are now active.”
“You’ve successfully enabled White Label Mode and customized your agency’s branding.” “From this point forward, your reports and client experience will reflect your agency — not the platform.” “Next, we’ll show you how to generate fully branded reports for your clients.”
