This tutorial explains how to create new portal users within the client hub.
Go to www.outranker.ai
1. Introduction
“In this video, you’ll learn how to create new portal users efficiently inside the Client Hub.” “Portal users allow your clients or team members to securely access reports, scans, and shared workspaces.”
2. Open Client Hub Section
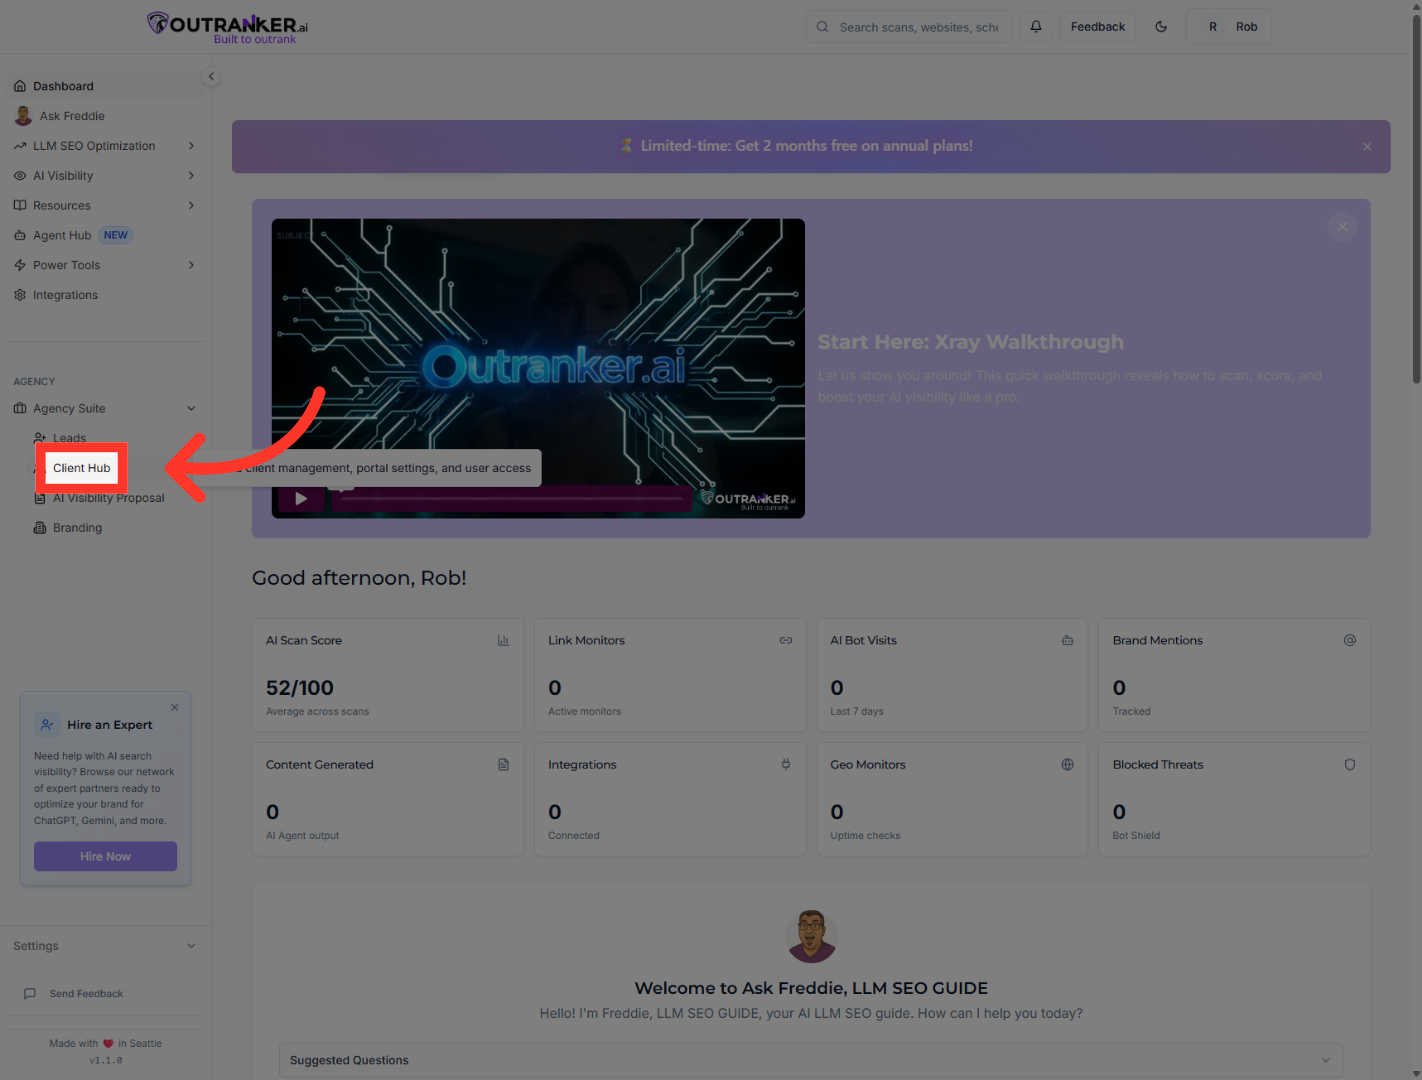
“Start by logging into your Outranker.ai account.” “From the left-hand menu, click Agency Suite, then open Client Hub.”
3. Access Portal Users
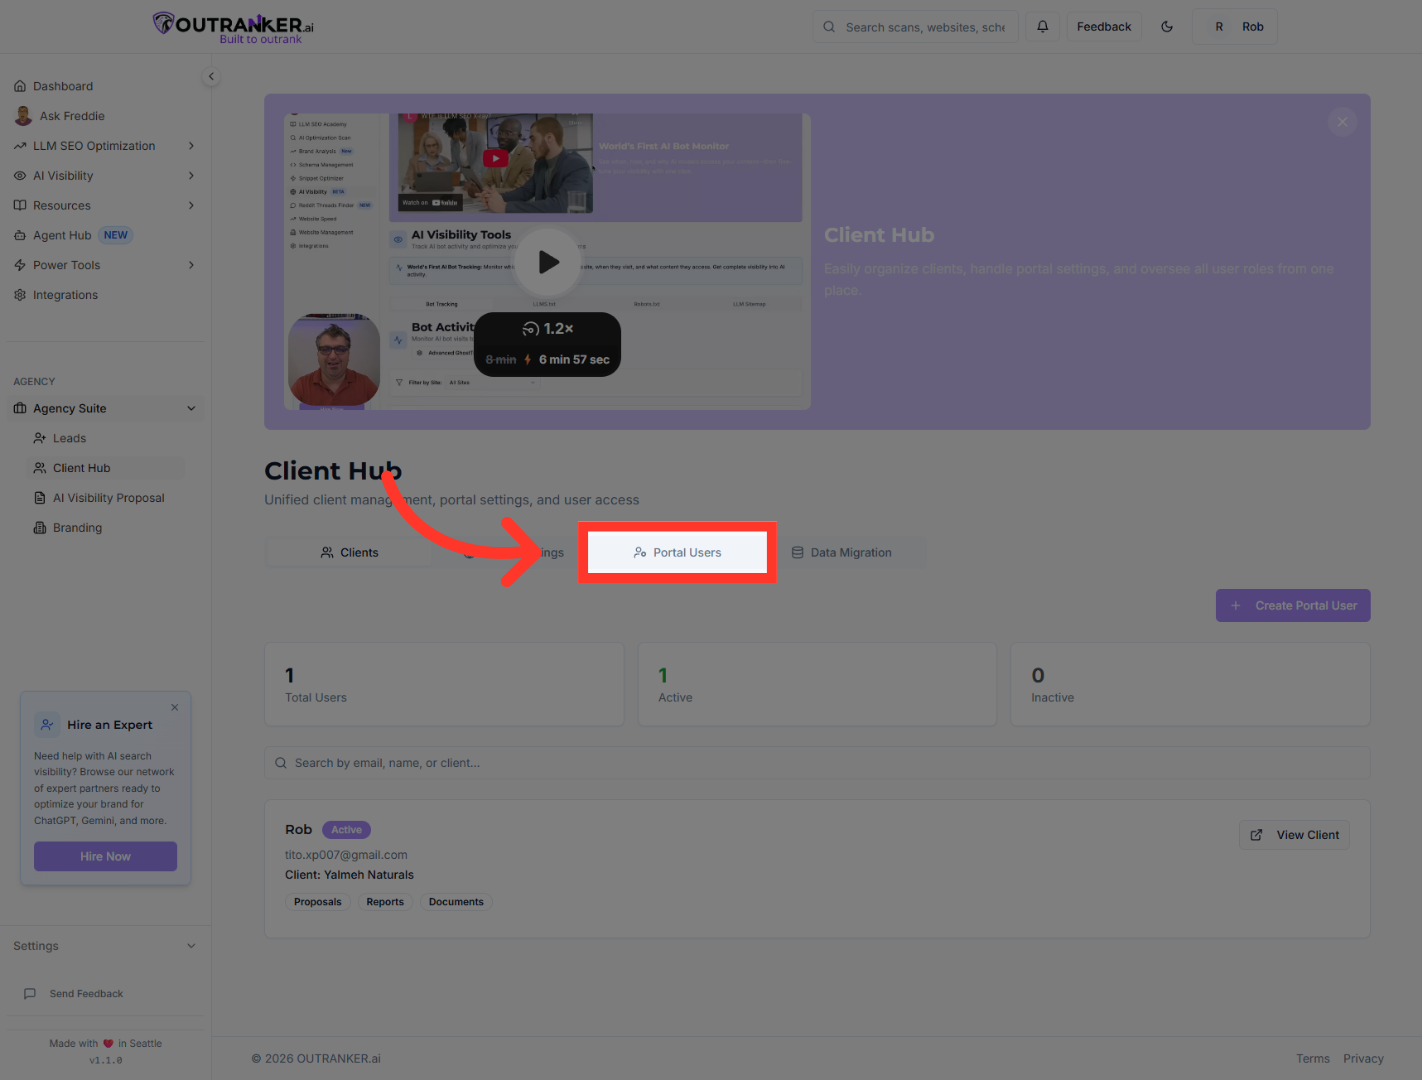
“Inside Client Hub, select Portal Users.”
4. Initiate User Creation
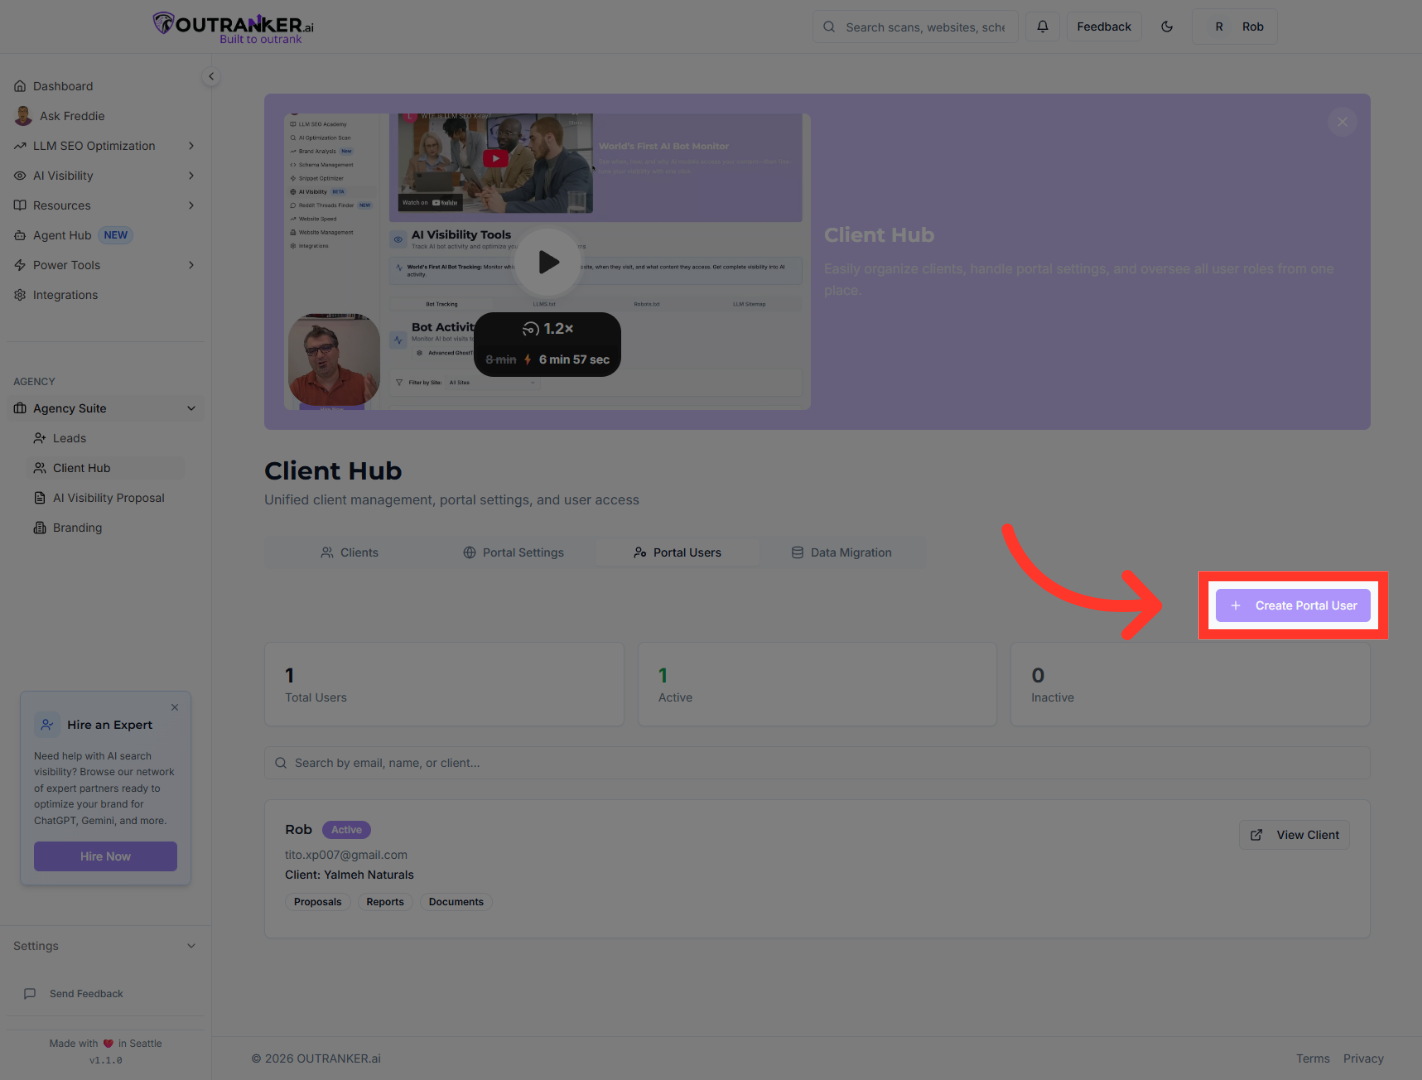
“To add a new user, click Create Portal User.” “This opens the user creation panel.”
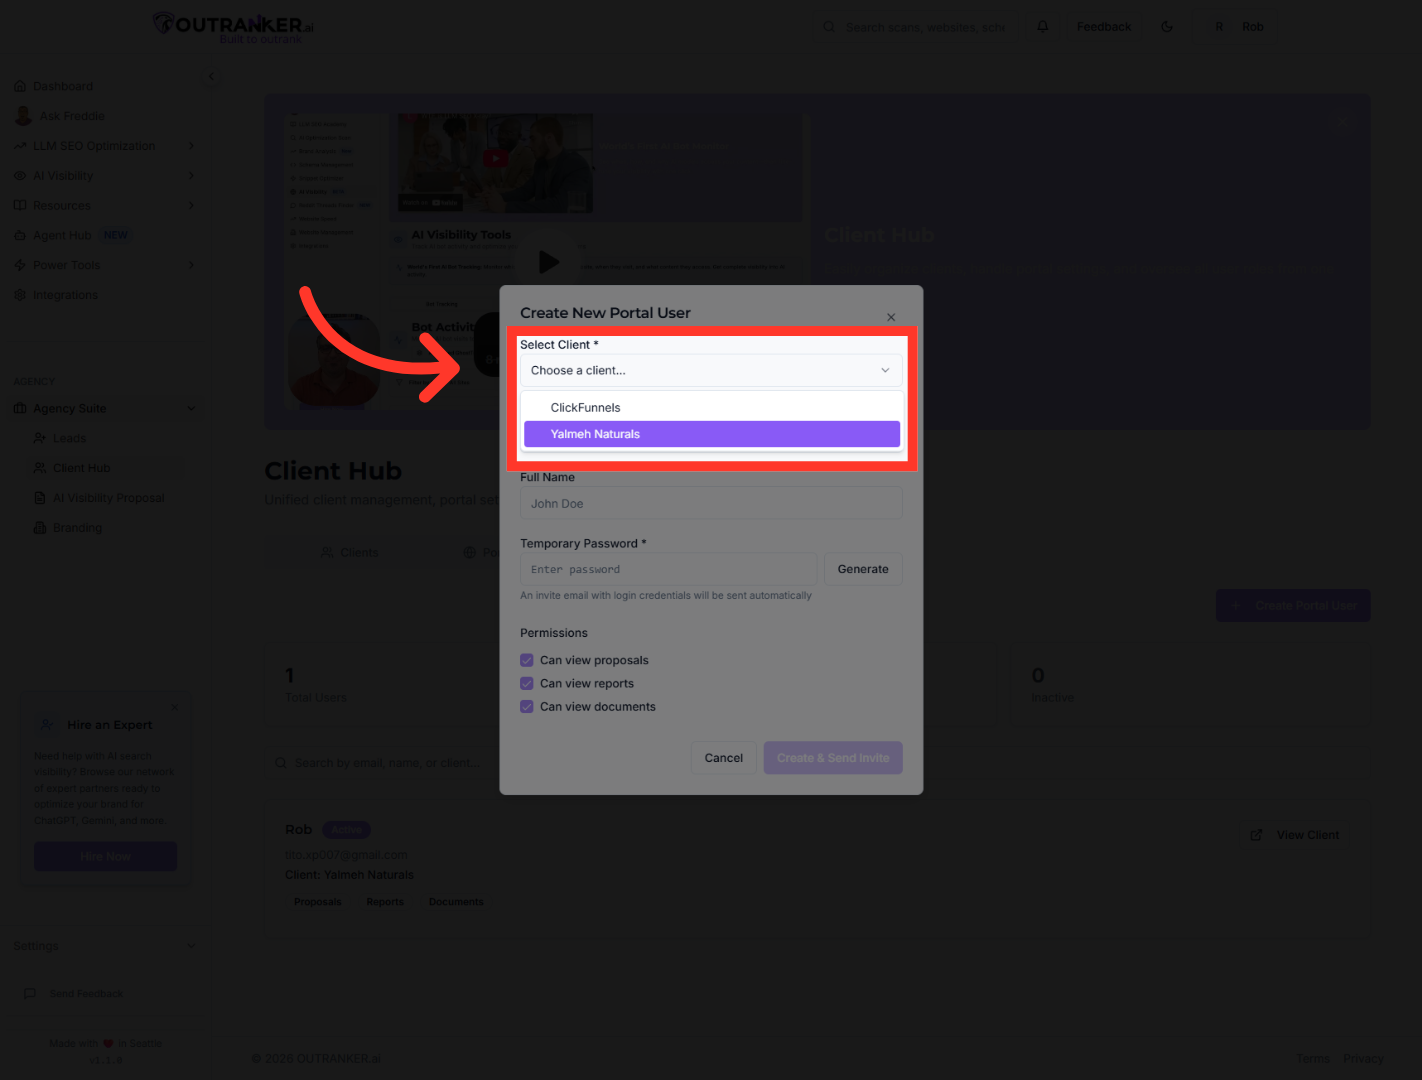
5. Select Client Account
“First, select the client account this user should be associated with.” “This ensures the user only has access to the correct client data.”
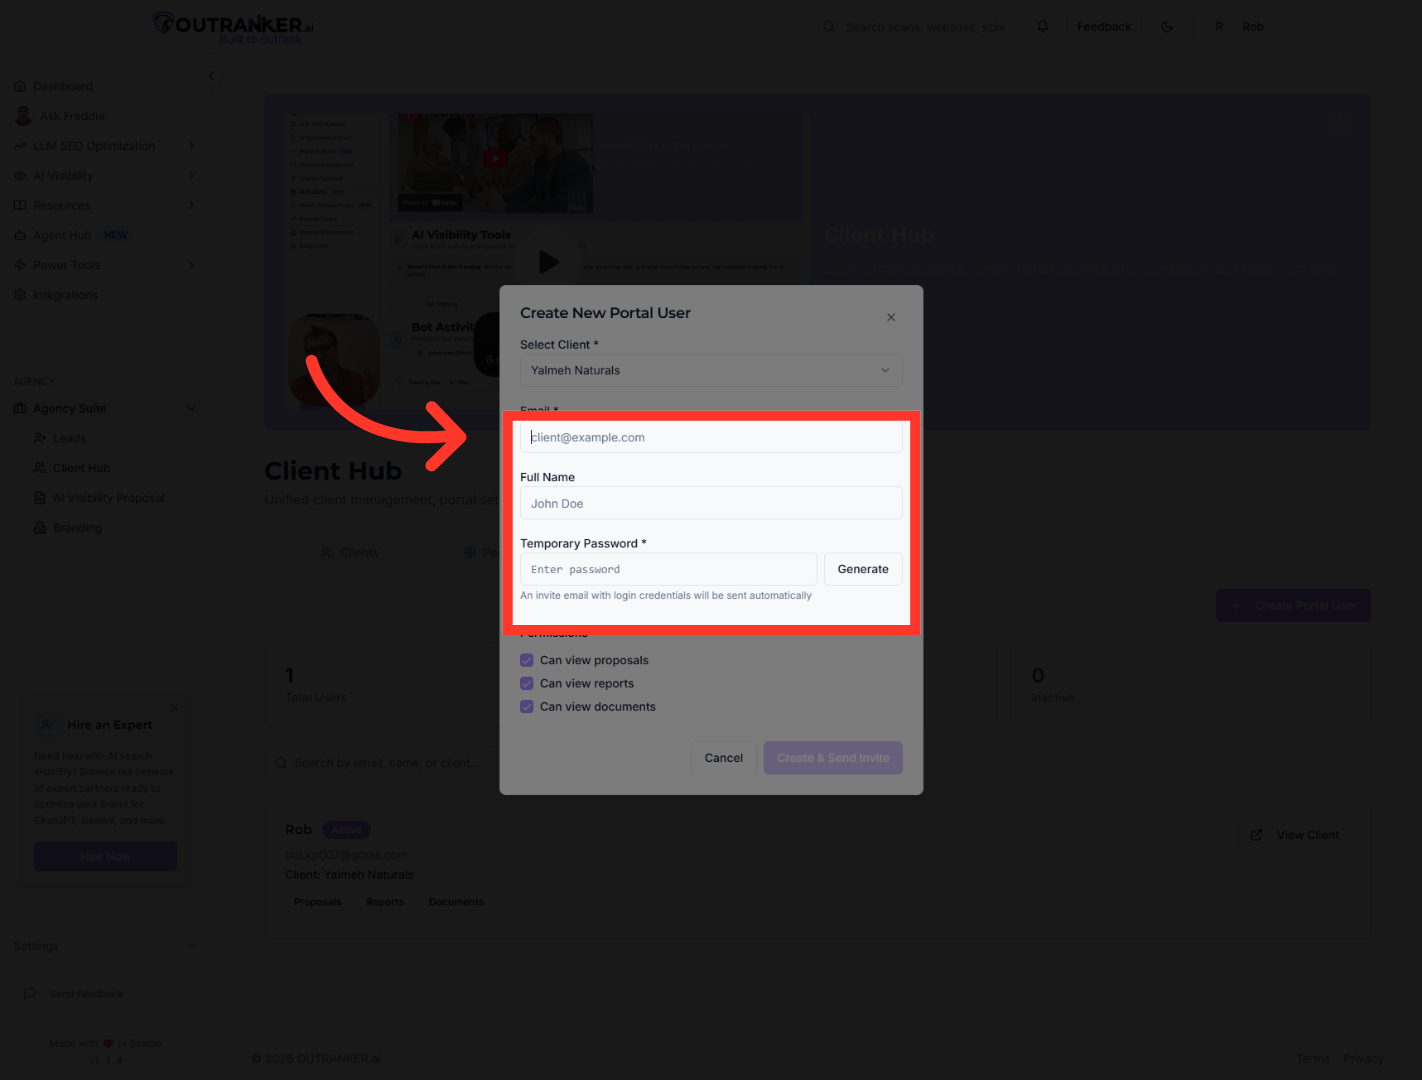
6. Select Email Field
“Next, enter the user’s email address and full name.” “The email address will be used to send the portal invitation.”
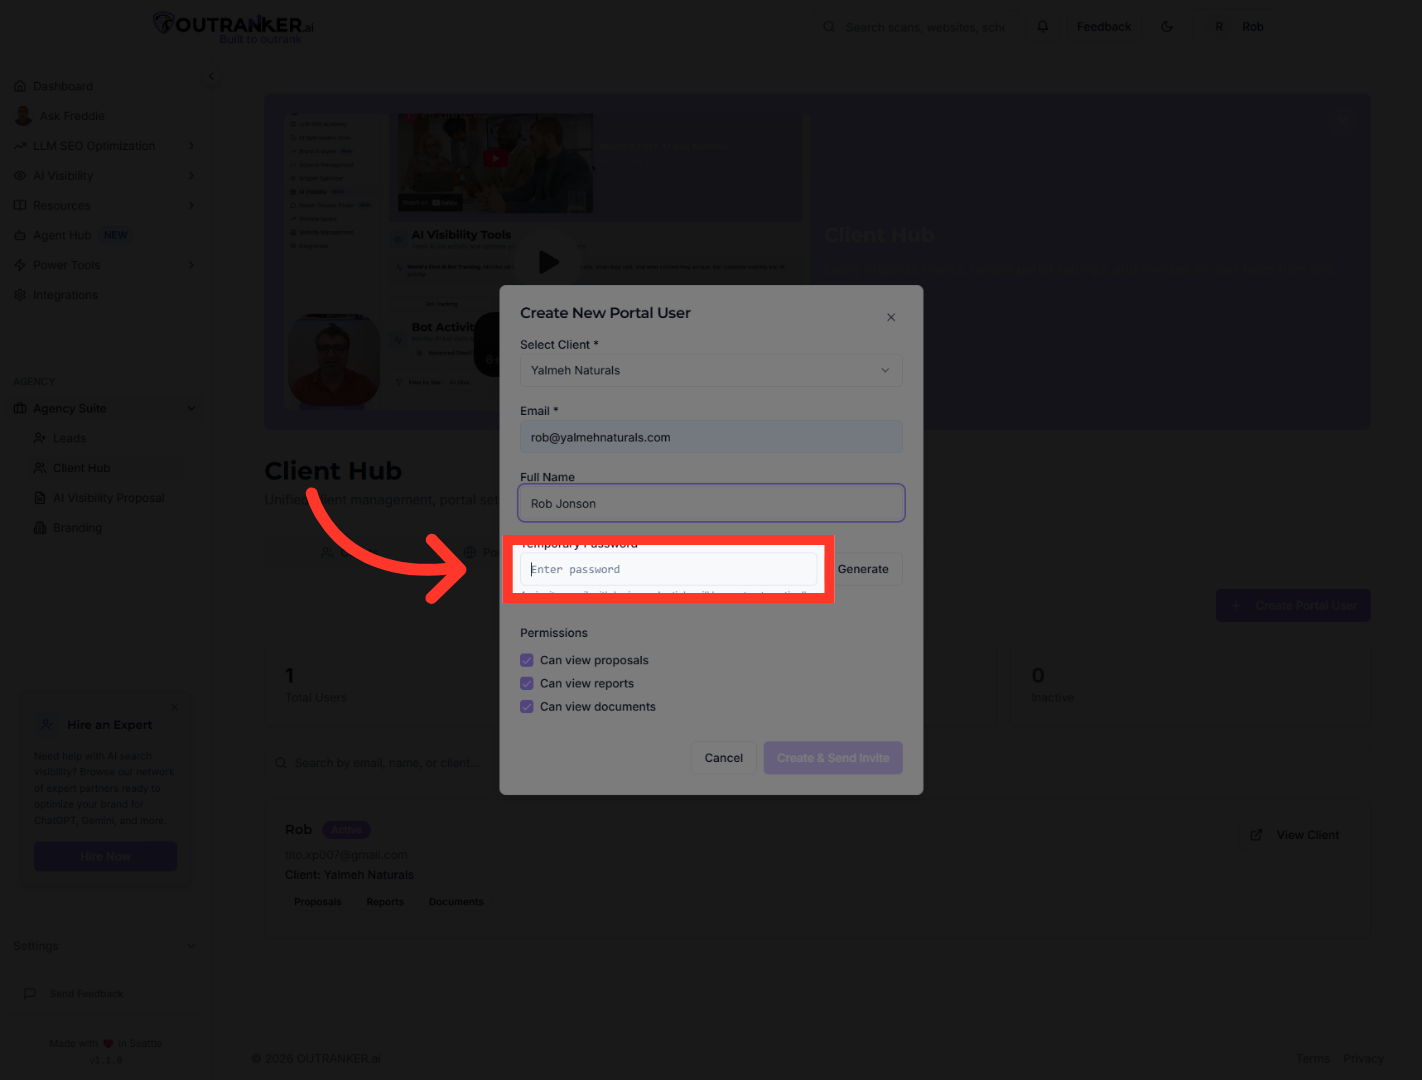
7. Select Temporary Password Field
“You can set a temporary password for the user.” “This provides secure initial access before they update their credentials.”
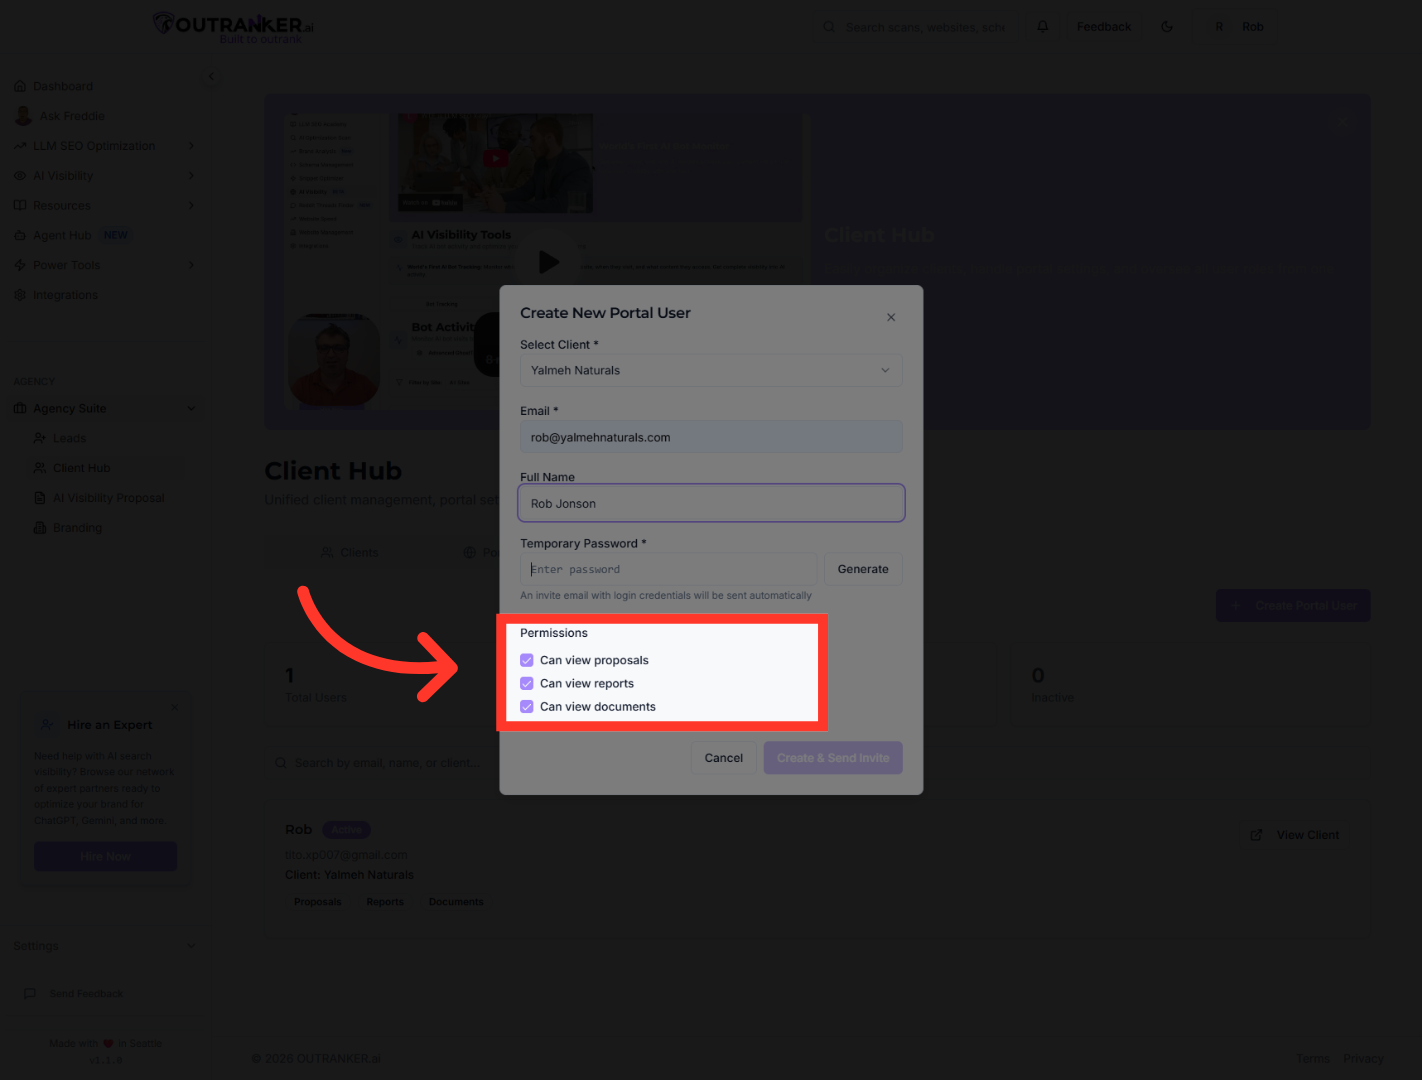
8. Assign User Permissions
“Choose the permissions this user should have.” “You can control access to proposals, reports, and documents — keeping everything secure and role-appropriate.”
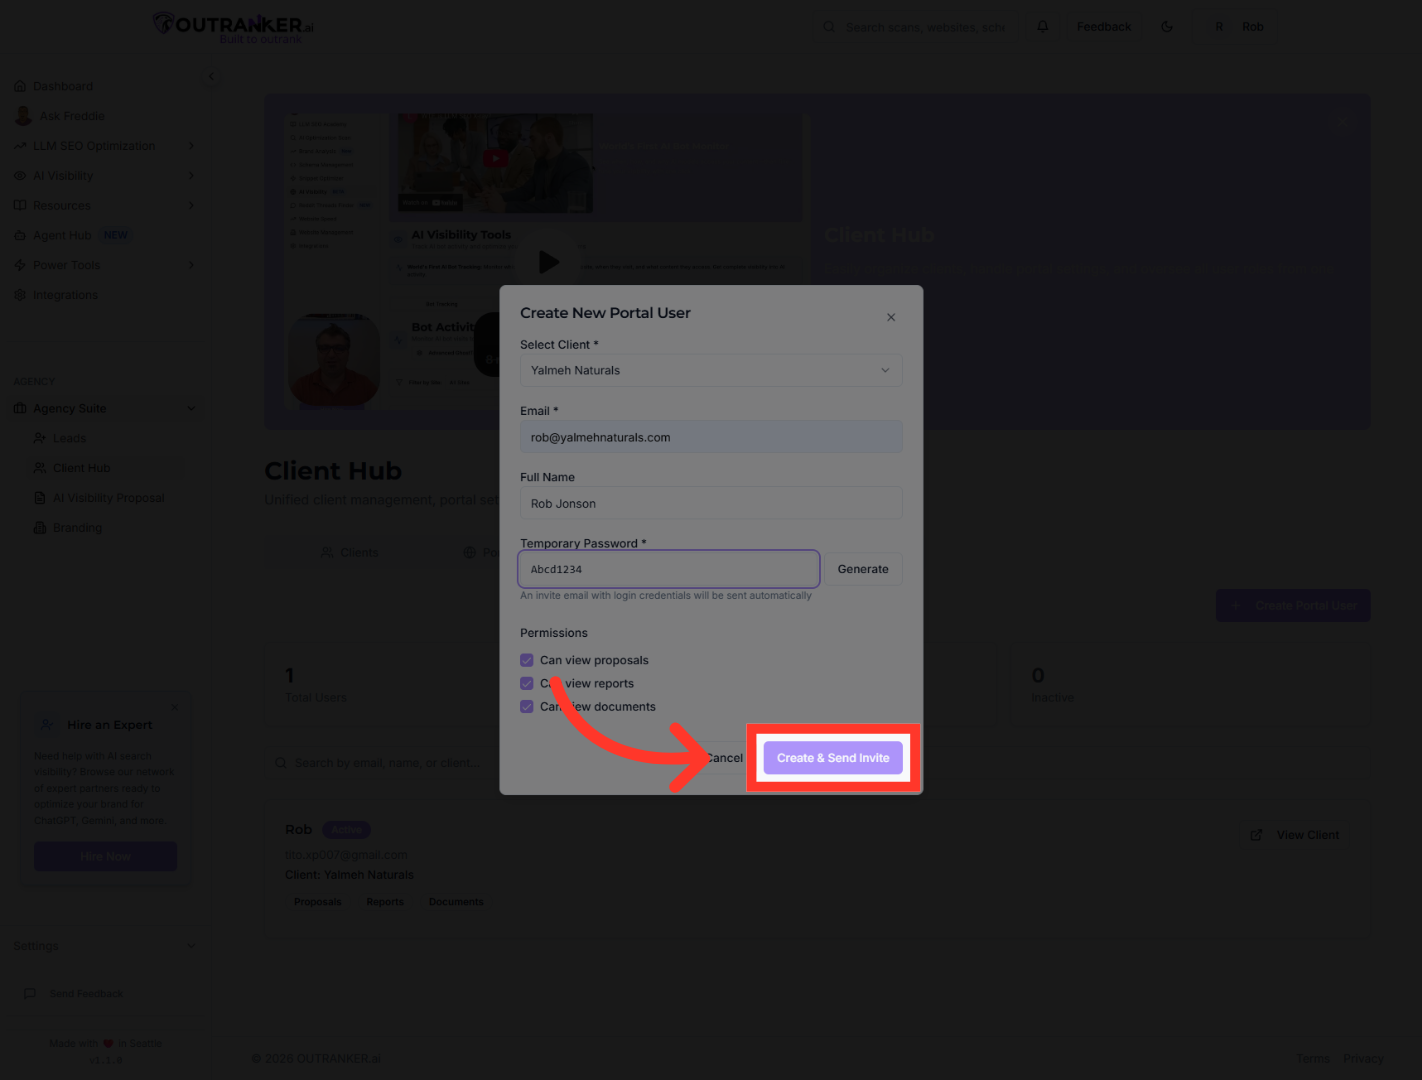
9. Create User and Send Invite
“Once everything is set, click Create & Send Invite.” “The user will receive an email invitation to access the portal.”
“That’s how you create new portal users efficiently in the Client Hub.” “You can now securely onboard clients and team members with the right level of access.”
