This tutorial explains how to enable and customize the lead scanner within the portal settings on Client Hub.
Go to www.outranker.ai
1. Introduction
“In this video, you’ll learn how to enable and fully customize the Lead Scanner inside your Client Hub portal.” “The Lead Scanner allows prospects to scan their website, get an AI visibility score, and instantly become leads in your agency dashboard.” “We’ll walk through branding, form customization, calls-to-action, and notifications.”
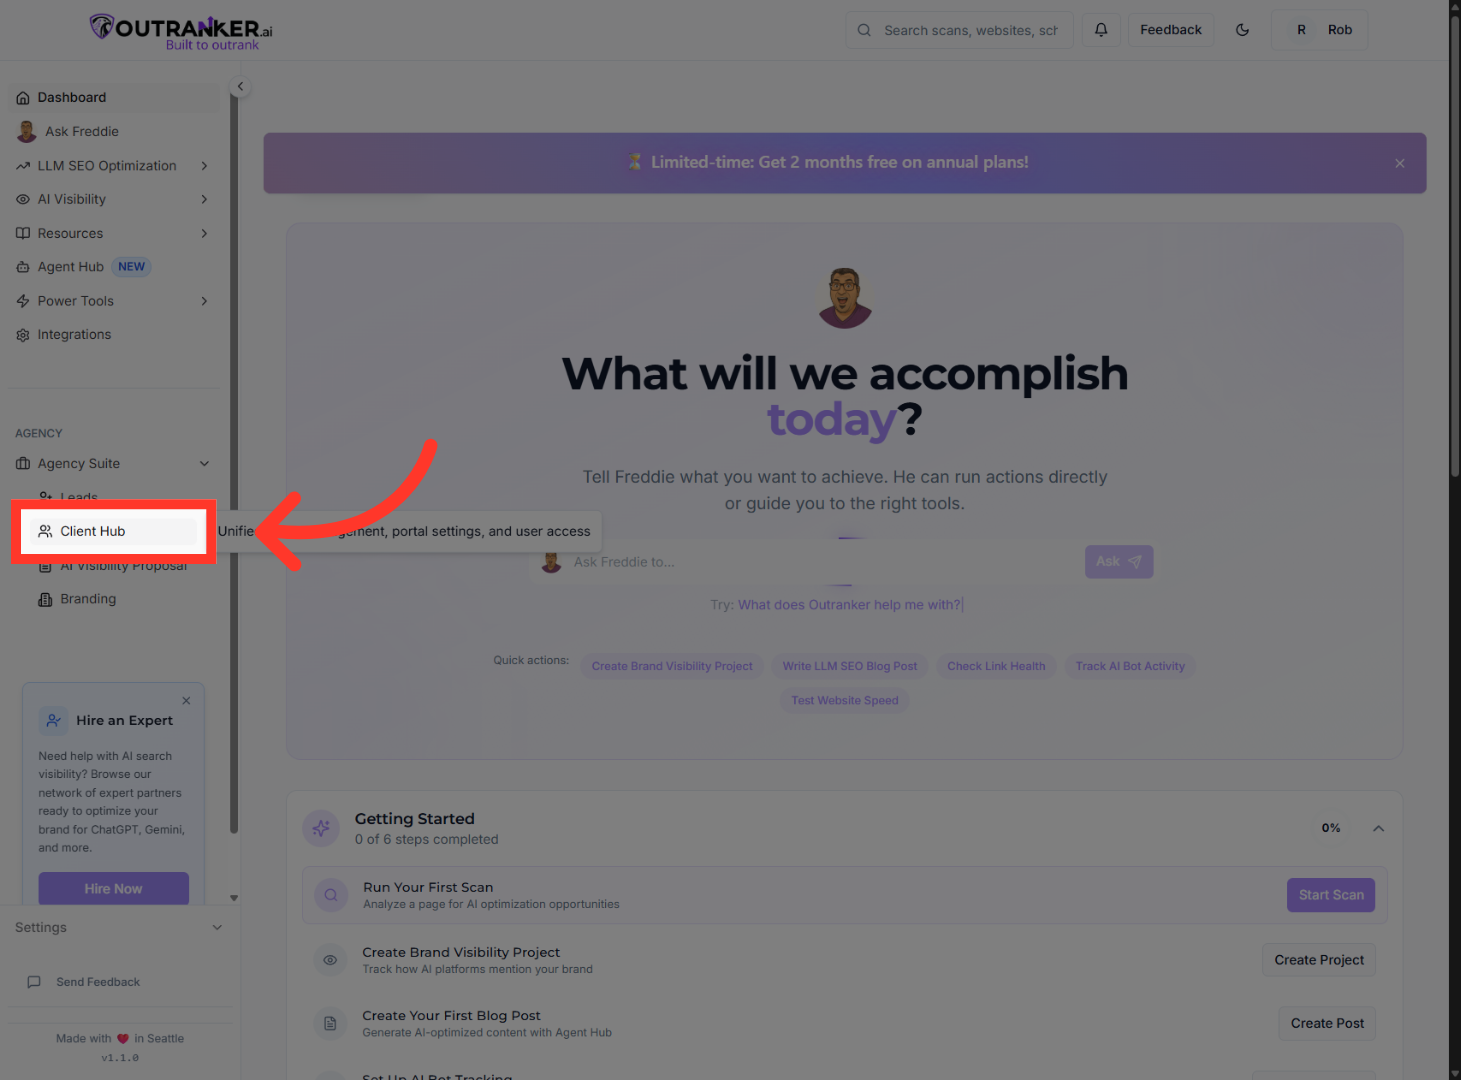
2. Open Client Hub
“Start by logging into your Outranker.ai account.” “From the left menu, click Agency Suite, then open Client Hub.”
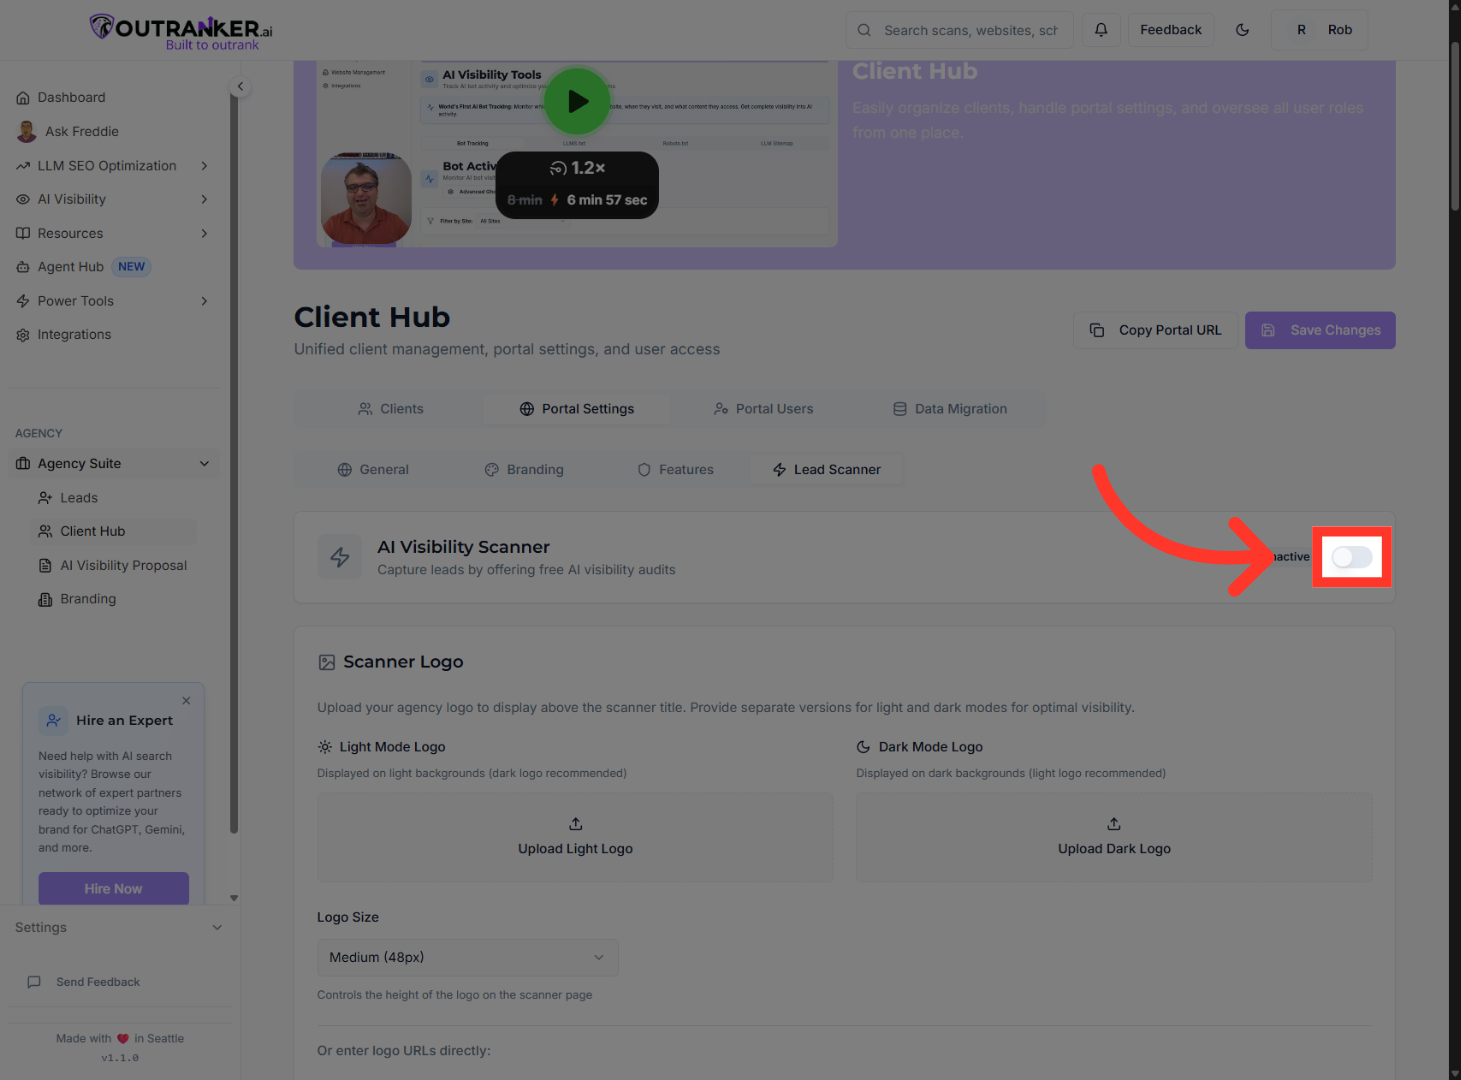
3. Select Lead Scanner Section
“Inside Client Hub, click Portal Settings, then select Lead Scanner.”

4. Enable Lead Scanner
“First, turn the Lead Scanner toggle on.” “This activates the scanner and makes it available in your client portal.”
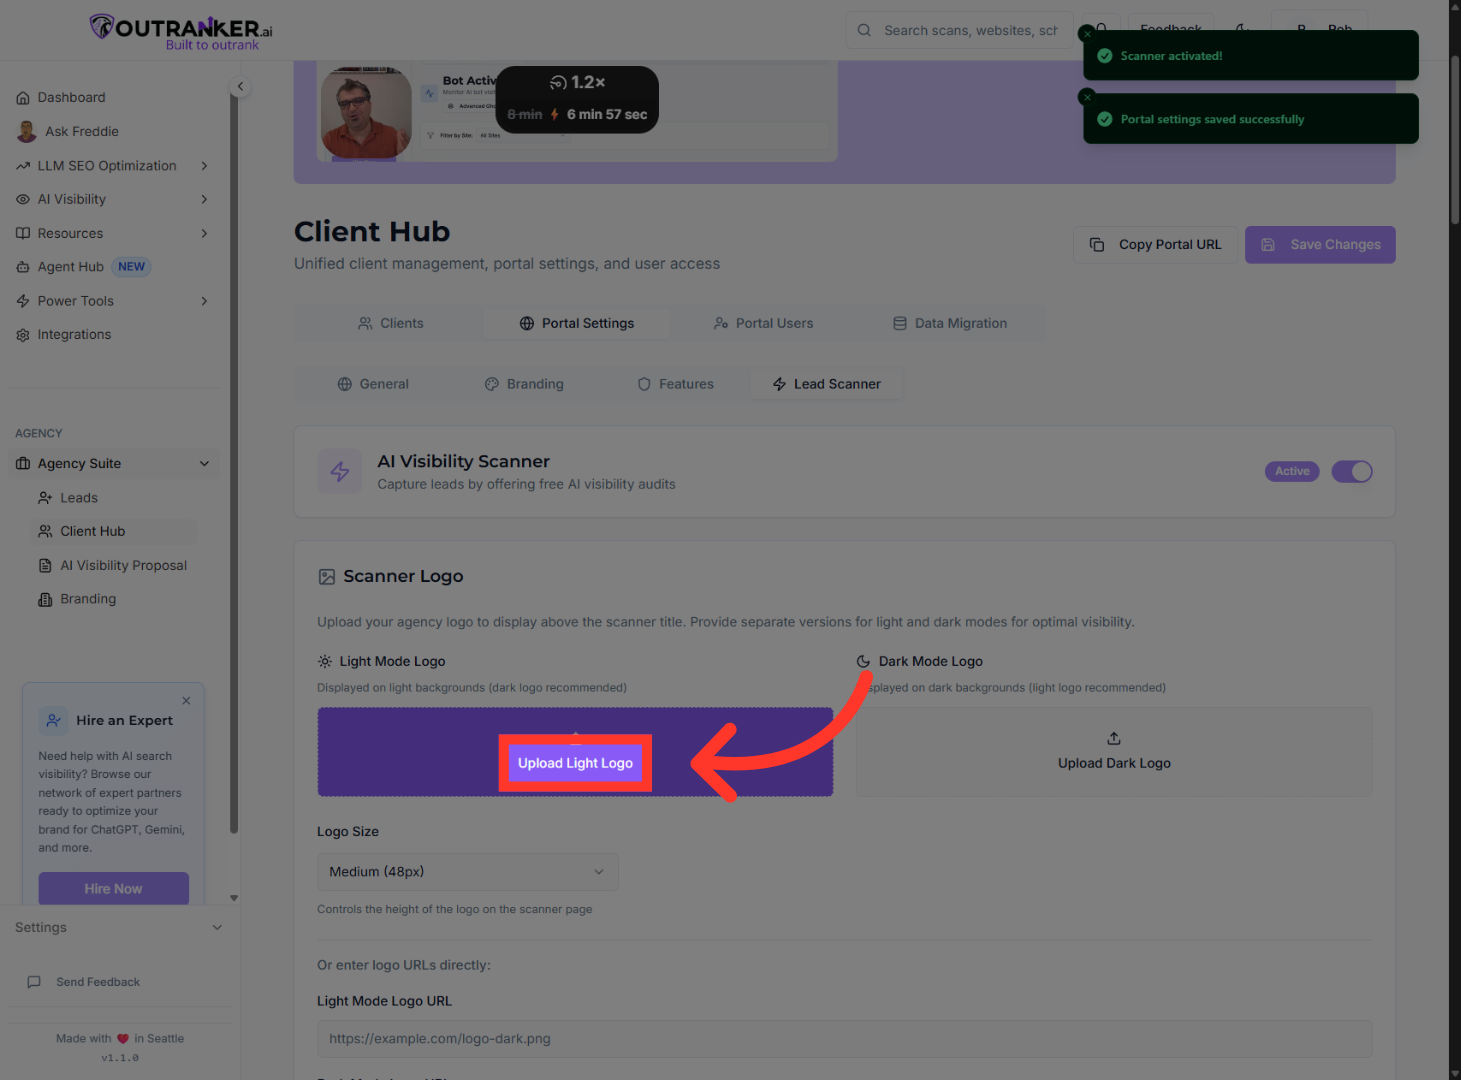
5. Upload Light Logo
“Next, upload your Light Logo and Dark Logo.” “These logos ensure your branding looks great in both light and dark mode.” “You can also adjust logo size or use a direct logo URL if needed.”
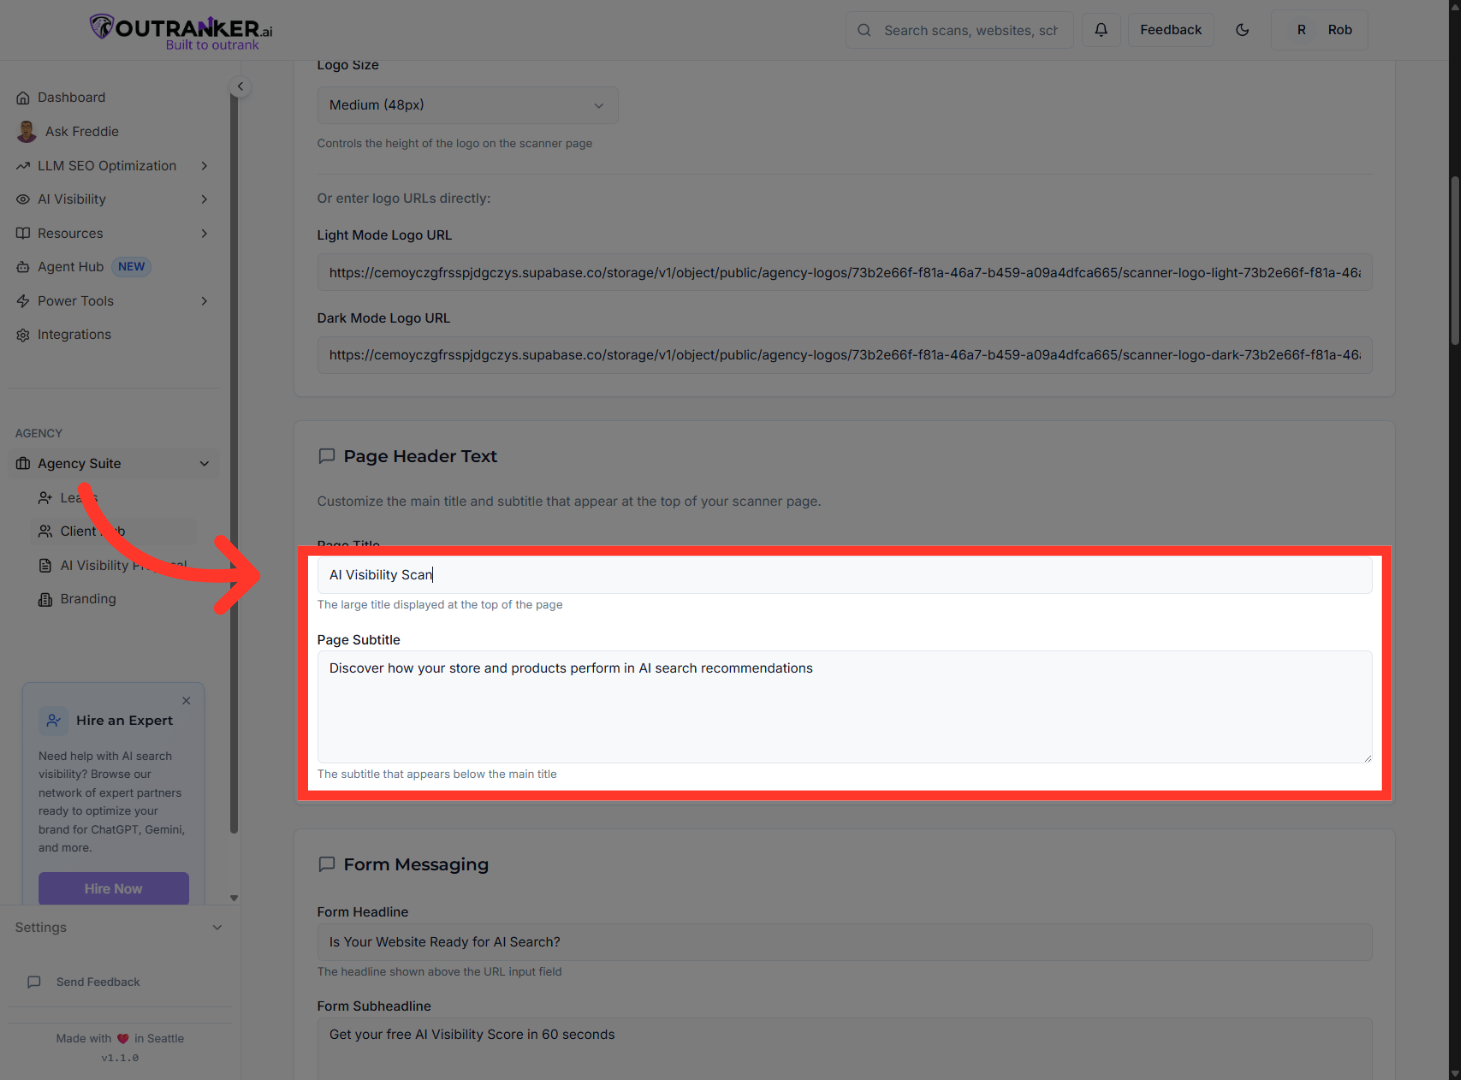
6. Edit Page Title
“Customize the Page Title and Page Subtitle to clearly explain what users will get.” “This is your headline moment — keep it benefit-focused and simple.”
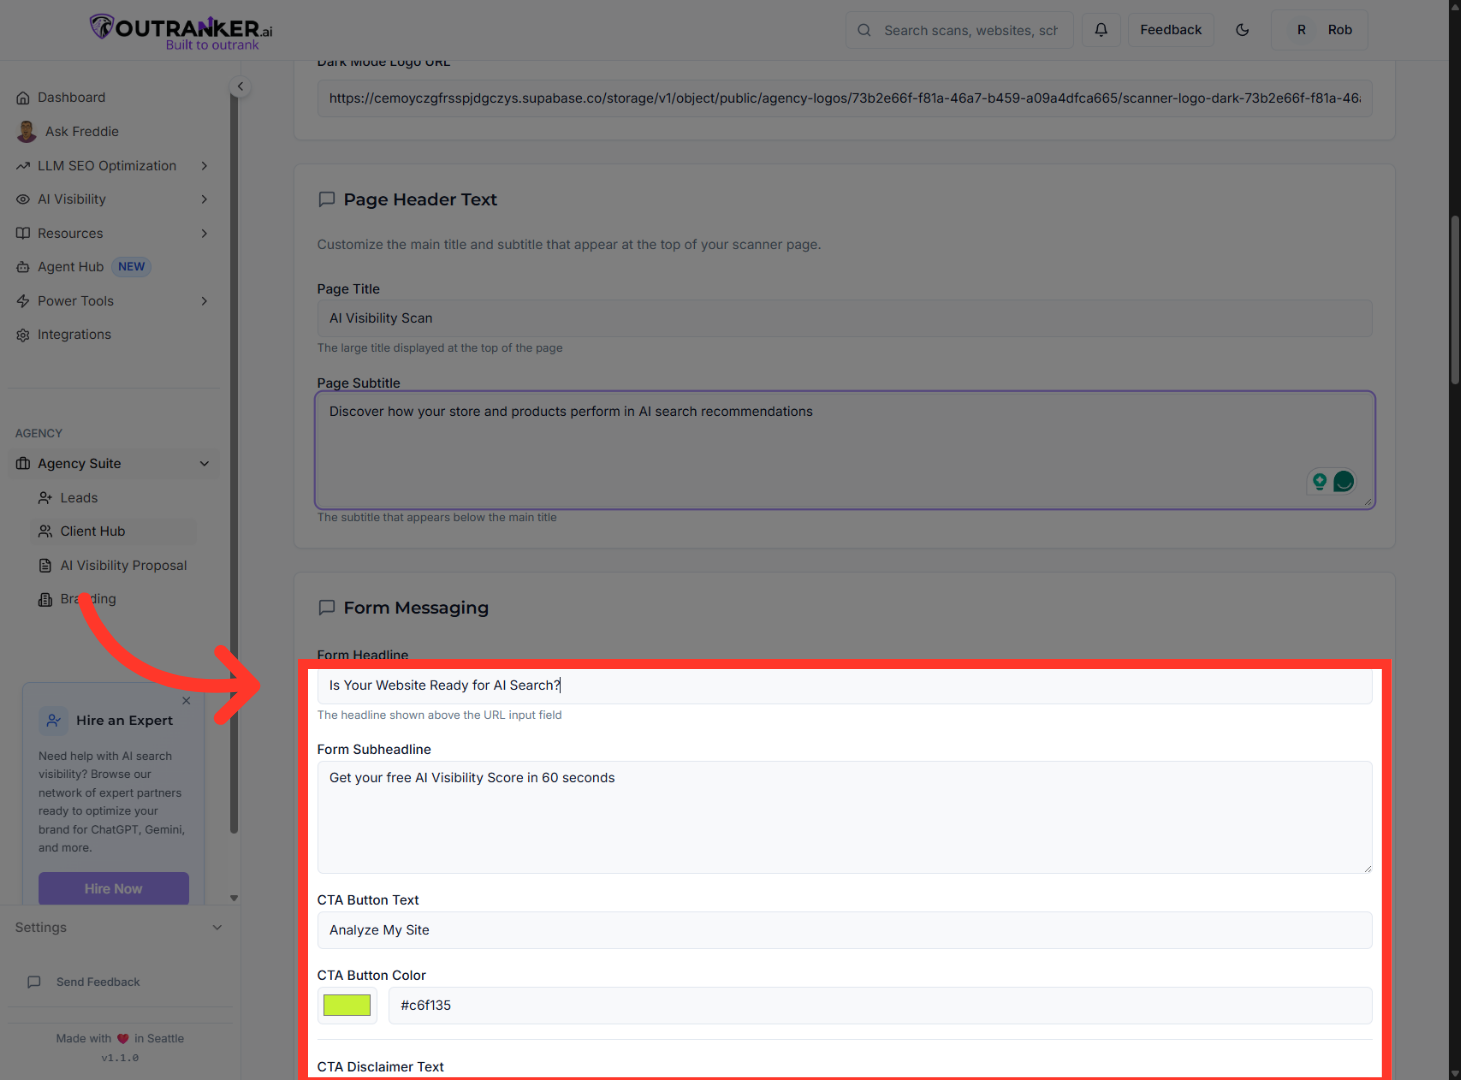
7. Edit Form Headline
“Now customize the lead capture form.” “Update the Form Headline, Subheadline, and CTA button text.” “You can also choose the CTA button color to match your branding.” “Review all form text to ensure it aligns with your offer and tone.”
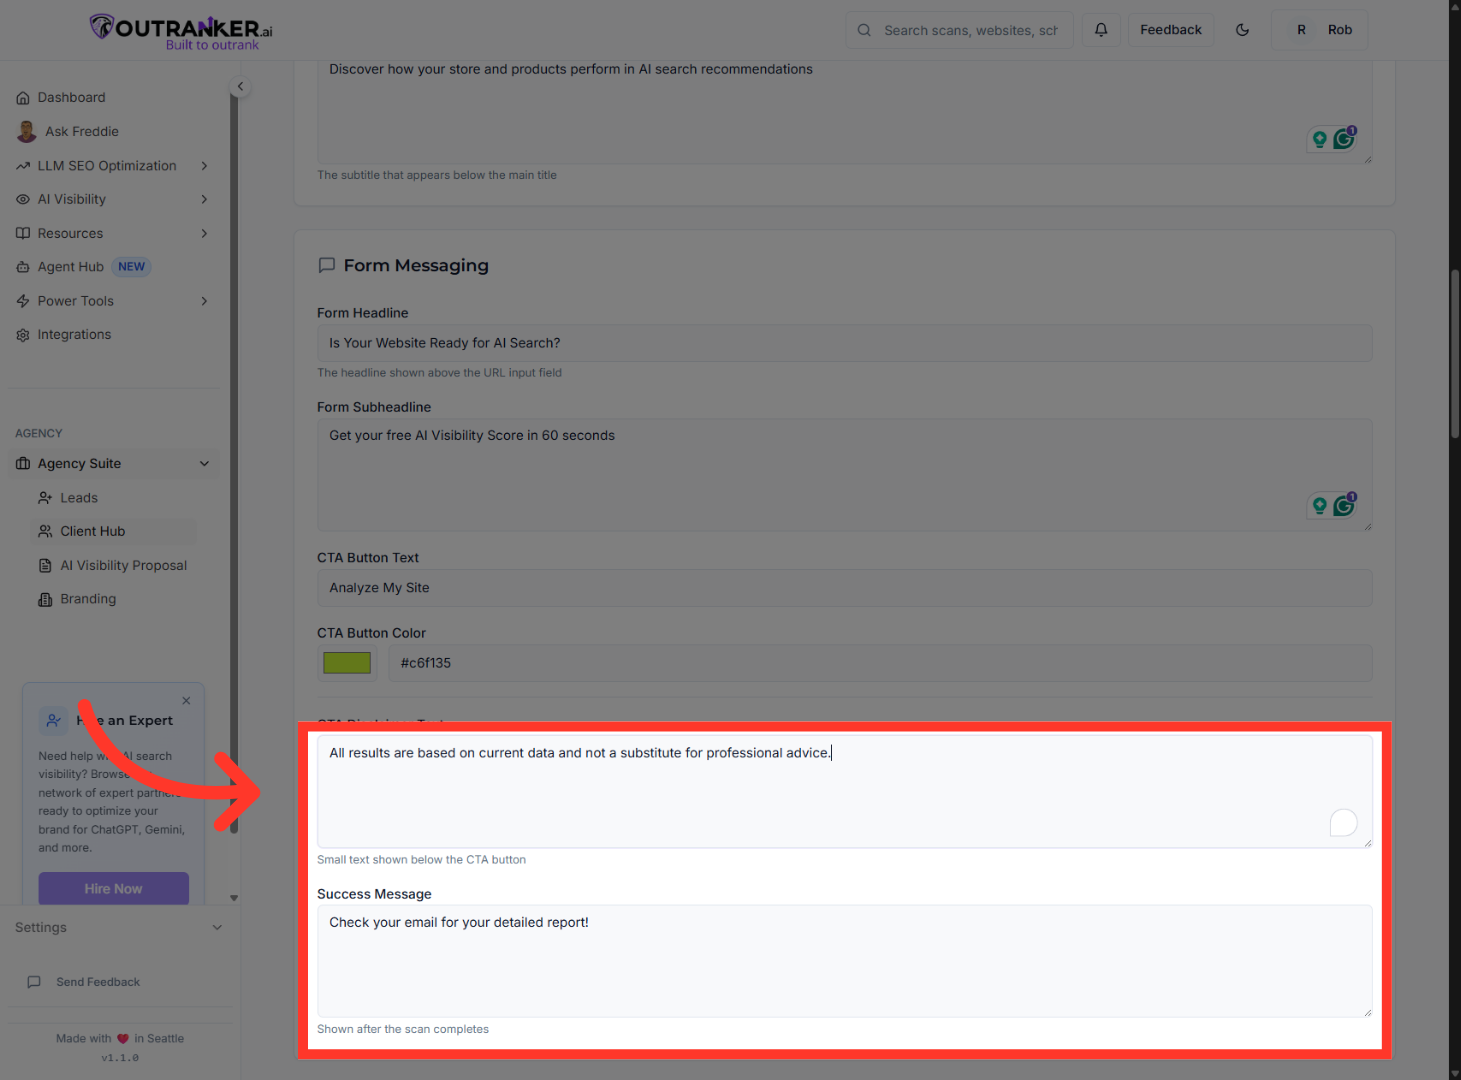
8. Edit CTA Disclaimer Text
“You can edit the CTA disclaimer text for transparency.” “Then customize the Success Message users see after submitting their scan.”
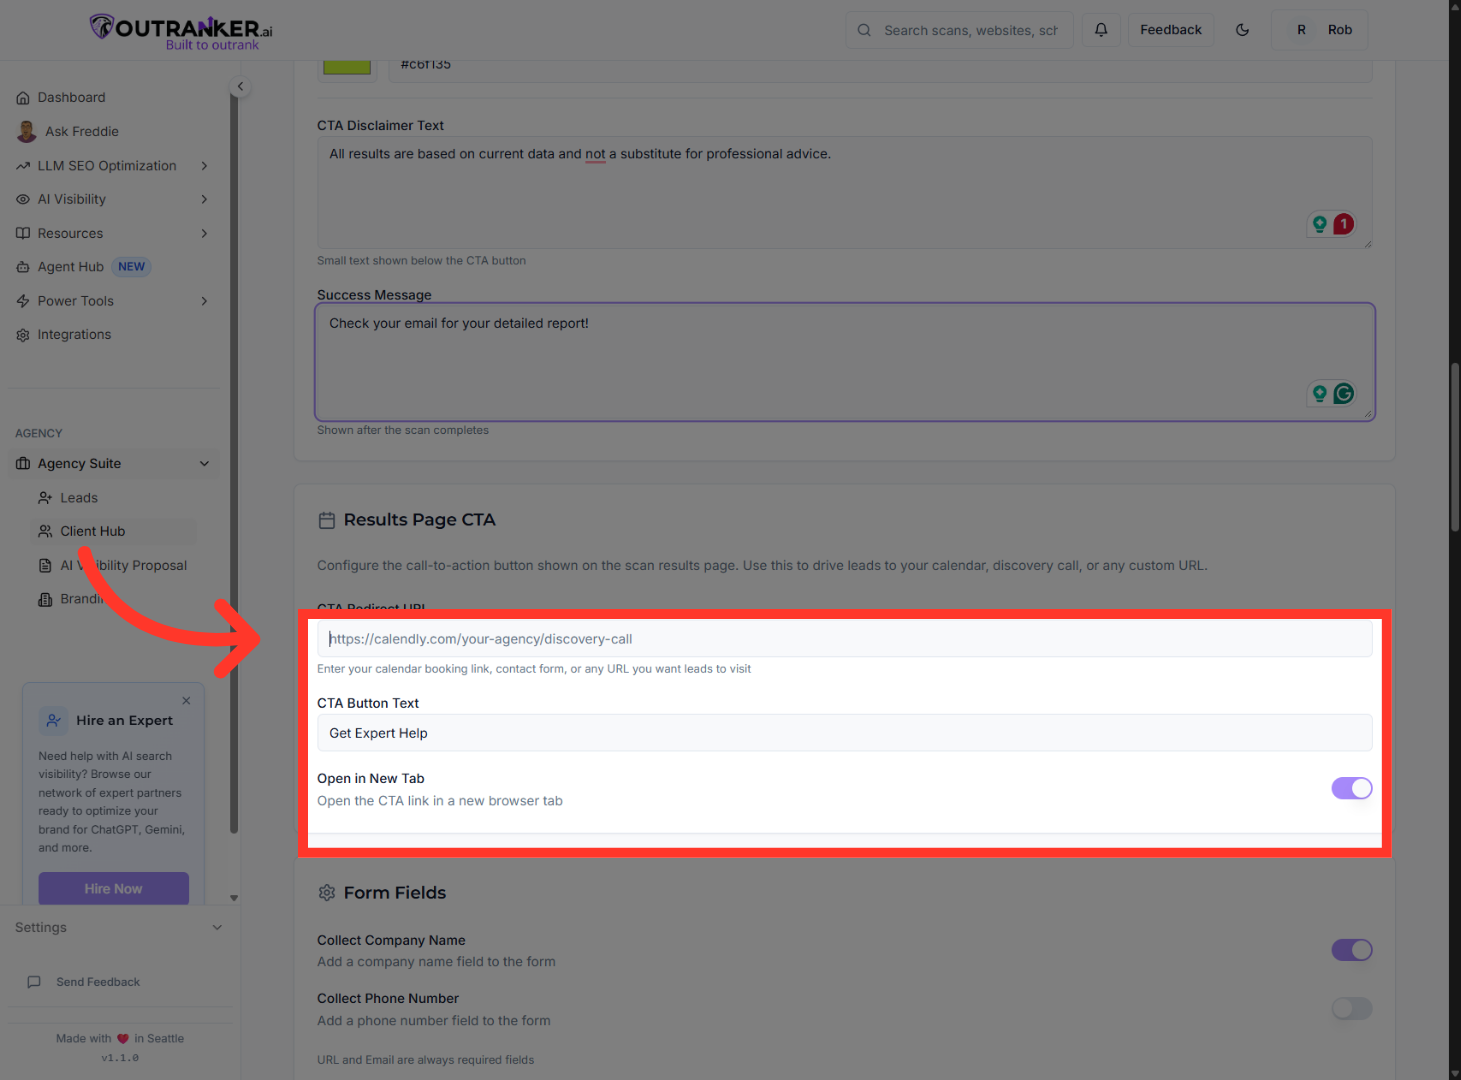
9. Set CTA Redirect URL
“Set a CTA Redirect URL to send users to a booking page, offer, or funnel.” “You can also update the results-page CTA button text for stronger conversions.”
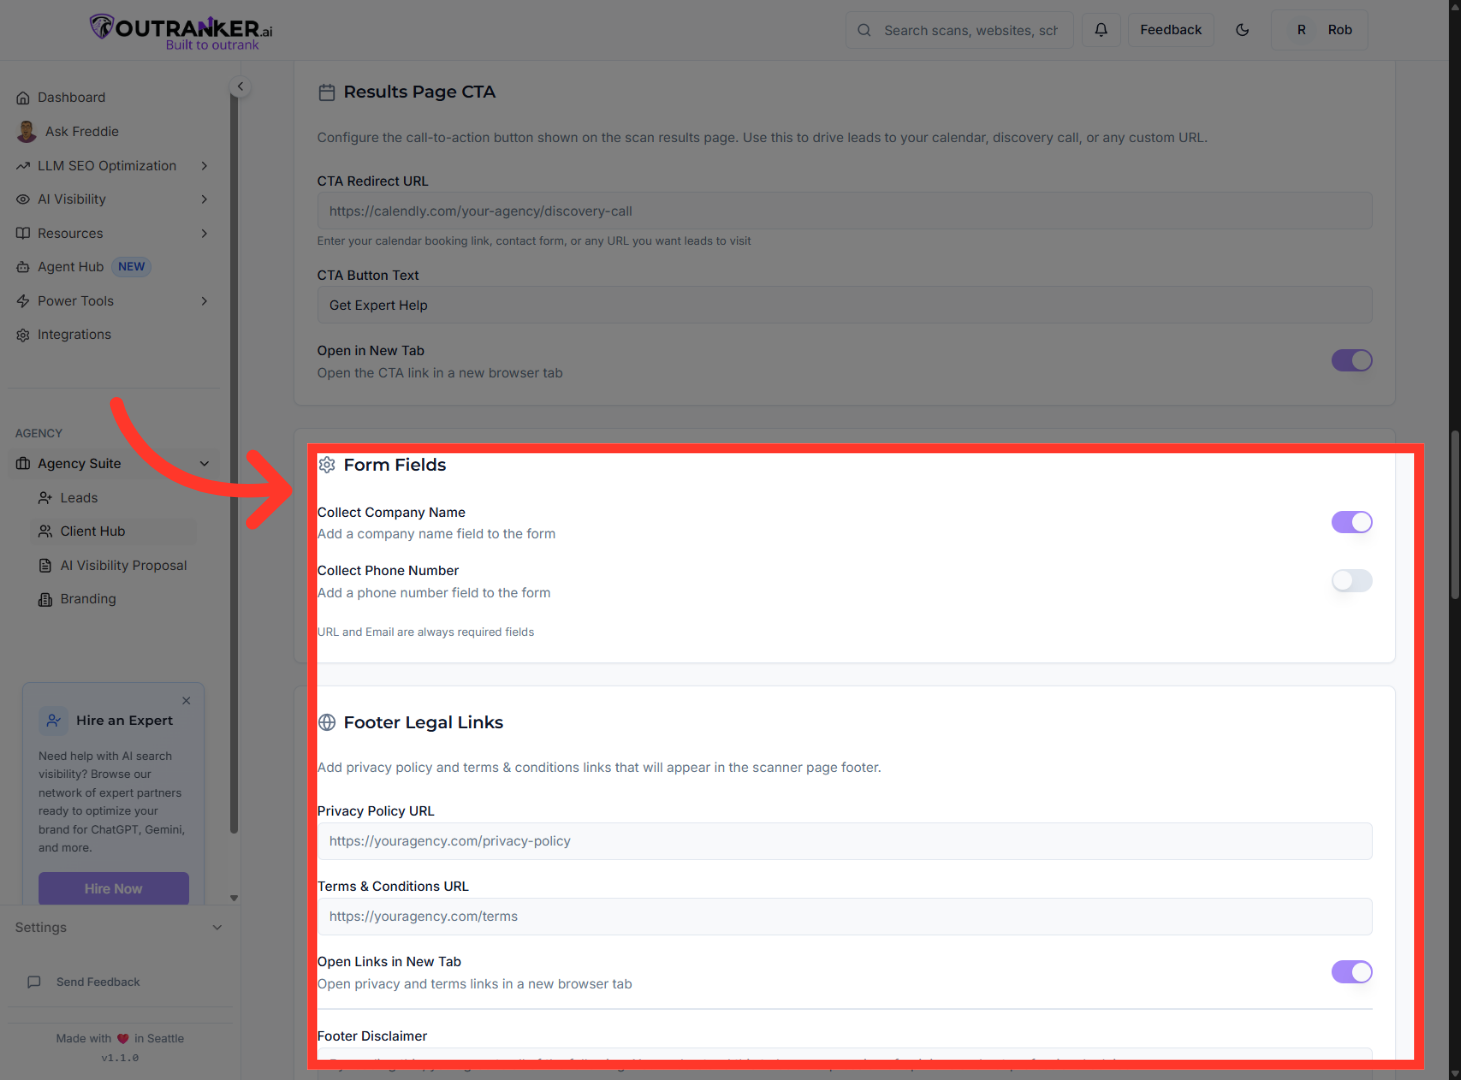
10. Enable Option Three
“Enable optional form fields like company name or phone number.” “Add your Privacy Policy, Terms & Conditions, footer disclaimer, and copyright text.” “These help build trust and ensure compliance.”
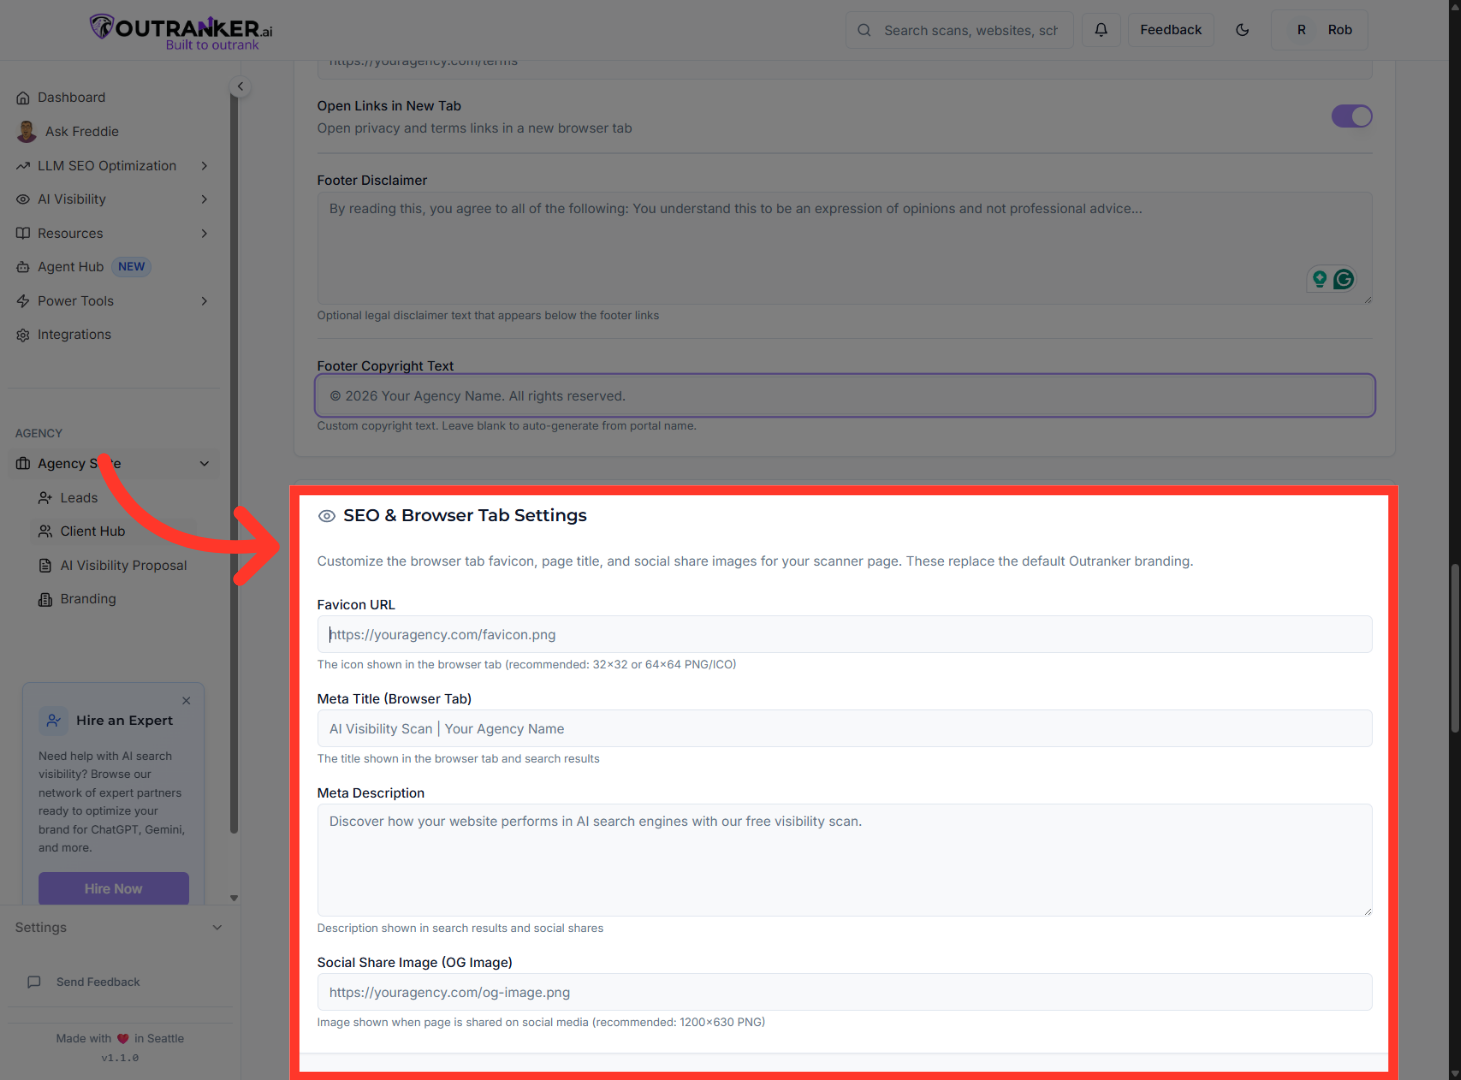
11. Edit Favicon URL
“Customize the Meta Title, Meta Description, and Social Share Image.” “This ensures your Lead Scanner page looks professional when shared.”
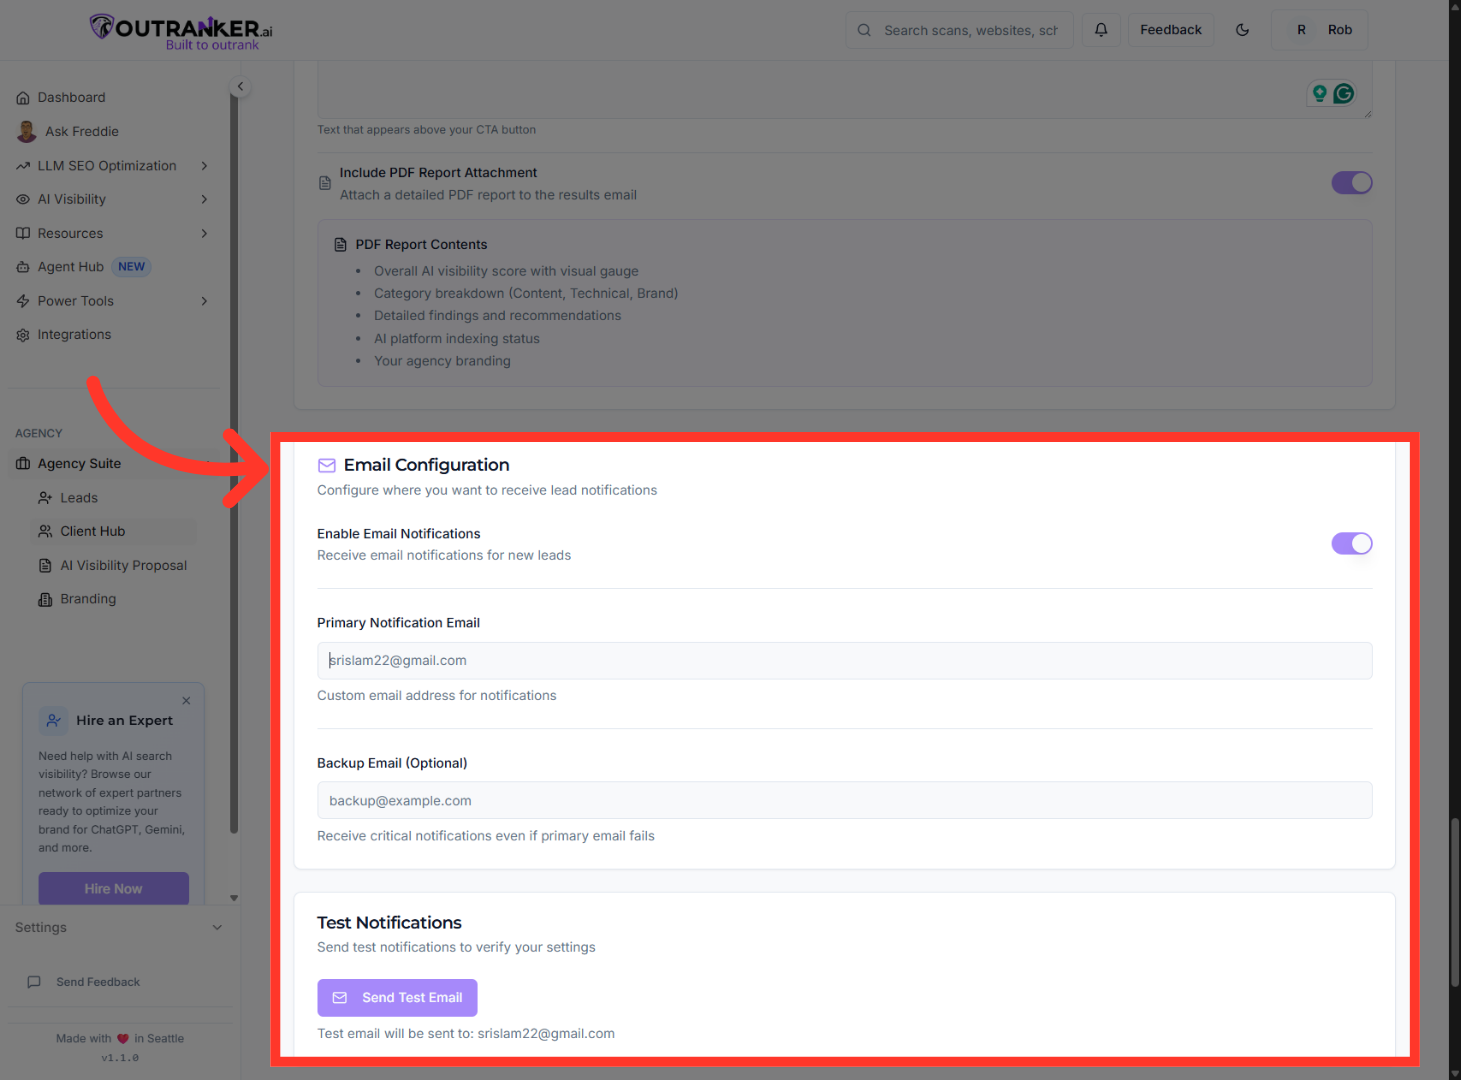
12. Edit Primary Notification Email
“Next, customize lead notification emails.” “Set the email subject, opening message, and CTA content.” “Choose which notification details to include.” “You can also connect Slack to receive instant lead alerts.”
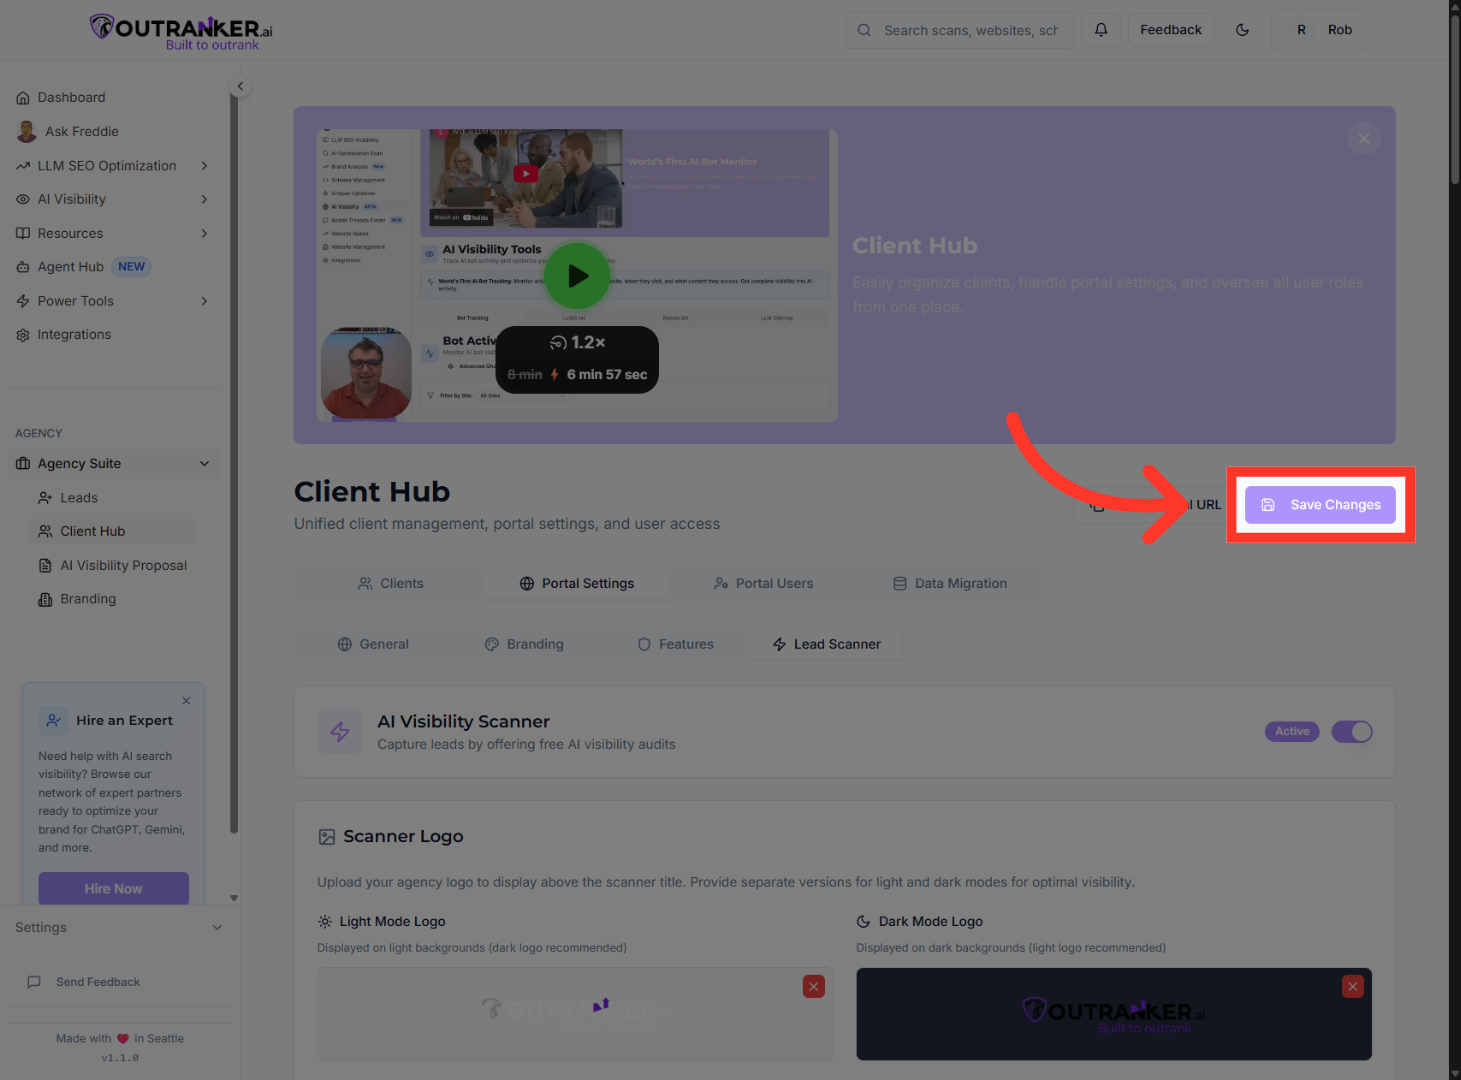
13. Save All Changes
“Before finishing, send a test email to confirm everything works.” “Then click Save Changes to apply all your Lead Scanner settings.”
“That’s how you enable and customize the Lead Scanner in your Client Hub portal.” “You now have a fully branded, conversion-ready lead capture tool connected directly to your agency dashboard.”
