This tutorial explains how to enable or disable features within the Client Hub portal settings.
Go to www.outranker.ai
1. Introduction
“In this video, you’ll learn how to enable or disable features in the Client Hub portal settings.” “Feature controls allow you to decide exactly what your clients can see and access — keeping the portal clean, focused, and aligned with your services.”
2. Access Portal Settings
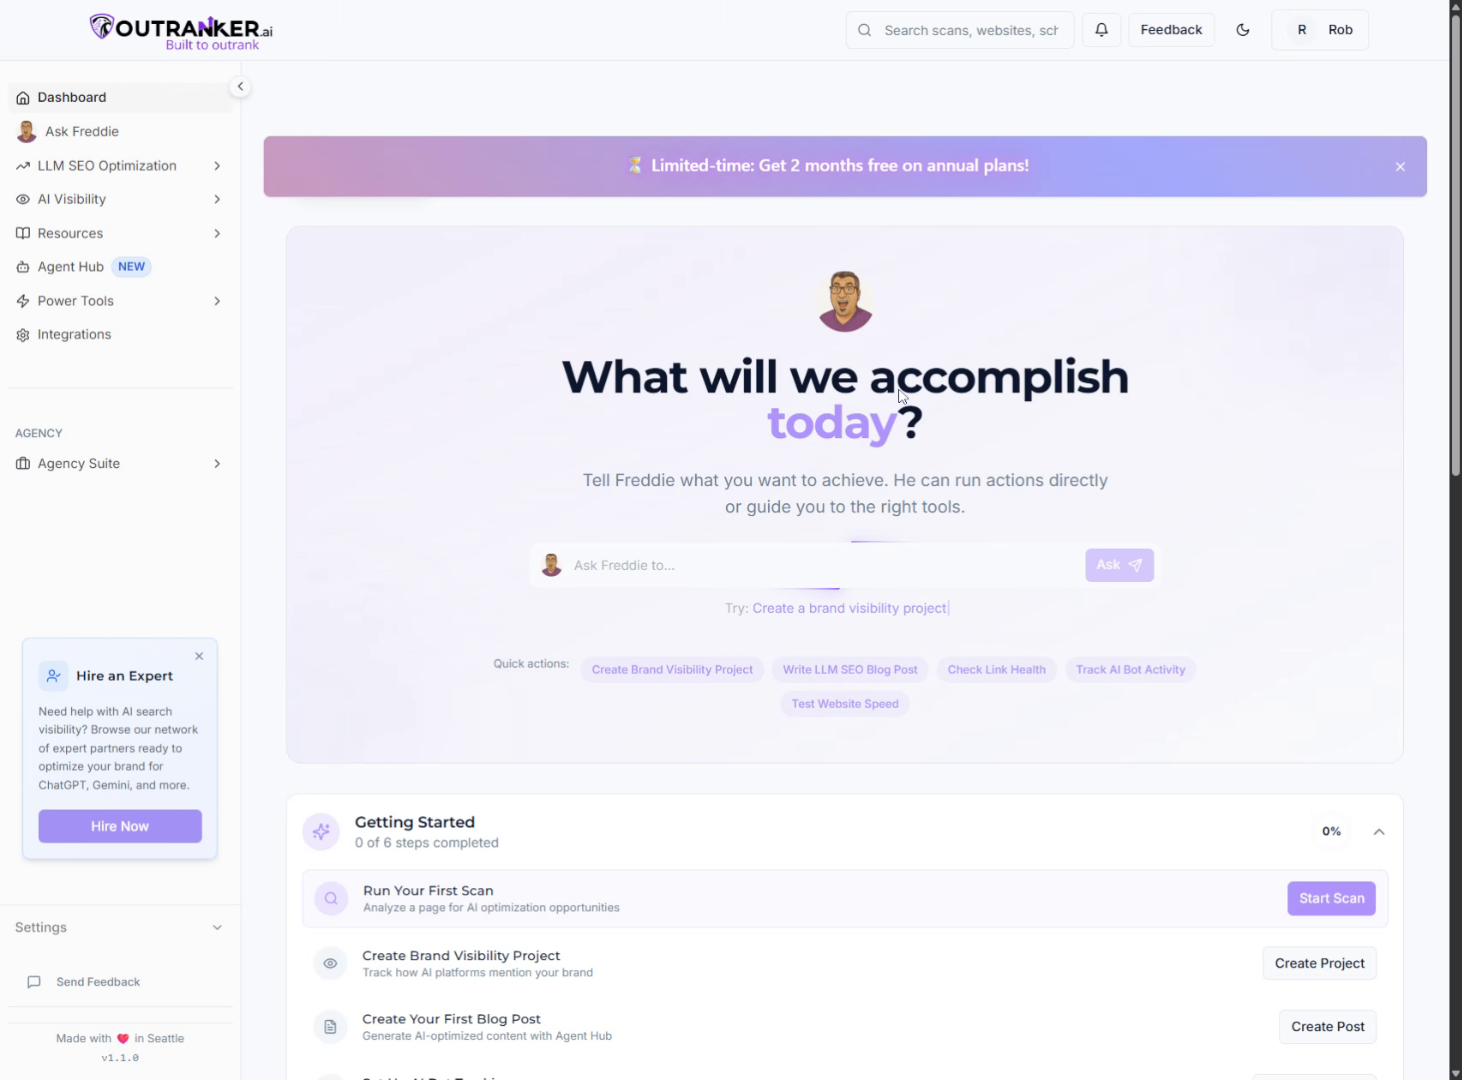
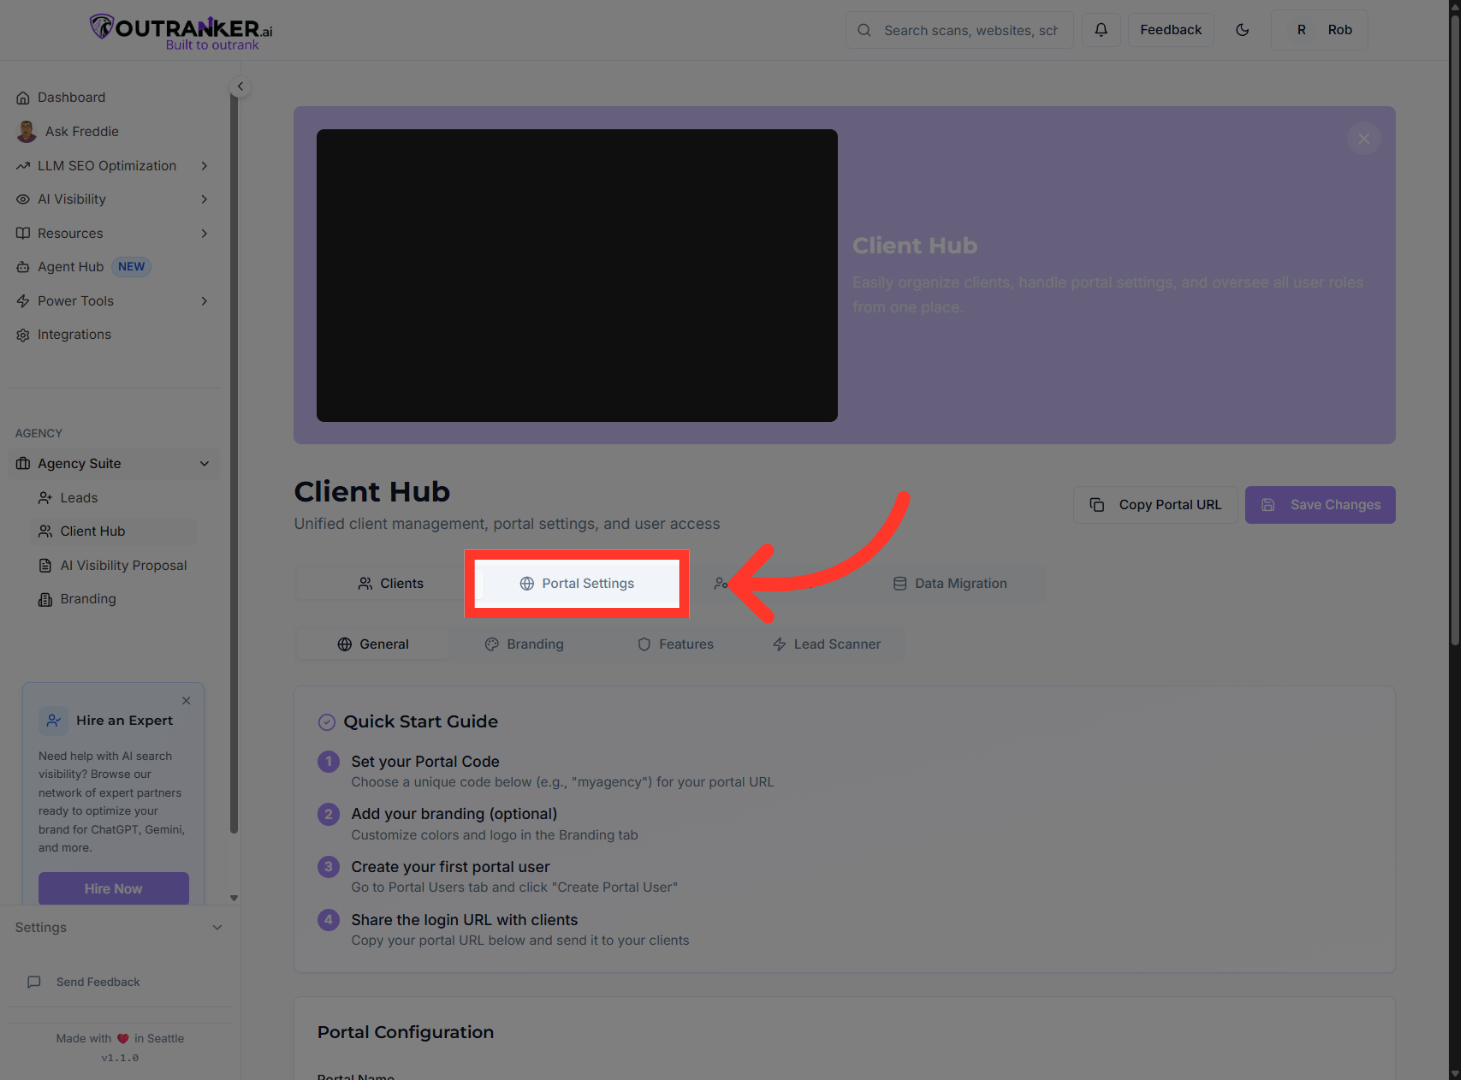
“Start by logging into your Outranker.ai account.” “From the left menu, click Agency Suite, then open Client Hub.” “Inside Client Hub, click Portal Settings to access configuration options.”
3. Select Features Tab
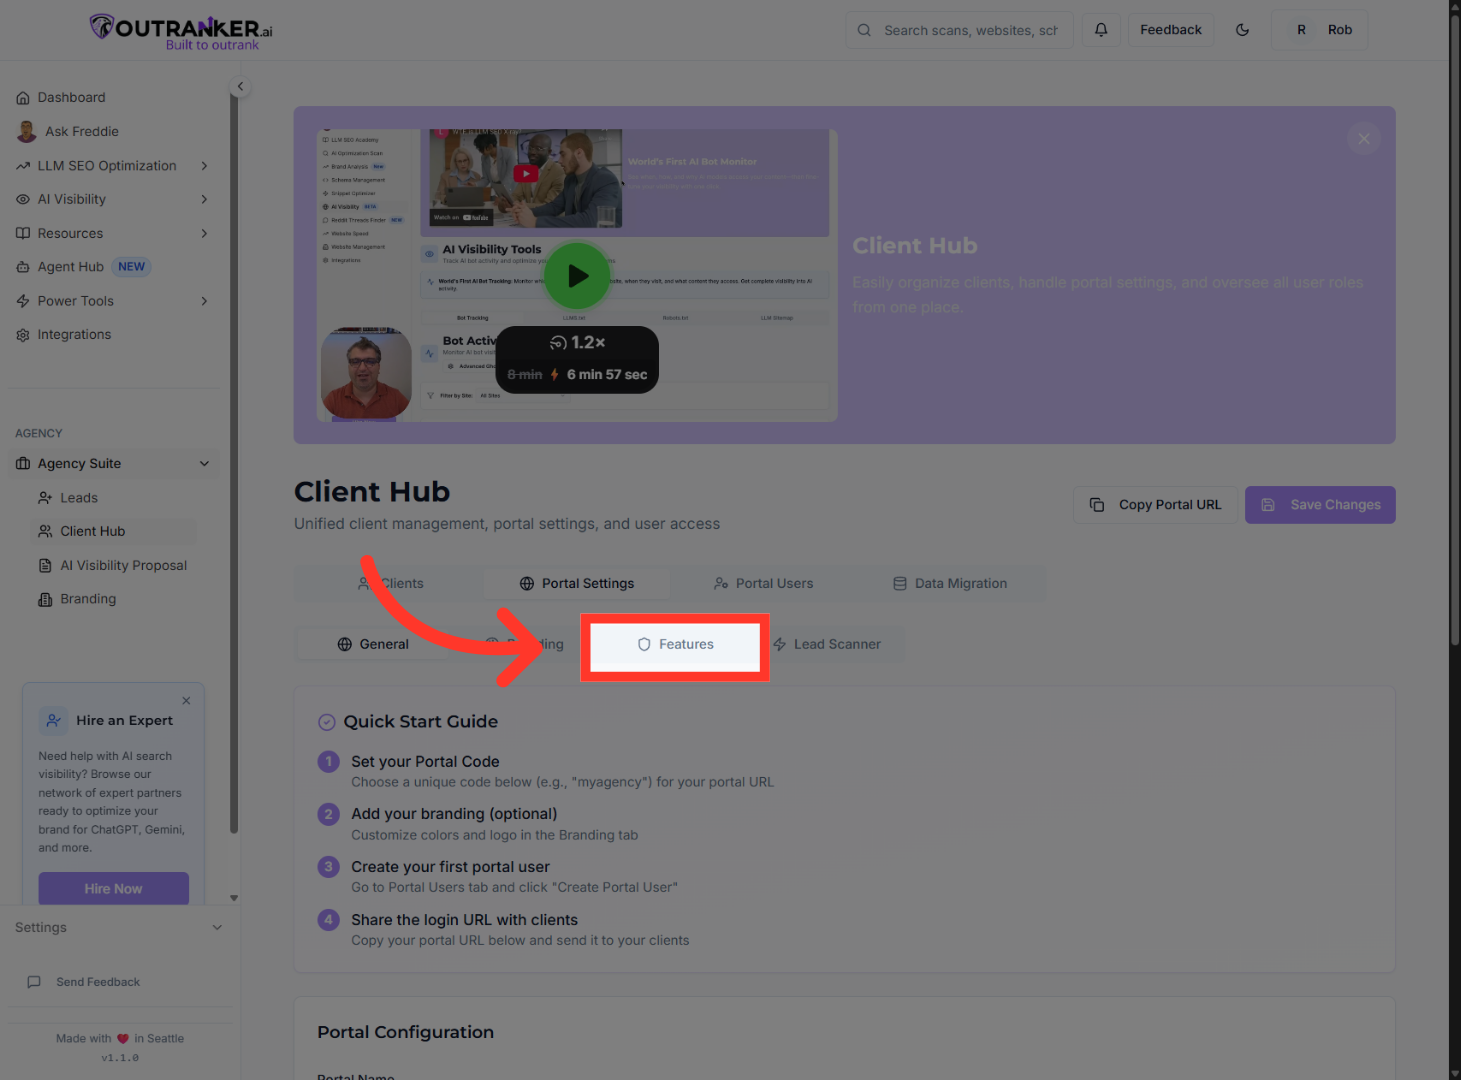
“Within Portal Settings, select the Features tab.” “This is where you control which tools and sections are visible inside the client portal.”
4. Enable First Feature
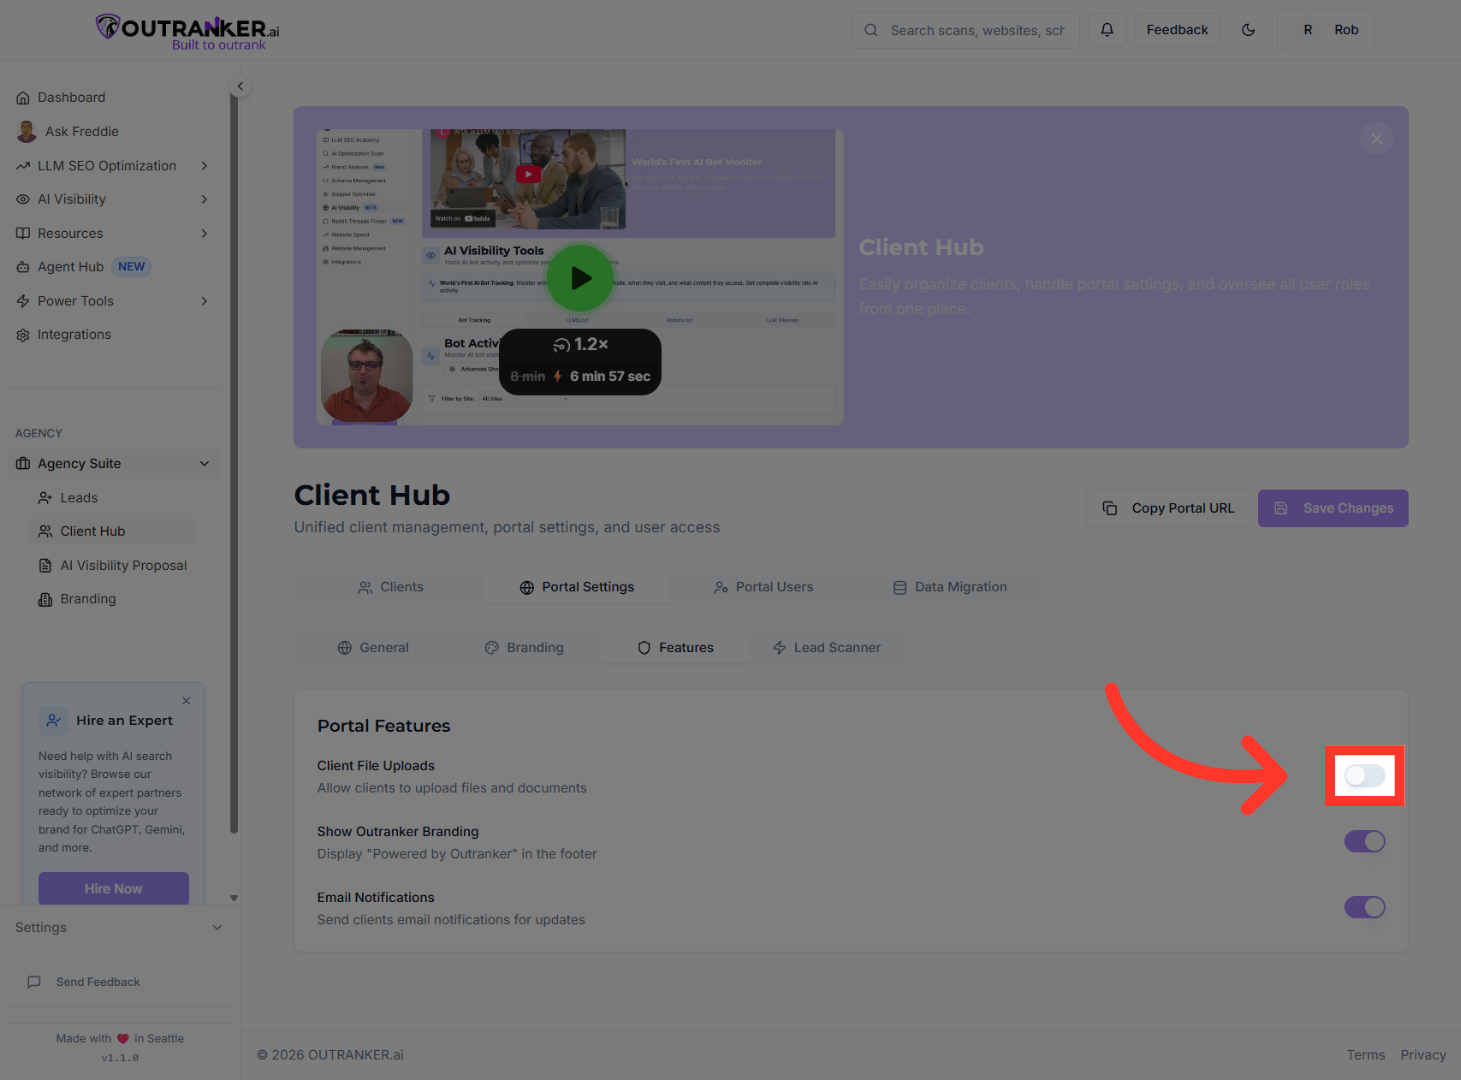
“Each feature has a simple on-off toggle.” “Turn a feature on to make it available to clients.” “Turn it off to hide it from the portal.” “This allows you to customize the client experience based on the services you offer.”
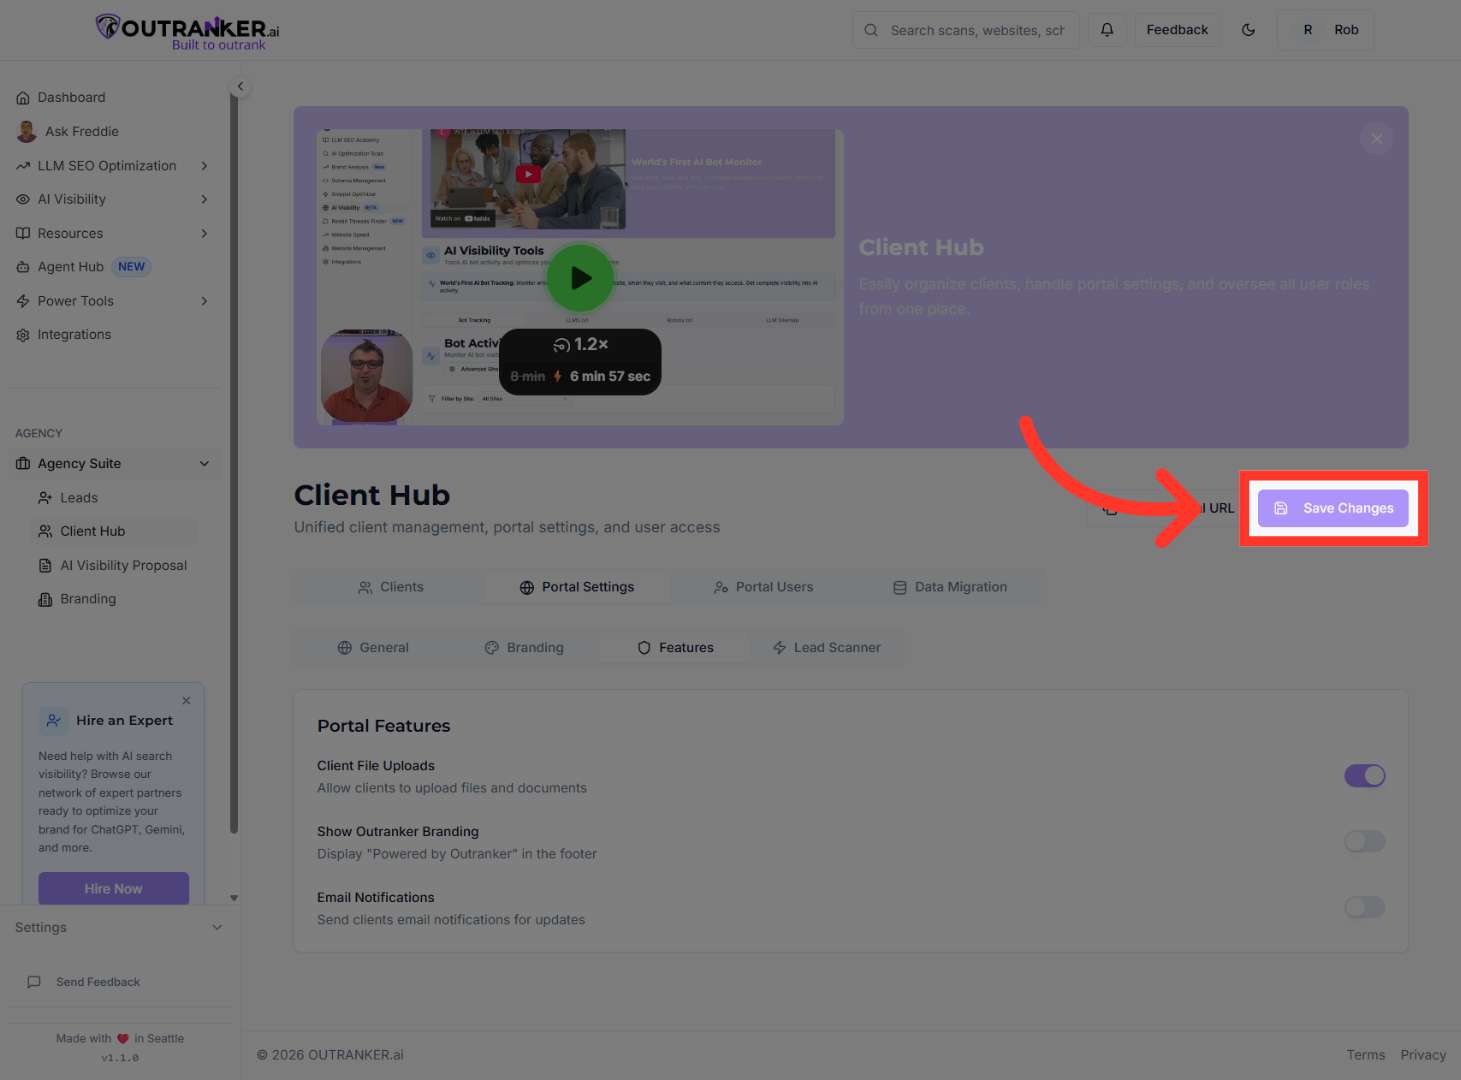
5. Save Feature Changes
“After making your changes, click Save Changes.” “Your updated feature settings will now apply to all clients accessing the portal.”
“That’s how you enable or disable features in the Client Hub portal settings.” “You’re now in full control of your client portal experience.”
