This tutorial explains how to customize your branding within the Agency Suite portal settings.
Go to www.outranker.ai
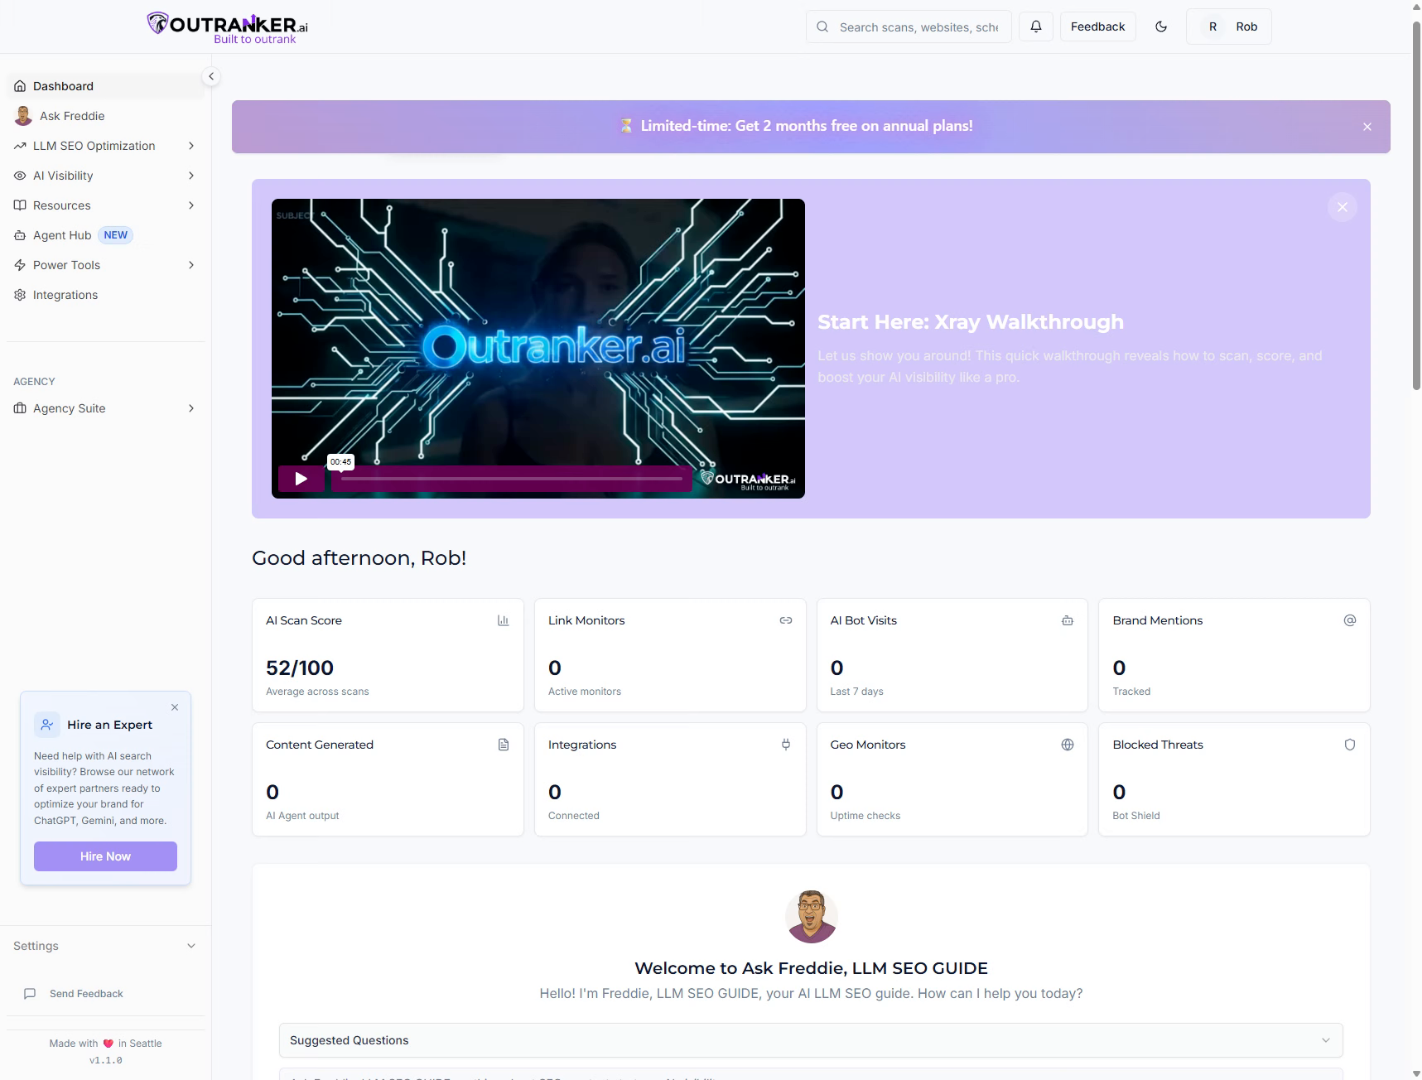
1. Introduction
“In this video, you’ll learn how to customize your branding inside the Agency Suite portal.” “Branding your client portal helps create a professional, white-labeled experience that feels like your own agency — not a third-party tool.”
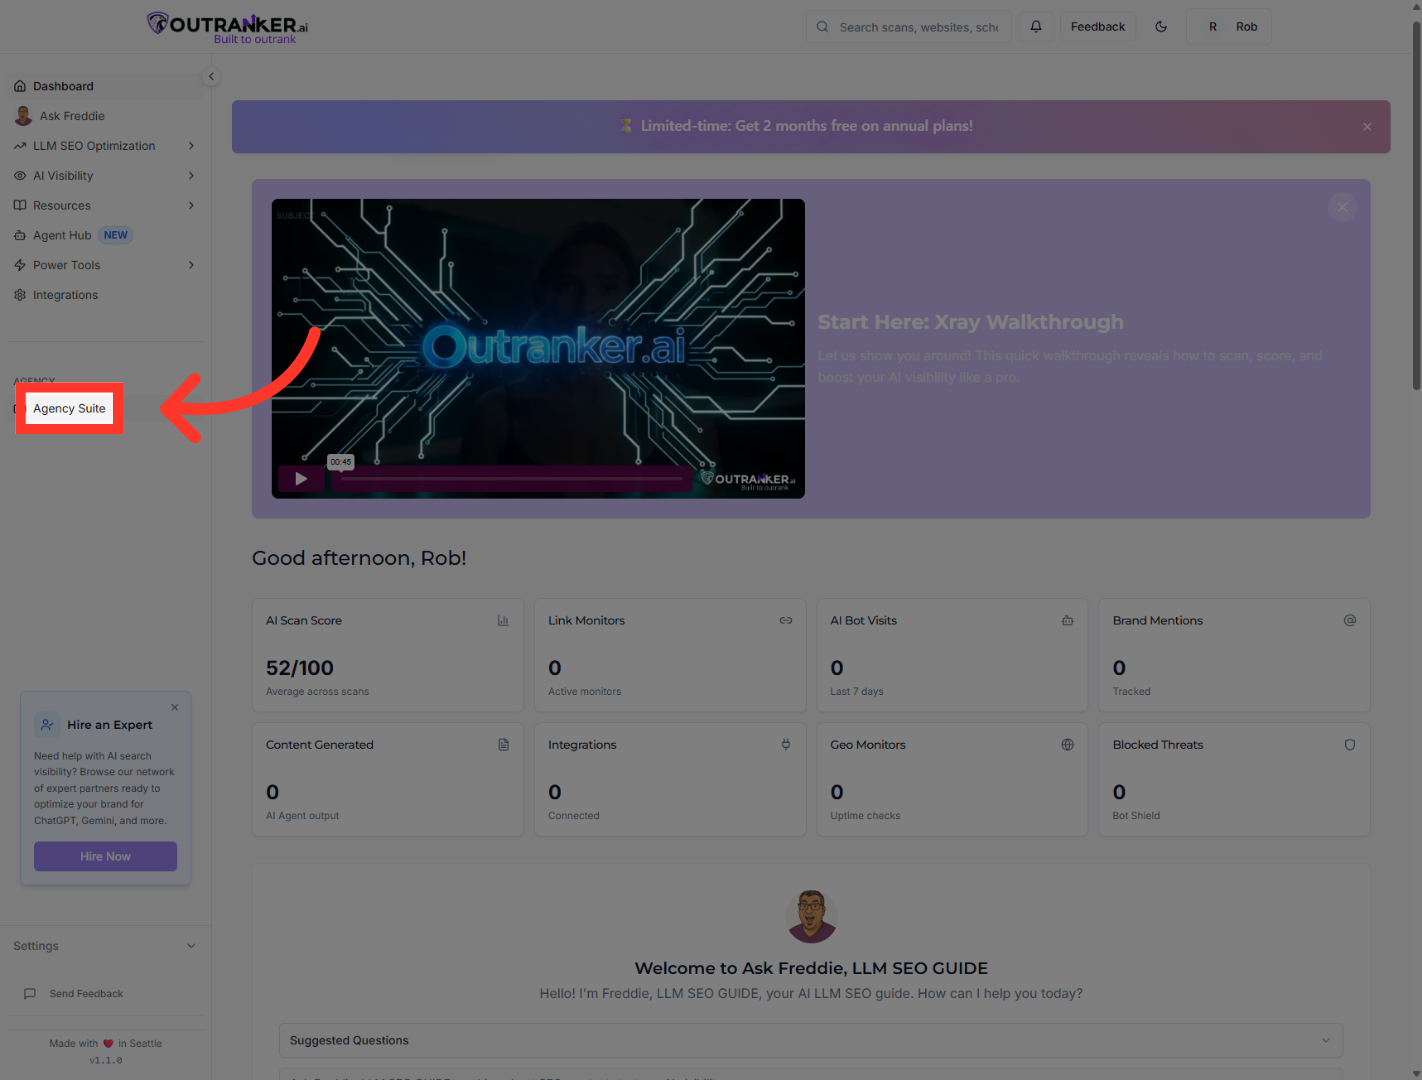
2. Navigate to Agency Suite
Click the Agency Suite to begin accessing your client management options.
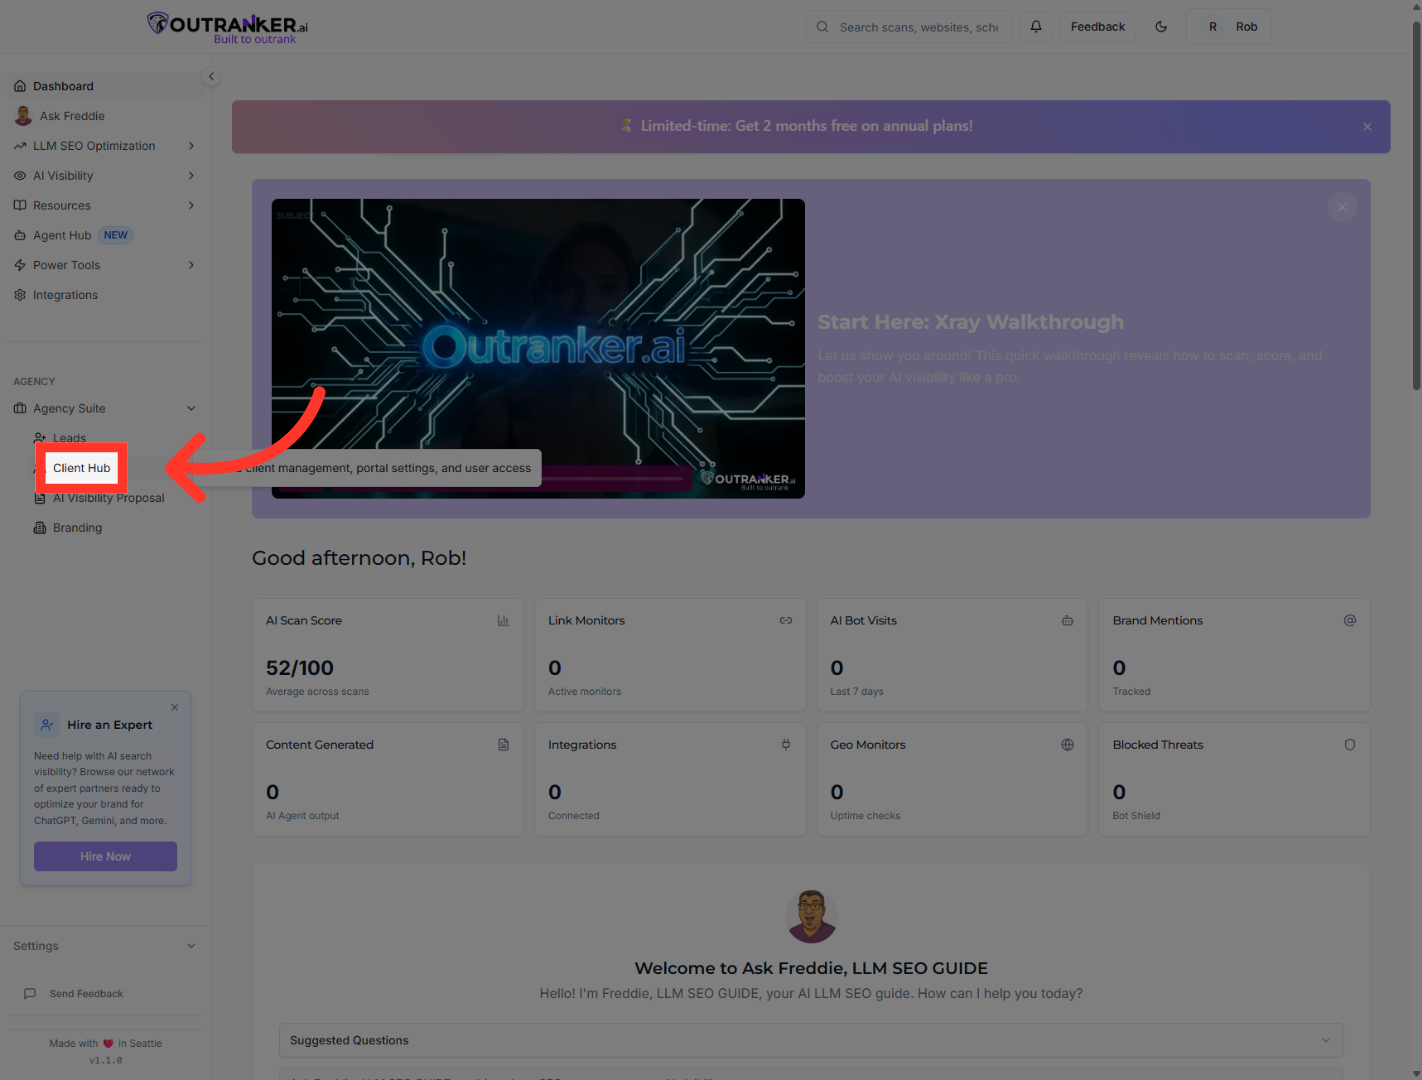
3. Open Client Hub
“Start by logging into your Outranker.ai account.” “From the left-hand menu, click Agency Suite, then open Client Hub.” “Inside Client Hub, select Portal Settings to access your customization options.”
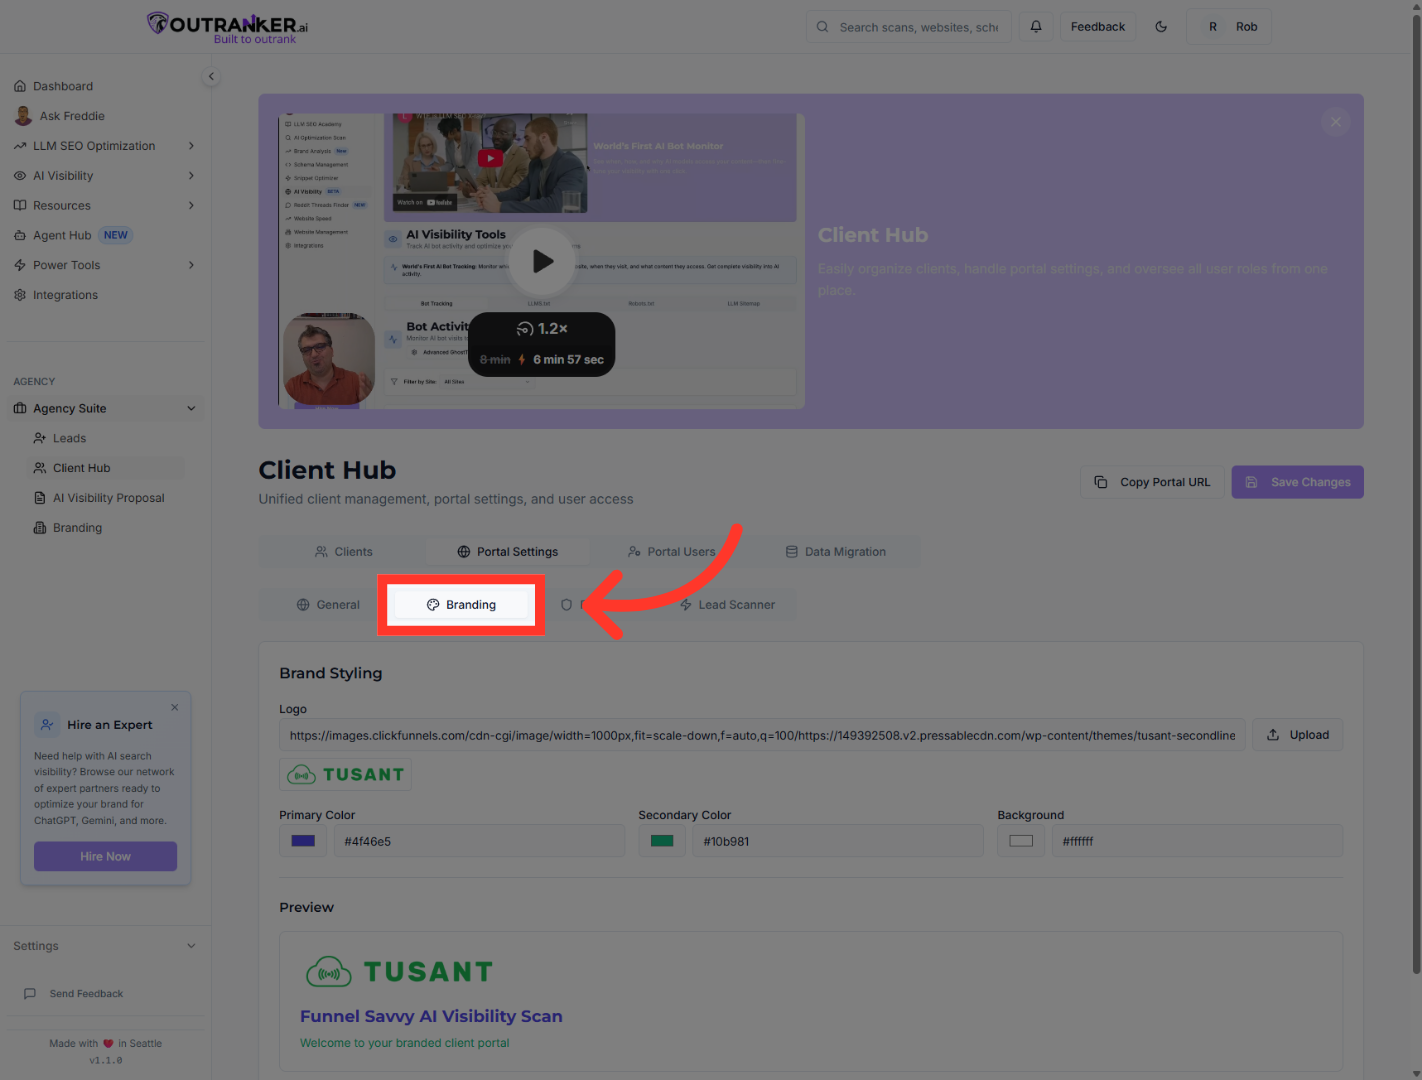
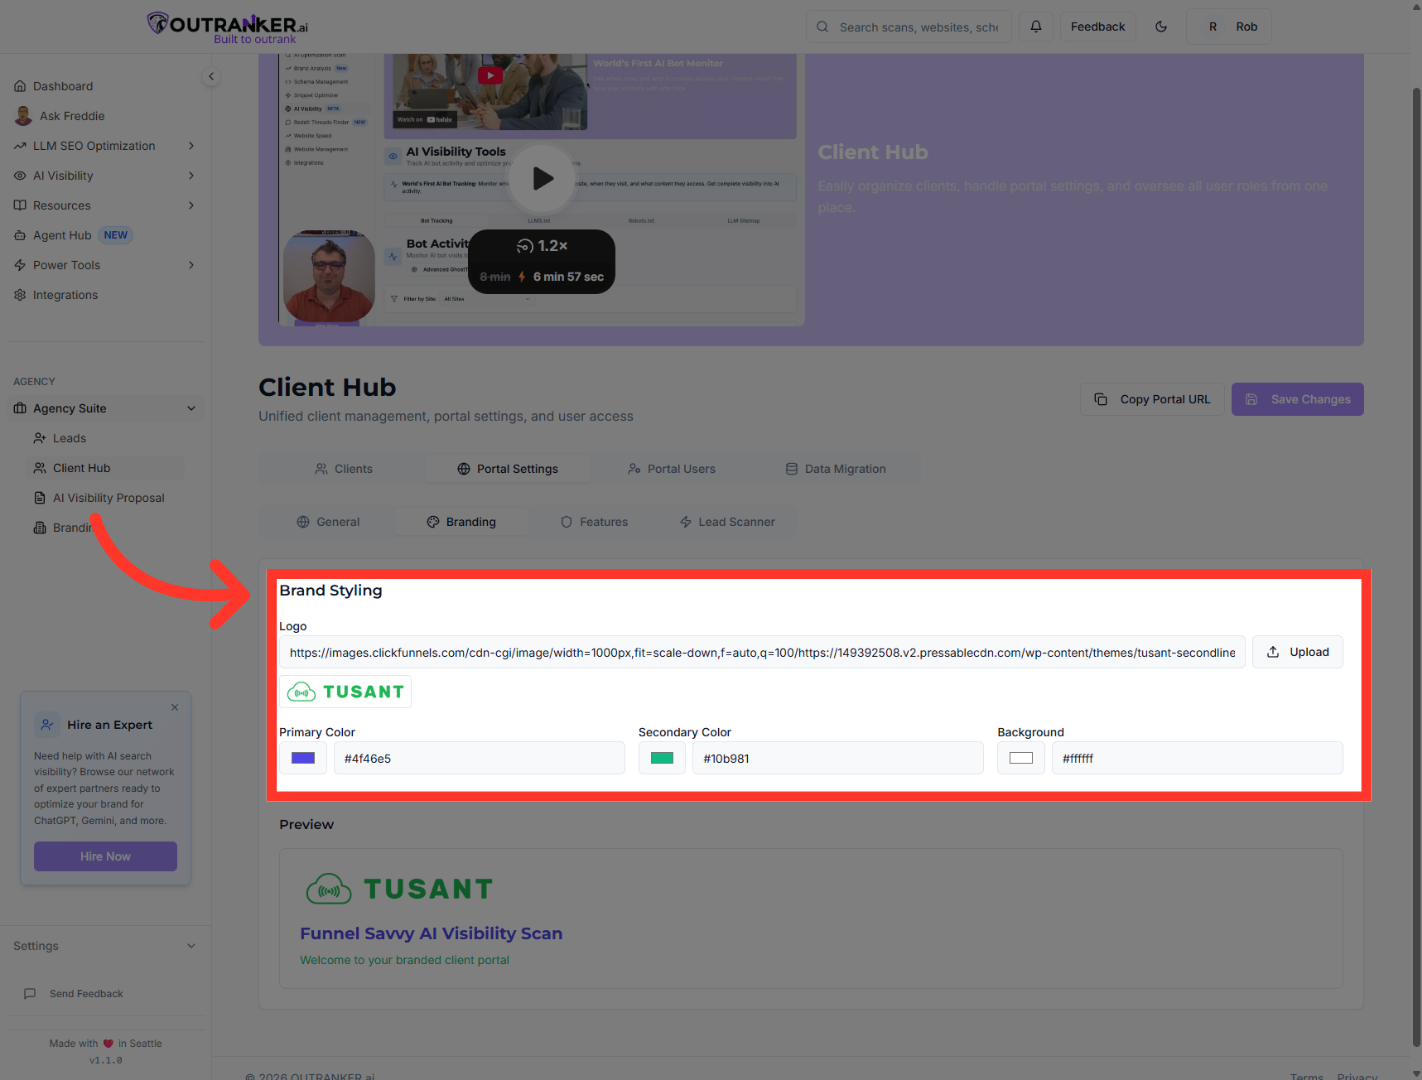
4. Select Branding Section
“Within Portal Settings, click Branding.” “This is where you control how your client portal looks and feels.”
5. Open Color Picker
“Here, you can customize your portal’s visual identity using brand colors.” “Start by choosing your primary color, which defines the main theme of your portal.” “Next, select a secondary color to complement your primary branding.” “You can also adjust the background color to match your agency’s style.” “These colors will be reflected throughout the client portal experience.”
6. Choose Primary Color
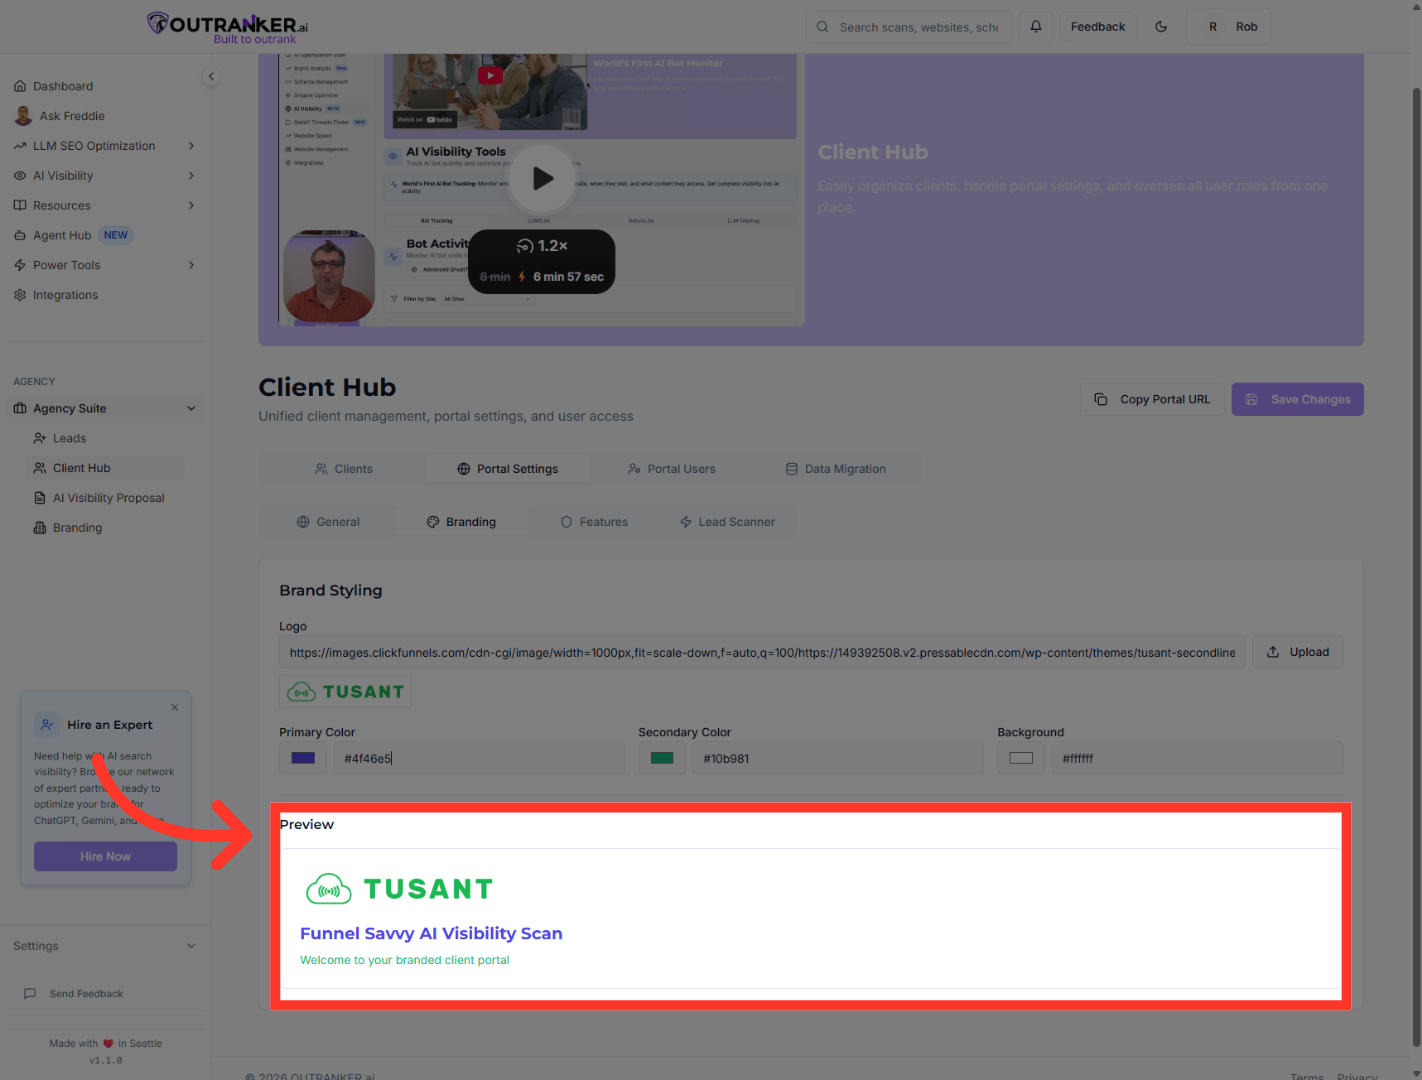
“Before saving, click Preview to see how your branding will appear to clients.” “This lets you quickly test different color combinations without committing.”
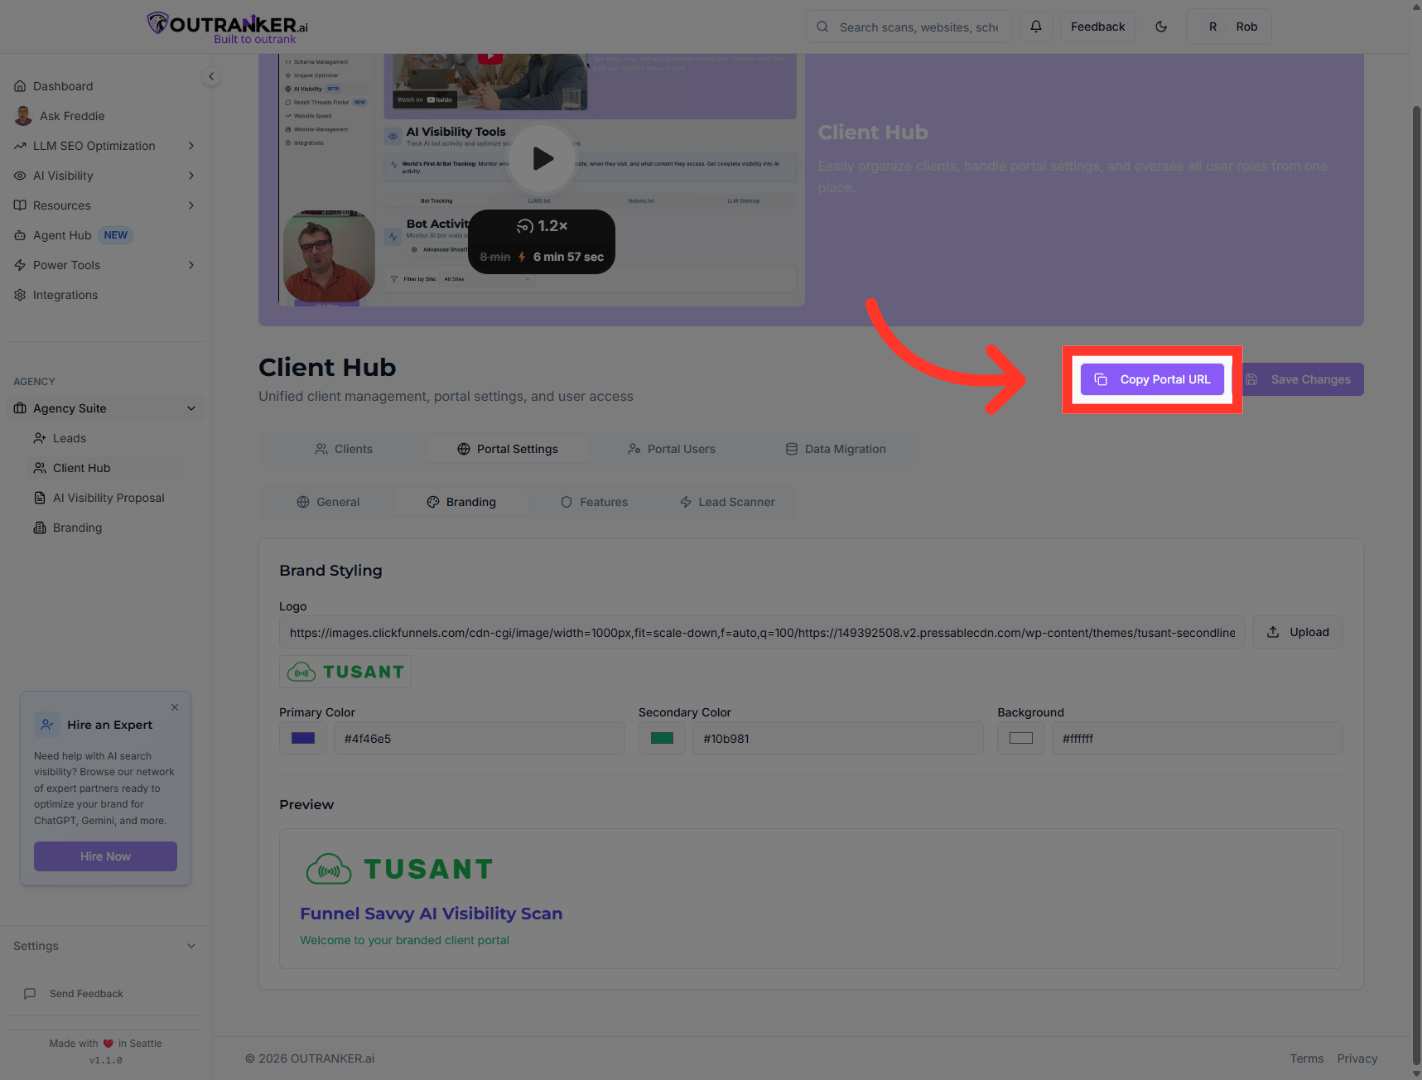
7. Copy Portal URL
“Once you’re happy with the look, you can click Copy Portal URL.” “This gives you a shareable link to your branded client portal.”
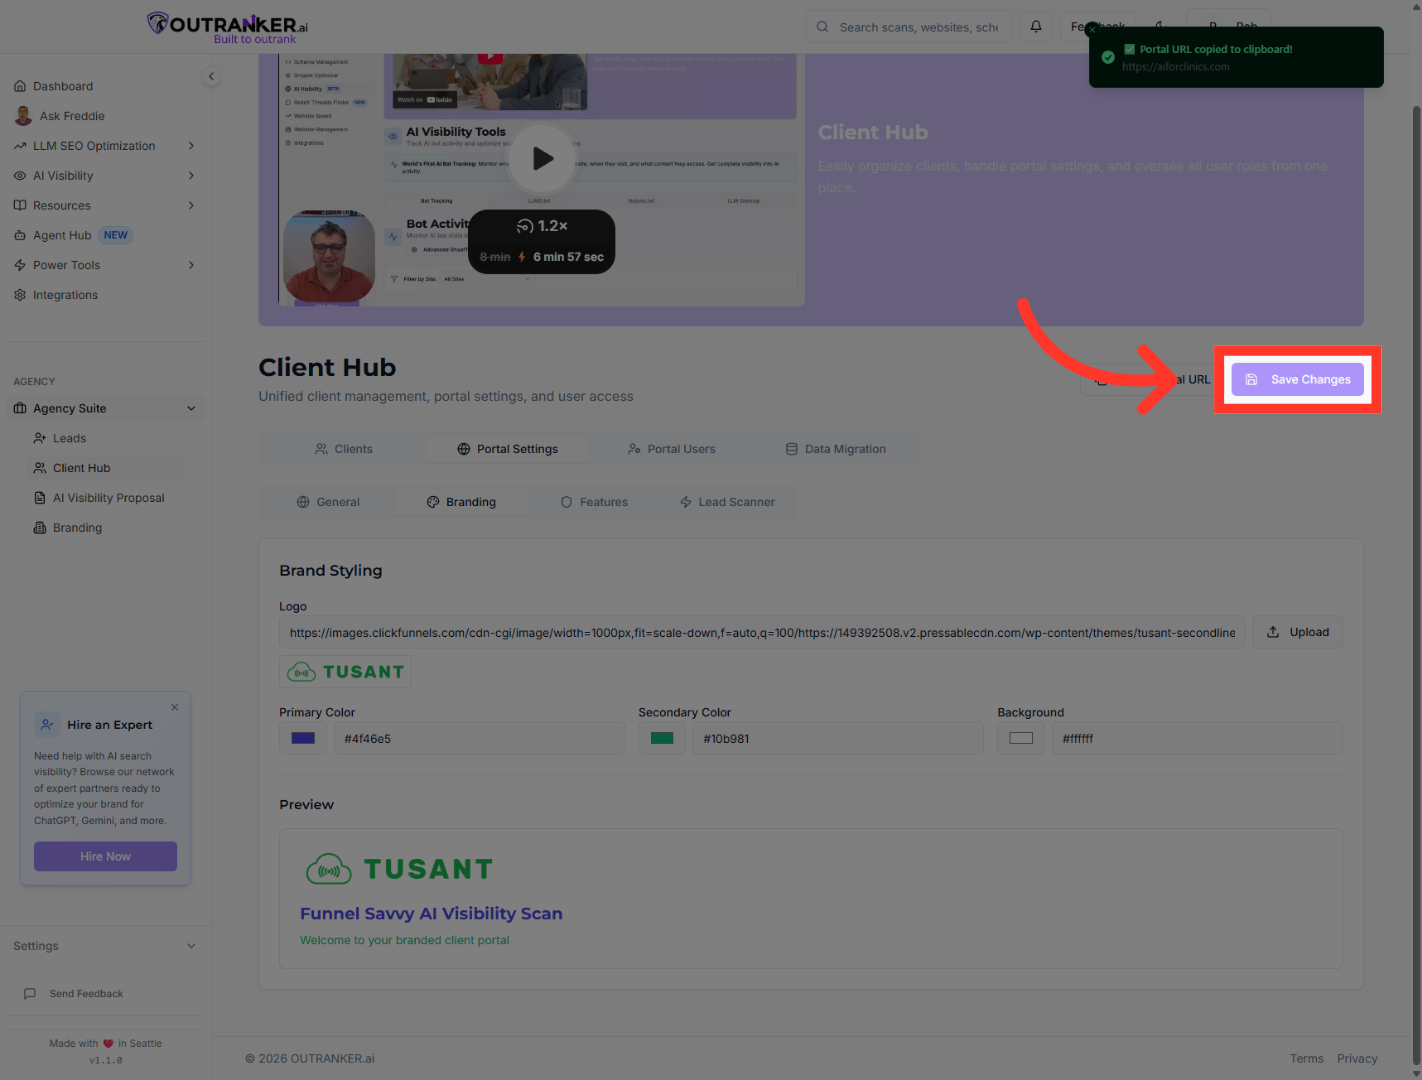
8. Save Branding Changes
“Finally, click Save Changes to apply your branding settings.” “Your portal will now reflect your agency’s visual identity.”
“That’s how you customize branding settings in the Agency Suite portal.” “Next, you can share your branded portal with clients or continue customizing their experience.”
