This tutorial explains the AI Summary Widget, its FAQ, and the benefits of using it.
Go to www.outranker.ai
1. Introduction
“In this video, you’ll explore the AI Summary Widget inside Outranker and learn how it helps your content become more visible, more interactive, and more useful in the AI search era.” “This feature is designed to make your pages easier for users to summarize with AI tools, while also increasing engagement and visibility for your brand.”
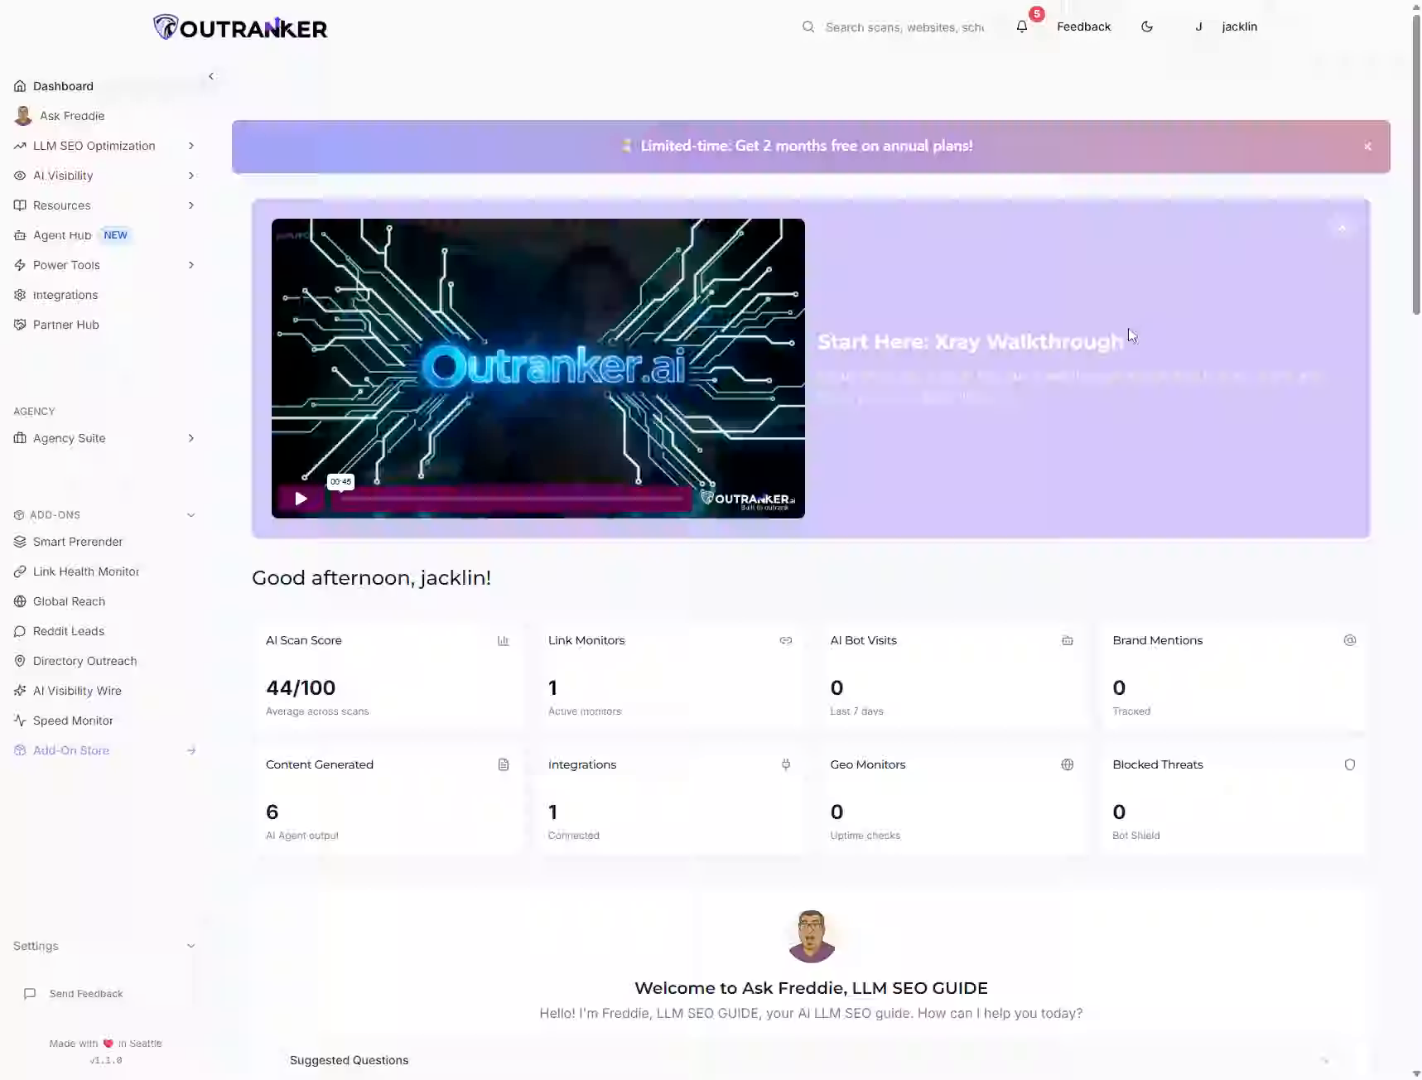
2. Open AI Summary Widget
“From your dashboard, click Power Tools to open the main tools menu.” “Then select AI Summary Widget to access the widget generator and its settings.”
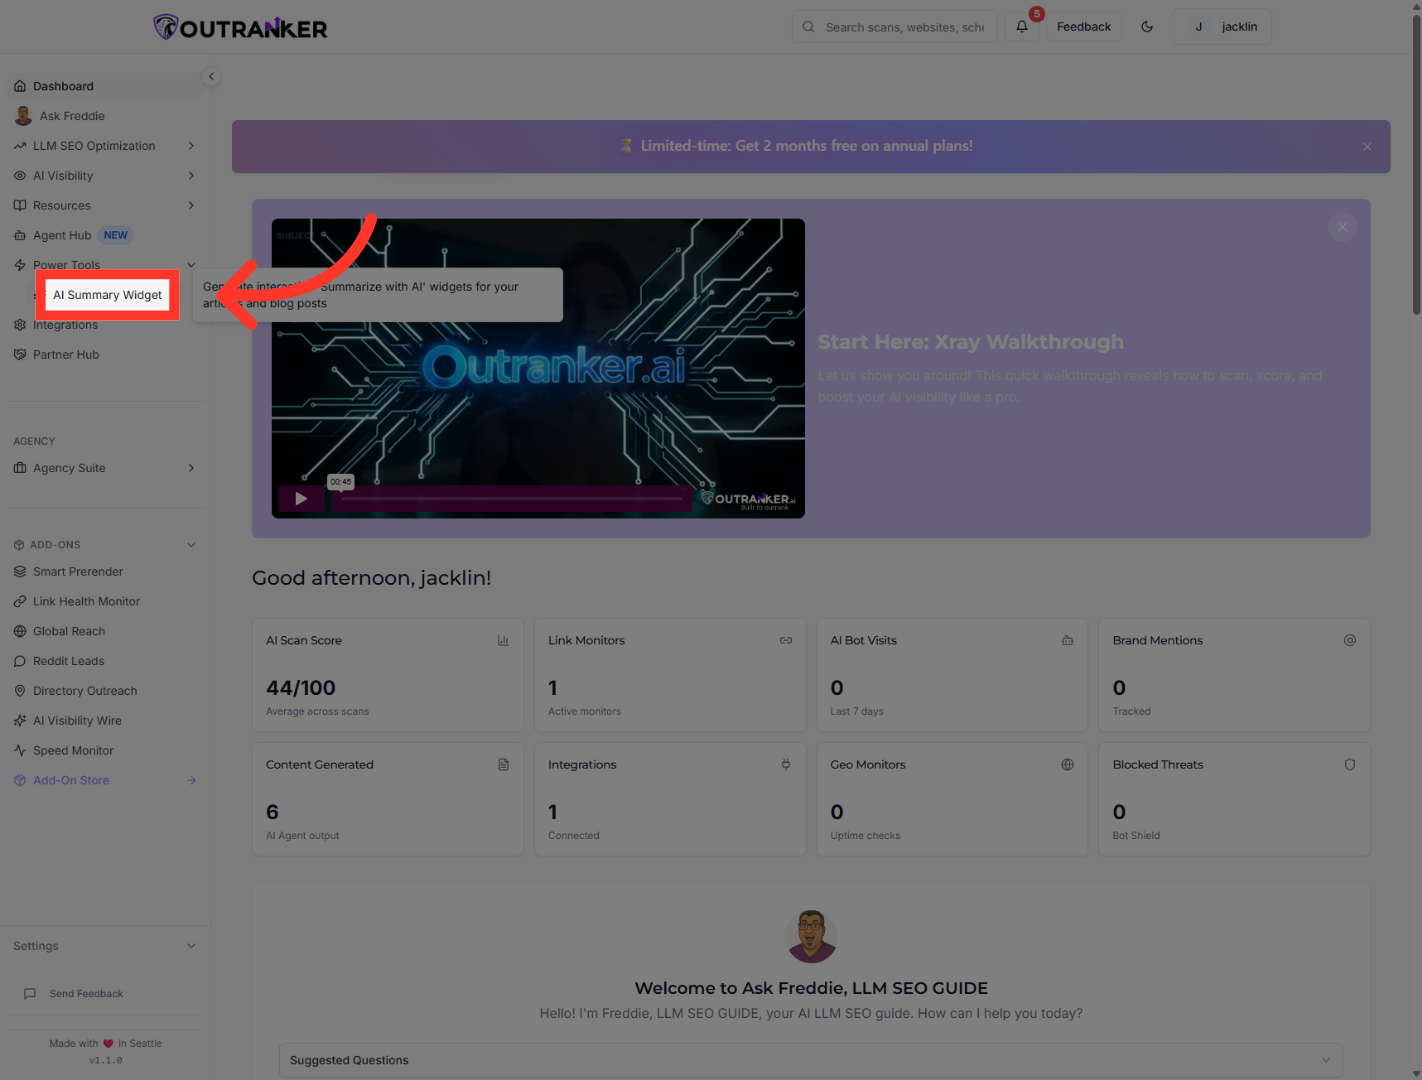
3. View Why Use It Section
“Inside the widget area, open the Why Use It section.” “This section explains the value behind the widget — not just how it works, but why it matters.” “The main idea is simple: your content becomes easier to summarize with AI, which helps users interact with it faster and helps your brand appear in more AI-driven conversations.”
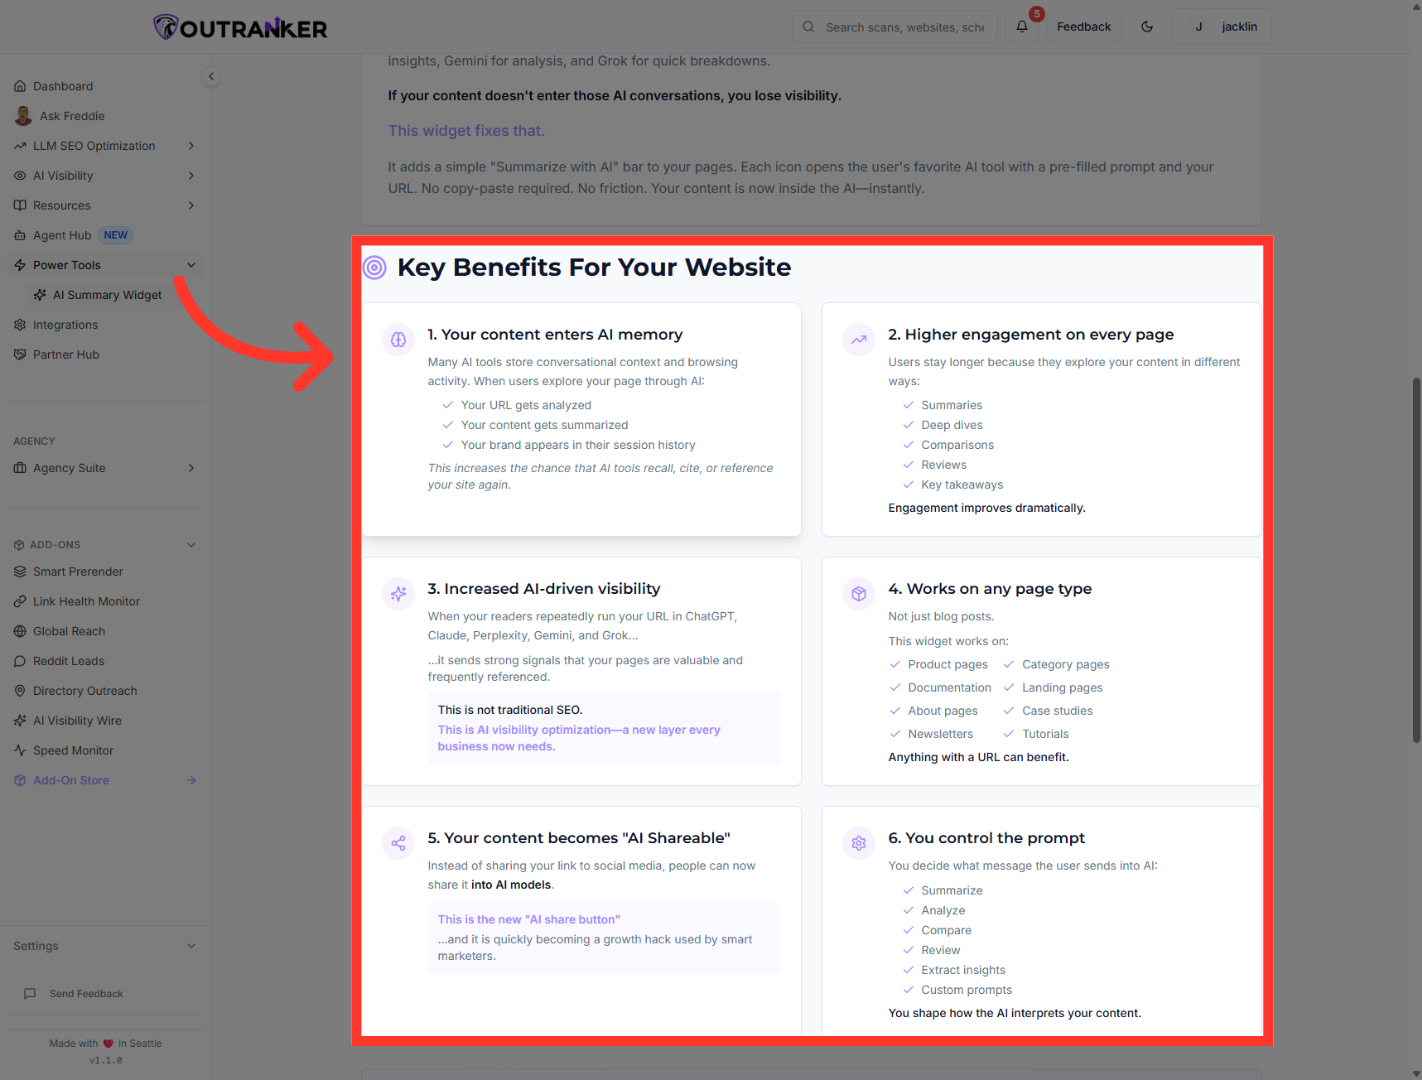
4. Explore Content Summarization
“As you explore the benefits section, you’ll see how the widget supports both user experience and visibility.” “Your content gets summarized more easily.” “Users spend more time on the page.” “AI tools get more direct access to your content and your URL.” “And your website becomes more AI-friendly without adding friction for the visitor.”
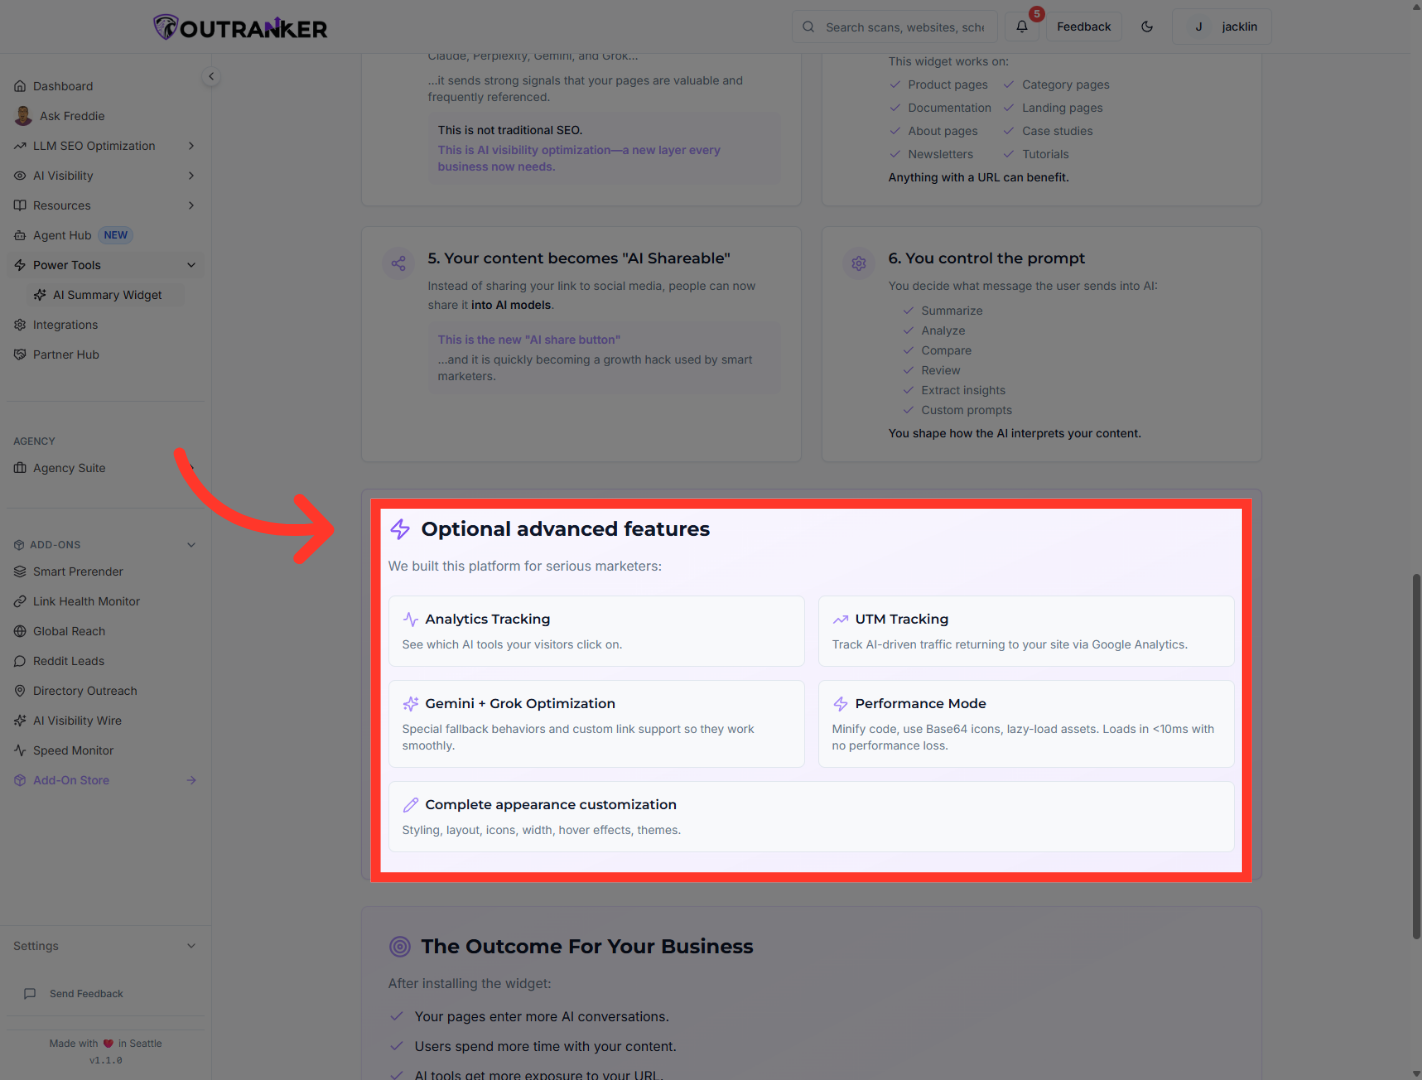
5. Check Optional Advanced Features
“Next, open Optional advanced features.” “This section highlights extra capabilities that can make the widget even more powerful.” “These options include things like analytics tracking, UTM tracking, performance mode, and appearance customization.” “So beyond just adding the widget, you can also measure engagement and tailor the experience to fit your site.”
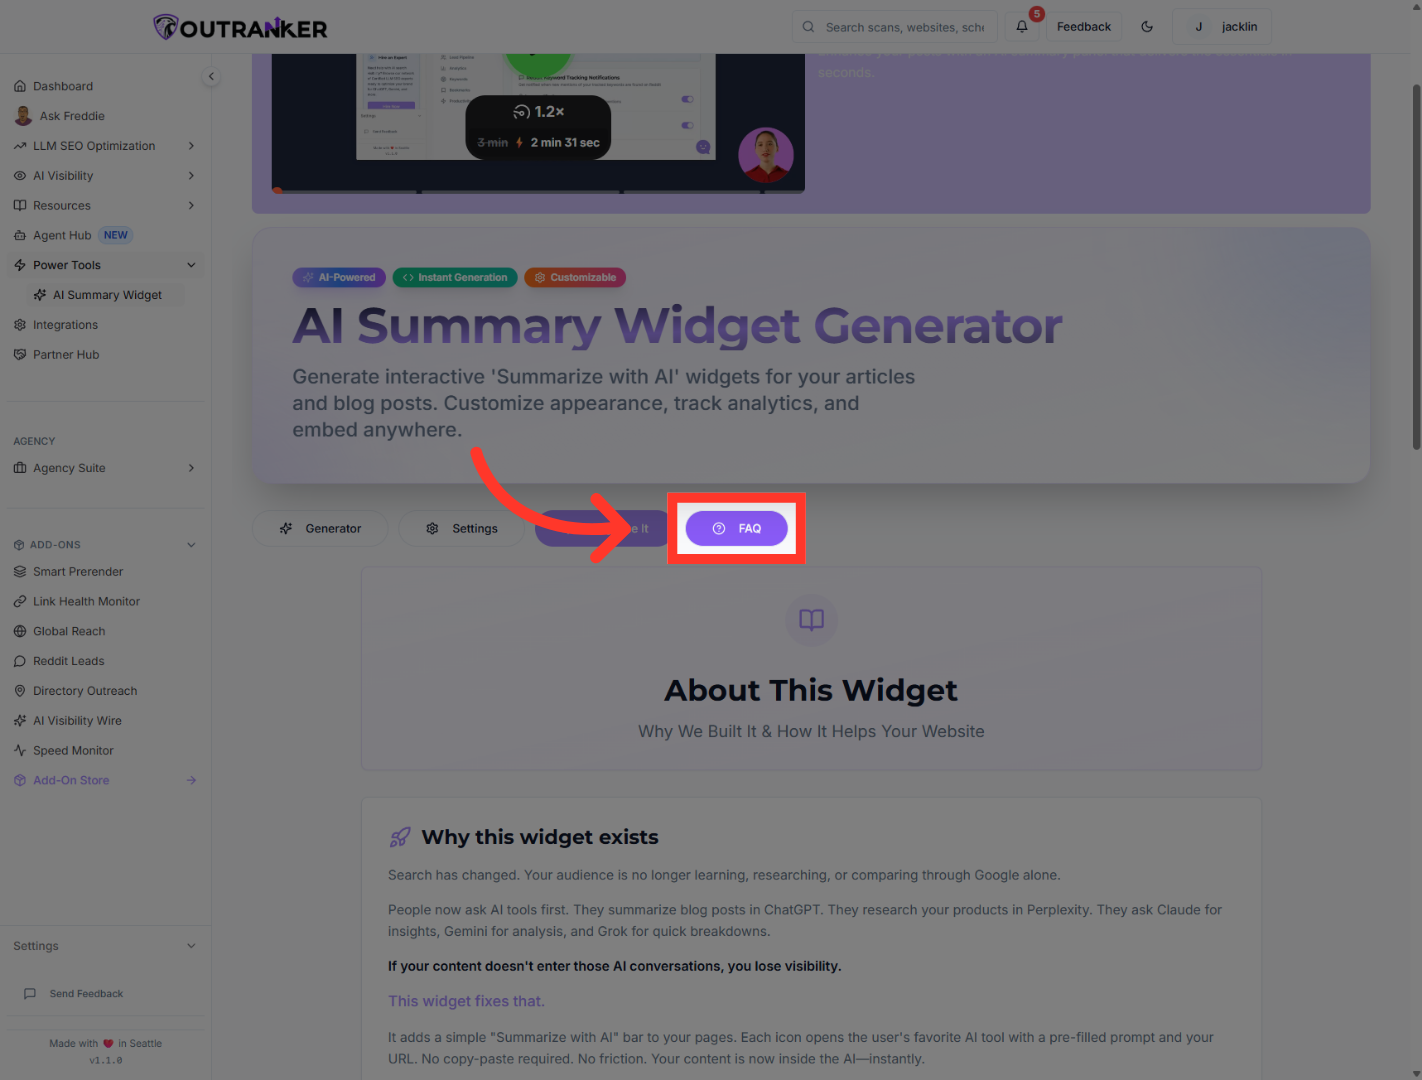
6. Access FAQ Section
“Now switch to the FAQ tab.” “This is where Outranker answers the most important questions about how the widget works in real-world use.”
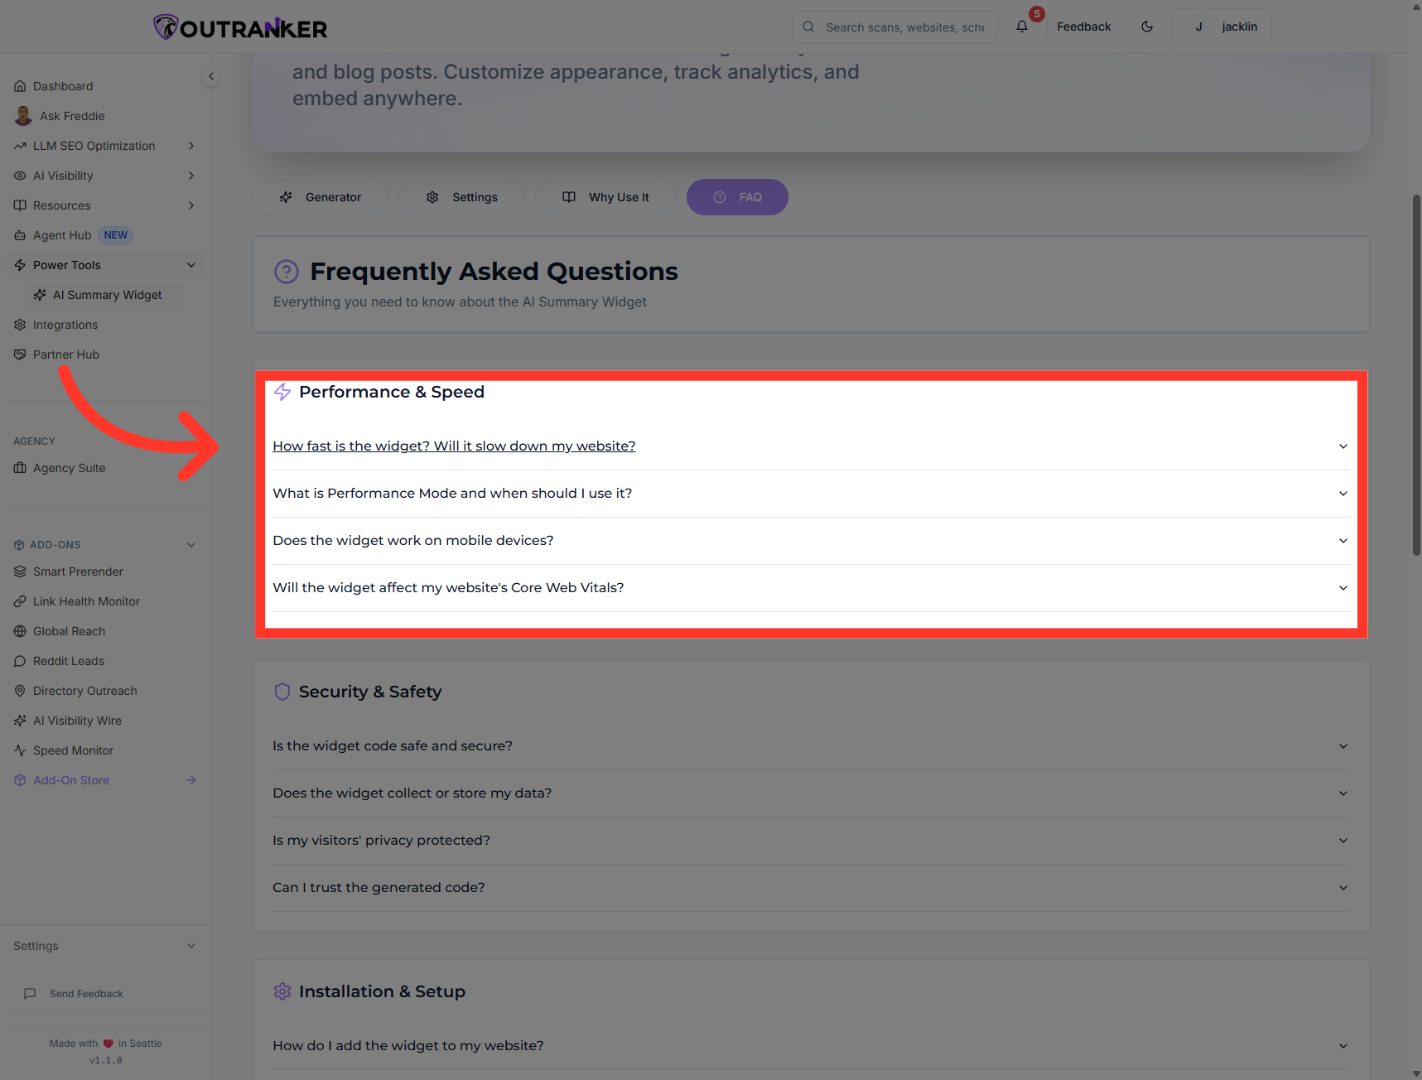
7. Check Widget Speed
“Start with the performance-related questions.” “You can review how fast the widget is, when to use Performance Mode, whether it works on mobile devices, and how it affects Core Web Vitals.” “This is useful if you want to make sure the widget stays lightweight while still improving AI visibility.”
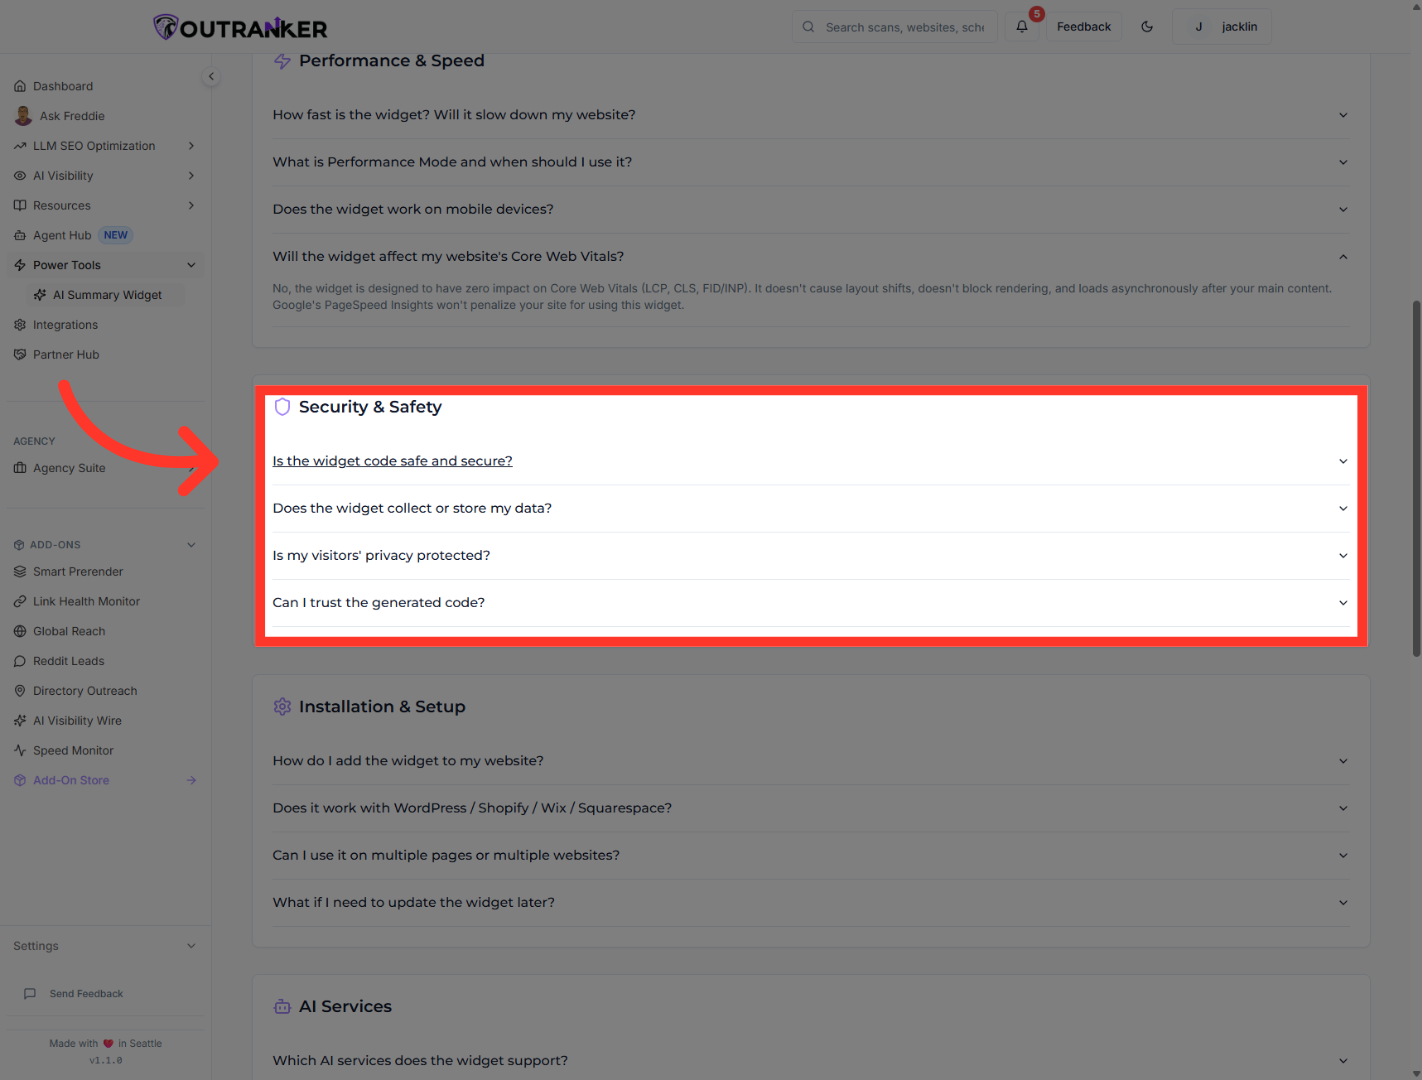
8. Confirm Widget Security
“Next, review the security and privacy questions.” “These explain whether the widget code is safe, how visitor privacy is handled, and what data is or isn’t collected.” “This helps build confidence before installing the widget on a live website.”
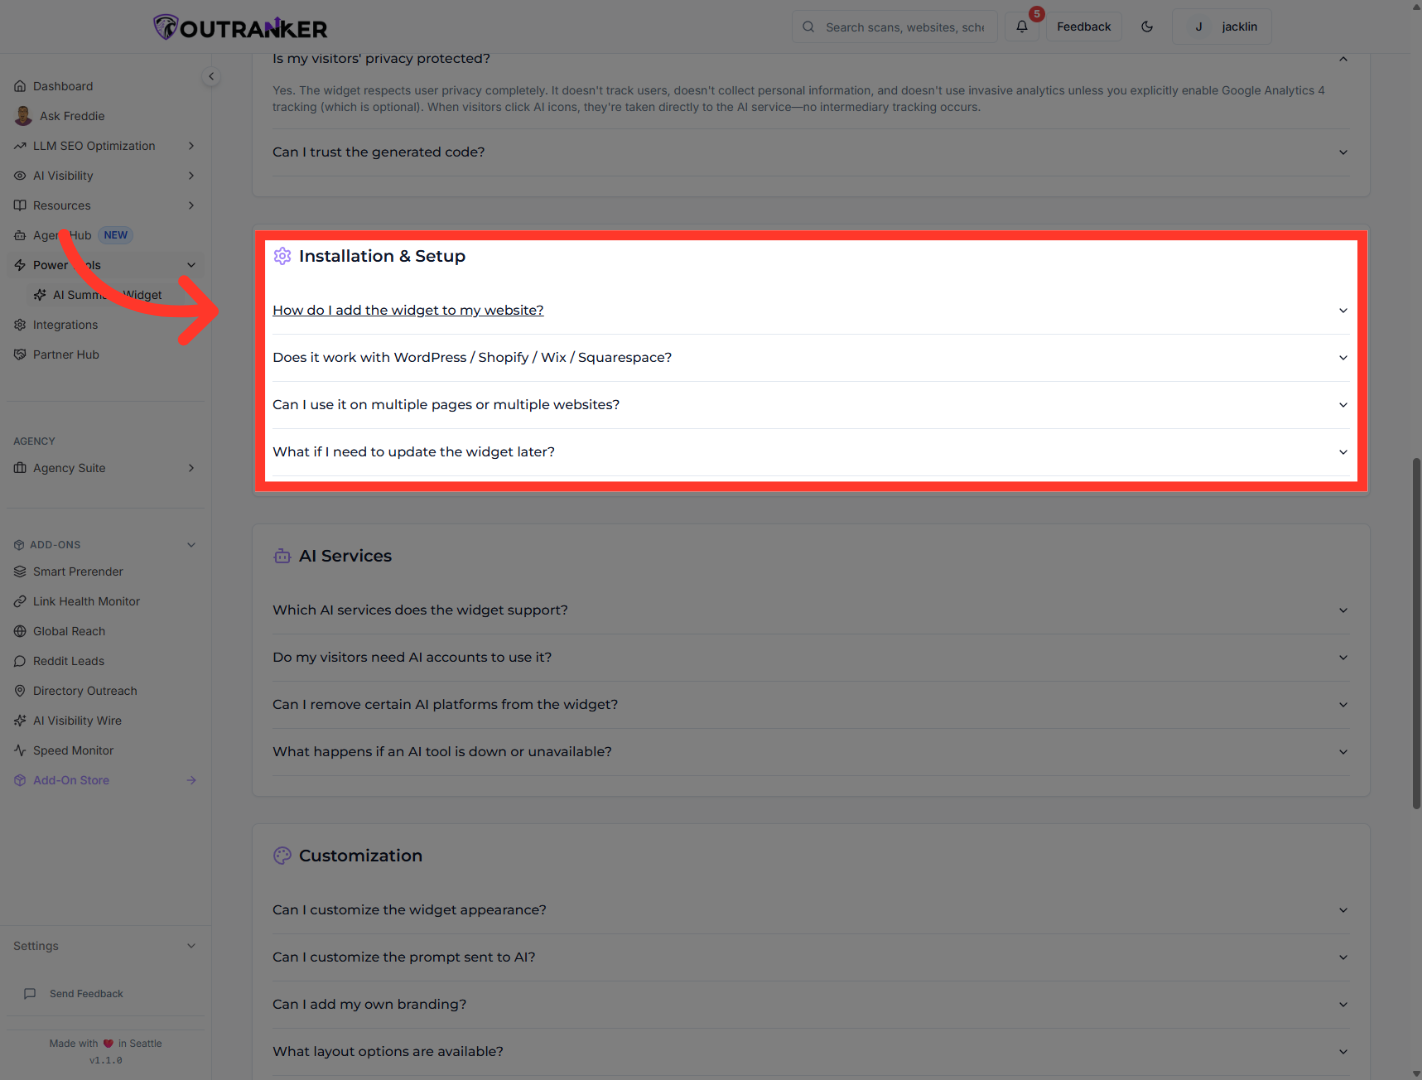
9. Learn Widget Installation
“Then move into the installation section.” “Here you can learn how to add the widget to your website, whether it works with platforms like WordPress, Shopify, Wix, and Squarespace, and whether it can be used on multiple pages or websites.” “You can also review how updates work later, so maintenance stays simple.”
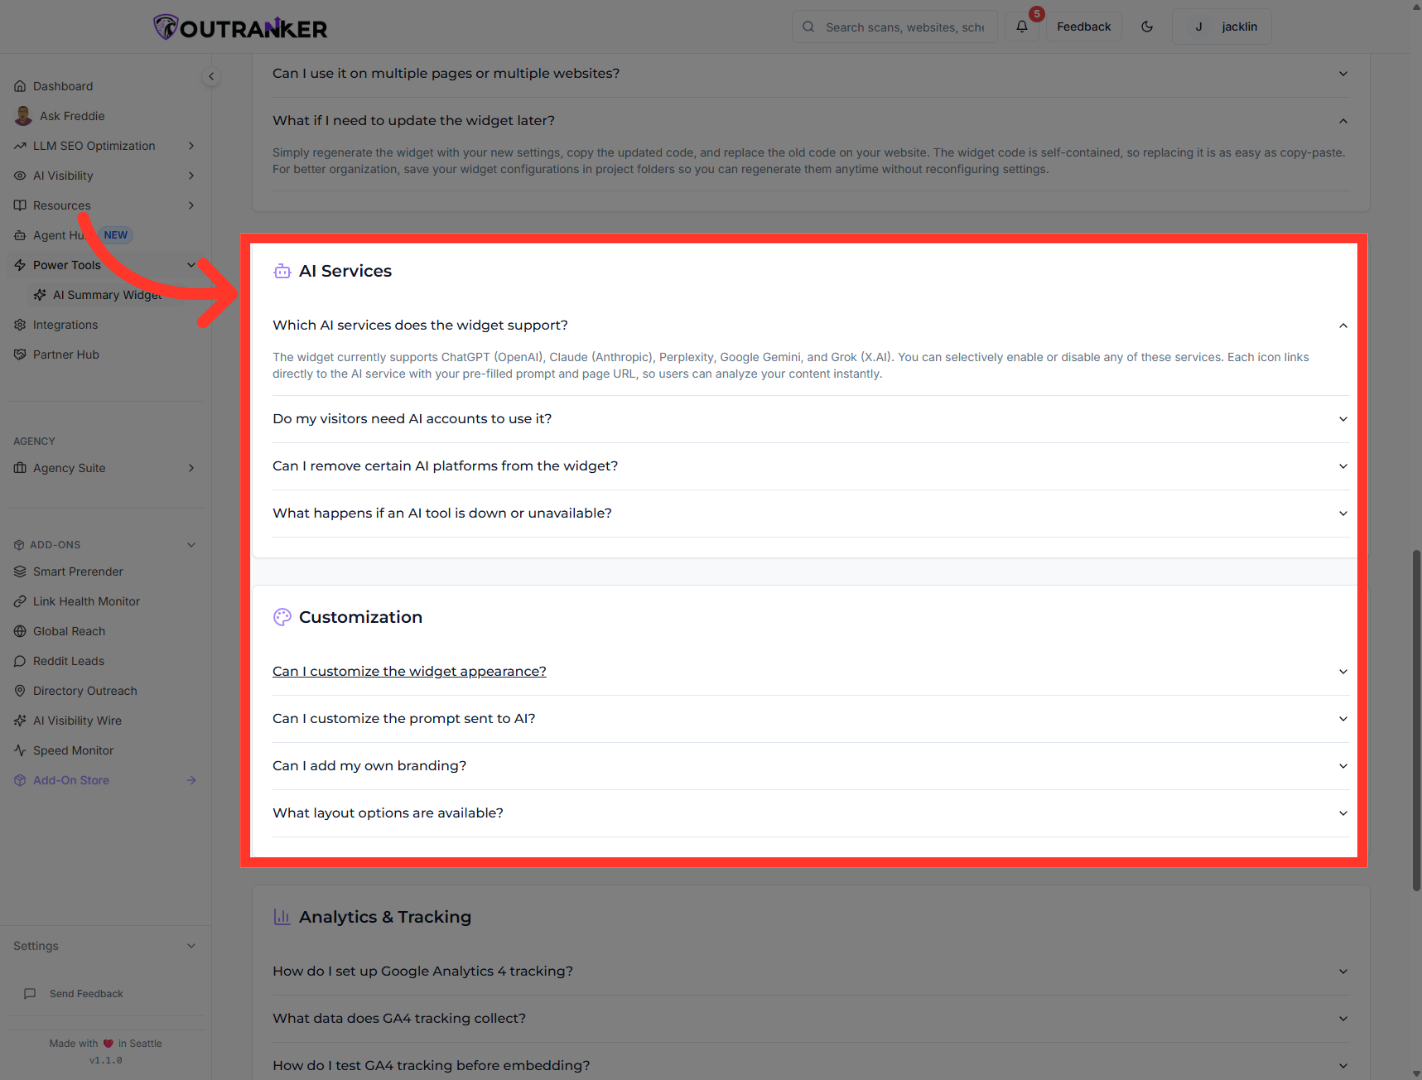
10. Customize Widget Appearance
“Next, review which AI services the widget supports.” “Then open the customization section to see how much control you have over the widget’s appearance and experience.” “This lets you match the widget to your brand while keeping the experience simple for users.”
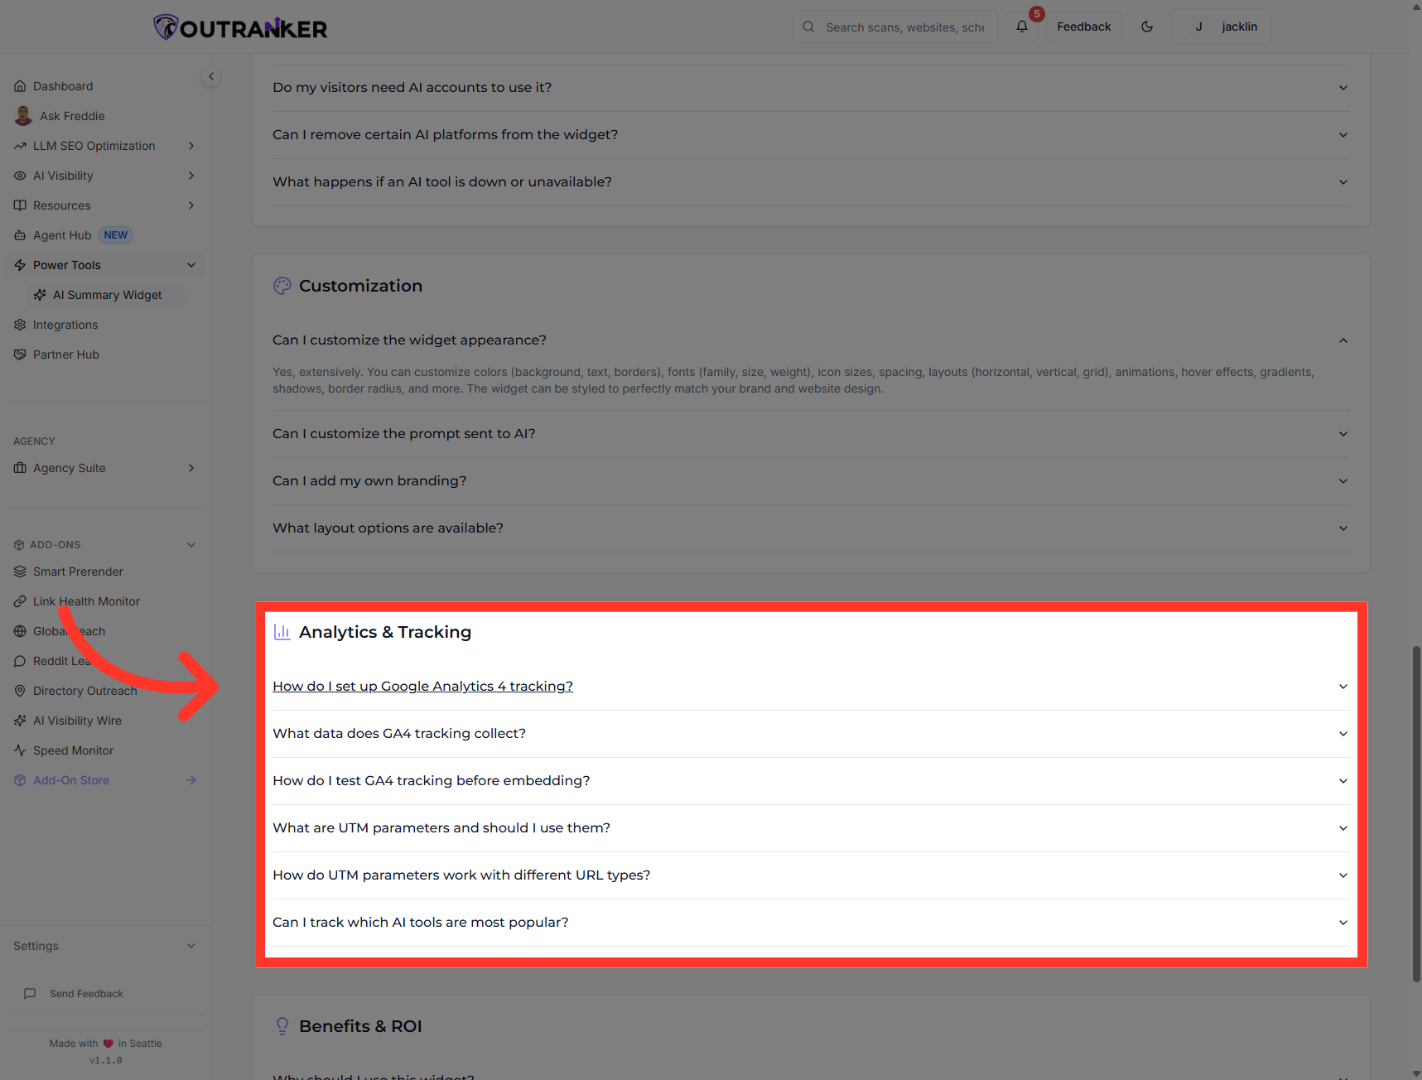
11. Set Up Analytics Tracking
“If you want to measure how people interact with the widget, review the analytics section.” “This includes setup guidance for Google Analytics 4 and related tracking options.” “That way, you can see how the widget contributes to engagement and traffic behavior over time.”
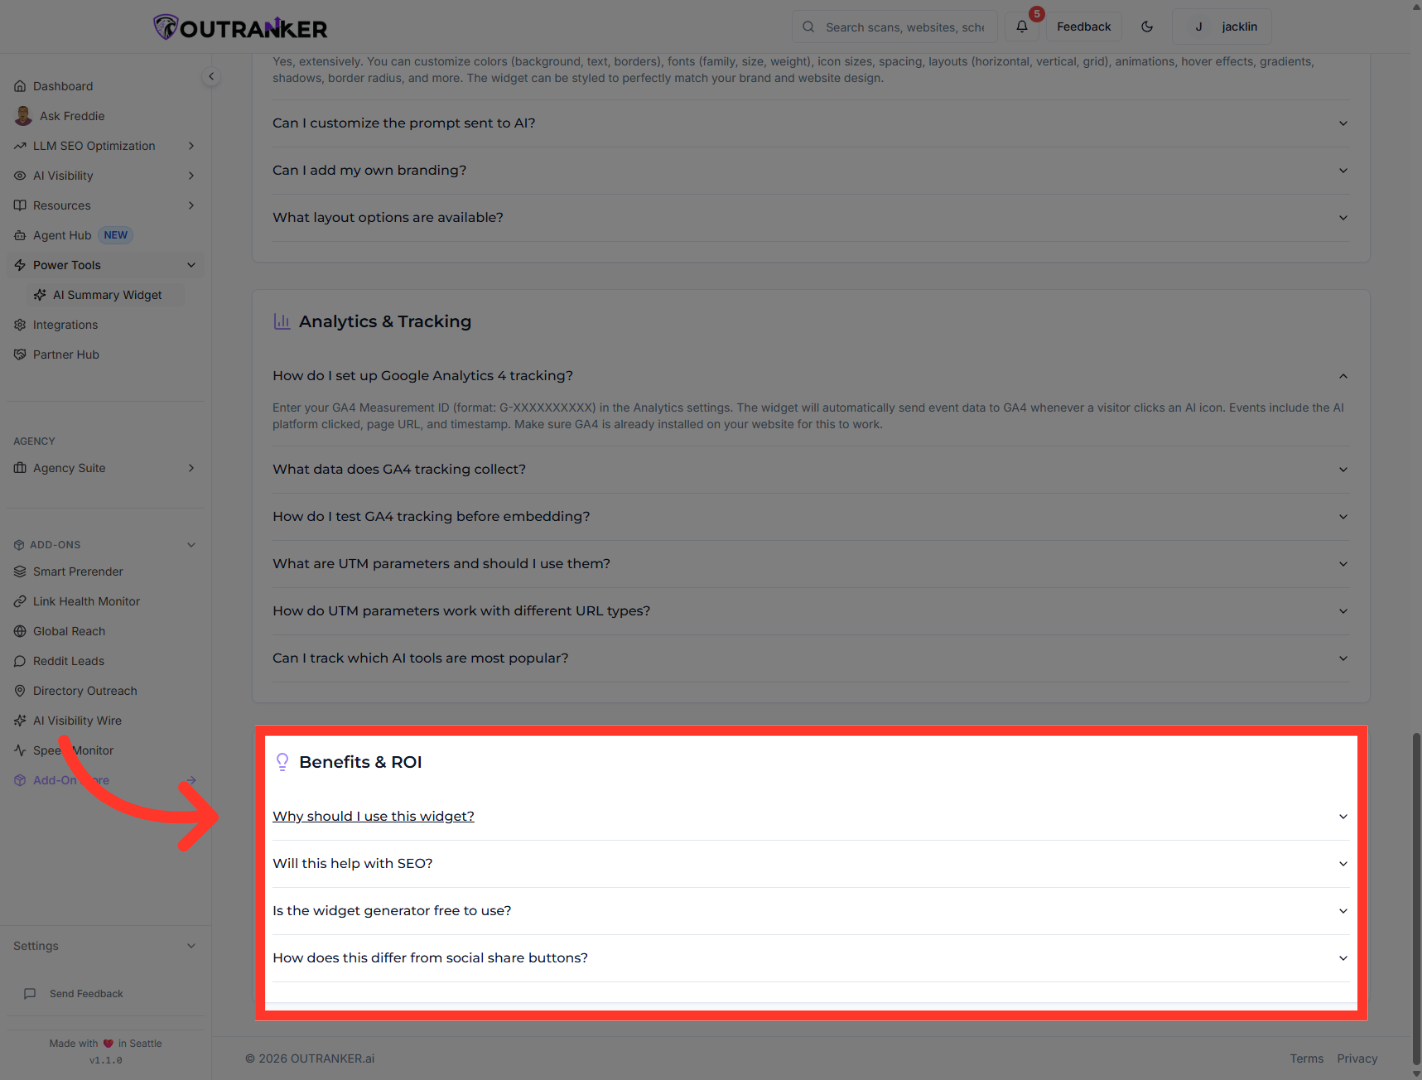
12. Review Widget Benefits
“Finally, review the summary question: Why should I use this widget?” “This brings everything together — the widget helps your pages enter more AI conversations, keeps users engaged with your content, and gives your brand more visibility inside the tools people are already using.”
“You’ve now explored the AI Summary Widget’s features, frequently asked questions, and overall business benefits inside Outranker.” “You now understand how the widget works, how it fits into your website, and why it matters for AI visibility and user engagement.” “In the next video, we’ll walk through how to set up and customize the widget for your own site.”
