This tutorial explains how to manage the settings of the AI Summary Widget within the Outranker platform.
Go to www.outranker.ai
1. Introduction
“In this video, you’ll learn how to manage the settings of the AI Summary Widget inside Outranker.” “These settings help you organize projects, save reusable configurations, choose which AI services to support, and optimize widget performance for a better user experience.”
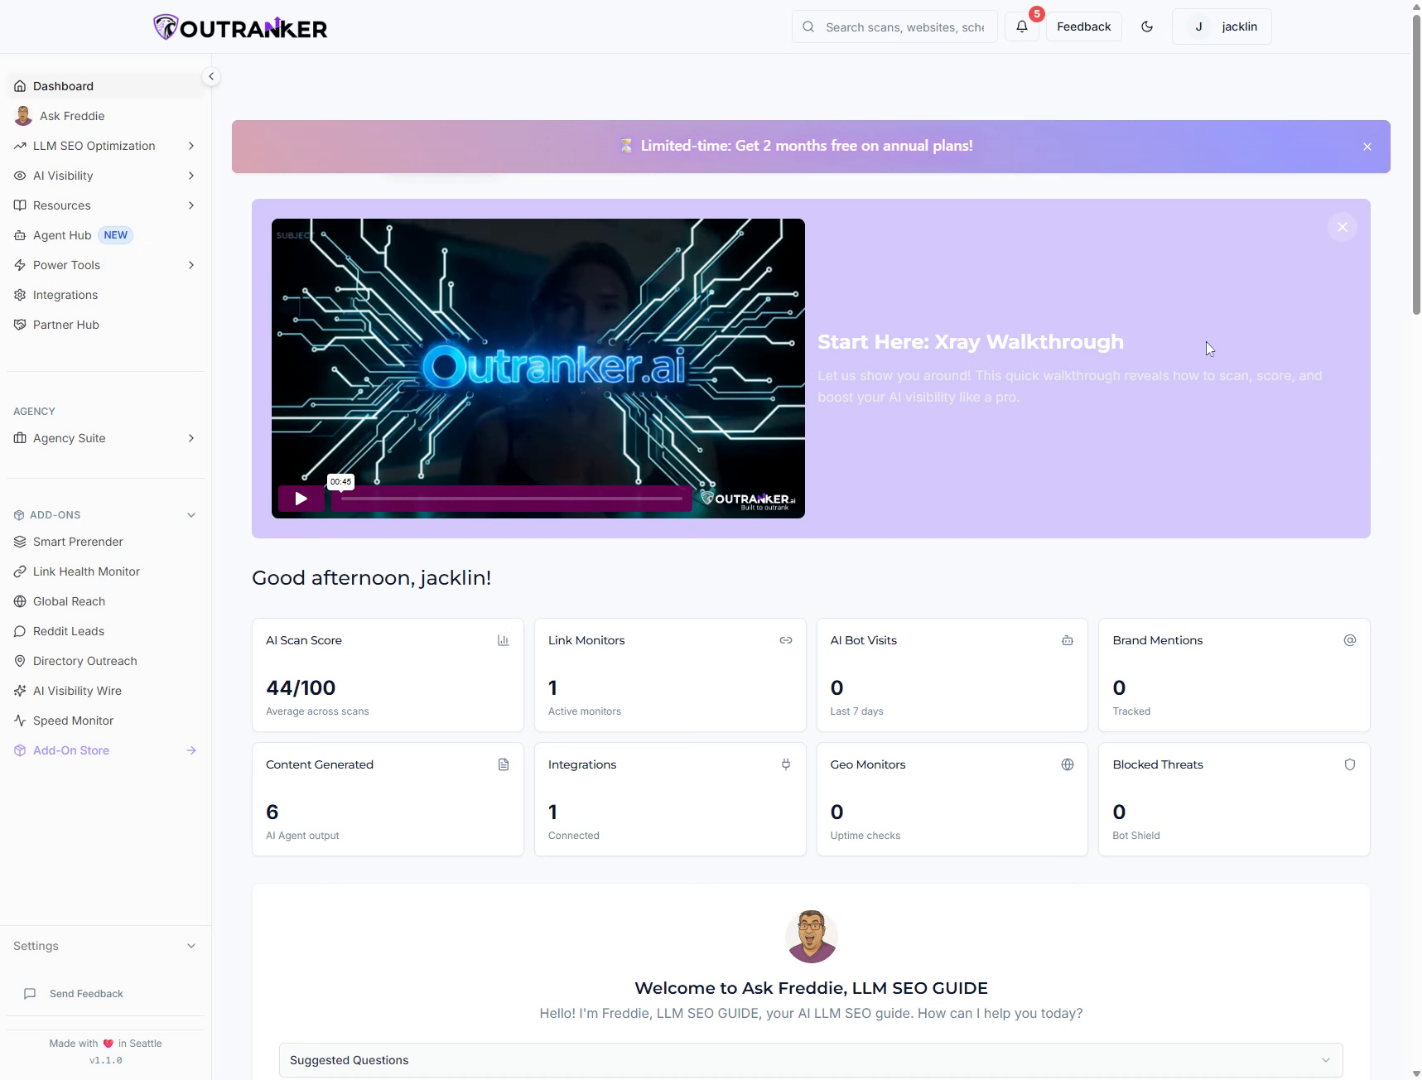
2. Open AI Summary Widget
“Start from your dashboard and click Power Tools.” “Then select AI Summary Widget.”
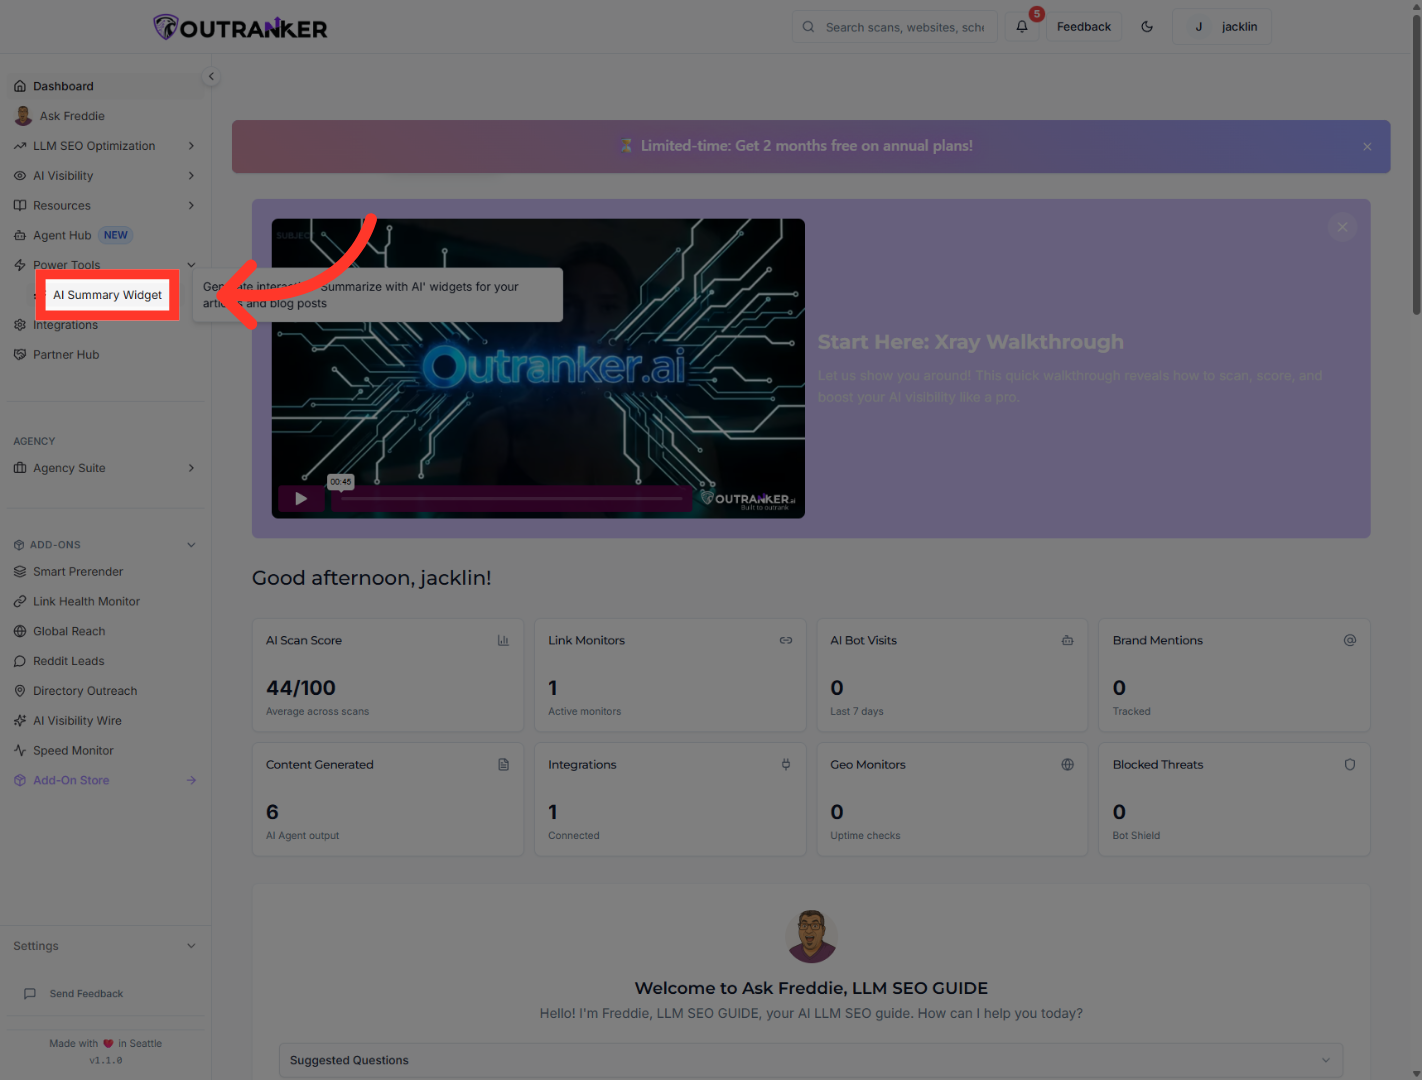
3. Open Widget Settings
“Once inside the widget area, click Settings to open the full configuration panel.” “This is where you manage how the widget behaves across your projects and pages.”
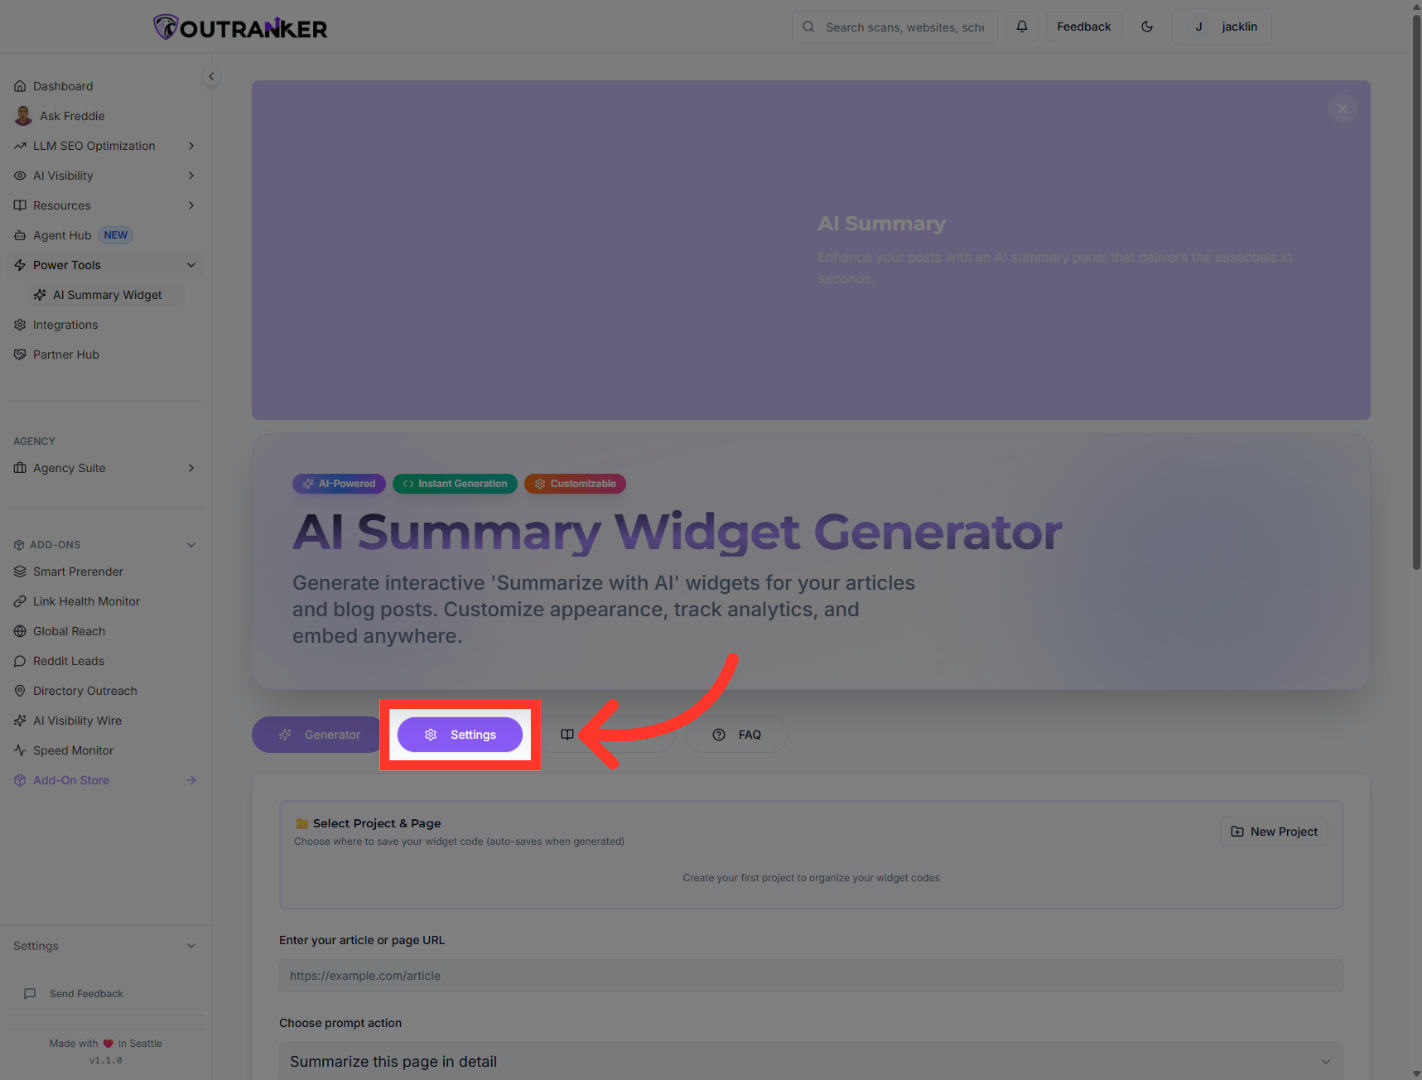
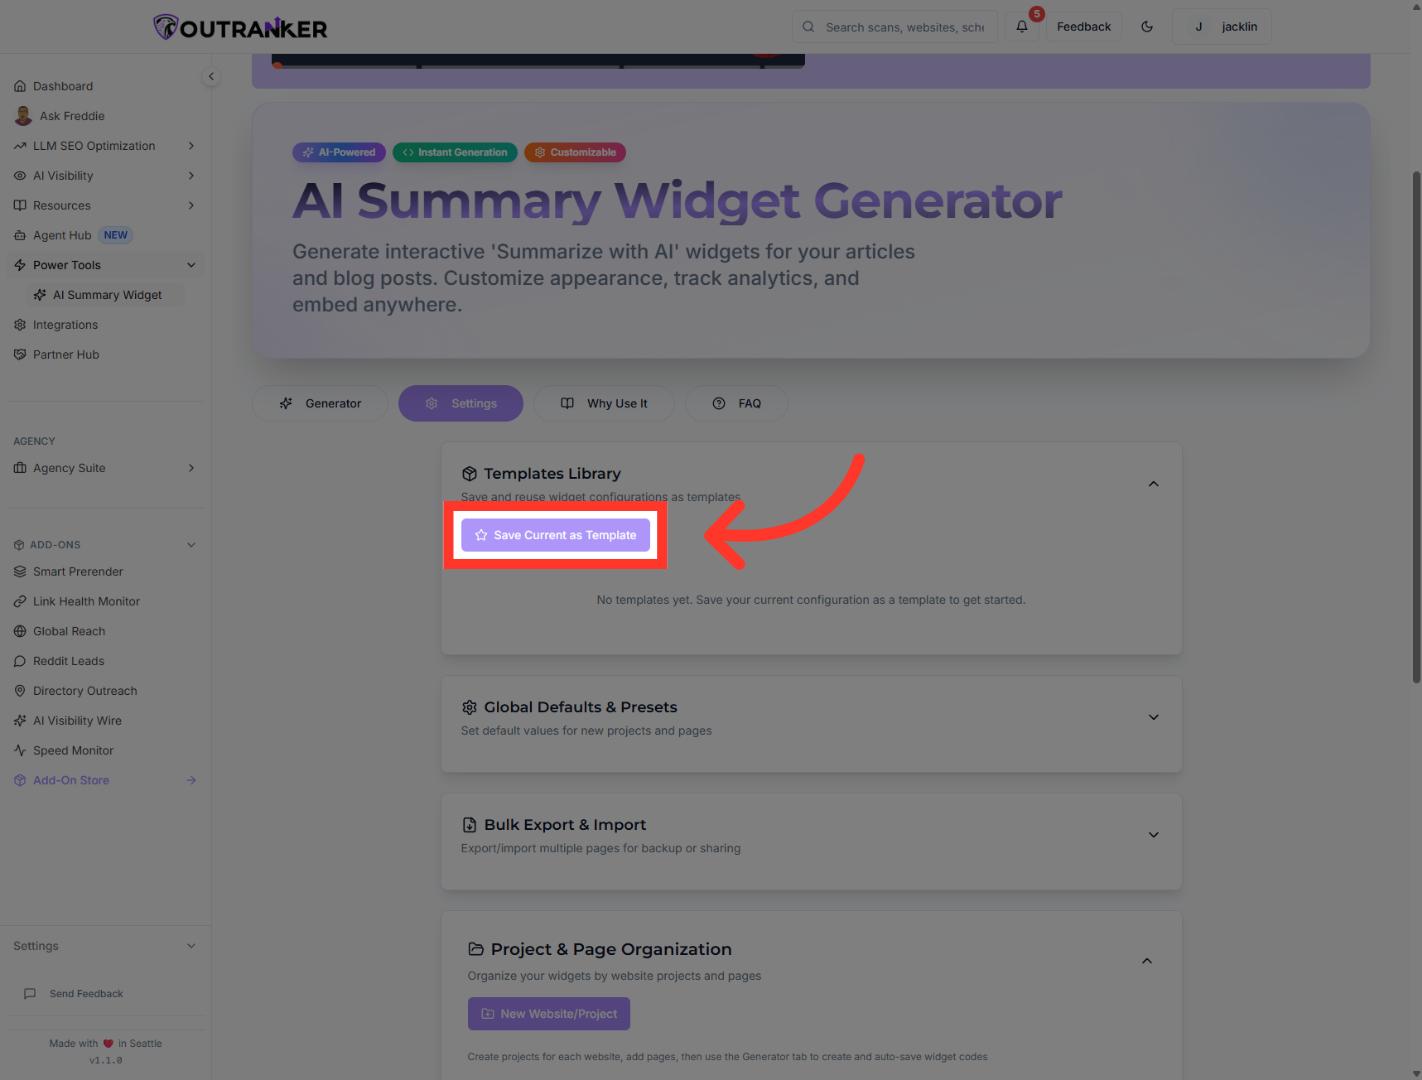
4. Save Current Template
“One of the first options available is your template library.” “Here, you can save your current widget setup as a reusable template.” “This is useful when you want to apply the same configuration across multiple pages or projects without rebuilding everything from scratch.” “If needed, you can also cancel the save process and keep working without changing your template library.”
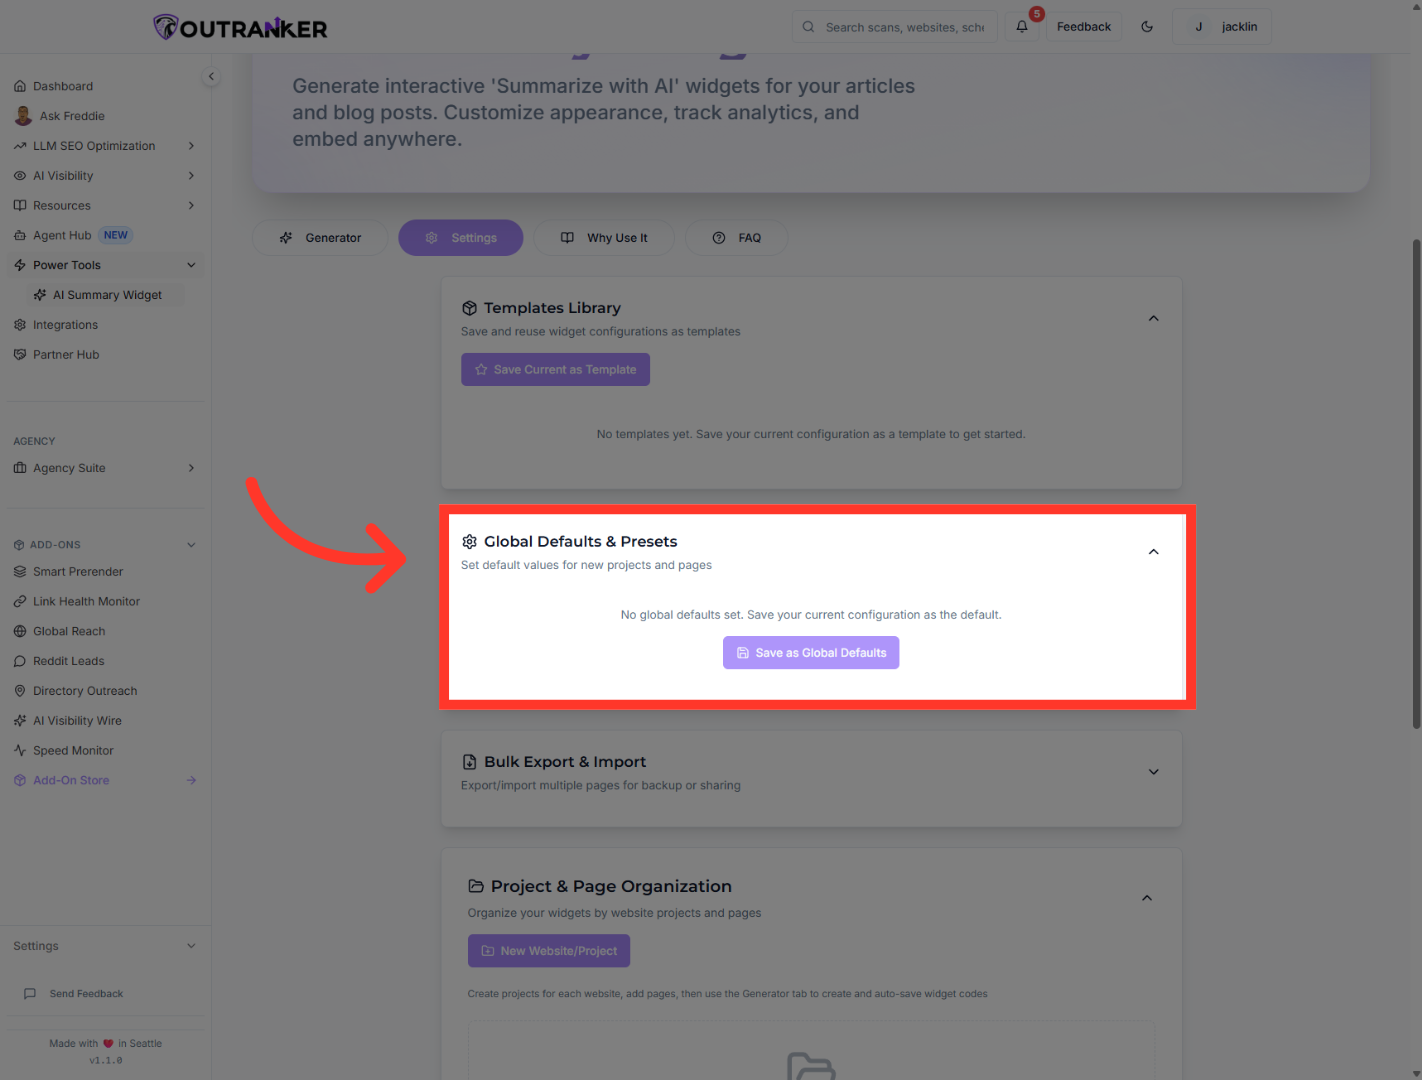
5. Save Global Defaults
“Next, you can manage Global Defaults & Presets.” “This lets you save your current configuration as the default setup for all future projects.” “If you ever want to reset the current setup, you can also clear the settings and return to the default state.” “This helps keep your workflow consistent while still giving you flexibility when needed.”
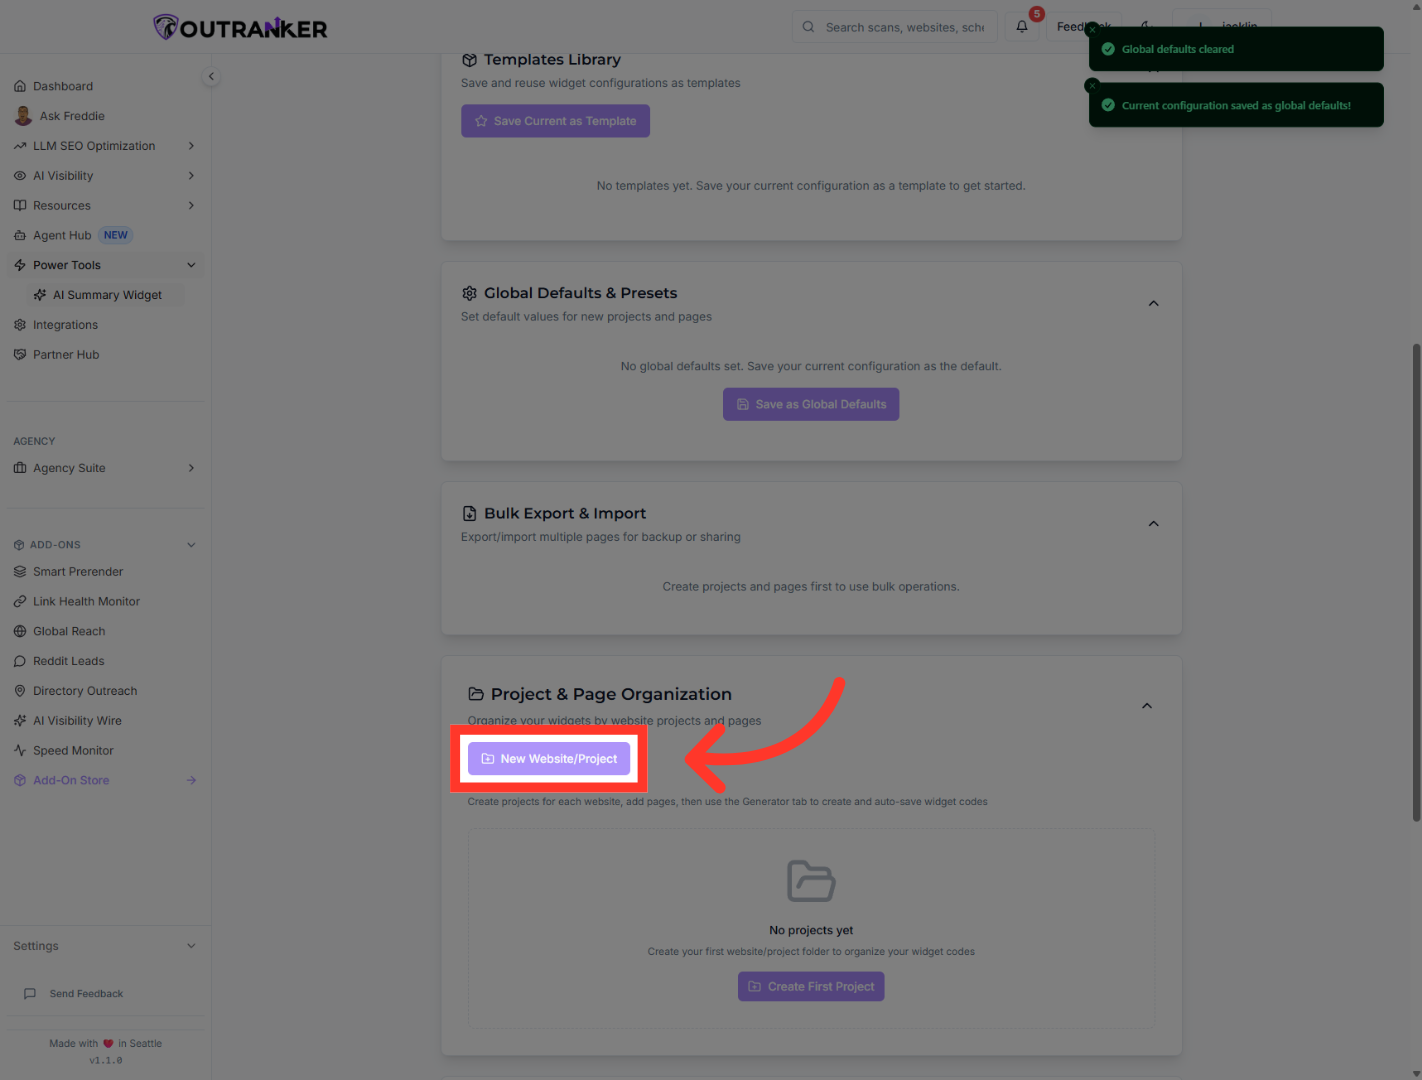
6. Select New Project Option
“The settings panel also includes Project & Page Organization.” “From here, you can create a new website or project to keep your widget setups organized.” “Simply create a new project, give it a clear name, and use it to manage widget settings for a specific site or use case.” “You can also search existing projects and pages later, which makes it easier to manage larger setups over time.”
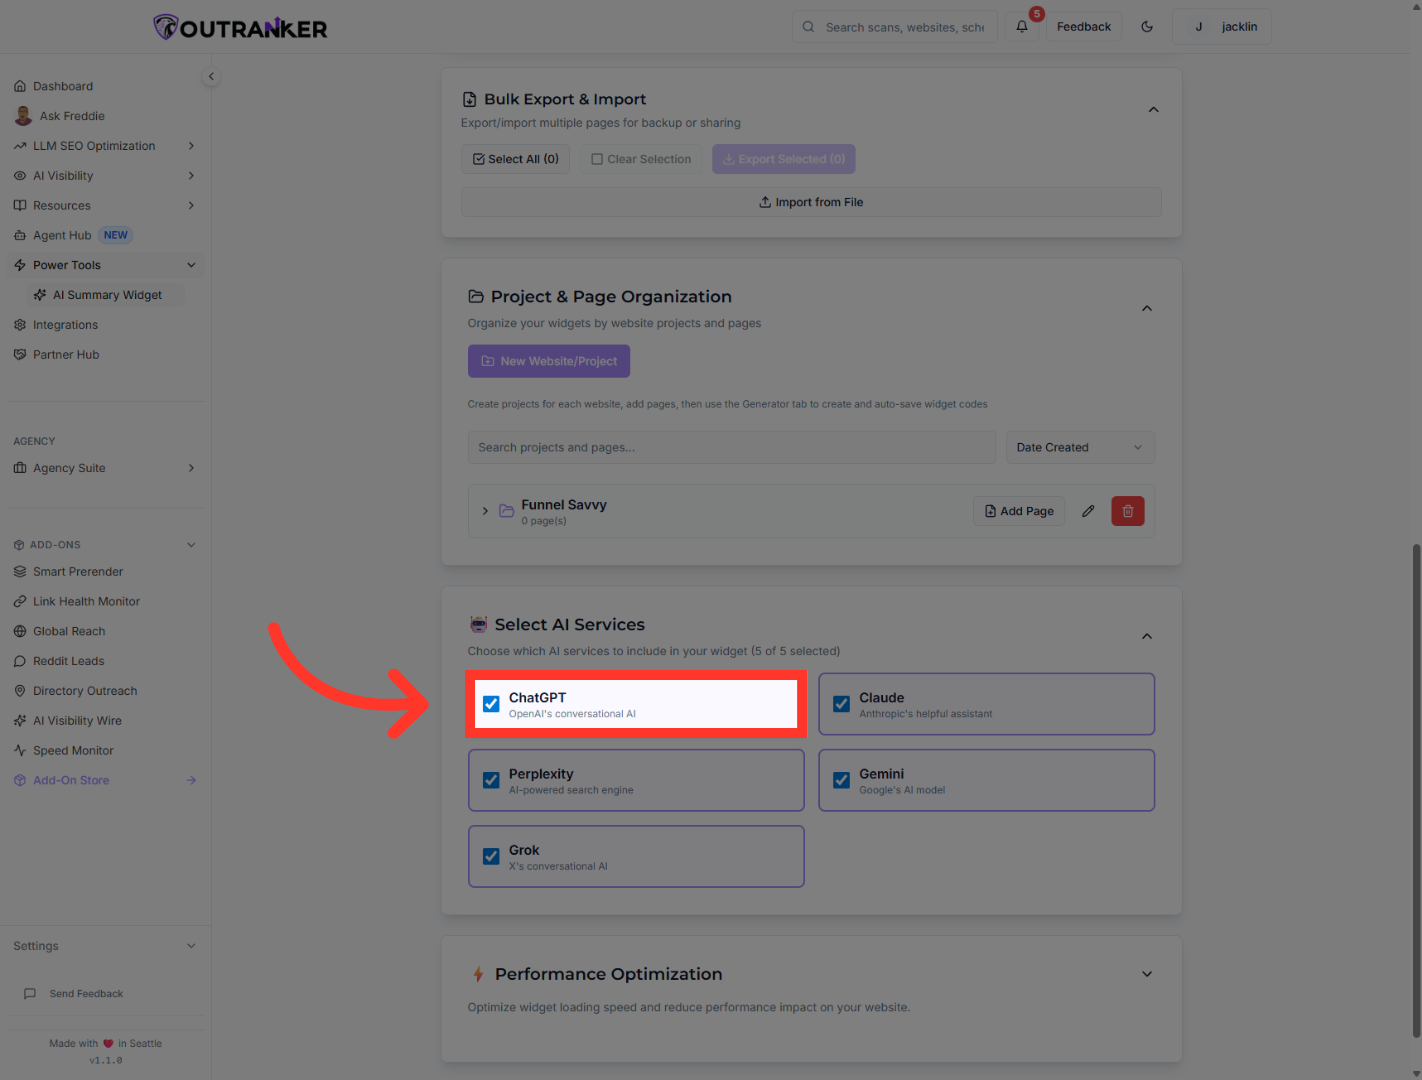
7. Select ChatGPT AI Option
“Next, move into the Select AI Services section.” “This is where you choose which AI platforms your widget will support.” “For example, you can enable options like ChatGPT, Perplexity, Claude, Gemini, and Grok depending on the experience you want to offer.” “This gives users more flexibility when interacting with your content through AI tools.”
8. Turn Features On And Finalize Service Settings
“As you choose services, you’ll also see feature toggles that let you turn specific options on.” “These controls let you customize which services are active for the widget and make sure the experience matches your project goals.” “This step is important because it shapes how users interact with AI directly from your page.”

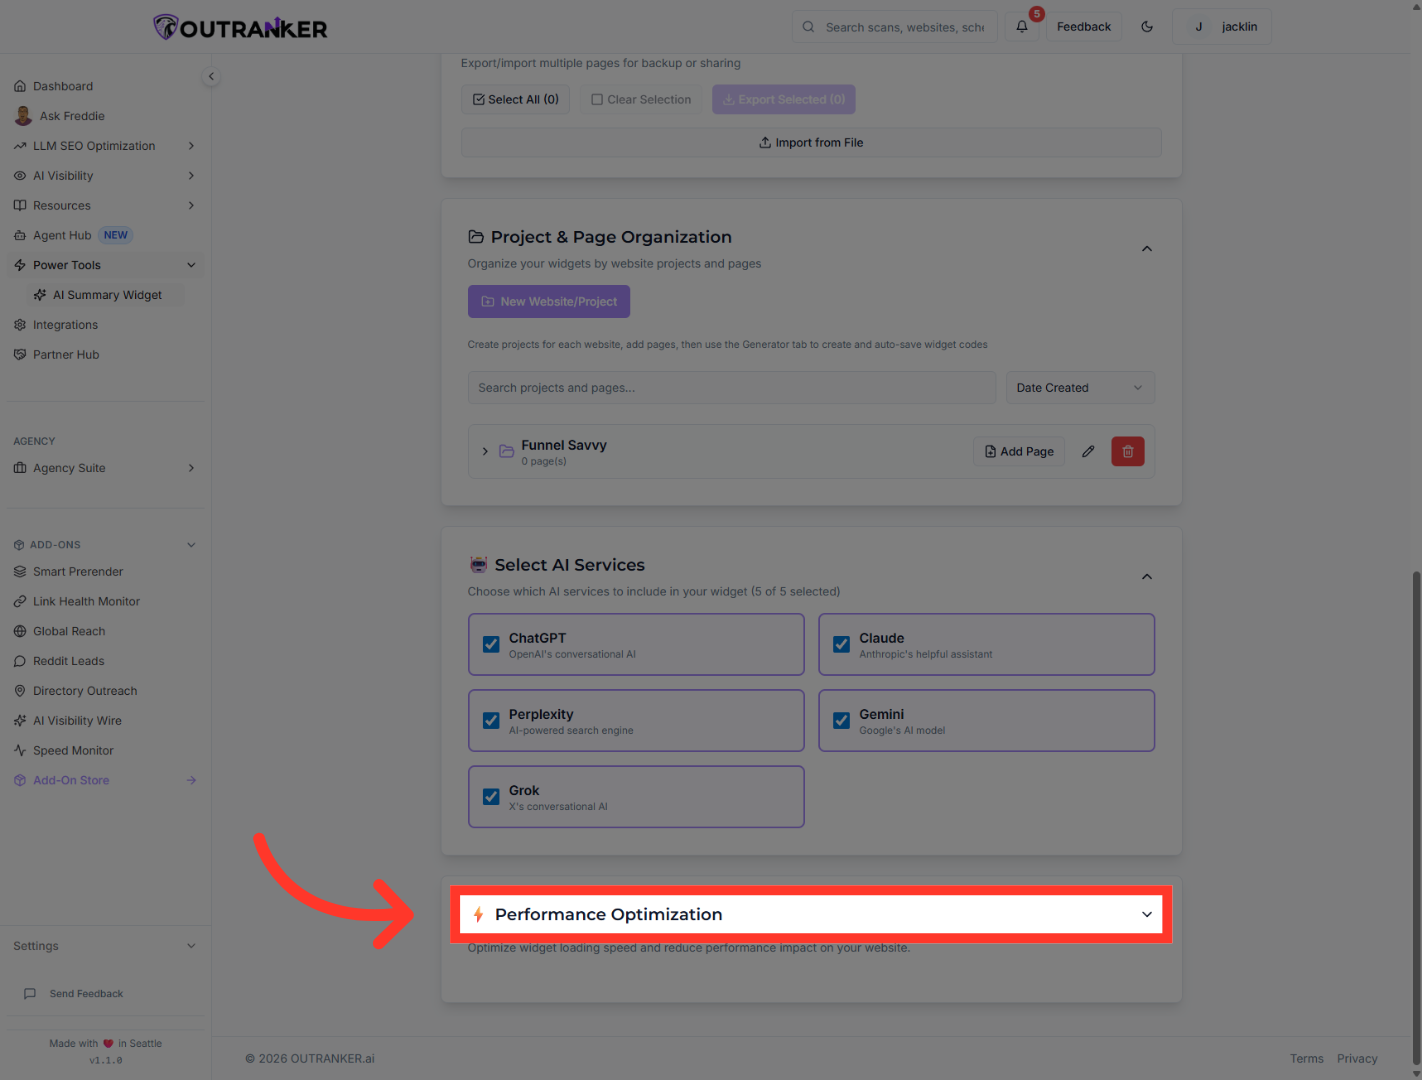
9. Open Performance Optimization
“Finally, open Performance Optimization.” “This section gives you access to settings that improve widget speed and efficiency.” “If needed, you can enable Performance Mode to optimize how the widget loads and operates on your site.” “This is especially useful when you want a smoother experience without sacrificing functionality.”
“You’ve now learned how to manage AI Summary Widget settings inside Outranker.” “You can save templates, set global defaults, organize projects, choose supported AI services, and optimize performance — all from one settings area.” “In the next video, we’ll walk through how to apply these settings to a live widget setup and fine-tune the experience for your website.”
