This tutorial explains how to generate an AI Summary Widget for your blog or page using the Outranker platform.
Go to www.outranker.ai
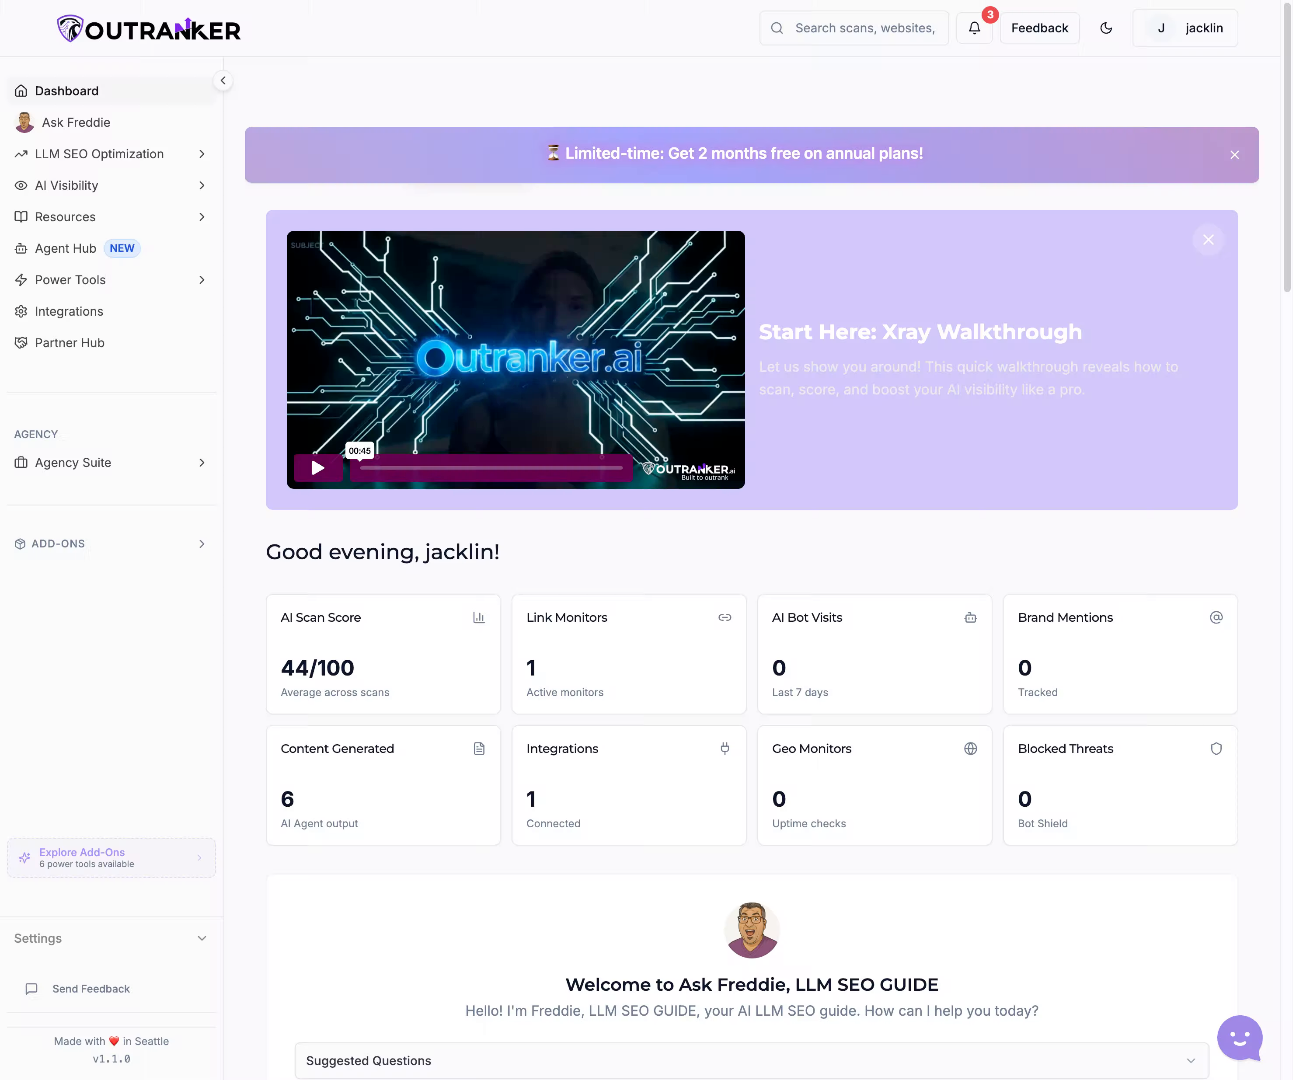
1. Introduction
“In this video, you’ll learn how to generate an AI Summary Widget for your blog page using Outranker.” “This helps visitors interact with your content through AI tools, makes your page more useful, and gives your content a stronger presence in AI-driven experiences.” “We’ll walk through how to configure the widget, generate the code, and place it on your website.”
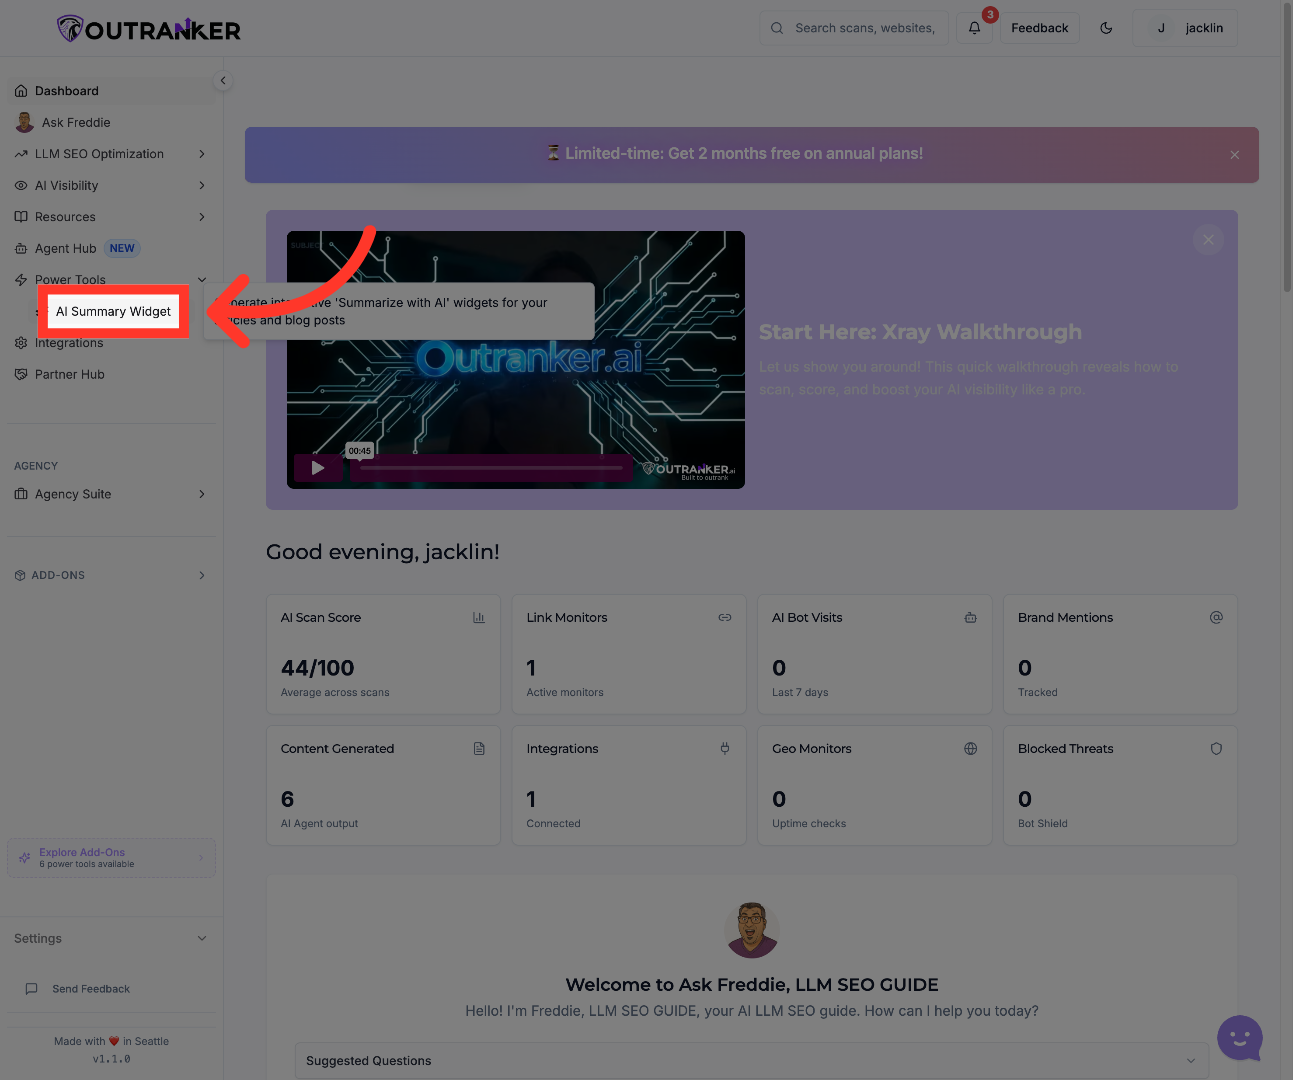
2. Open AI Summary Widget
“Start from your dashboard and click Power Tools.” “Then open AI Summary Widget.”
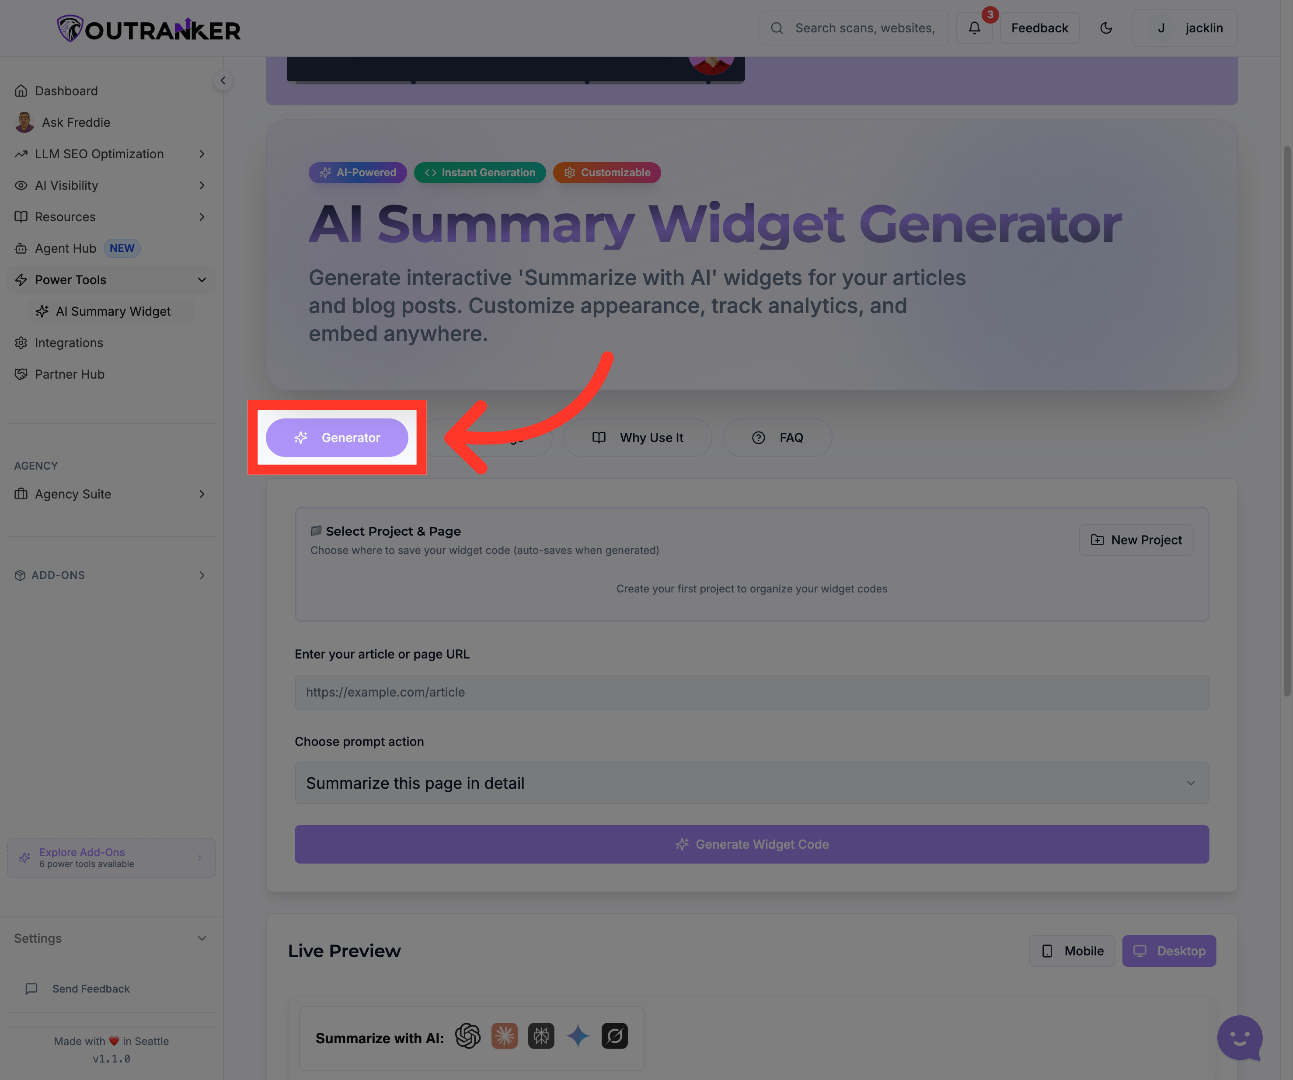
3. Select Generator Option
“Once inside, select Generator to begin creating a new widget for your page.” “This is the workspace where you’ll configure the content source, preview the widget, and generate your final code.”
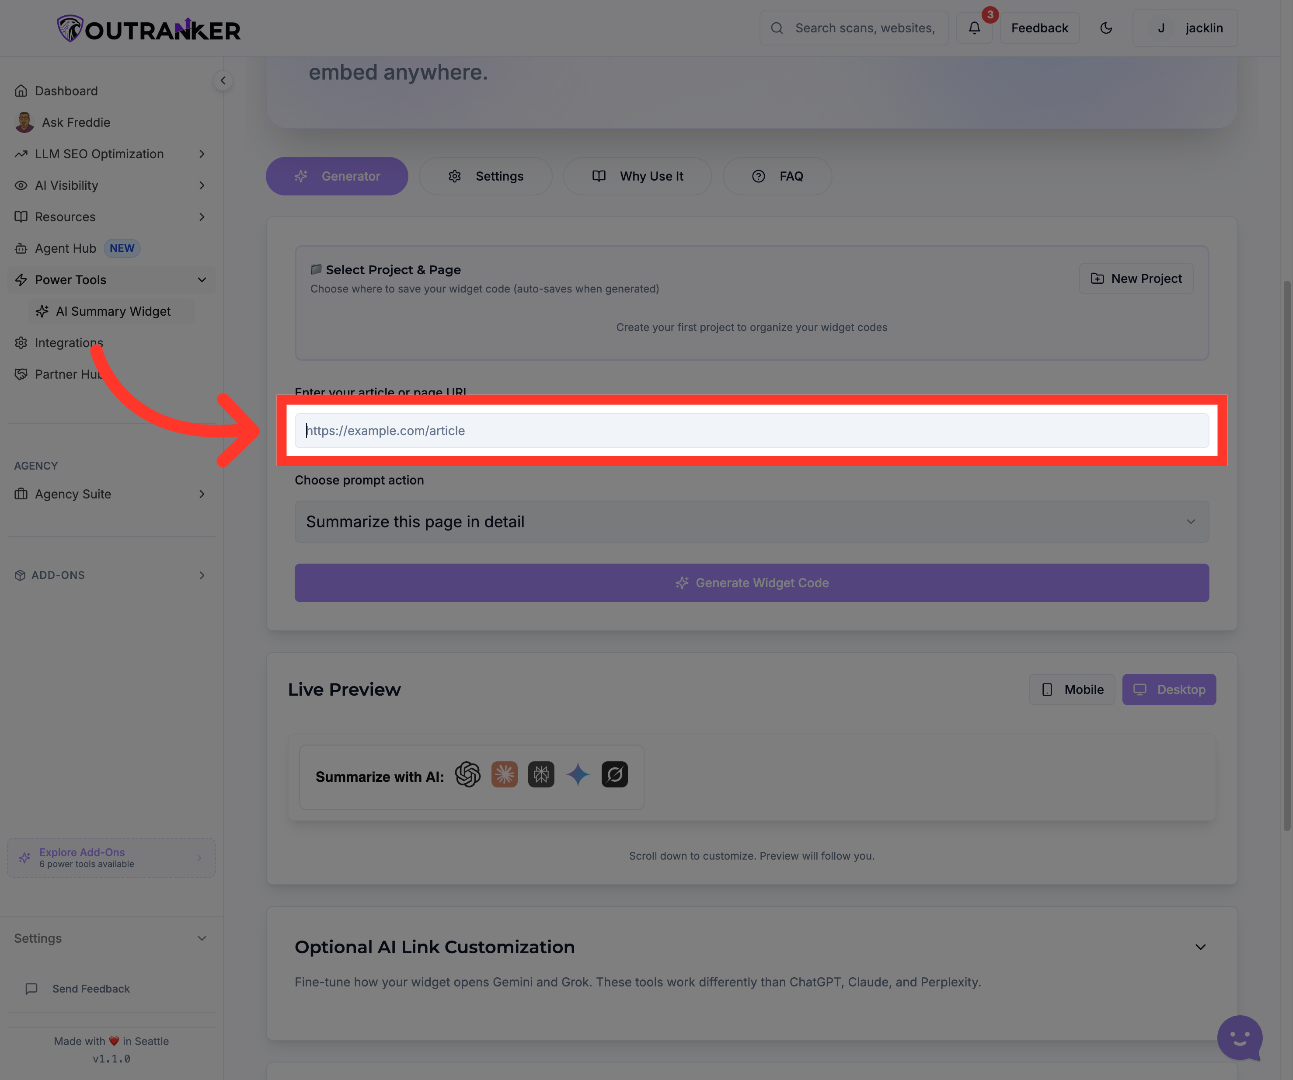
4. Enter Article URL Field
“In the generator, enter the full URL of the blog page or article you want to use.” “This tells Outranker which content to analyze so the widget can be built around that specific page.” “Make sure the page URL is correct, because the quality of the widget depends on the content it pulls from.”
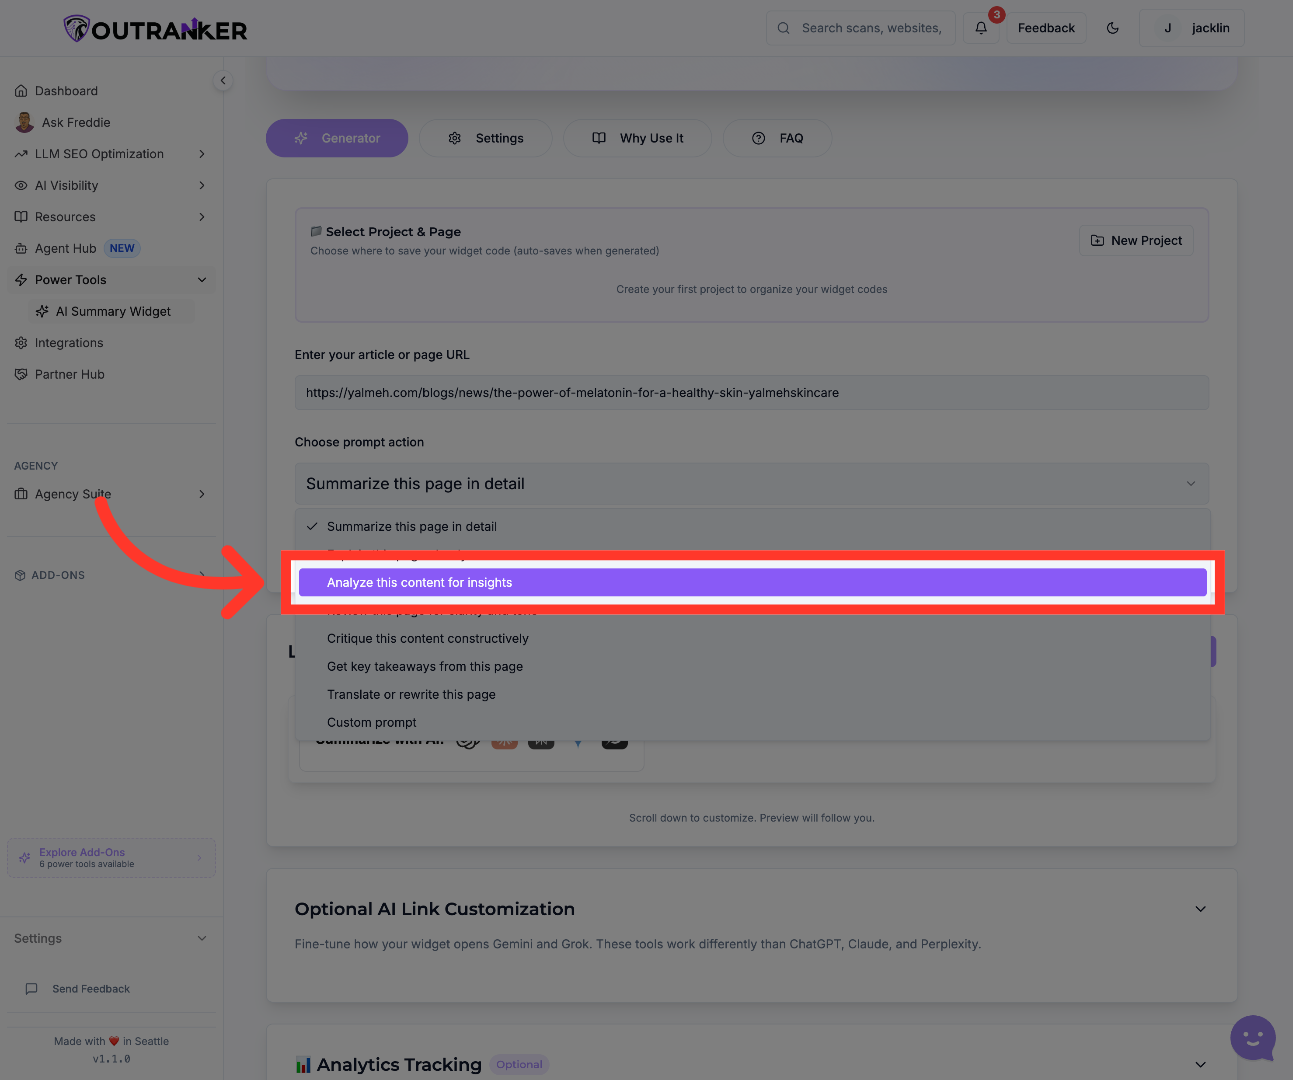
5. Analyze Content for Insights
“Next, choose the prompt action for the widget.” “You can use a preset option like Summarize this page in detail, which gives users a clear and useful summary experience.” “This step shapes how visitors will interact with your content once the widget is live.”
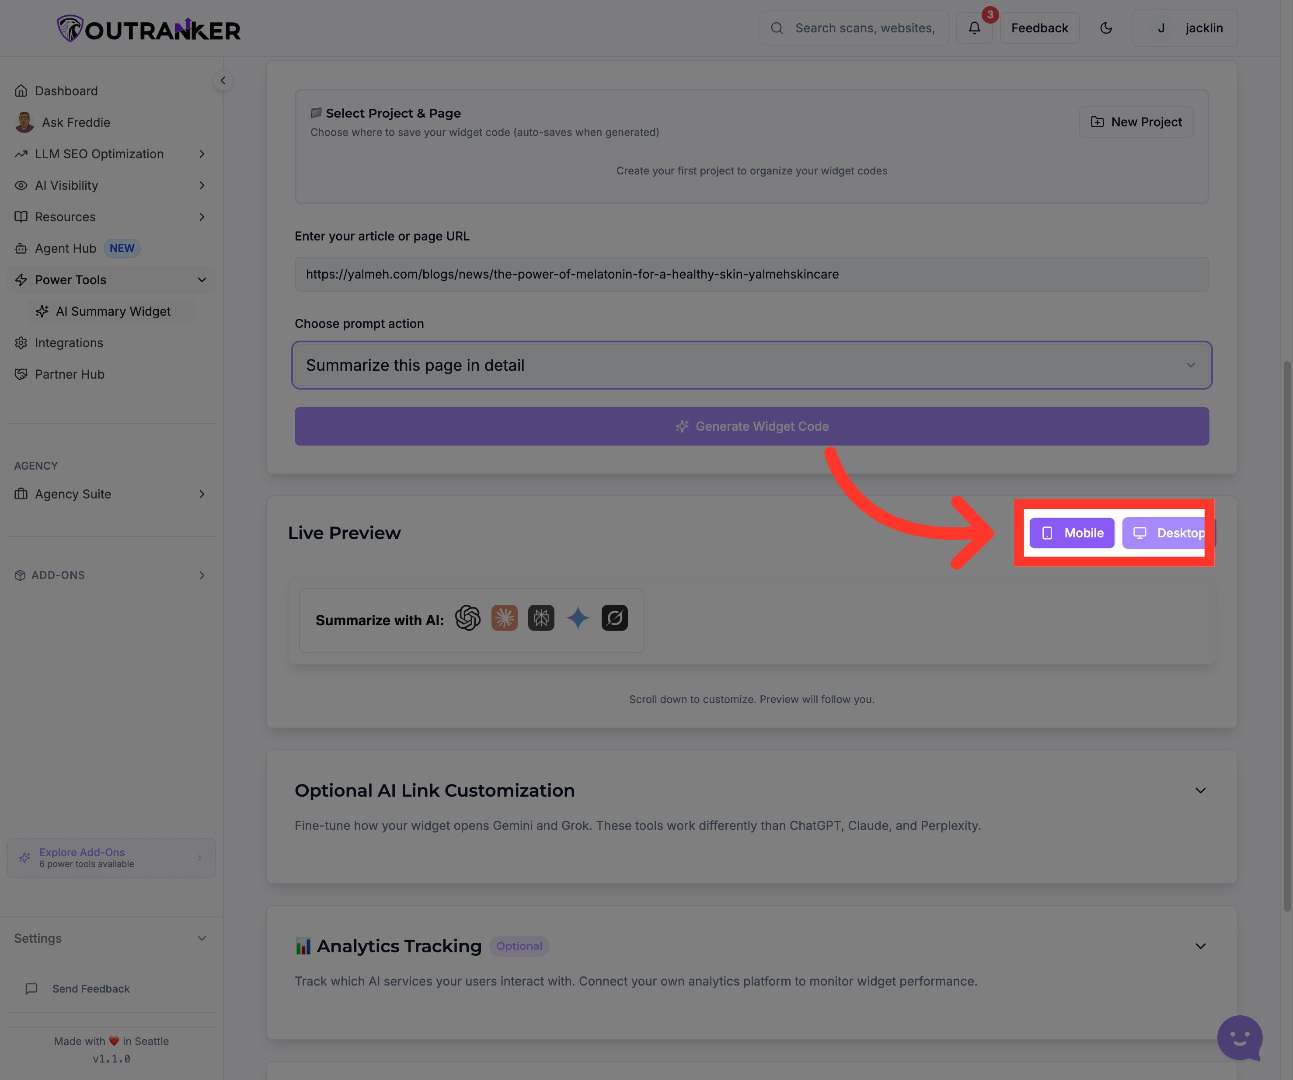
6. Select Mobile View
“Before generating code, review the widget preview.” “Switch between Mobile and Desktop views to make sure the widget looks right across devices.” “This helps you catch layout issues early and gives you confidence before installation.”
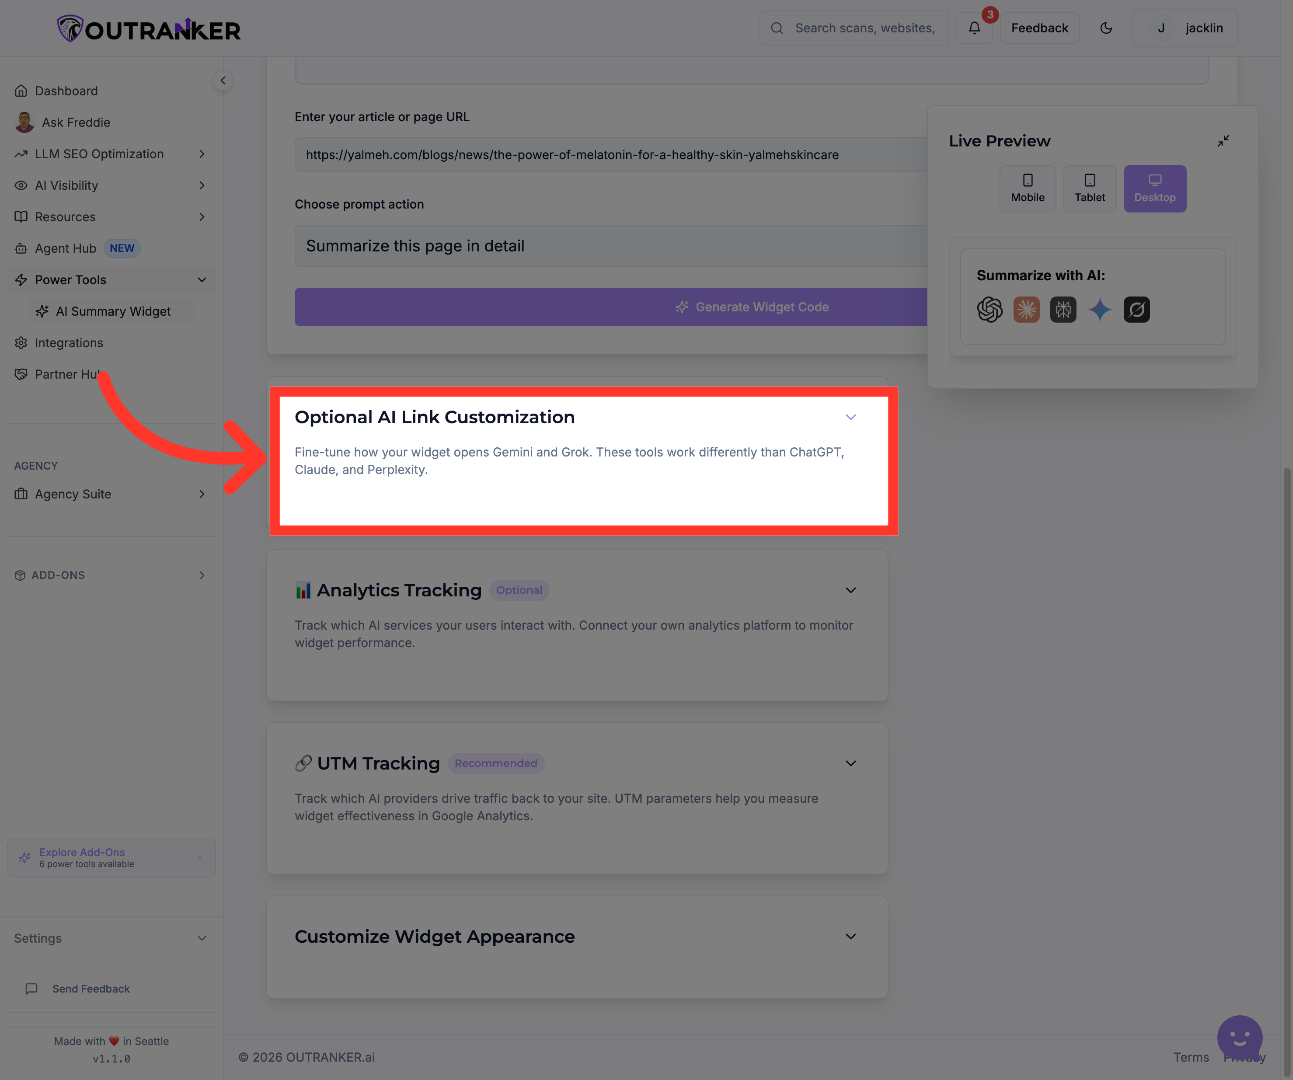
7. Access Additional Options
“If you want more control, open the additional settings sections below the preview.” “This is where you can fine-tune link behavior, analytics tracking, UTM tracking, and the overall widget setup.” “These extra settings are useful when you want the widget to do more than just display a summary.”
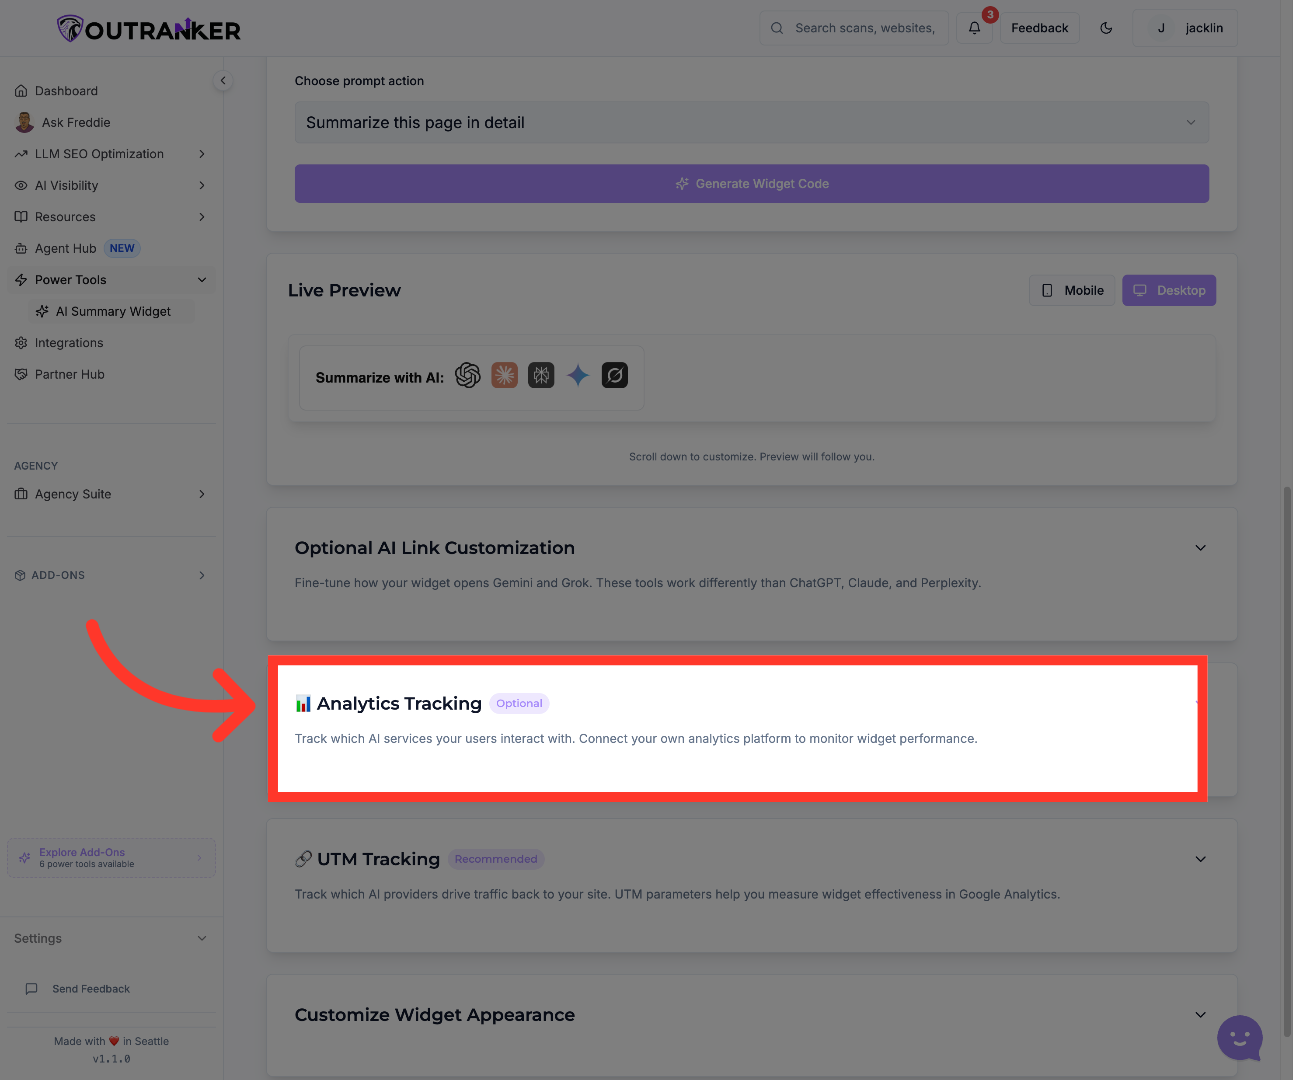
8. Expand Configuration Menu
“If you want to measure engagement, open the analytics section.” “You can choose Google Analytics 4 as your analytics provider and enter your GA4 Measurement ID.” “This allows you to track how visitors interact with the widget and measure its performance over time.” “If you don’t want tracking, you can also leave analytics disabled by selecting the default no-analytics option.”
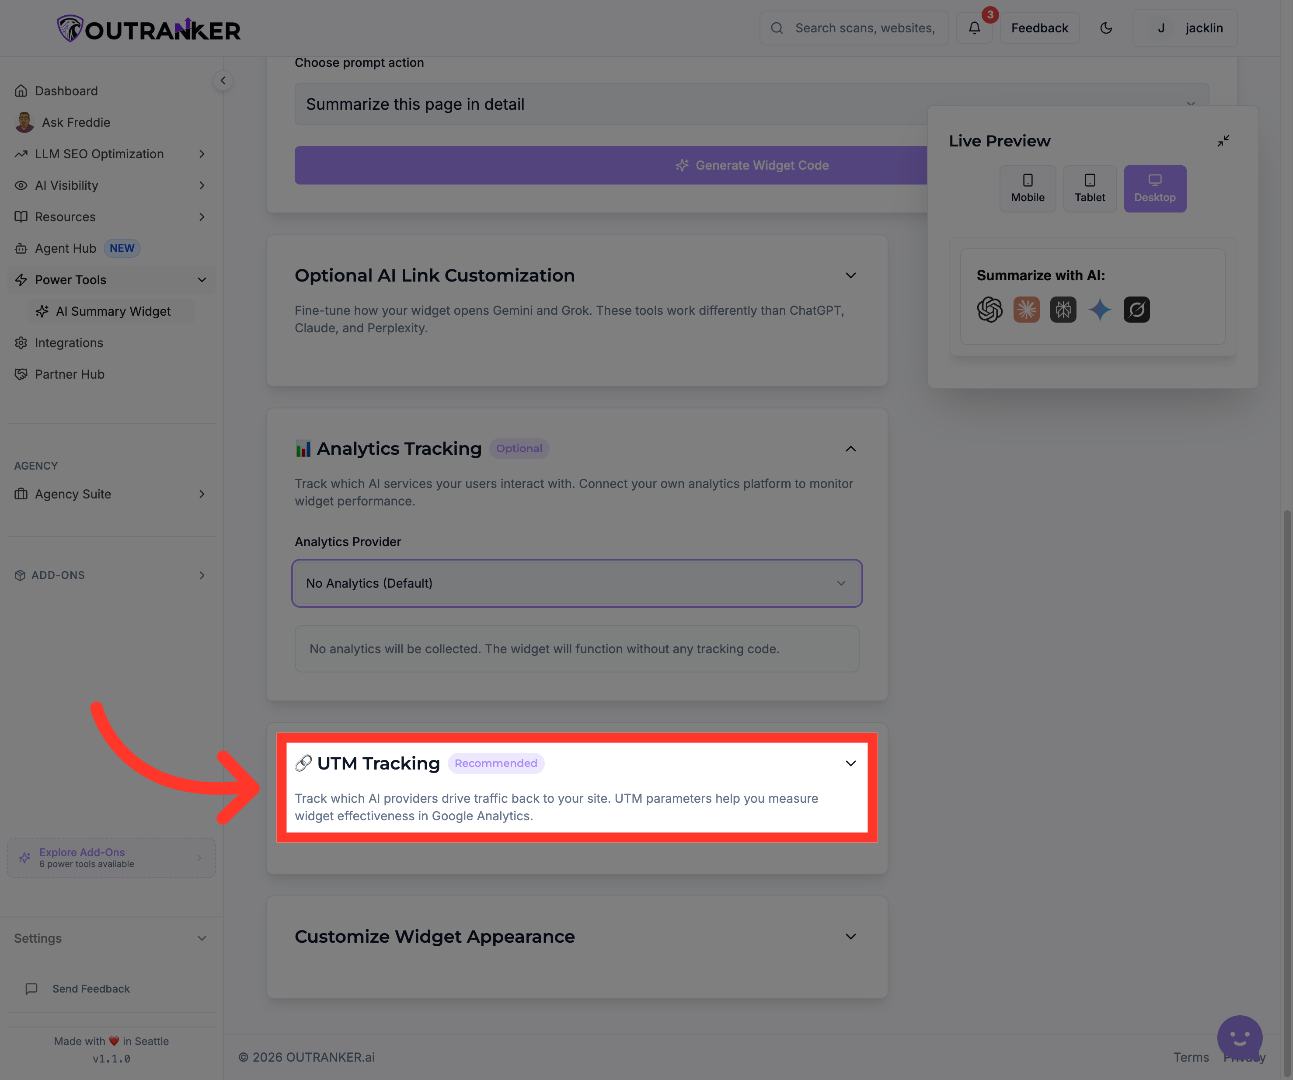
9. Enable UTM Tracking
“Next, you can enable UTM Tracking.” “This helps you understand which AI providers are sending traffic back to your website.” “You can also configure the UTM source and related fields so your analytics data stays clean and easy to interpret.” “This is especially helpful when you want to measure how effective the widget is in driving traffic and engagement.”
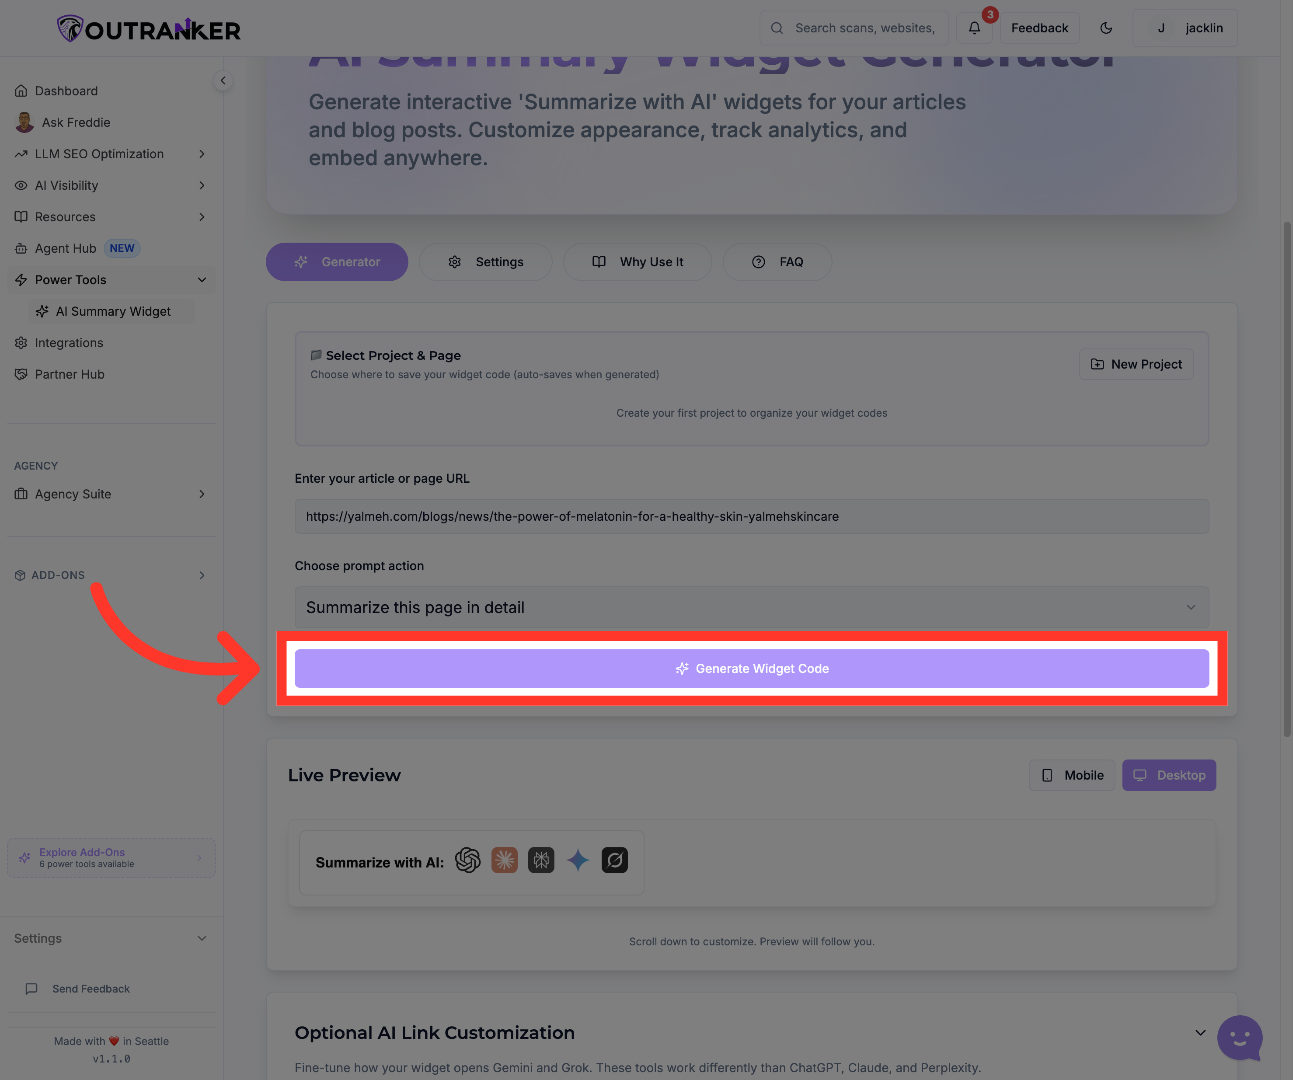
10. Generate Widget Code
“Once your setup looks right, click Generate Widget Code.” “Outranker will create the code snippet you need to place the widget on your site.” “You can review the full code, download it, or copy it directly to your clipboard.” “This makes the widget ready for installation on your website or store.”
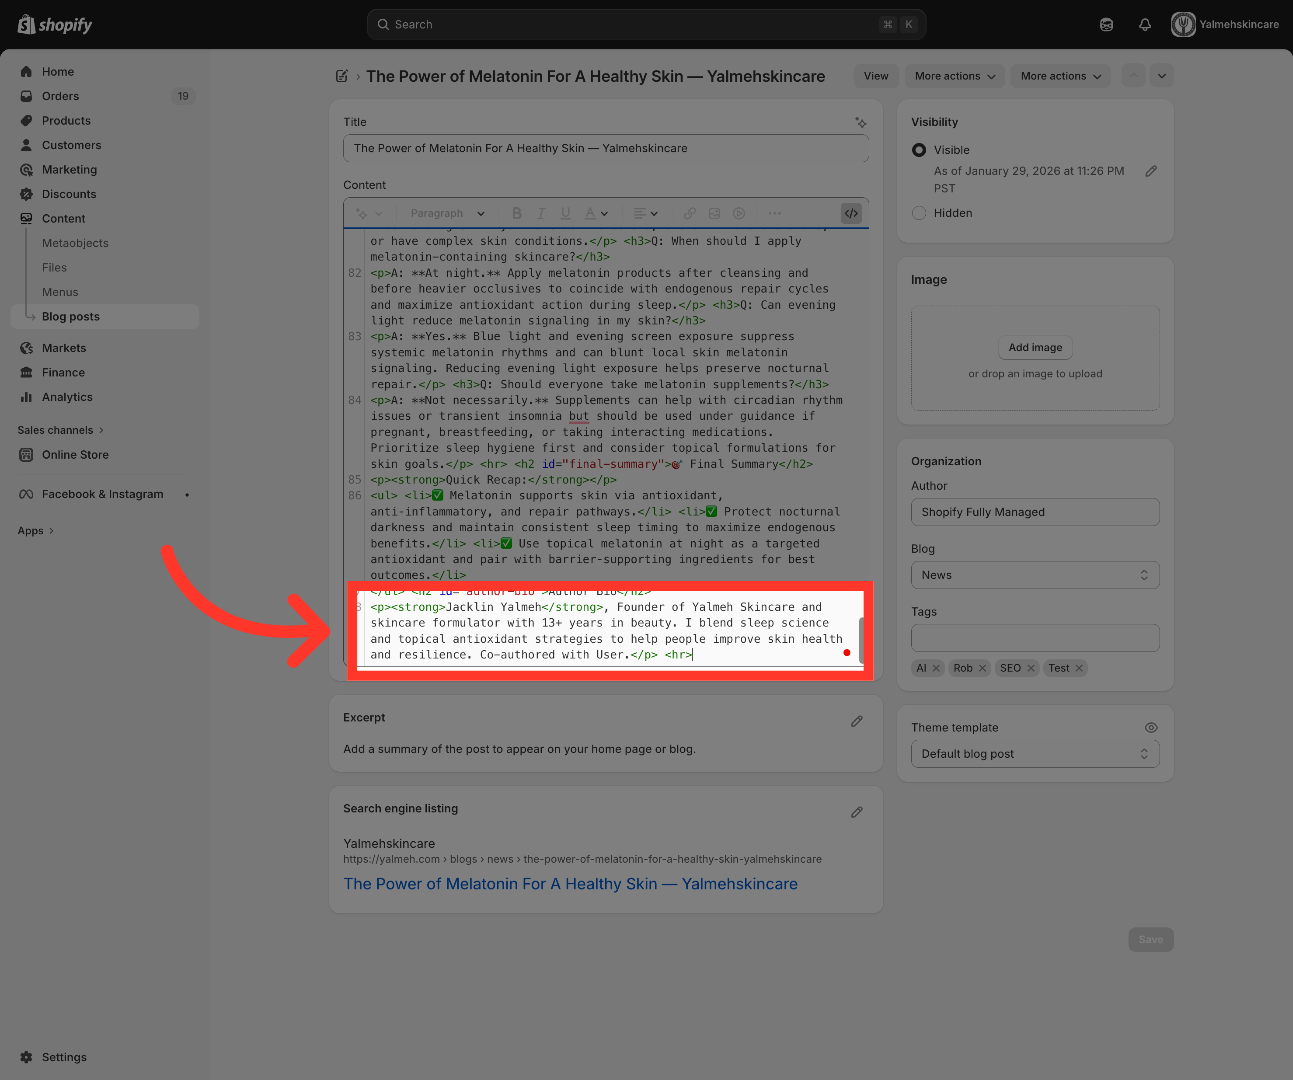
11. Select Founder Profile Section
“After generating the code, move to your website platform — in this example, Shopify.” “Open your theme or page editor, go to the section where you want the widget to appear, and paste in the widget code.” “Then save your changes and preview the page to confirm the widget appears correctly.” “This is the step where the configuration becomes a live visitor experience.”
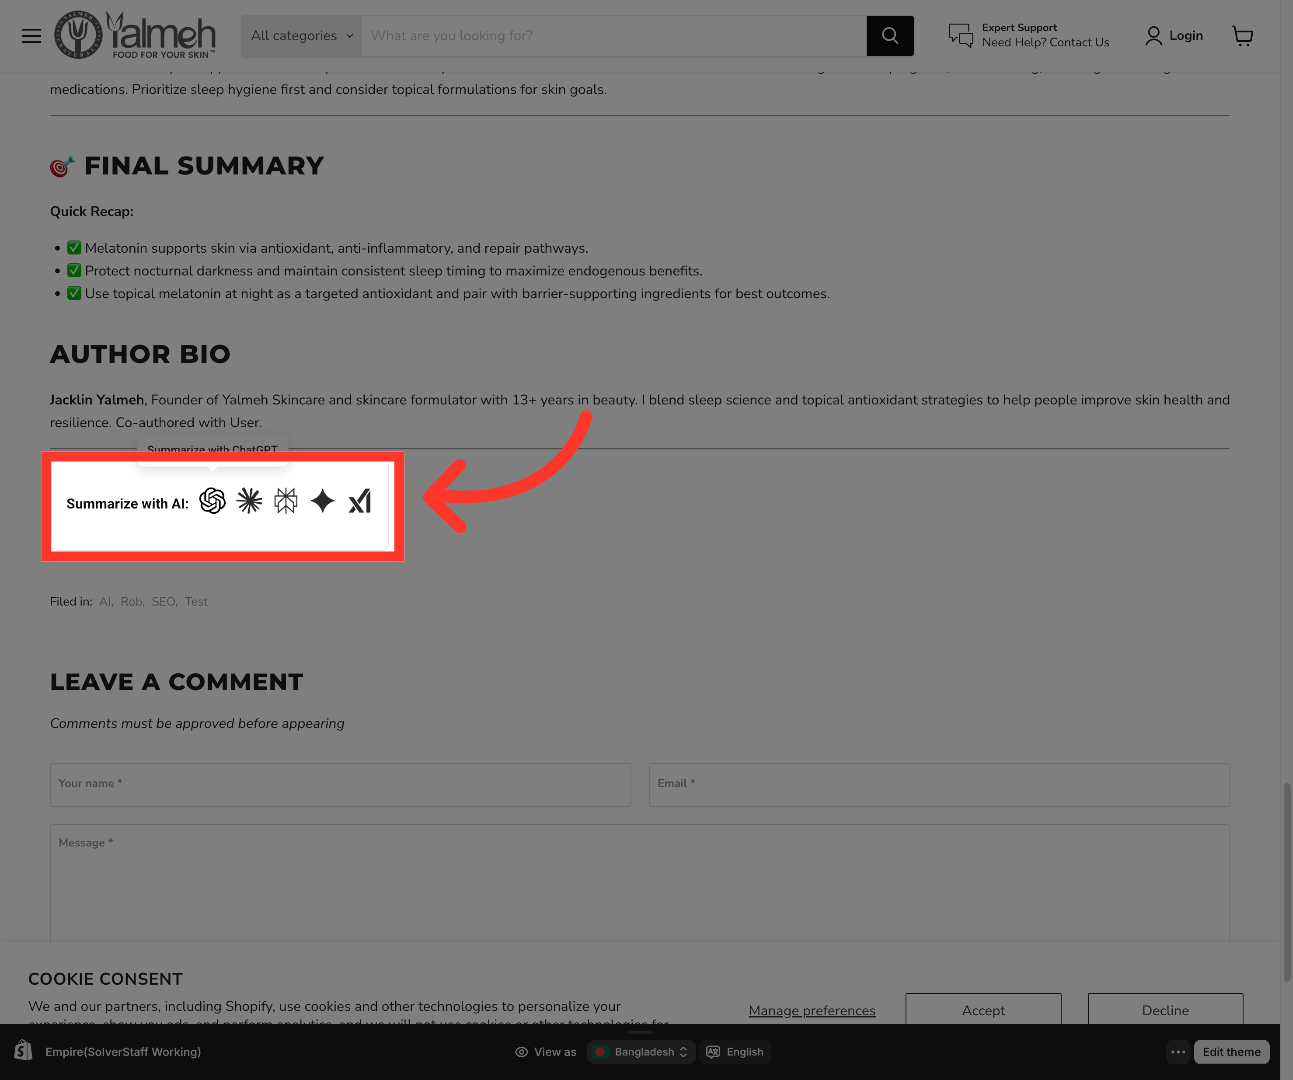
12. Access Widget Area
“Finally, open the live blog post and check the widget in its real placement.” “Make sure it displays correctly, matches the page layout, and works the way you expect.” “If needed, return to Outranker and refine the settings, tracking, or appearance.”
“You’ve now generated and integrated an AI Summary Widget for your blog page using Outranker.” “Your page is now equipped with an interactive AI-powered experience that can improve engagement, add visibility, and make your content more useful for modern visitors.” “In the next video, we’ll walk through how to customize the widget’s appearance and optimize it for even better performance.”
