This tutorial explains how to assign different agents to various tasks within Agent Hub.
Go to www.outranker.ai
1. Introduction
“In this video, you’ll learn how to configure agents for specific tasks inside Agent Hub.” “This helps you assign the right AI specialist to the right type of work, whether that’s research, SEO, content creation, or verification.” “Instead of using one general workflow for everything, Agent Hub lets you route tasks more intelligently.”

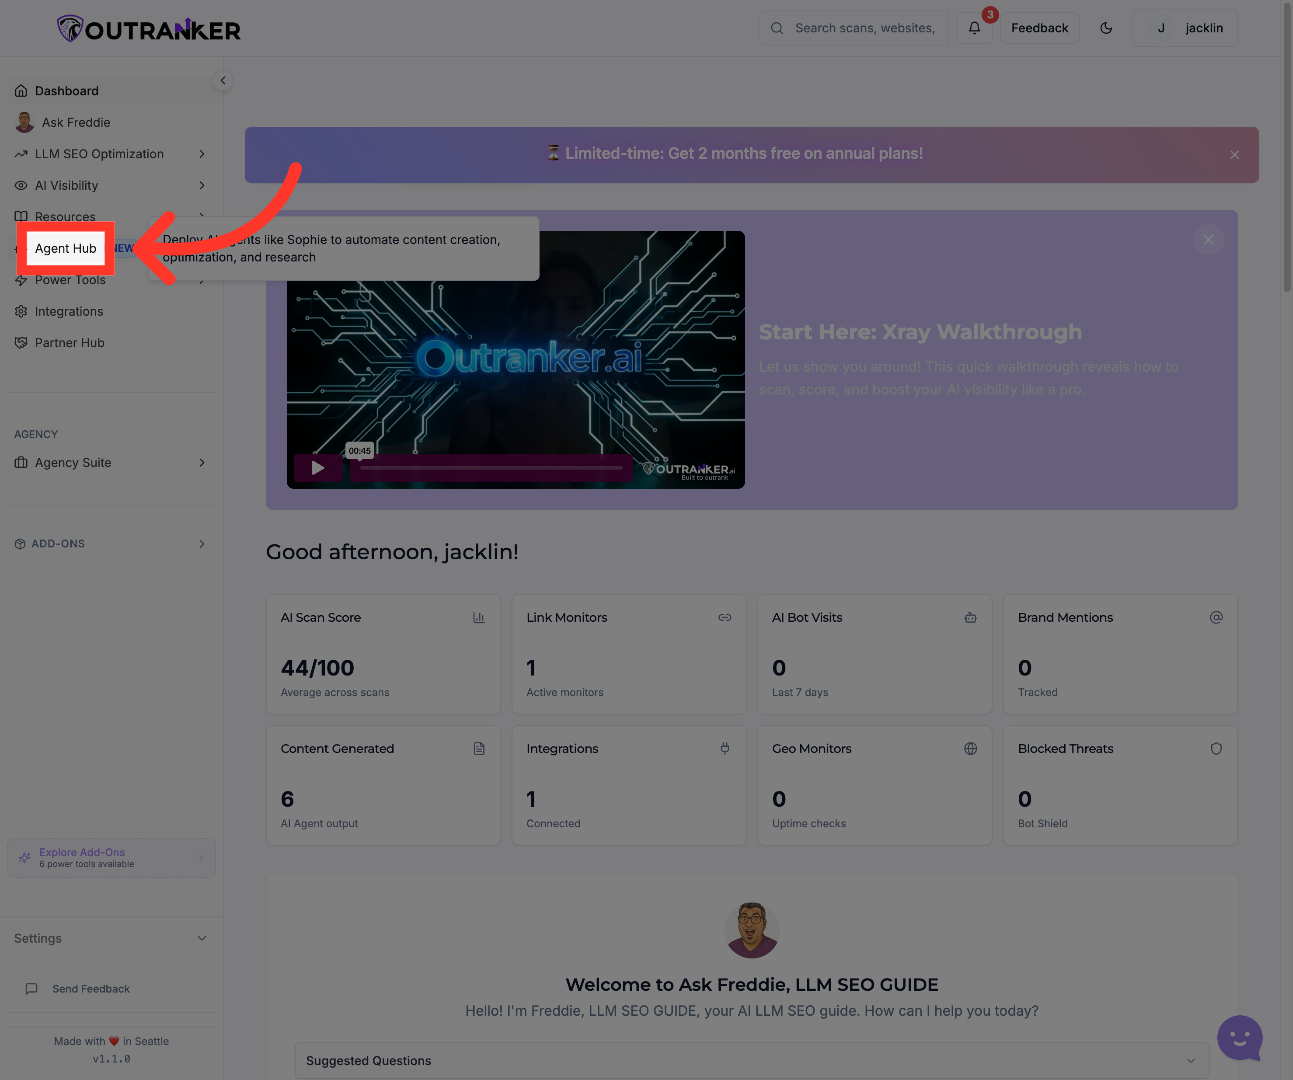
2. Access Agent Hub
“Start from your dashboard and click Agent Hub.”
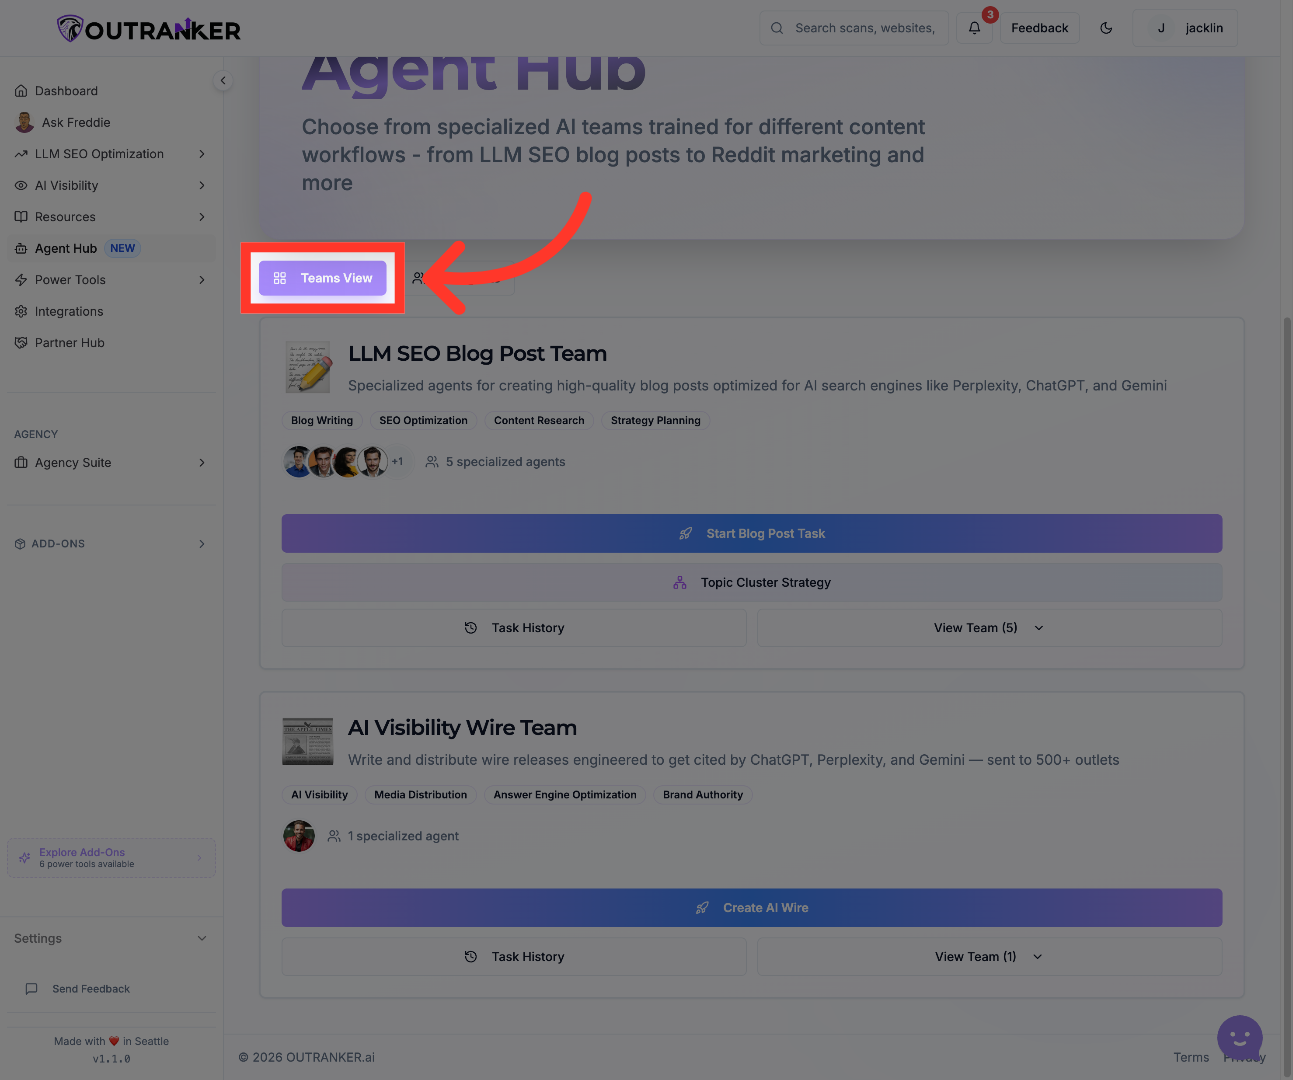
3. Open Teams View
“Once inside, open Teams View to see the available teams and how agents are grouped inside the platform.” “This gives you a clear view of your AI workforce before assigning any specific task.”
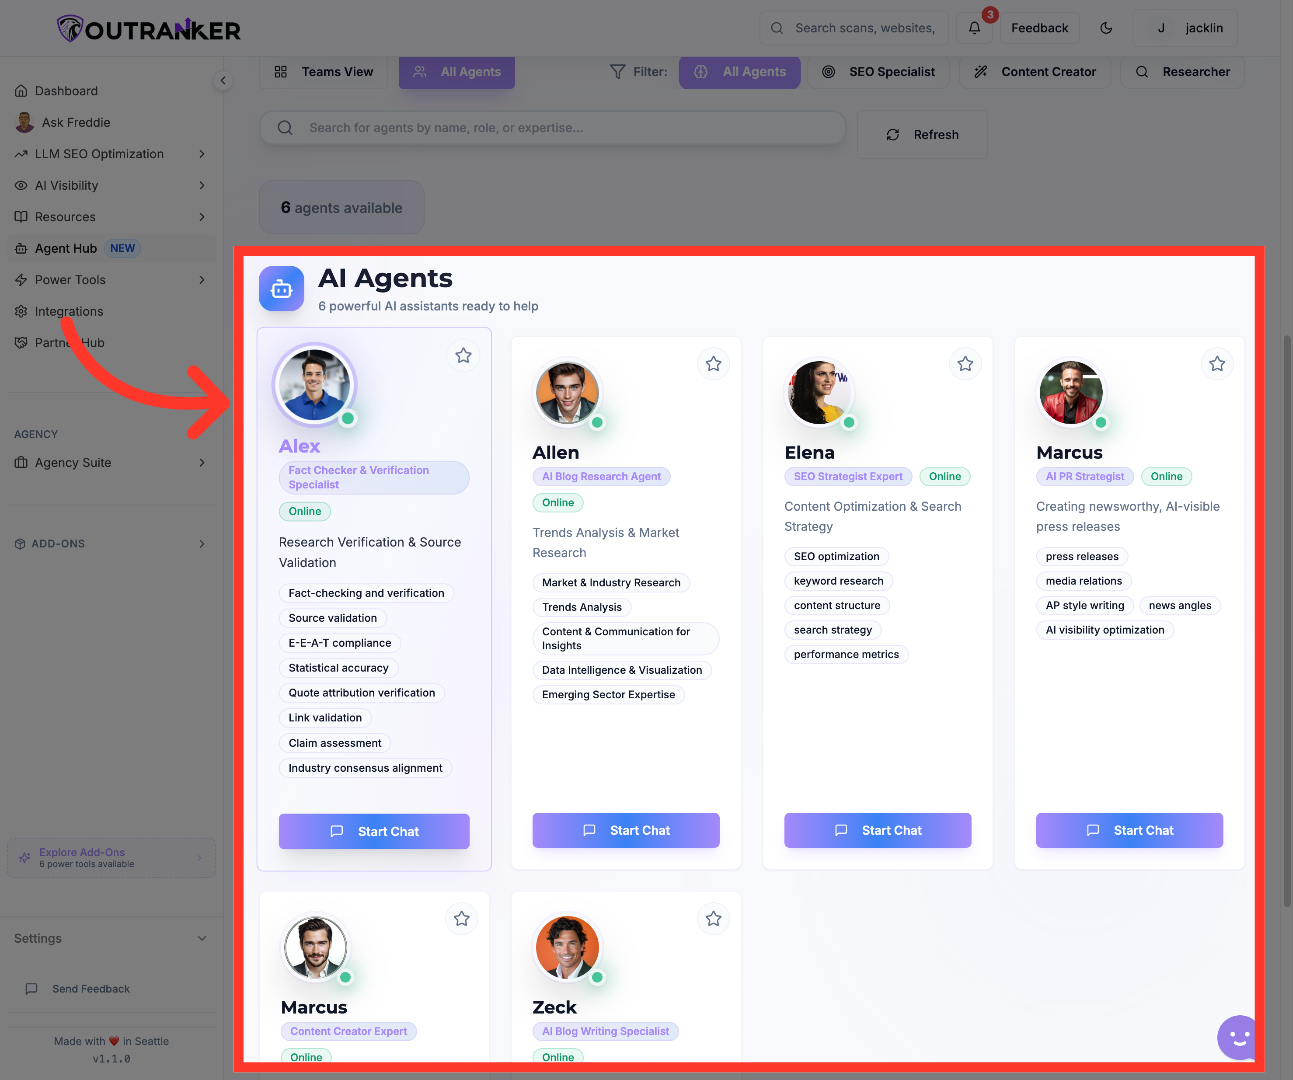
4. View All Agents
“Next, switch from team view to All Agents.” “This shows the full list of available agents in your organization, so you can browse specialists one by one instead of only by team.” “This is the best place to choose the right agent for a very specific job.”

5. Select Research Verification Team
“As you browse the agent list, you’ll see that different agents are built for different types of work.” “For example, some are focused on research verification and source validation, while others are designed for SEO, content creation, or research-heavy tasks.” “This step is important because choosing the right specialist improves the quality of the result.”
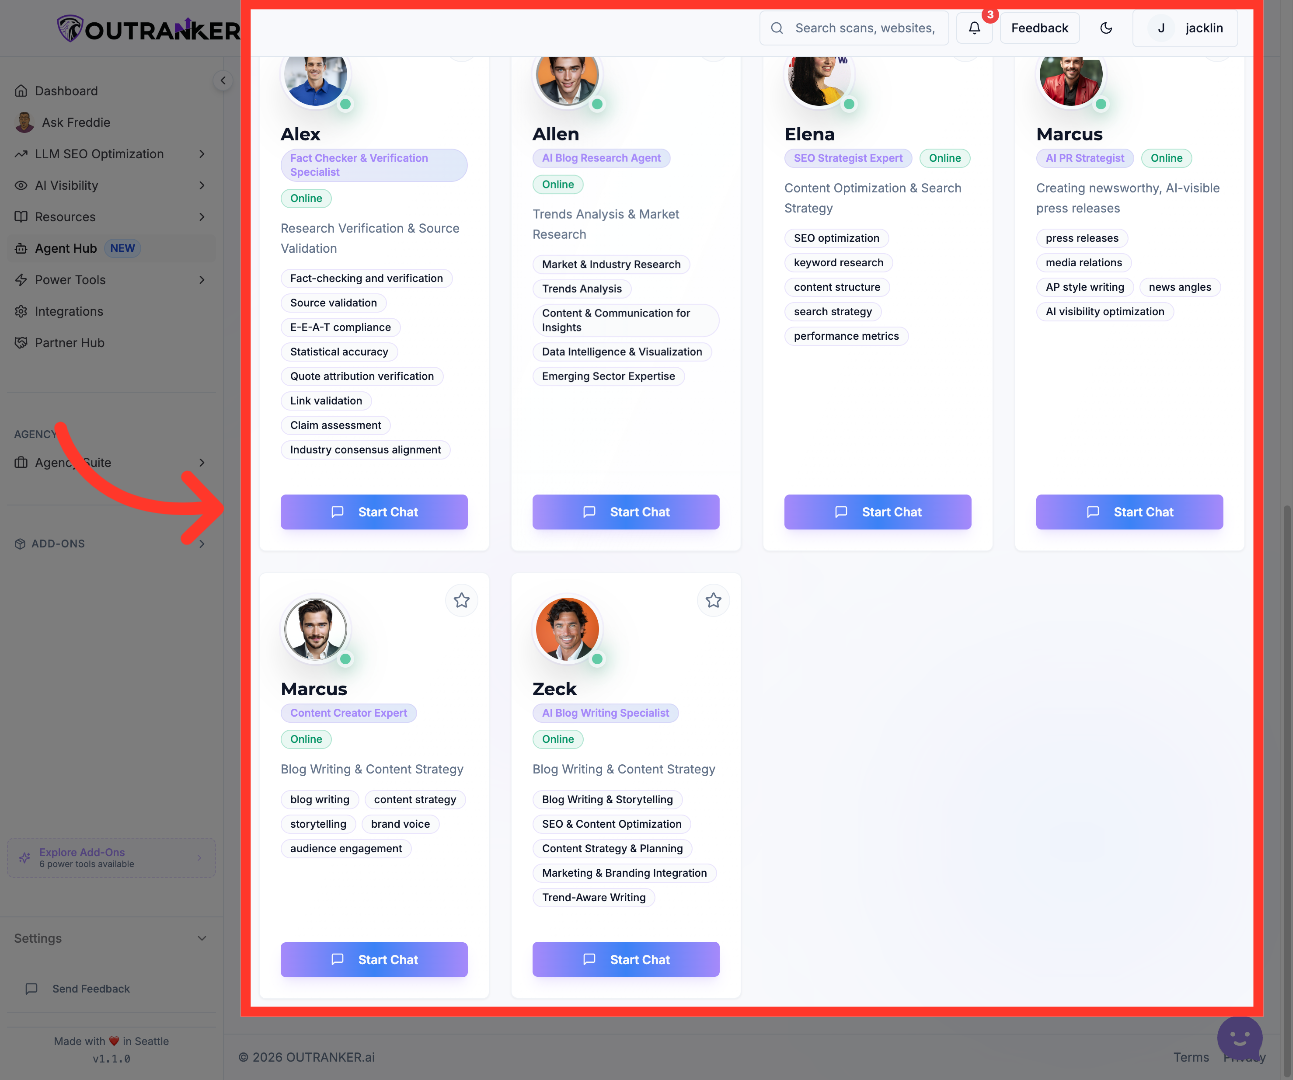
6. Choose Verification Specialist
“Once you know the type of task you want to complete, select the most relevant agent.” “For a verification-focused task, you might choose a fact-checking specialist.” “For content-related work, you can move to a content-focused agent who is better suited for writing, structure, and rewriting.” “The key here is matching the task to the agent’s specialty.”
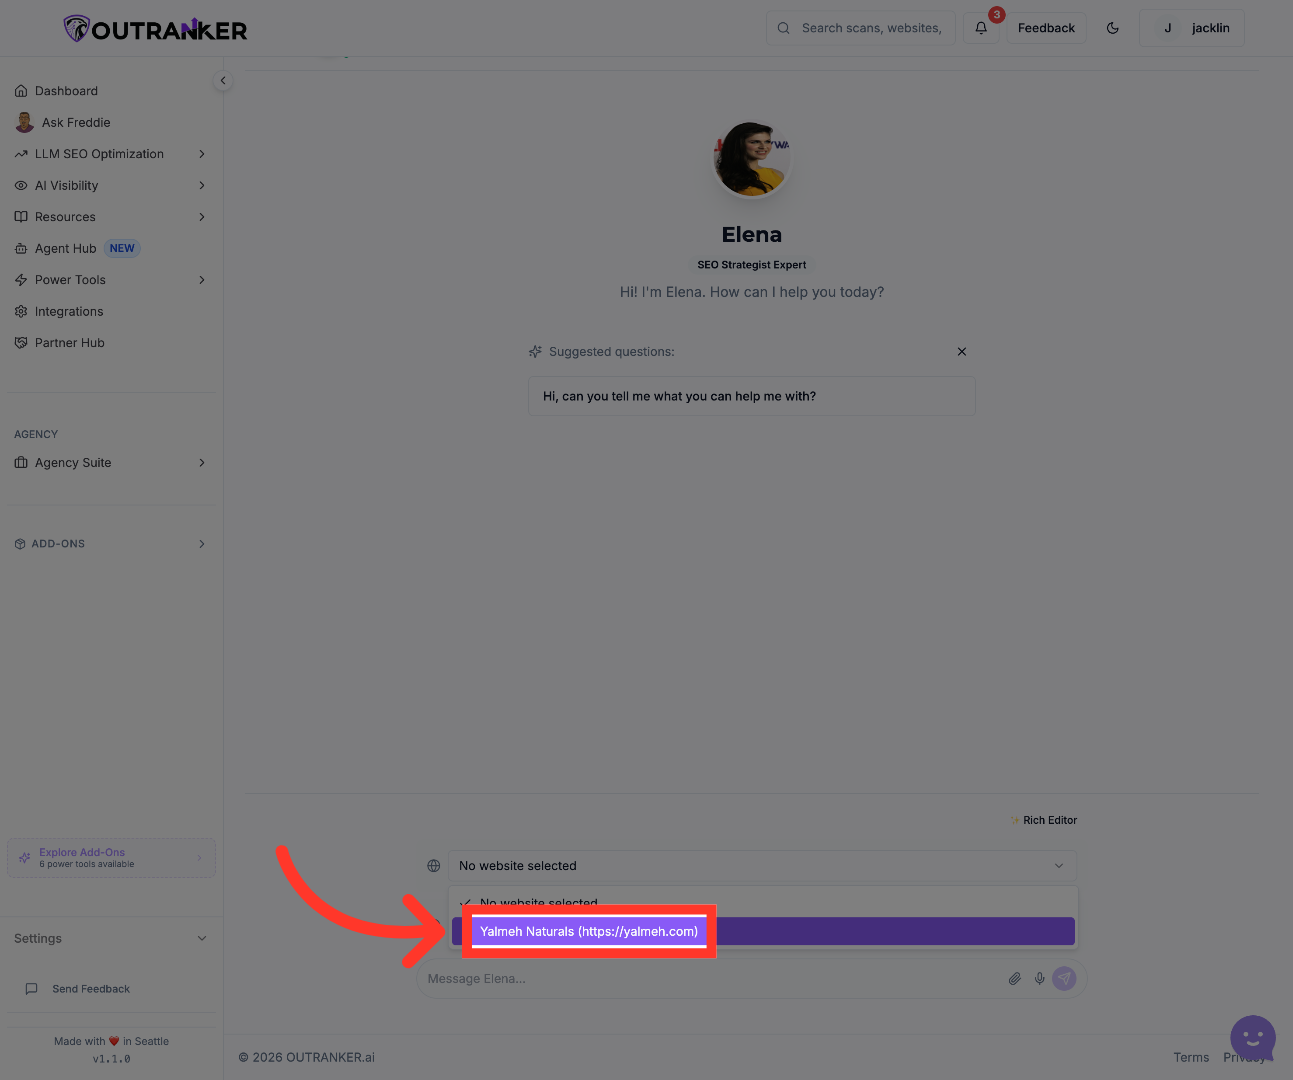
7. Open Yalmeh Naturals Profile
“After selecting the right agent, open the workspace and choose the correct client or project context.” “This makes sure the task is connected to the right brand, website, or account before you send instructions.” “Using the correct client context helps the agent produce more relevant output.”
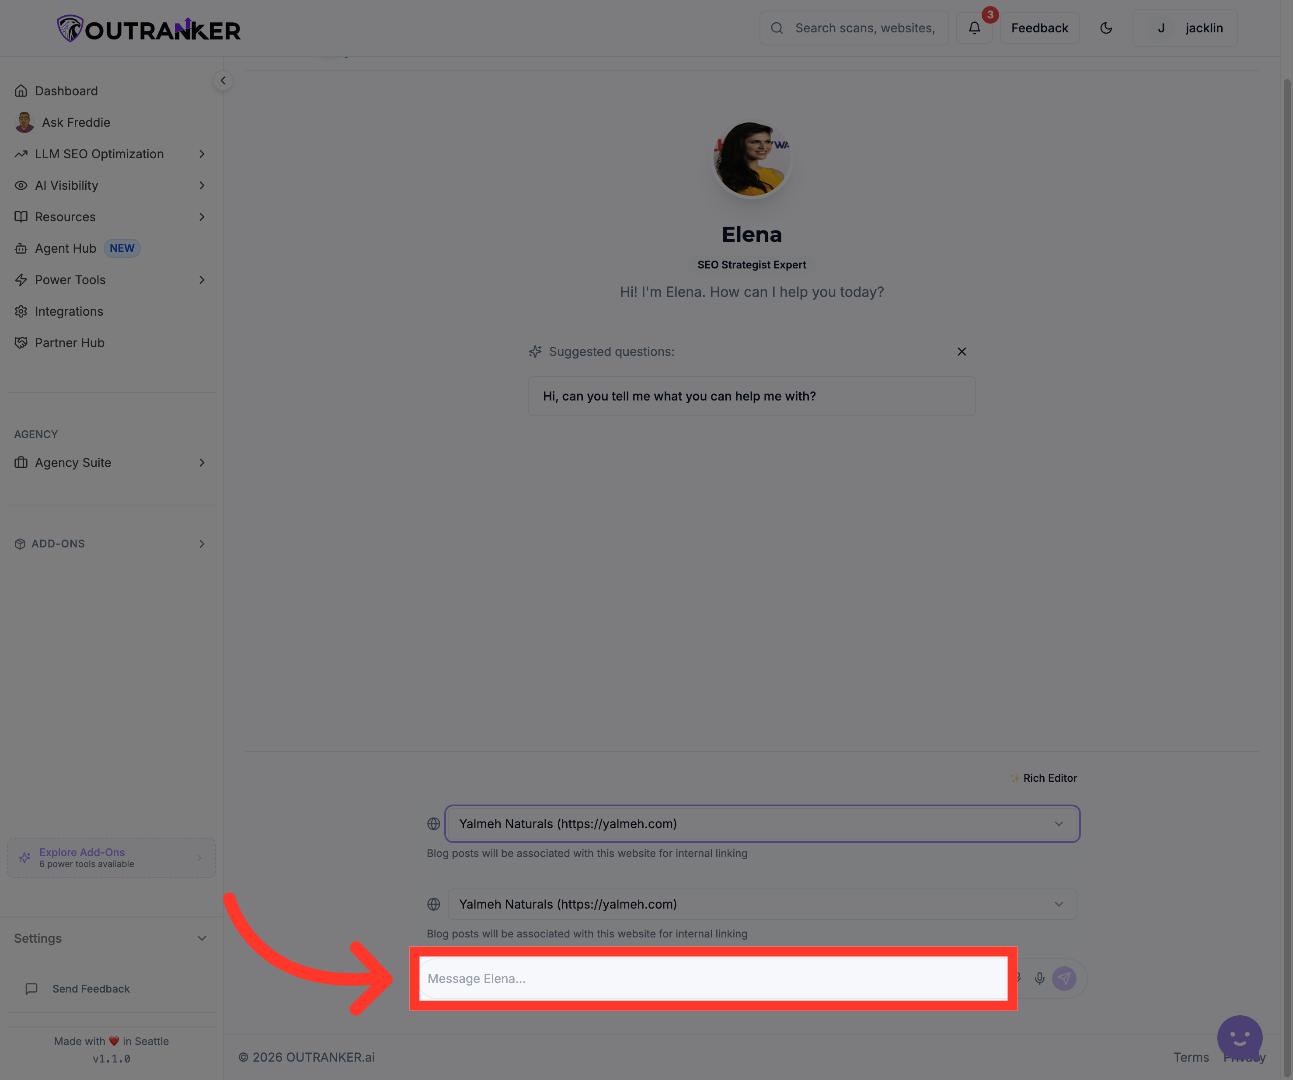
8. Initiate Message to Elena
“Now type your task into the message area.” “In this example, the request is to rewrite a specific blog post.” “This is where clarity matters most — the more direct and specific your request is, the better the agent can respond.” “If you’re asking for rewriting, optimization, or research support, make sure the instruction clearly explains the goal.”
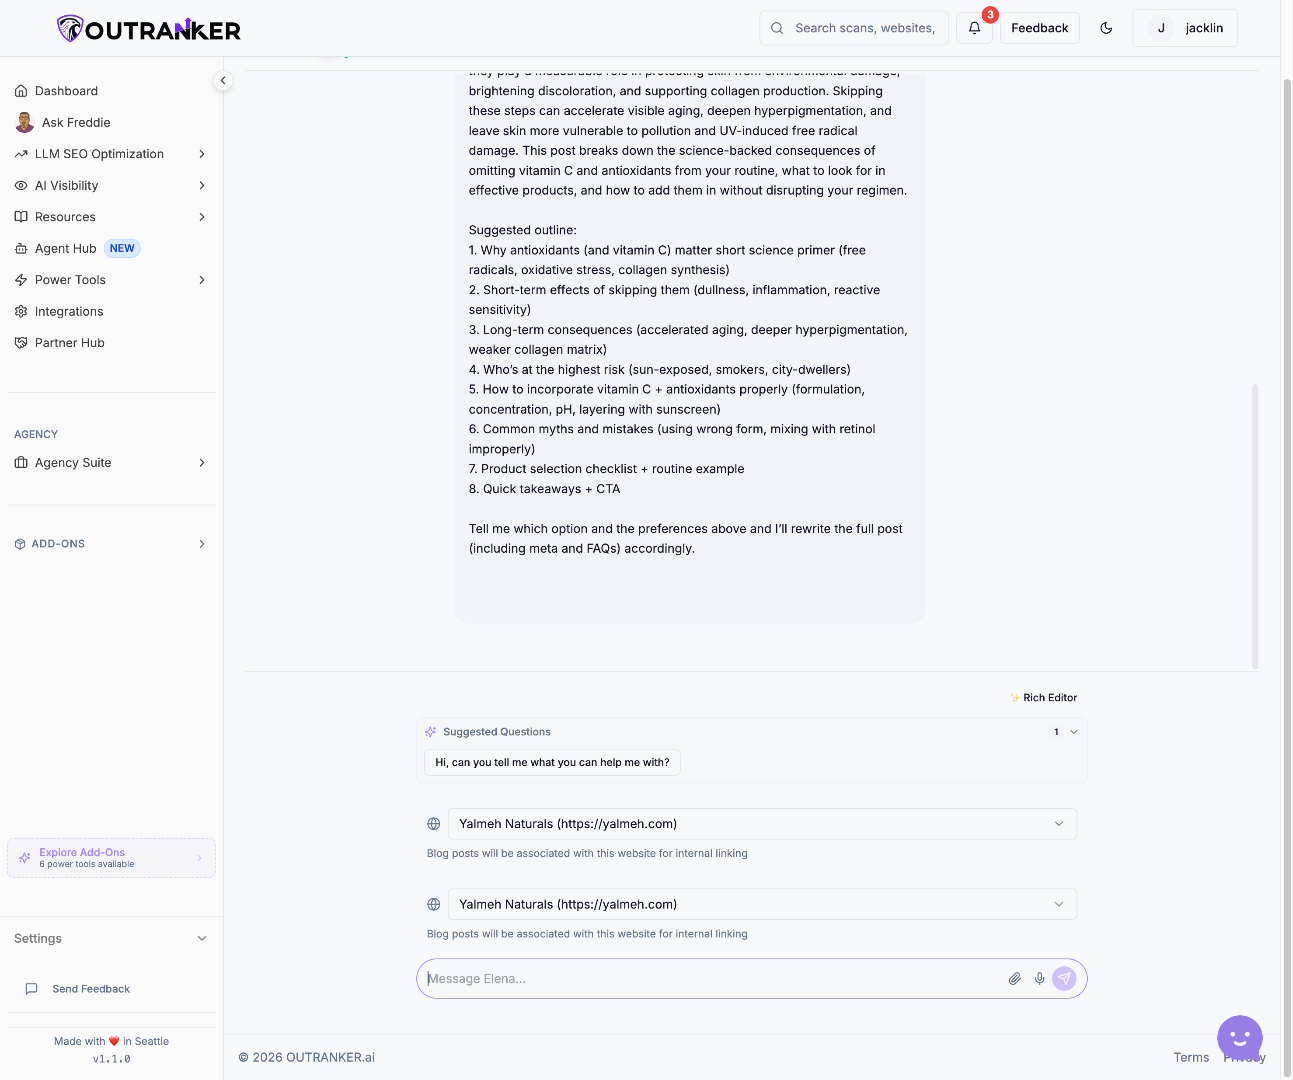
9. Send The Request And Review The Agent’s Response
“Once your message is ready, send the request to the agent.” “After that, review the response carefully.” “In some cases, the agent may ask for clarification before moving forward — especially if the task needs source material, permissions, or more direction.” “That kind of clarification is helpful, because it keeps the output accurate and aligned with your intent.”
“You’ve now learned how to configure agents for specific tasks inside Agent Hub.” “You can open the agent directory, choose the right specialist, connect the task to the correct client context, and send focused instructions for better results.” “In the next video, we’ll walk through how to manage agent workflows and monitor task progress more effectively.”
