This tutorial guides you through adding schemas to your llms
Go to www.outranker.ai
1. Introduction
txt file using Outranker. By completing these steps, you'll create structured data that improves your website's SEO and visibility. Before starting, ensure you have access to your Outranker account and the llms.txt file ready for updates.
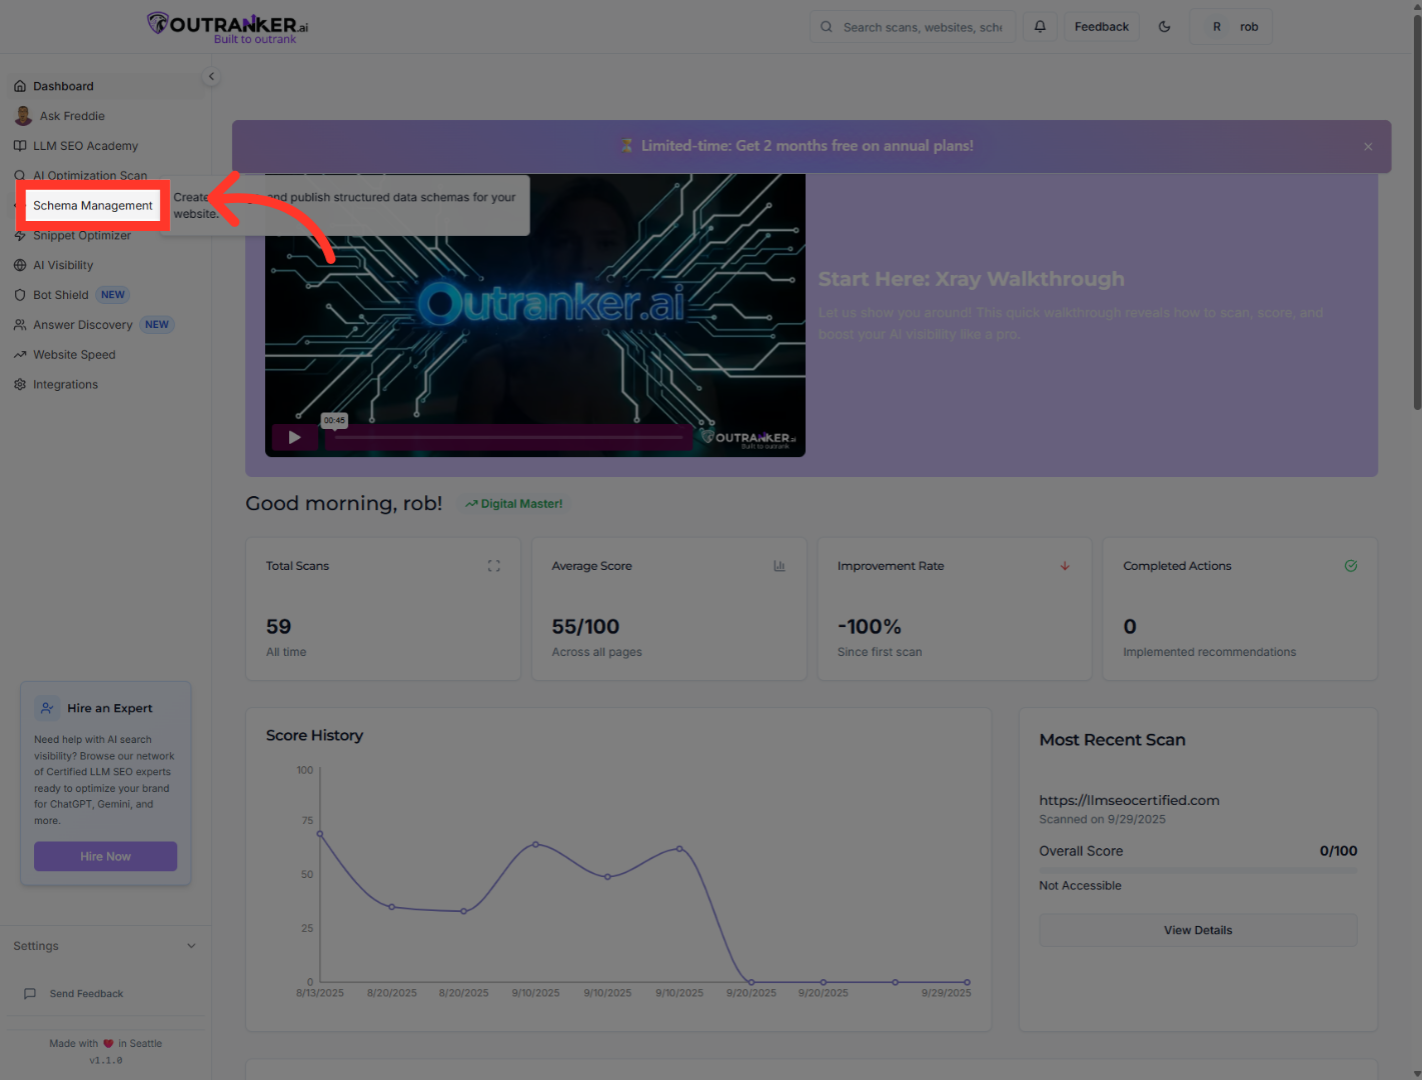
2. Click "Schema Management"
Access the Schema Management section to begin adding schemas to your llms.txt file, which helps structure your website data effectively.
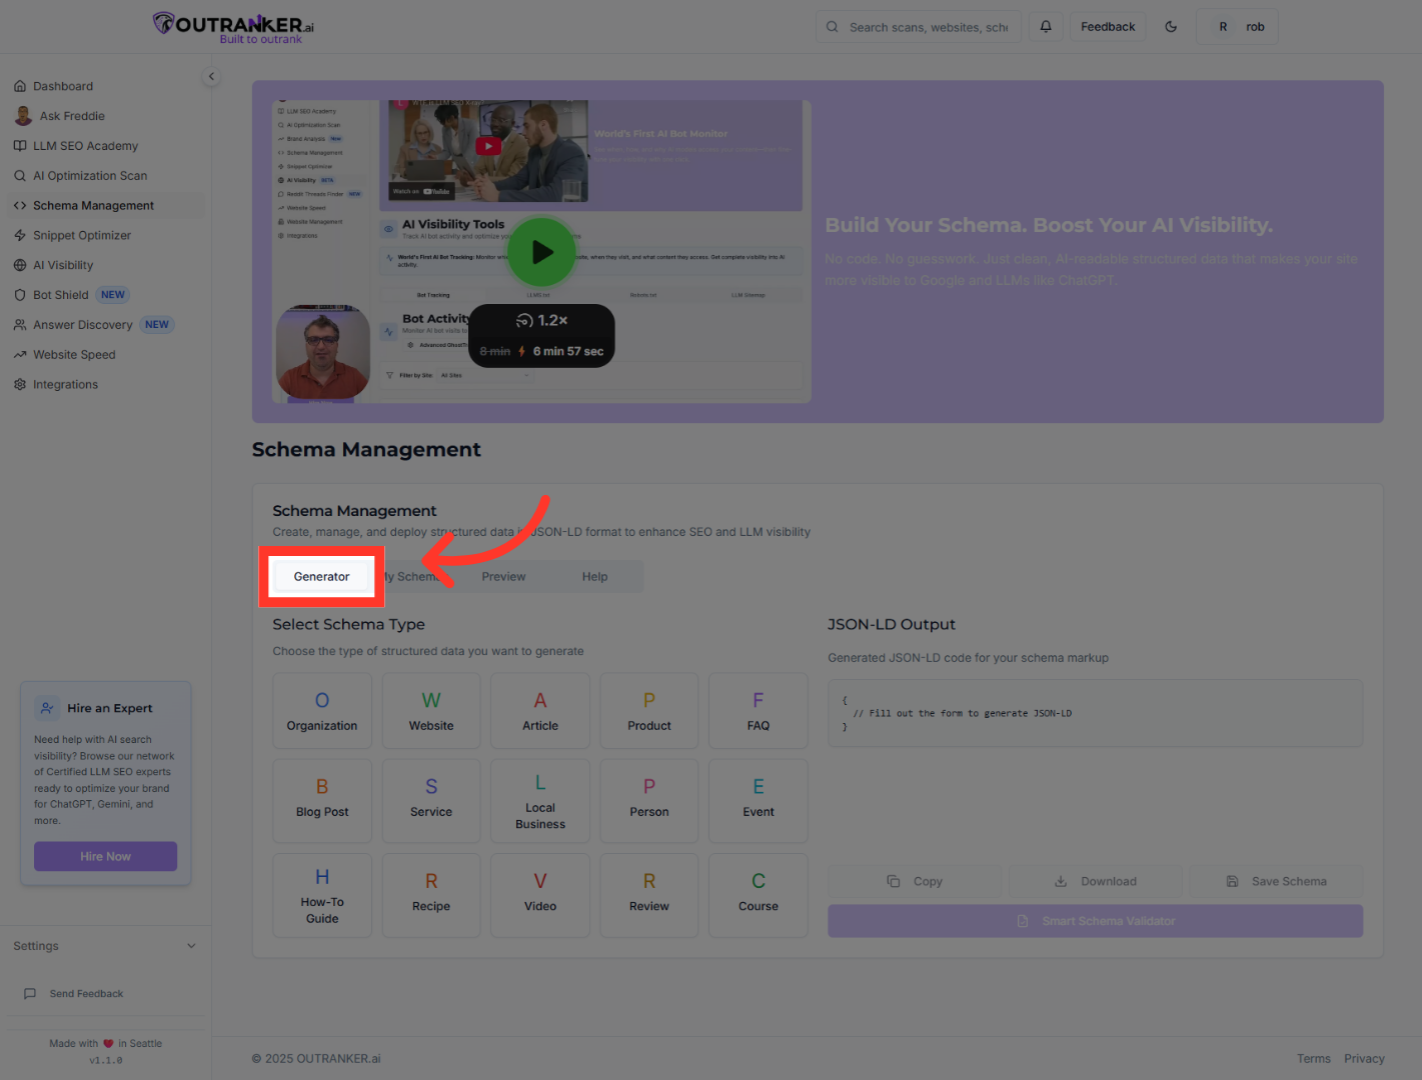
3. Click "Generator"
Navigate to the Generator tab where you can create new schema entries tailored to your needs.
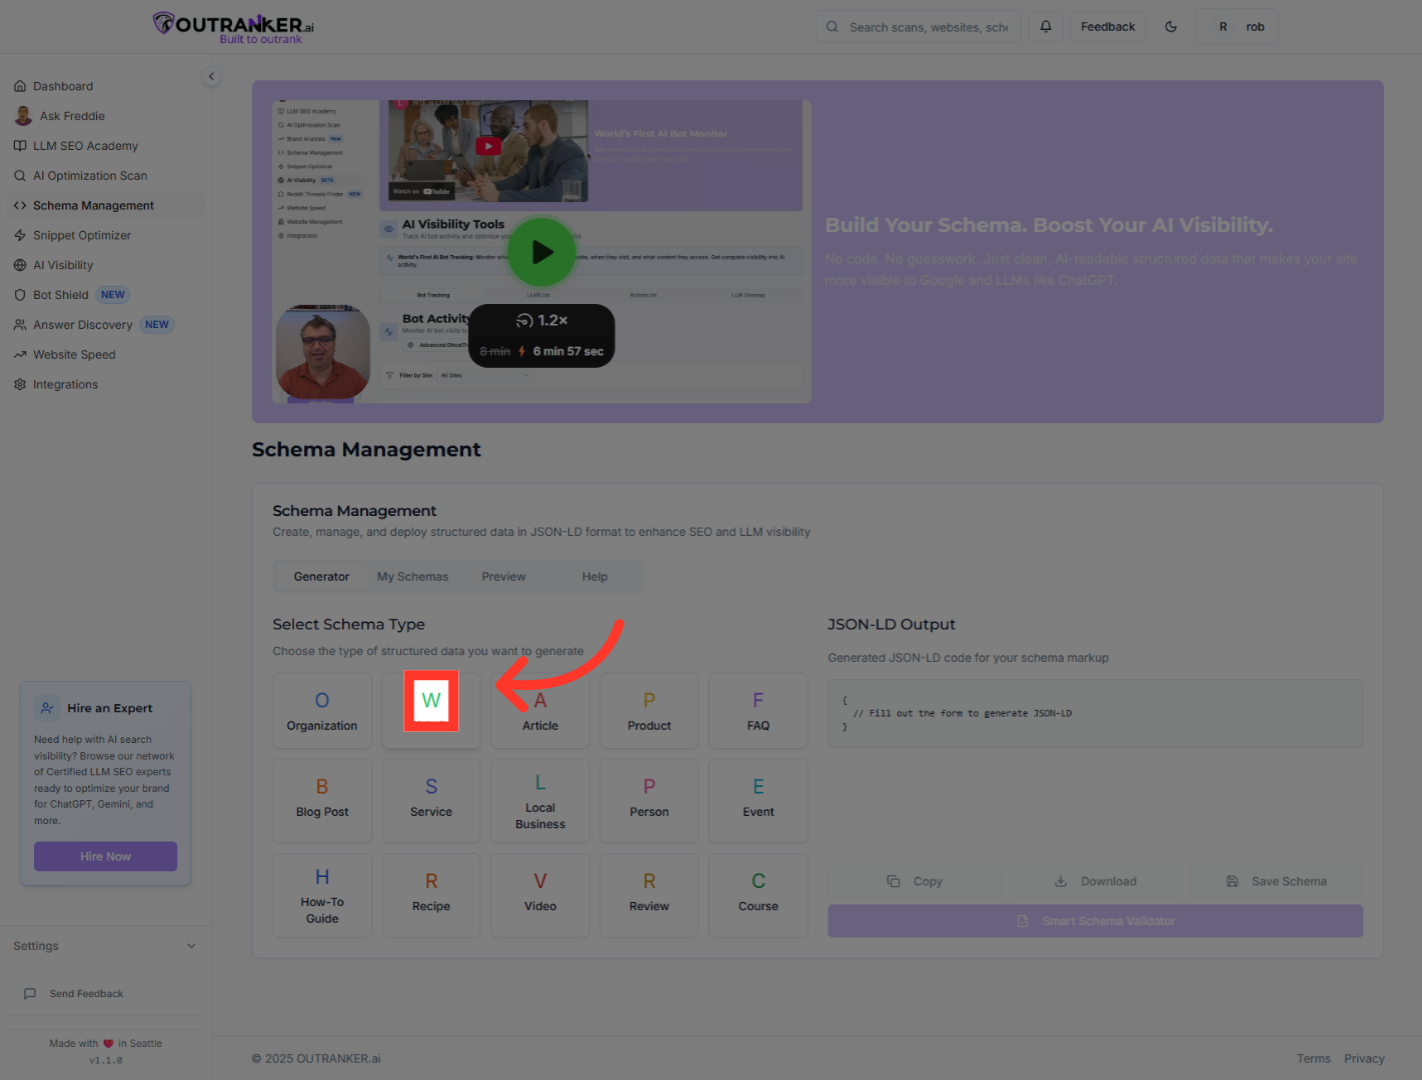
4. Click "Website"
Select the Website to filter or locate schema types starting with, streamlining your search process.
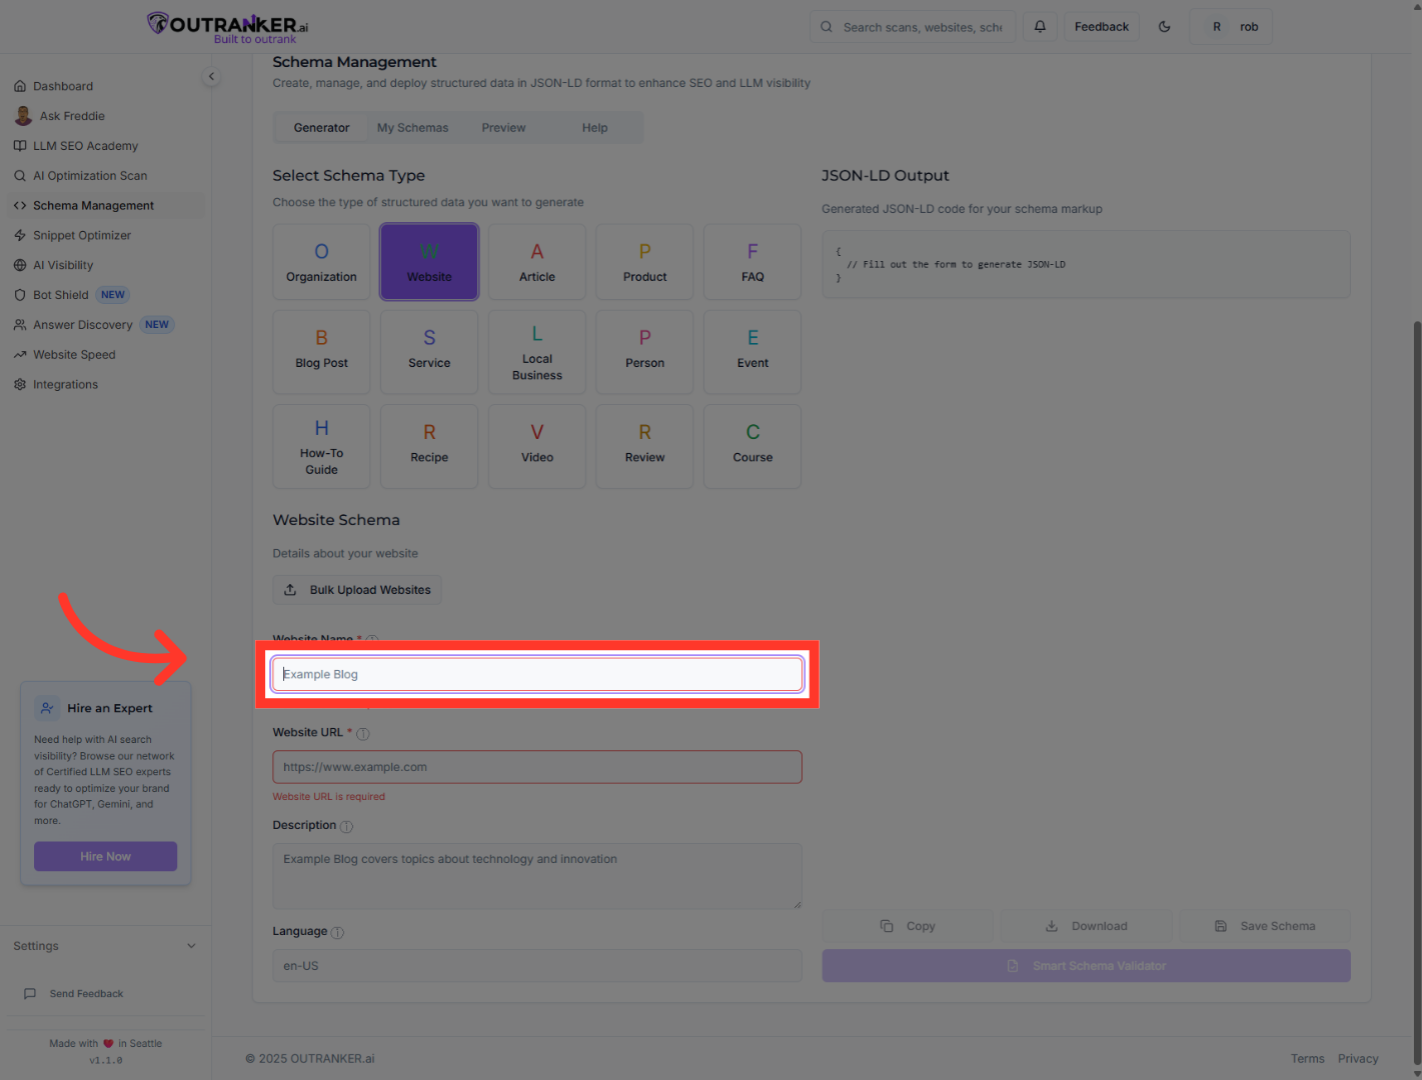
5. Click "Website Name*"
Choose the "Website Name*" field to specify the official name of your website within the schema.
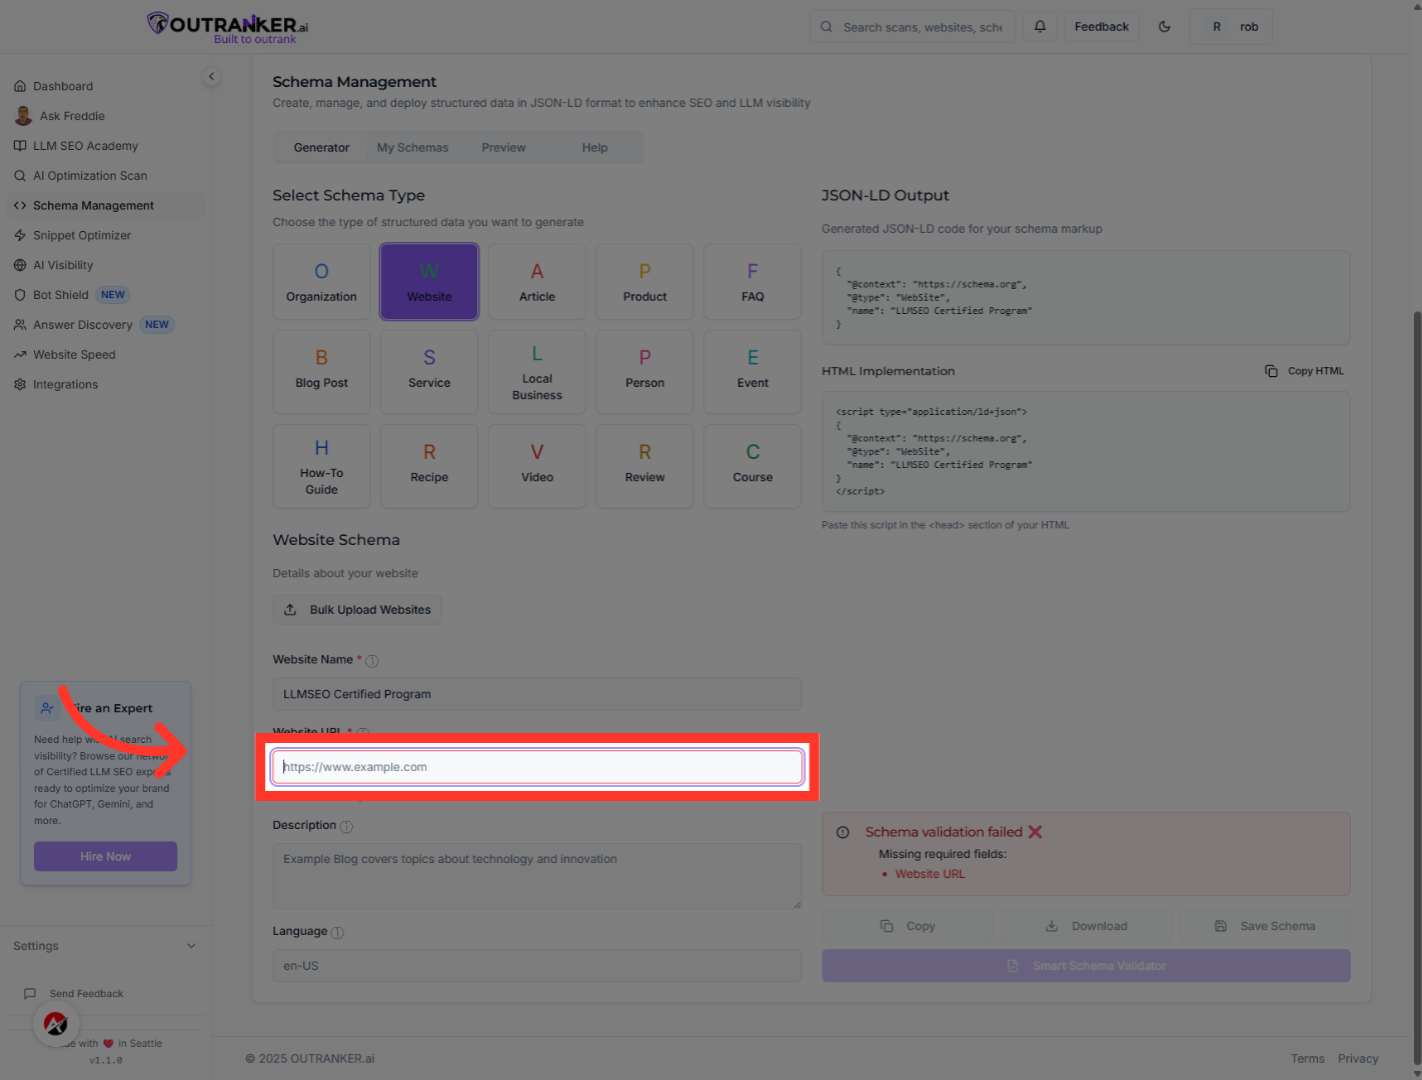
6. Click "Website URL*"
Select the "Website URL*" field to input the main address of your website, linking the schema to your site.
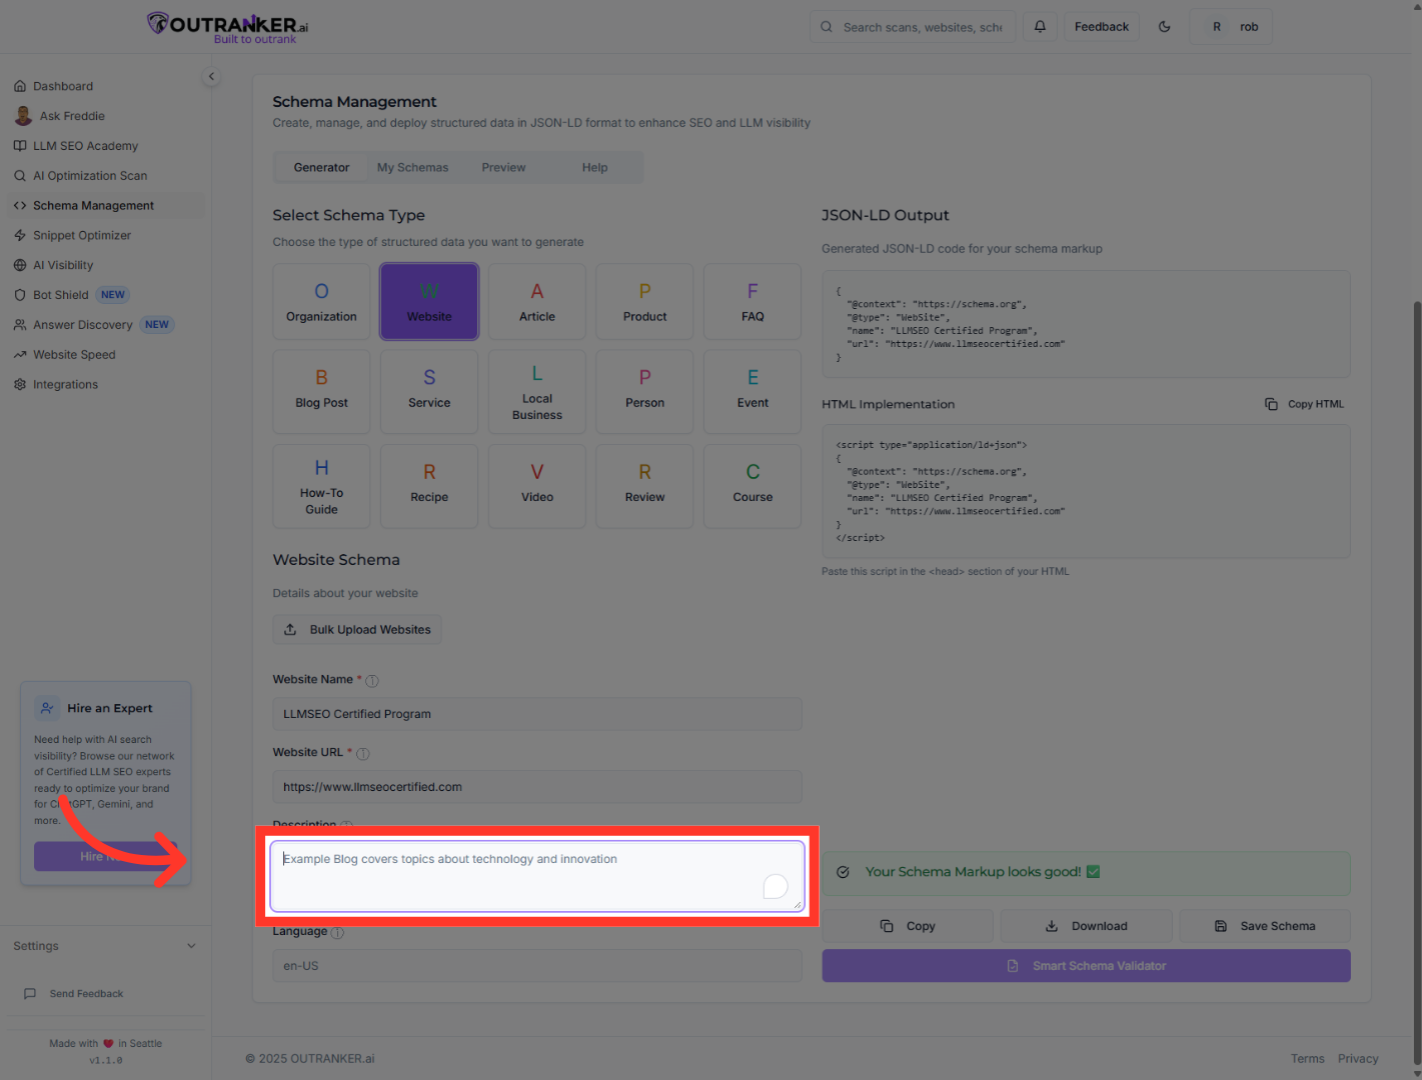
7. Click "Description"
Click on the "Description" field to provide a concise summary of your website's purpose and offerings.
8. Click "Language"
Select the "Language" field to define the primary language used on your website, aiding localization.

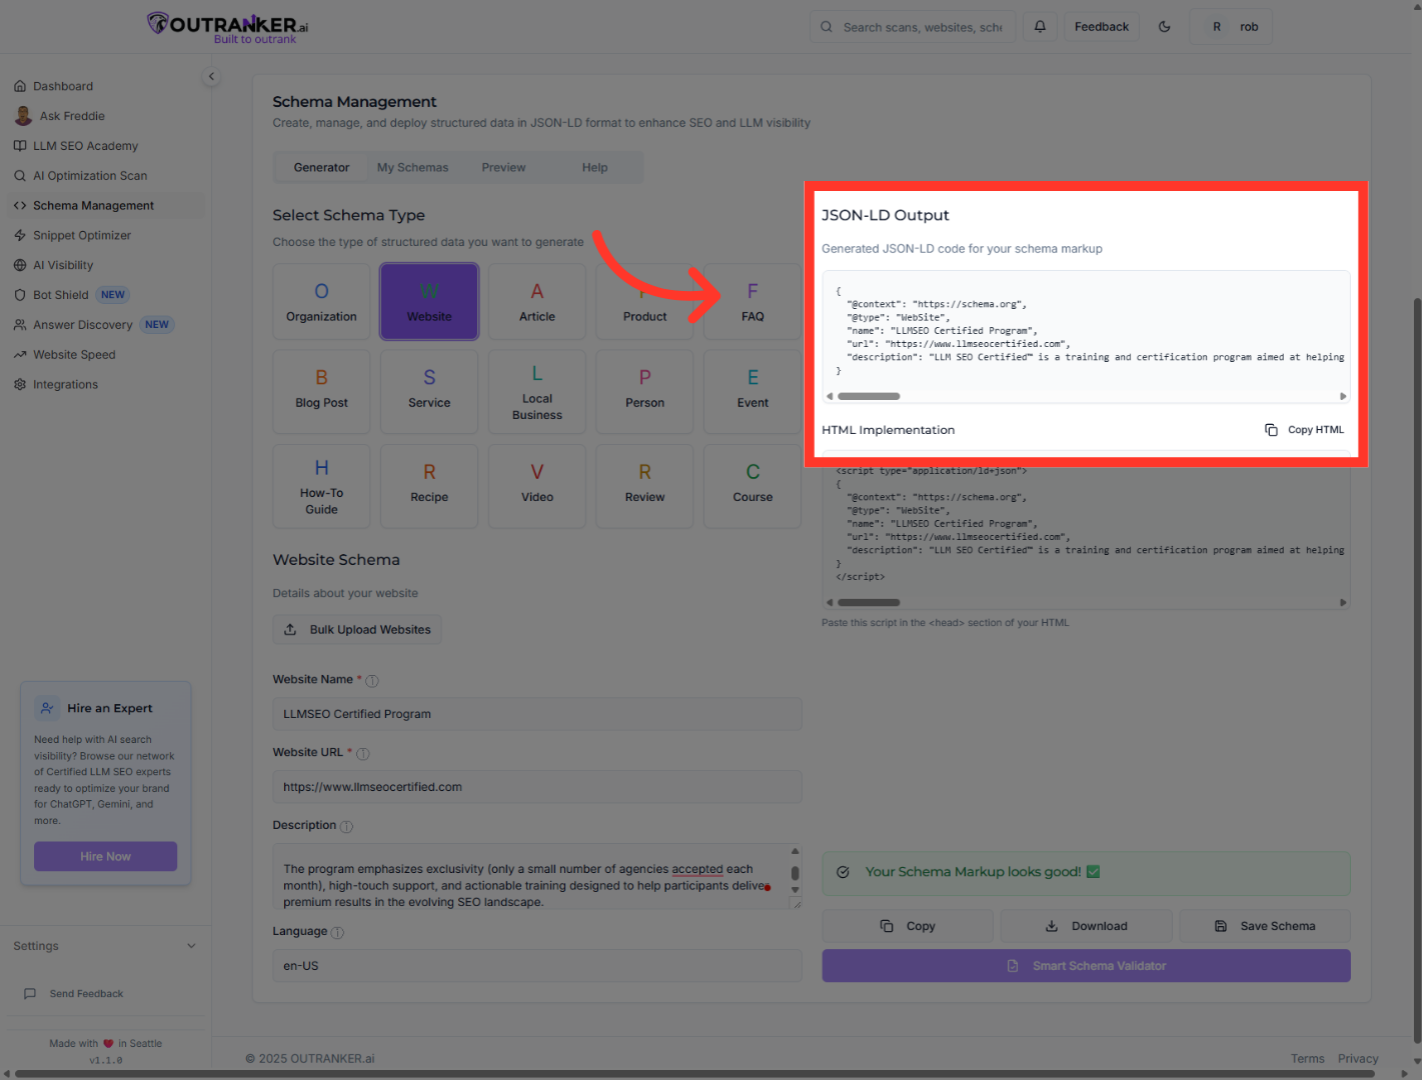
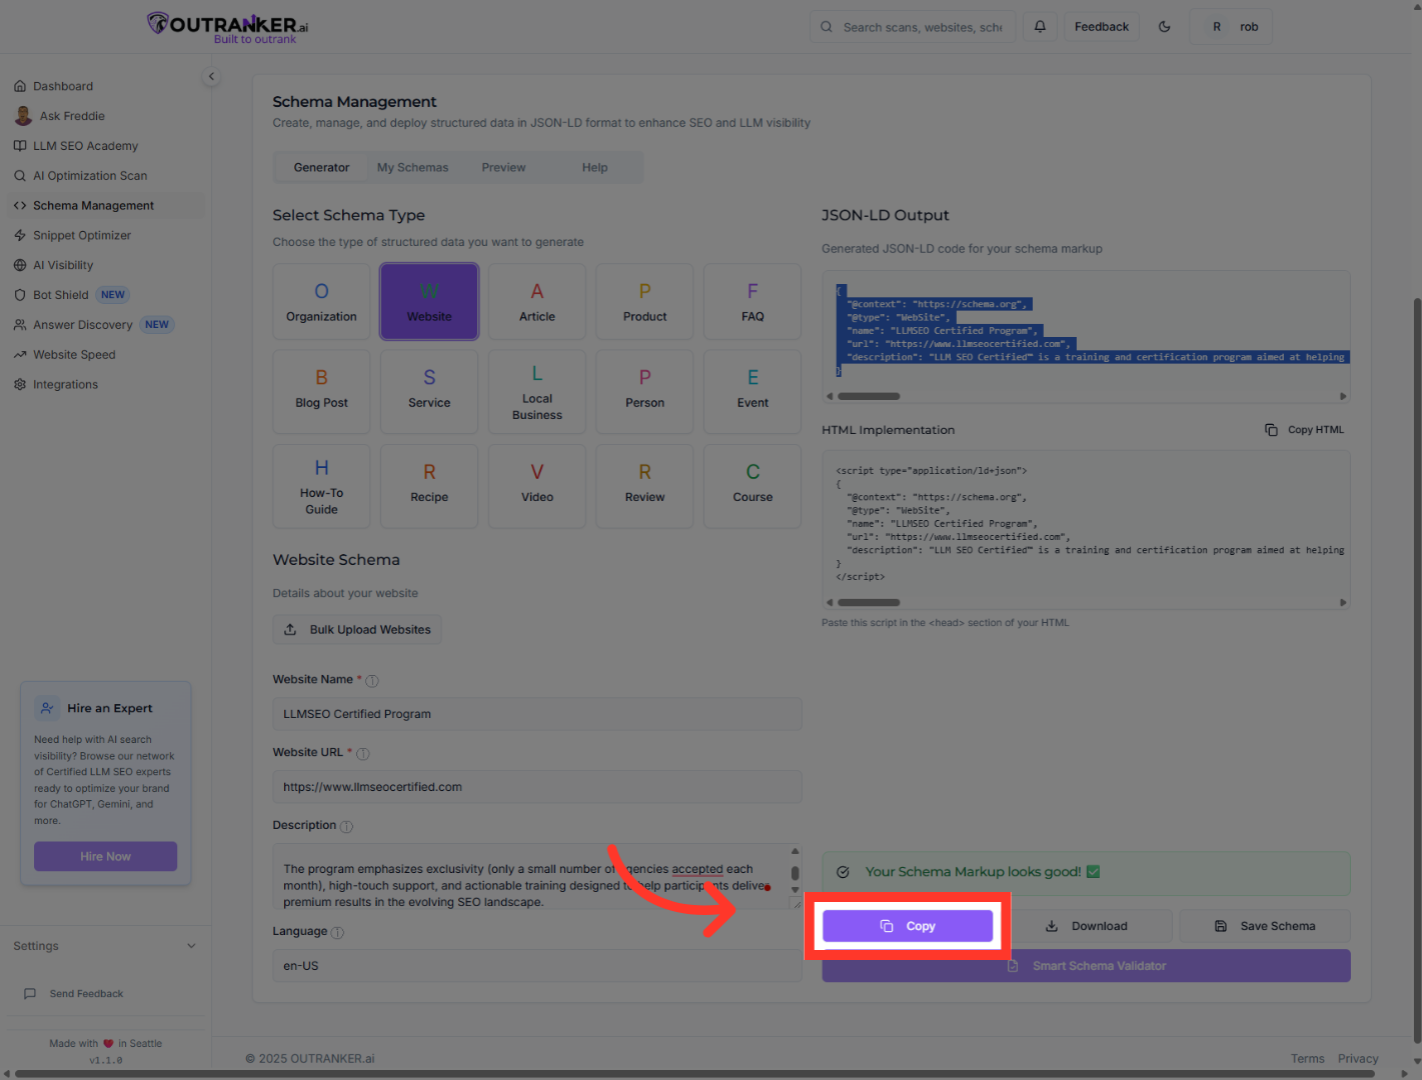
9. Click "JSON-LD OutputGenerated JSON-LD code for your schema markup"
Click on the "JSON-LD Output" section to view the generated JSON-LD code representing your schema markup.
10. Click "Copy"
Click the "Copy" button to copy the complete JSON-LD schema code, ready for insertion into your llms.txt file.
You have successfully added a structured schema to your llms.txt file by generating and copying the JSON-LD code. This schema enhances your website's SEO by providing clear metadata. Next, you can insert this code into your website files or explore adding additional schema types for richer data representation.
