This tutorial guides you through generating a Recipe Schema using Outranker's Schema Management feature
Go to www.outranker.ai
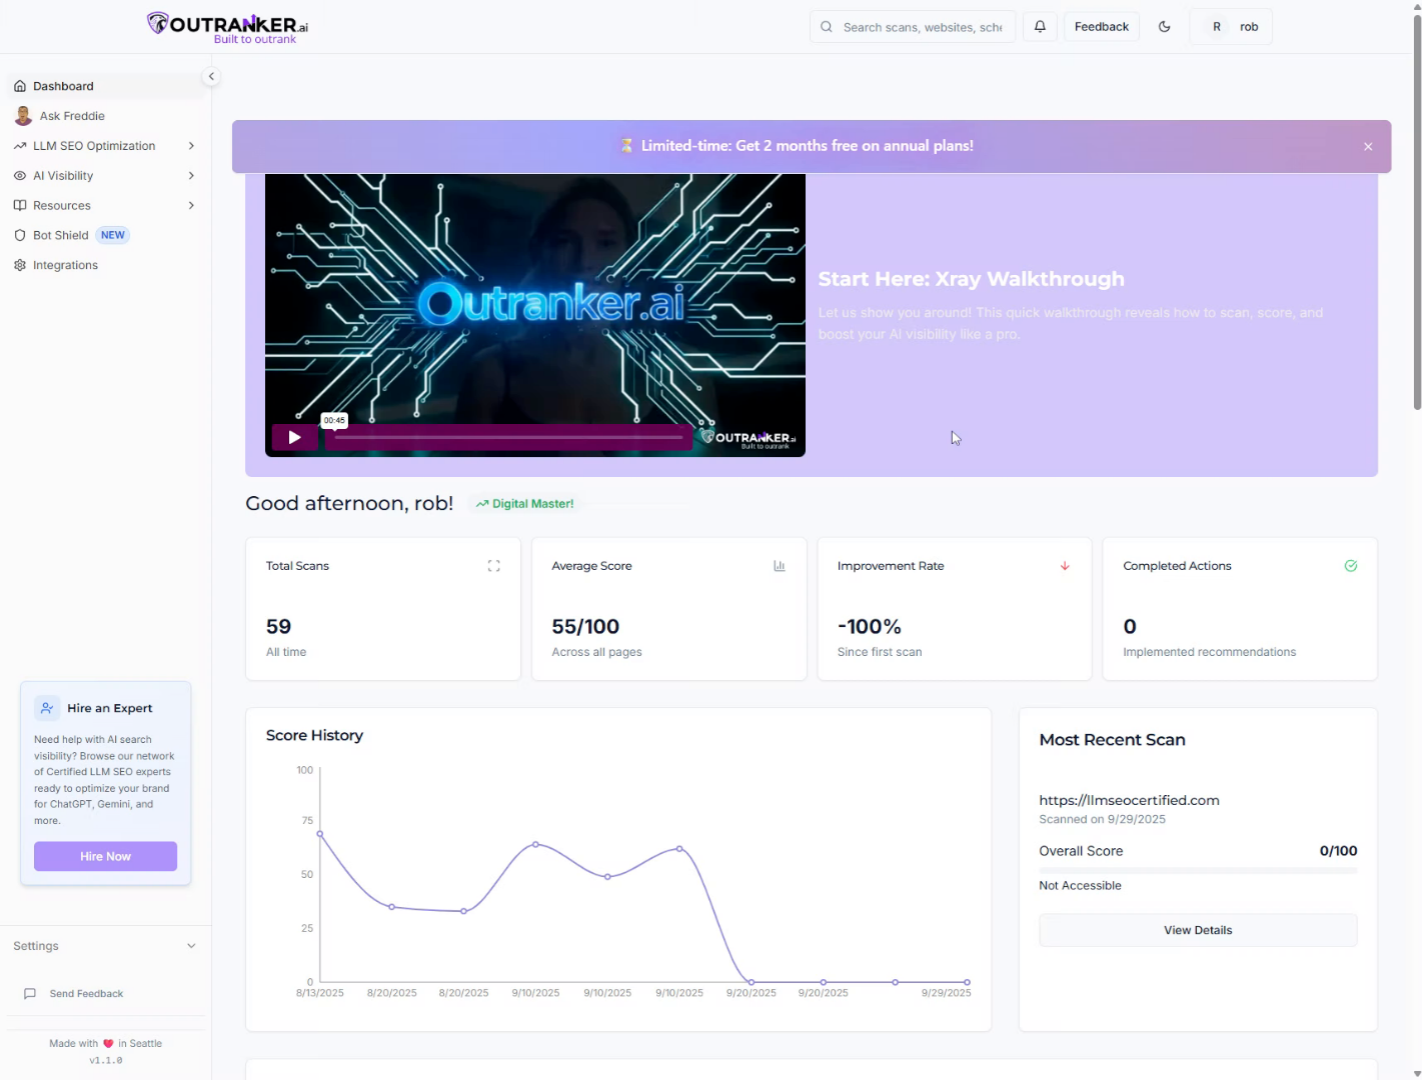
1. Introduction
By following these steps, you will create structured data markup for a recipe, enhancing your website's S E O and enabling rich search results. Before starting, ensure you have access to Outranker and basic recipe information ready for input.
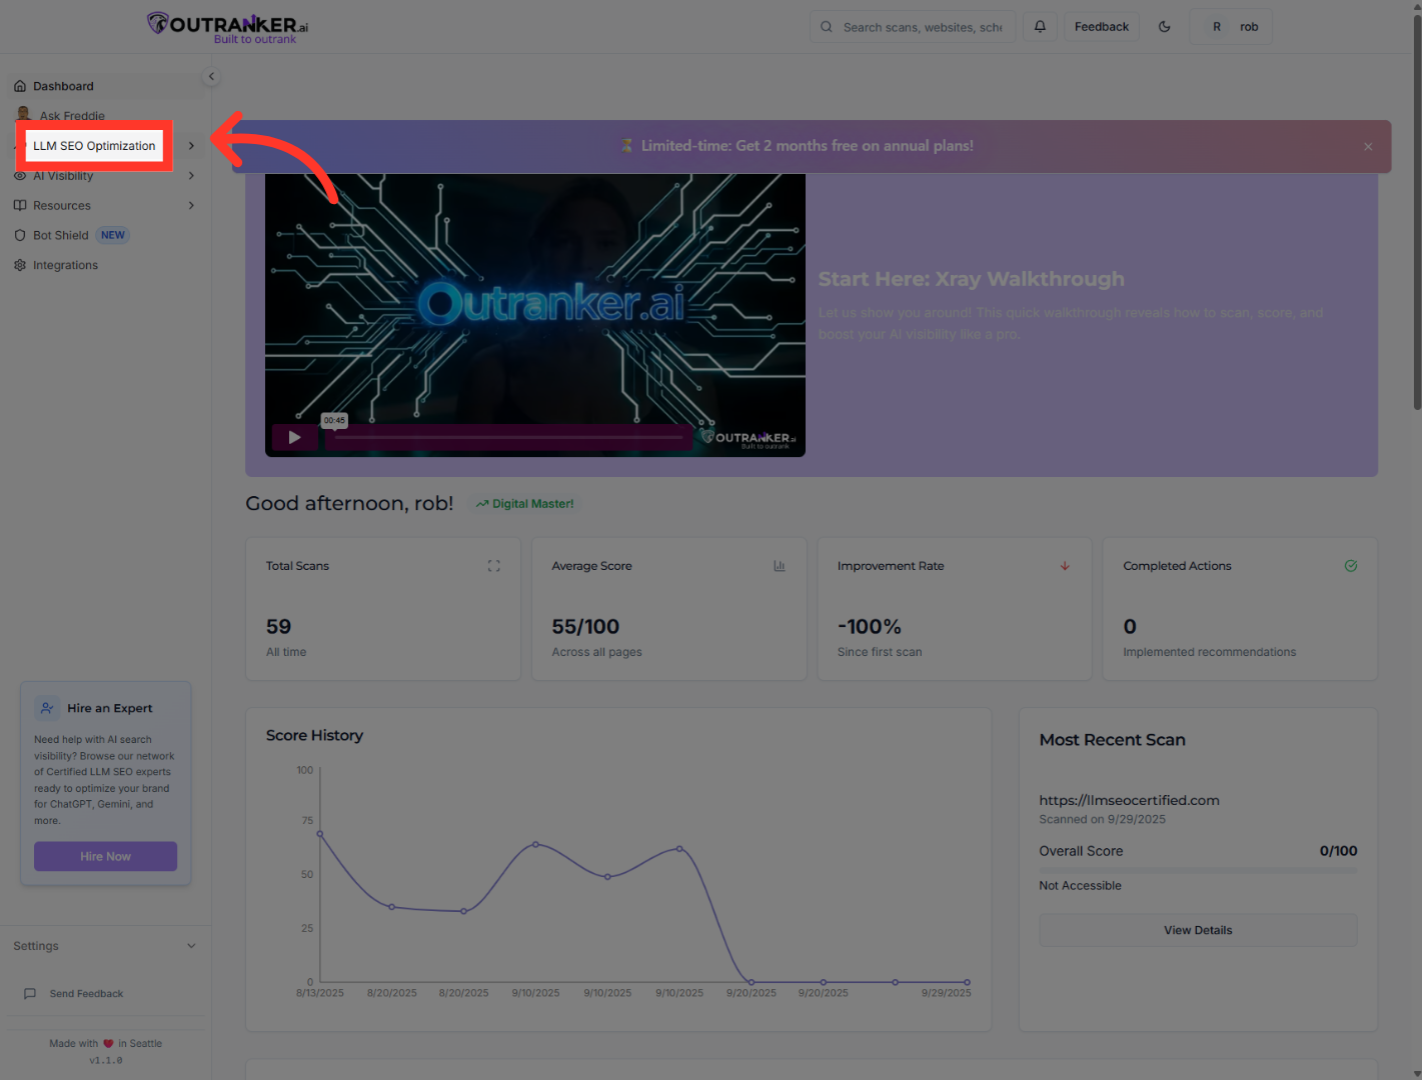
2. Click "LLM S E O Optimization"
Click "LLM S E O Optimization" to access the S E O optimization features within Outranker, setting the stage for schema generation.
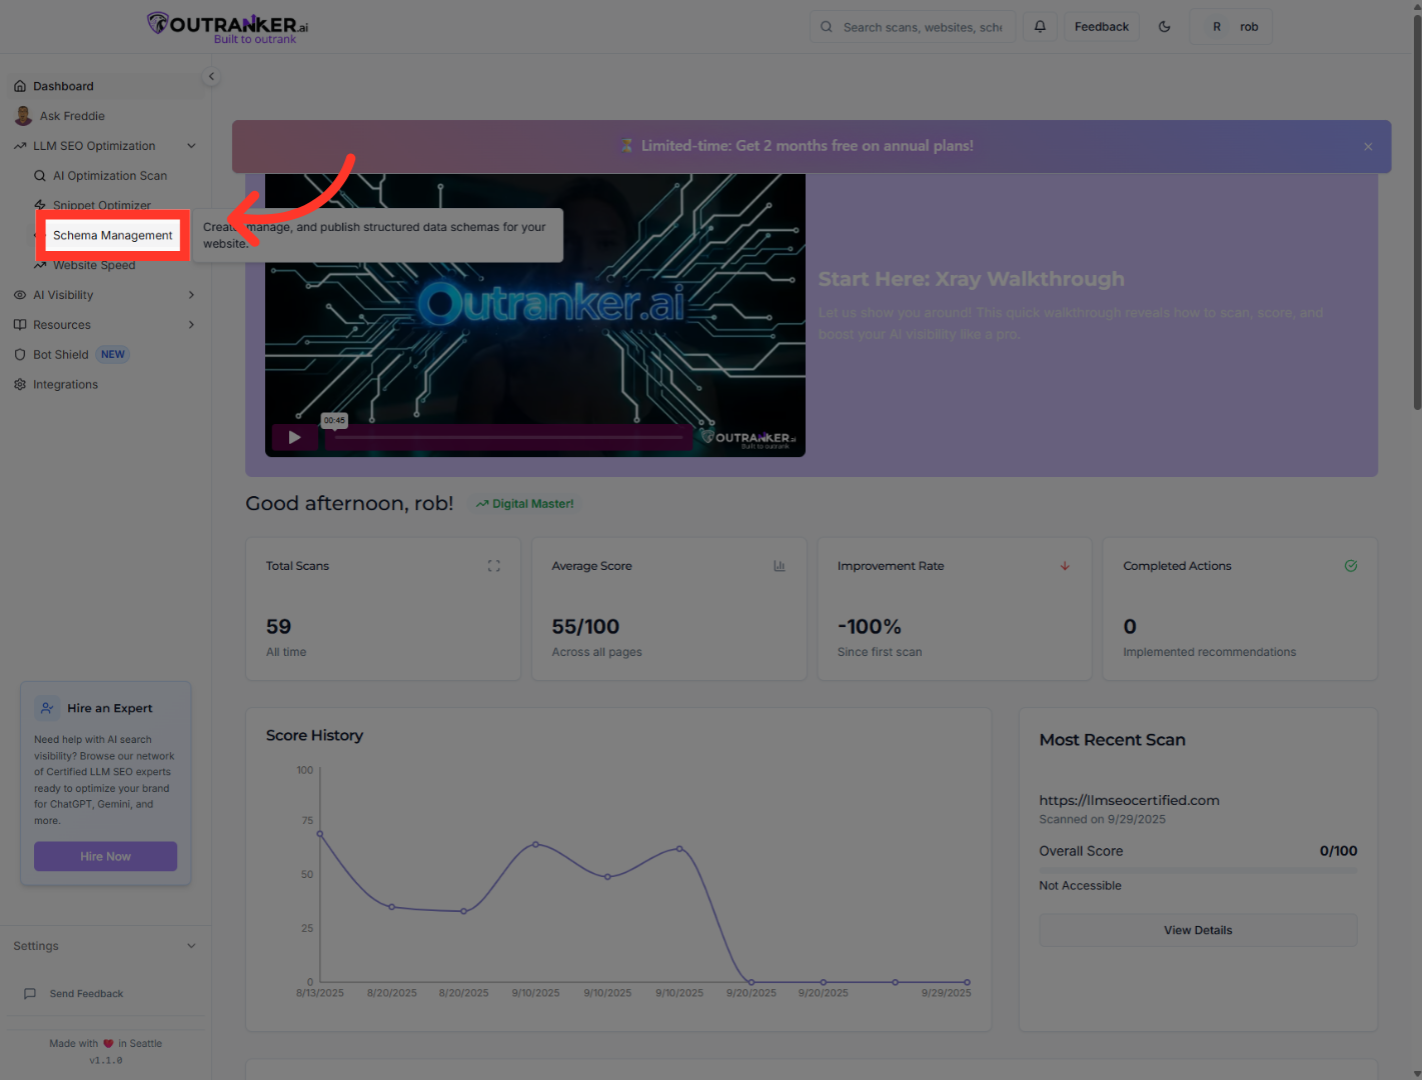
3. Click "Schema Management"
Click "Schema Management" to open the section where you can manage and create structured data schemas.
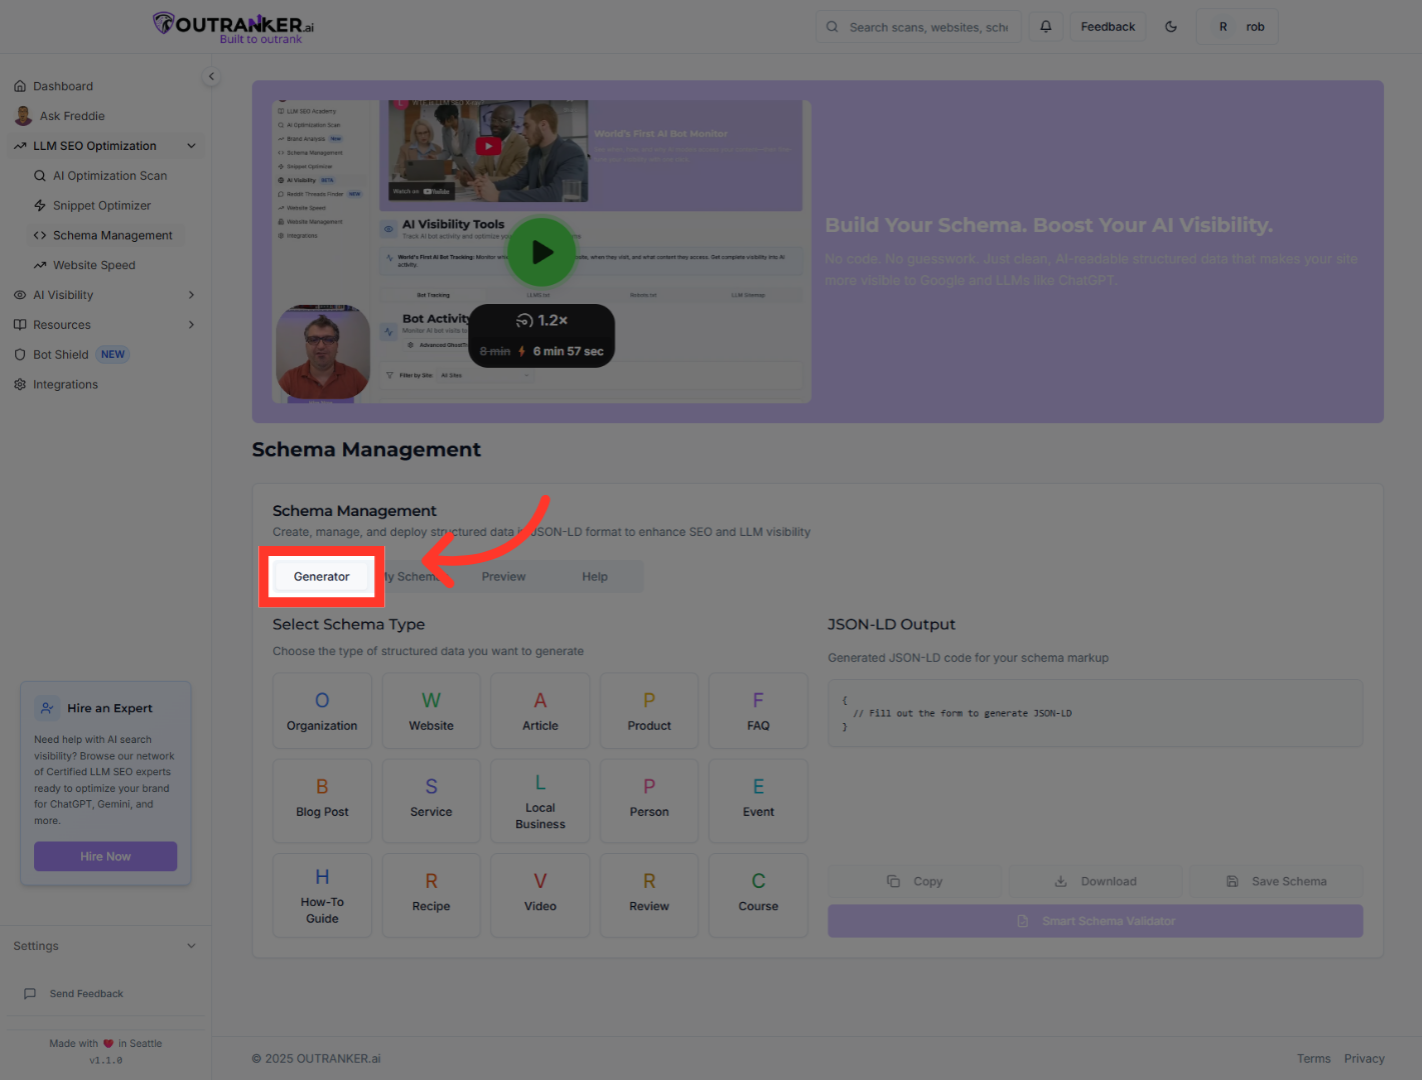
4. Click "Generator"
Click "Generator" to start the process of generating a new schema for your content.
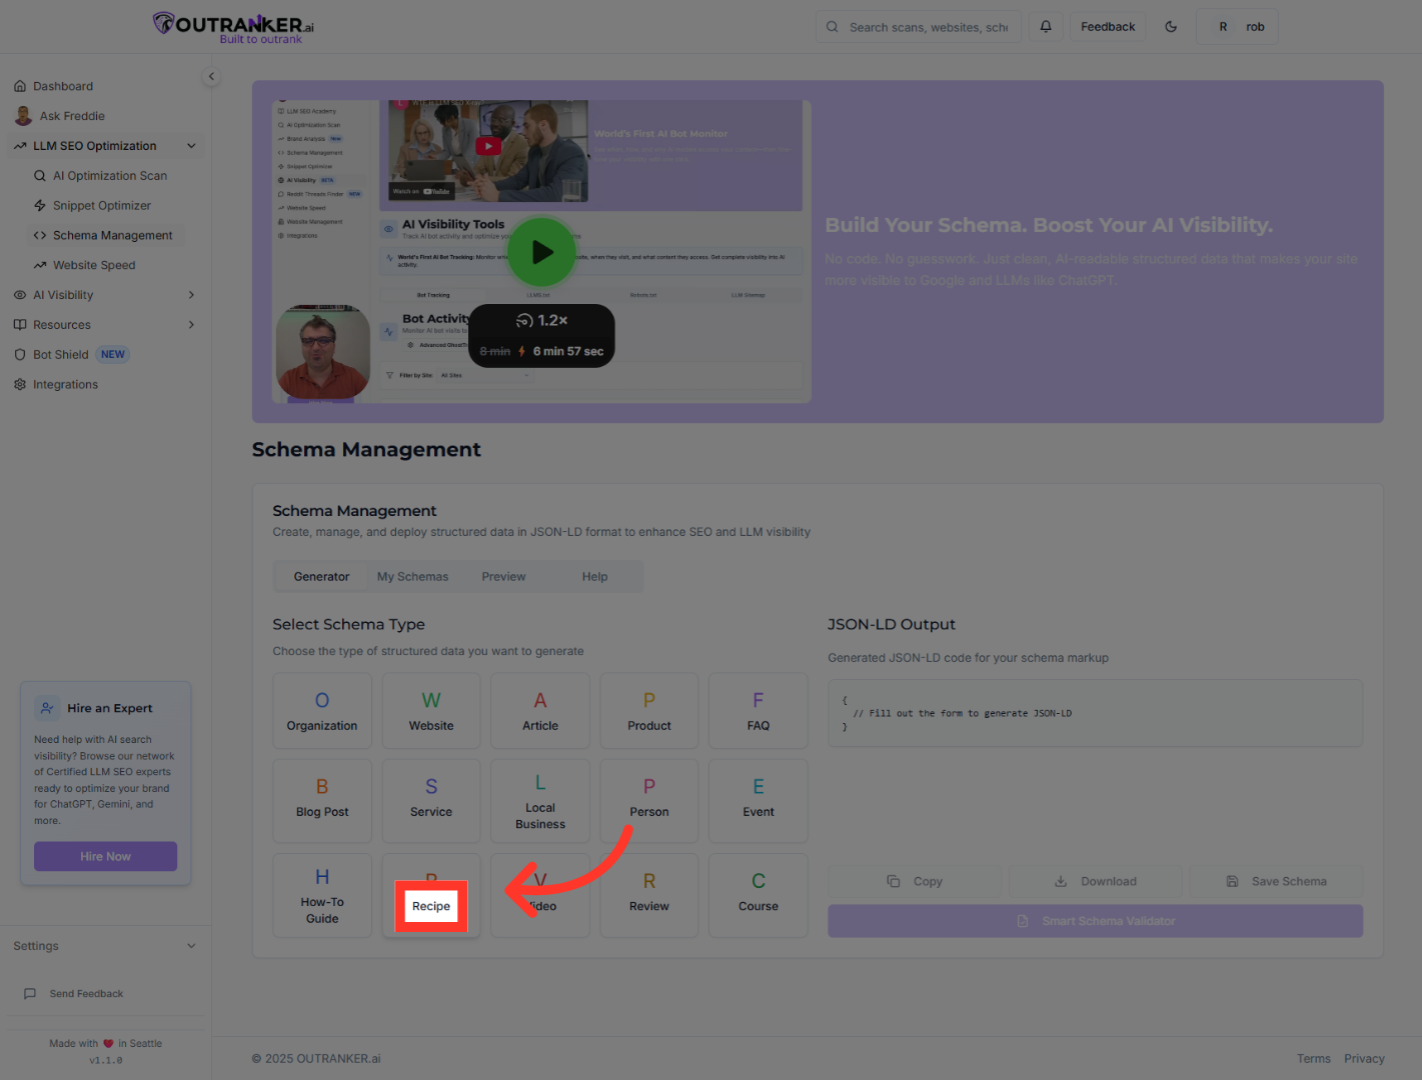
5. Click "Recipe"
Click "Recipe" to select the recipe schema type, which is designed for food and cooking-related content.
6. Click "Select File (CSV, Excel, or JSON)"
Click "Select File (CSV, Excel, or JSON)" to choose the format for uploading your recipe data in bulk.
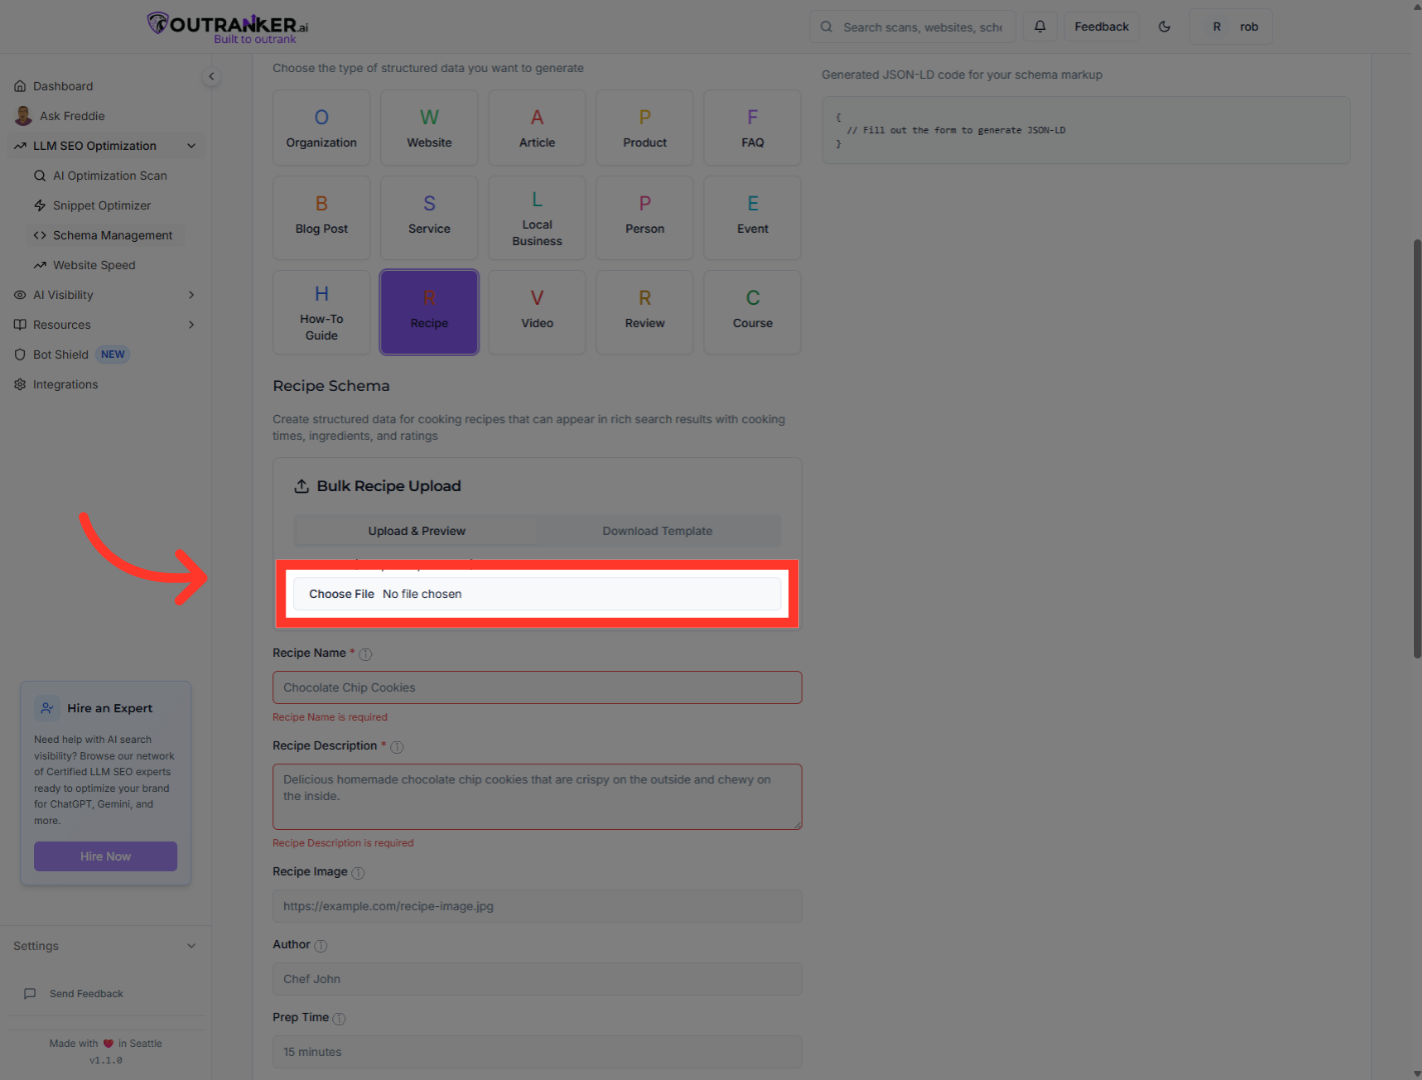
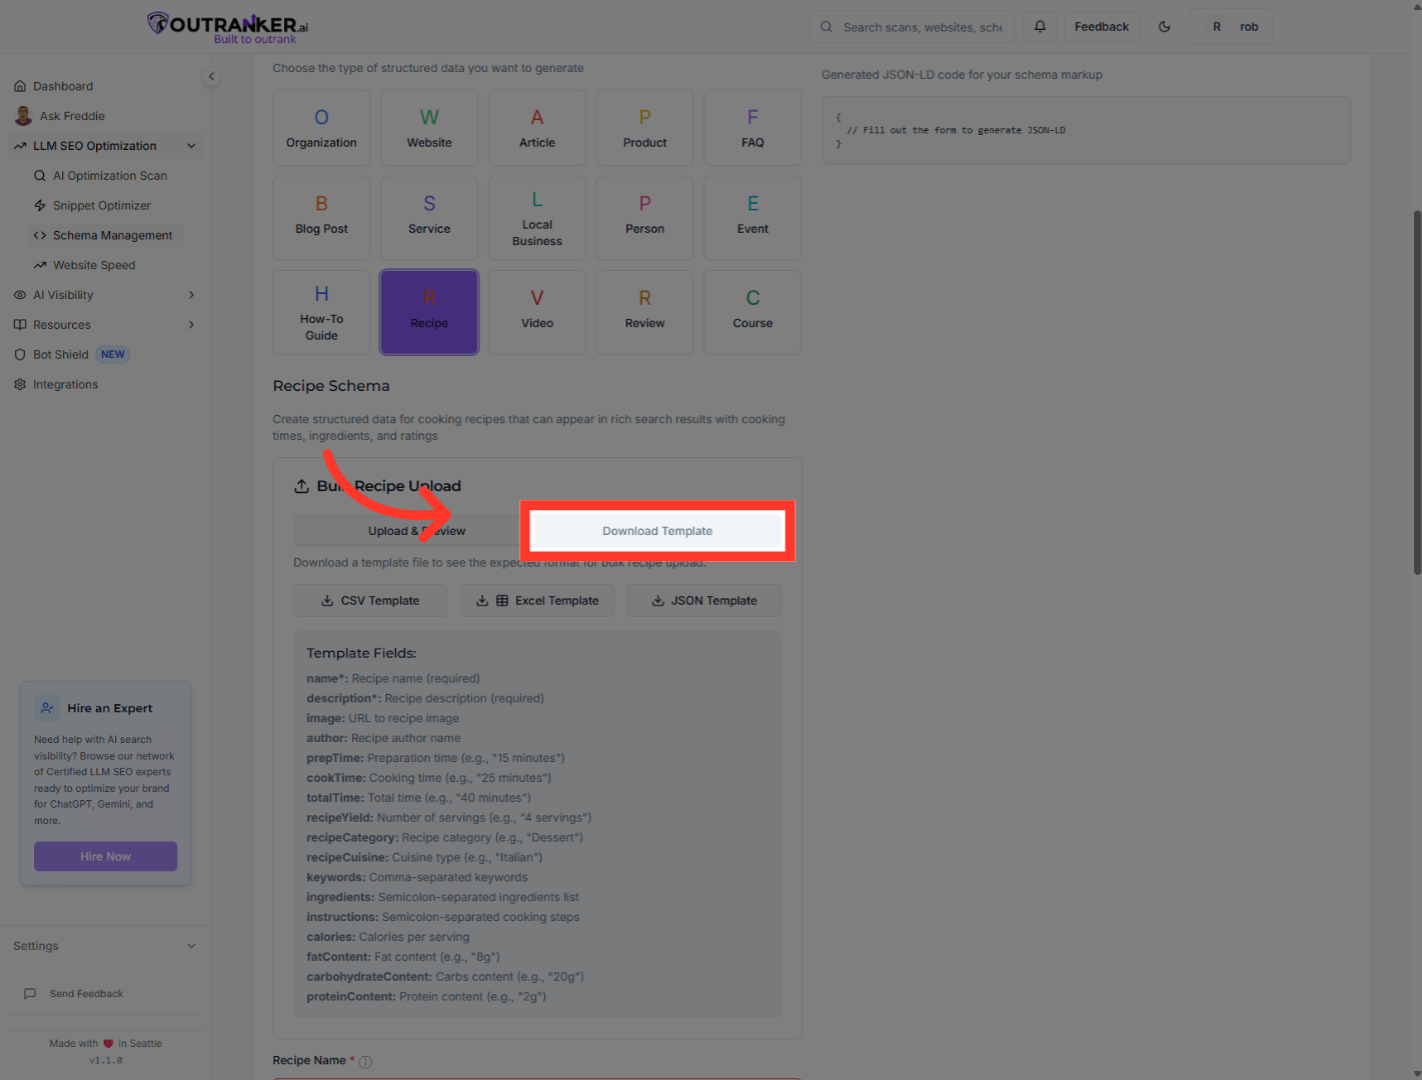
7. Click "Download Template"
Click "Download Template" to get a structured file template that helps you format your recipe data correctly.
8. Click "Recipe Name*"
Click "Recipe Name*" to select the field where you will enter the name of your recipe.
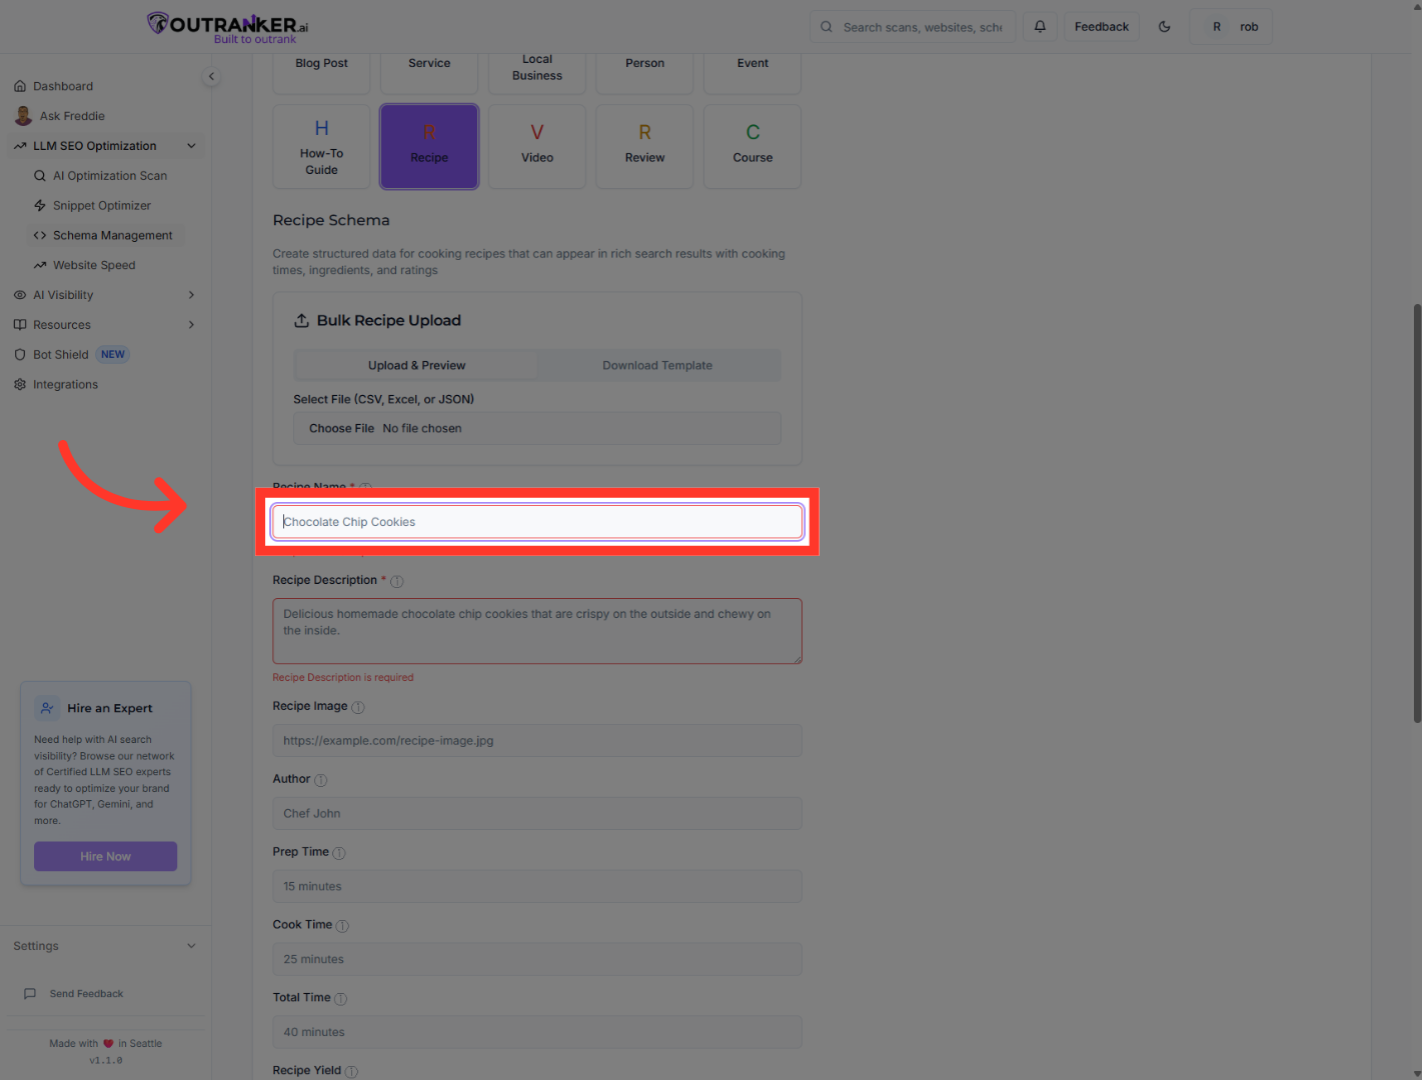
9. Fill "Homemade Creamy Yogurt"
Fill in the recipe name with to specify the title of your recipe
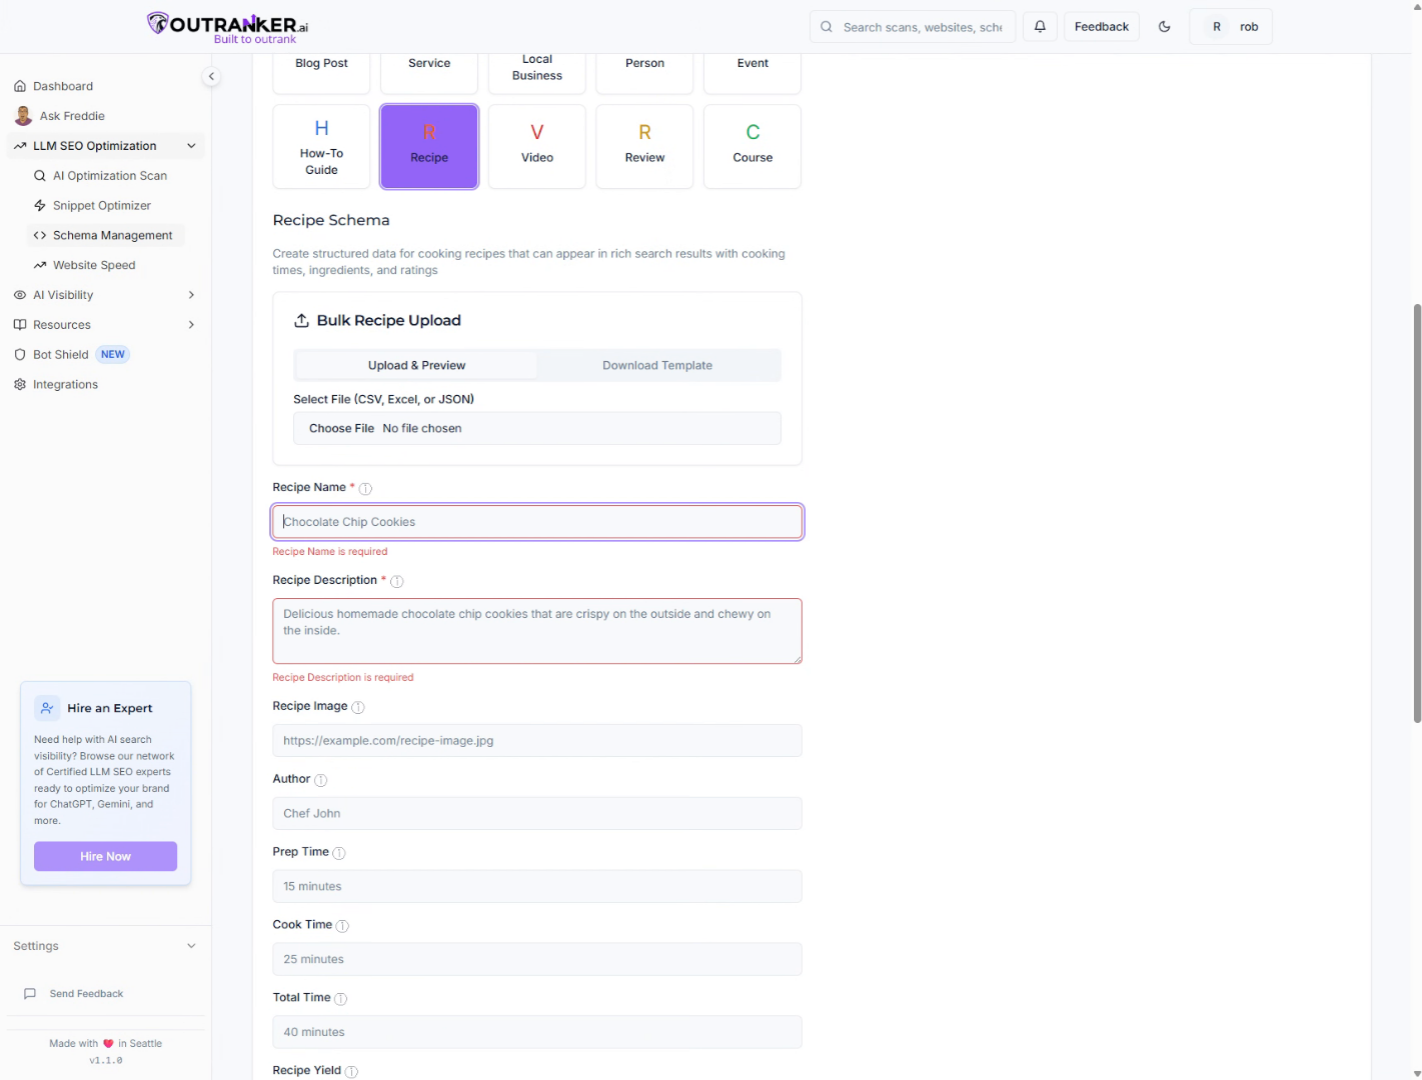
10. Click "Recipe Description*"
Click "Recipe Description*" to select the field for adding a detailed description of your recipe.
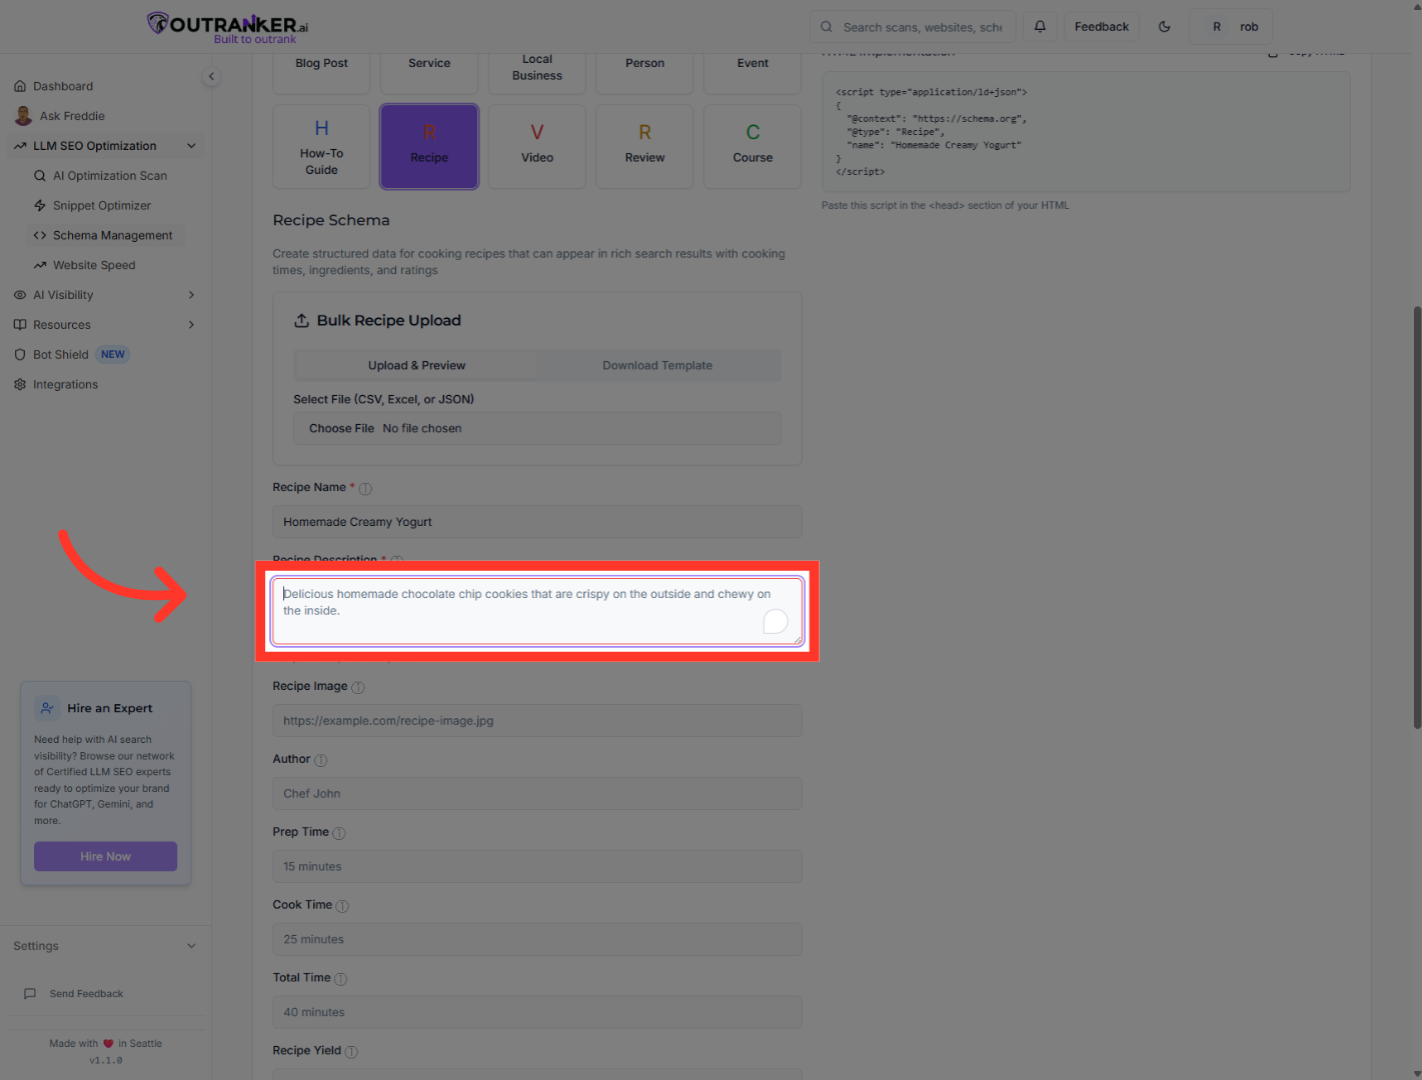
11. Click "Recipe Image"
Click "Recipe Image" to select the field where you will add an image URL representing your recipe.
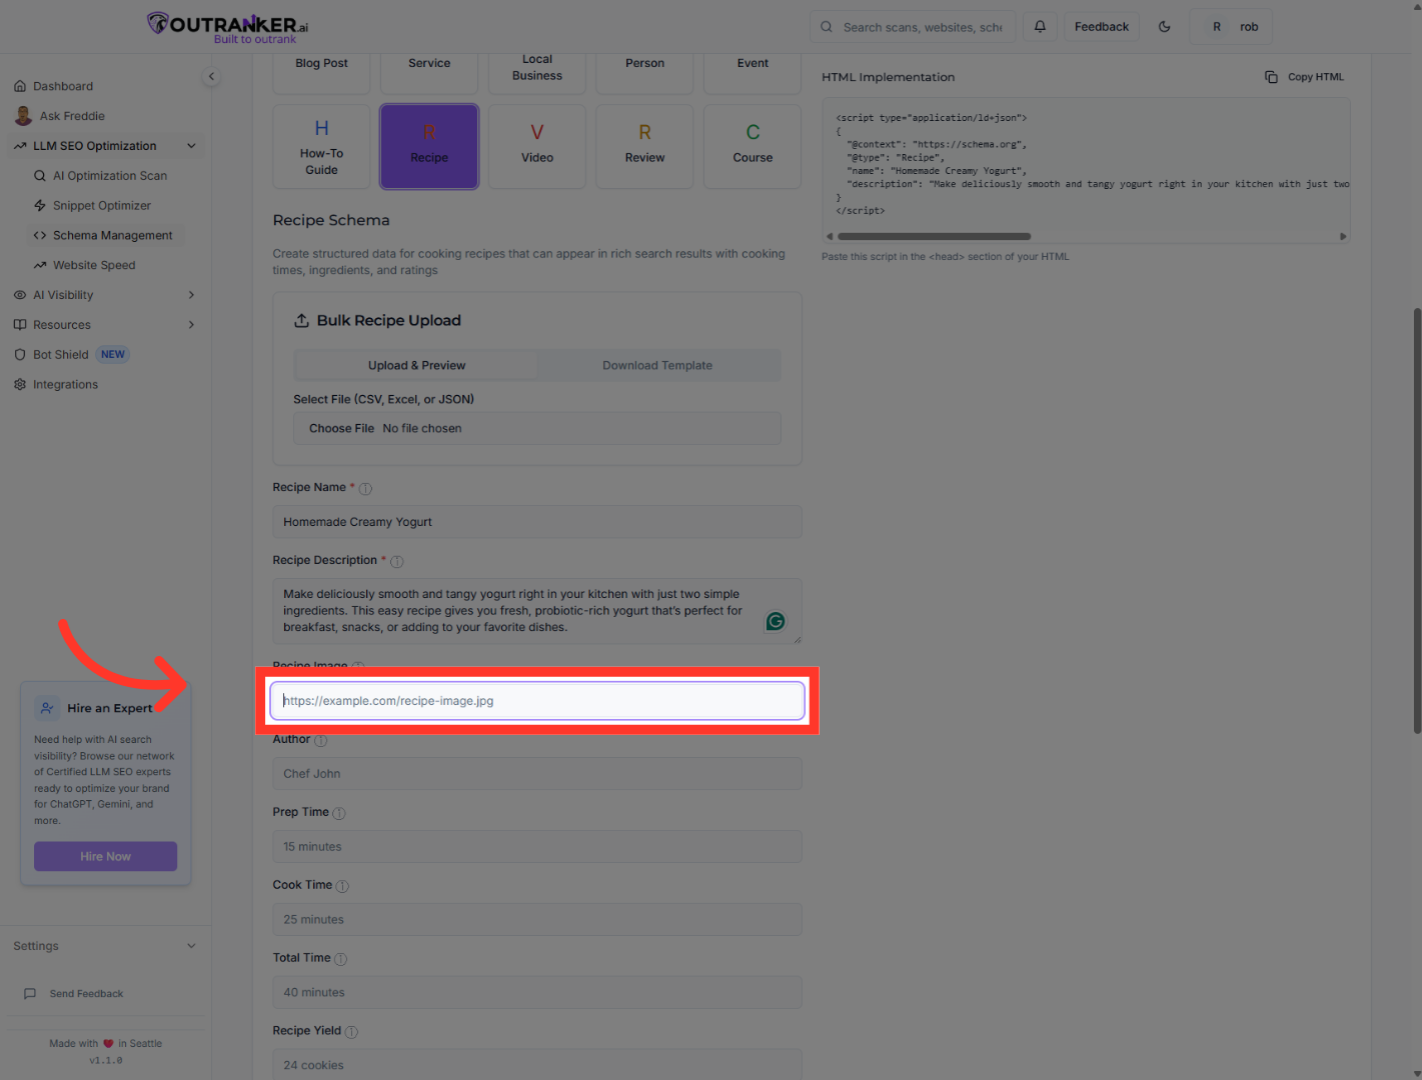
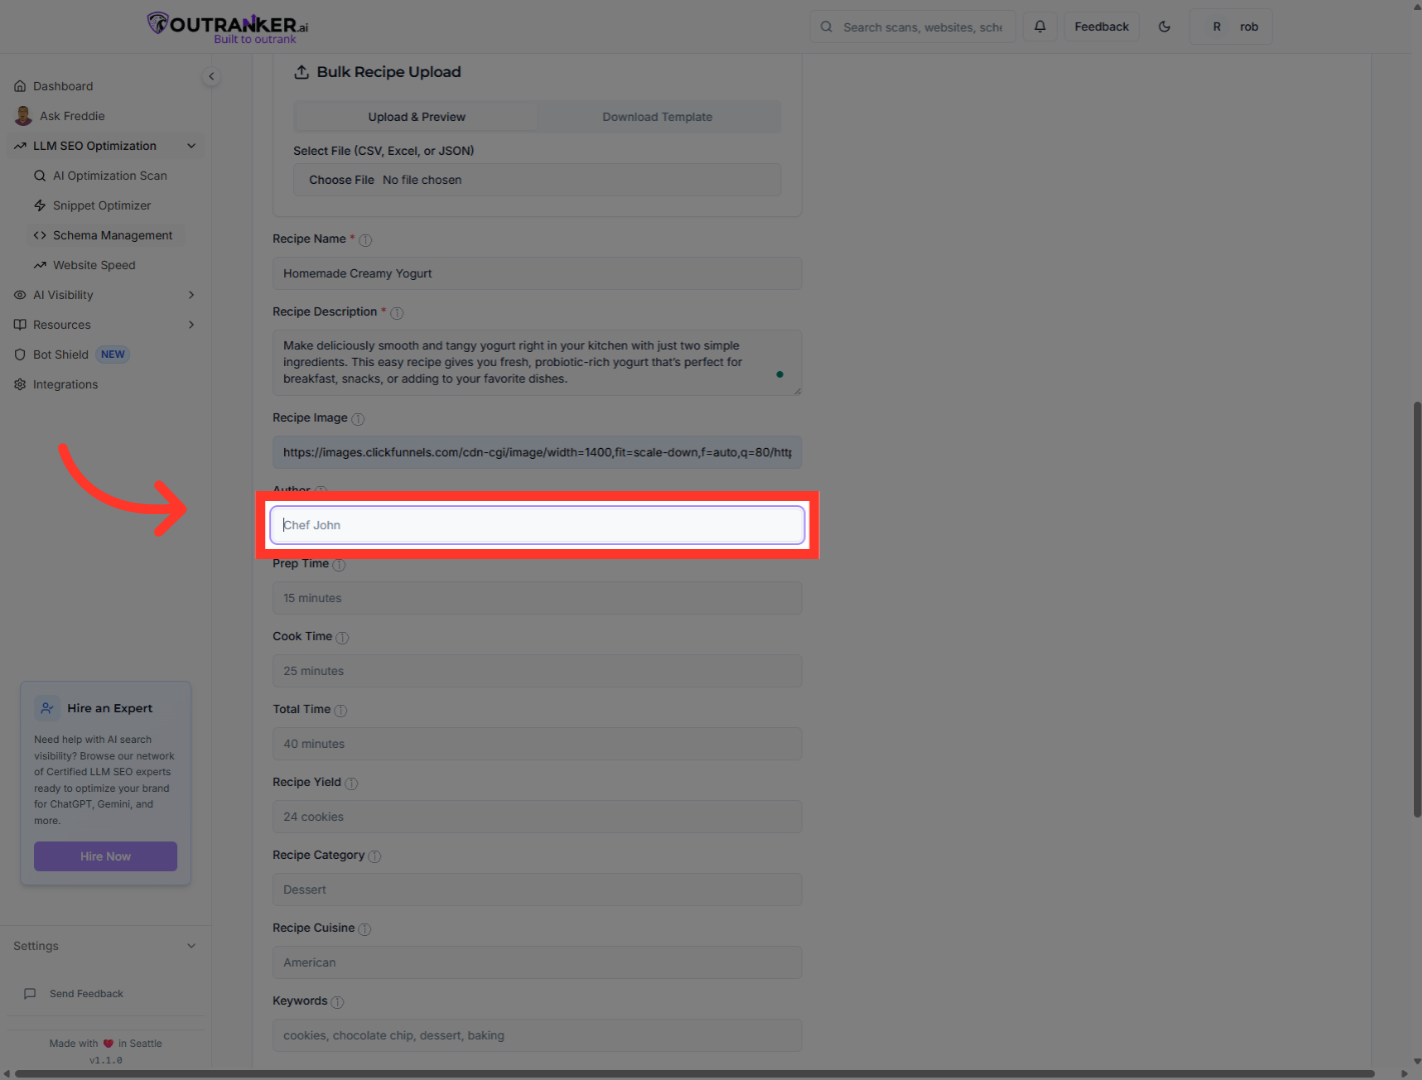
12. Click "Author"
Click "Author" to select the field where you will enter the name of the recipe author.
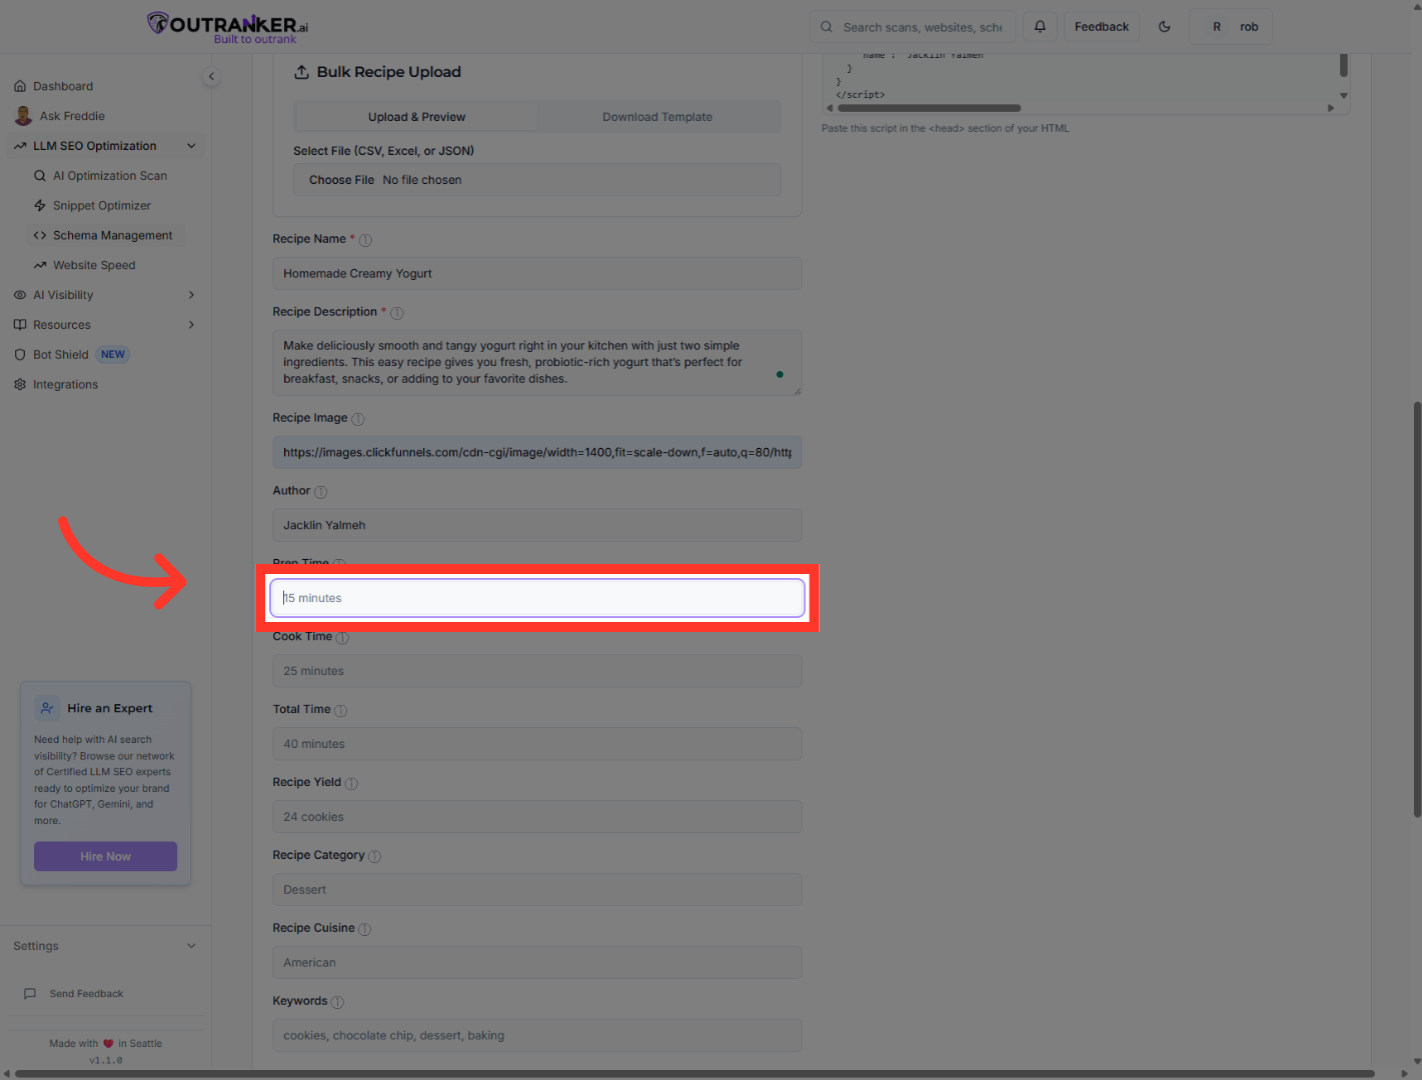
13. Go here
Navigate to the preparation time field to specify how long it takes to prepare the recipe.
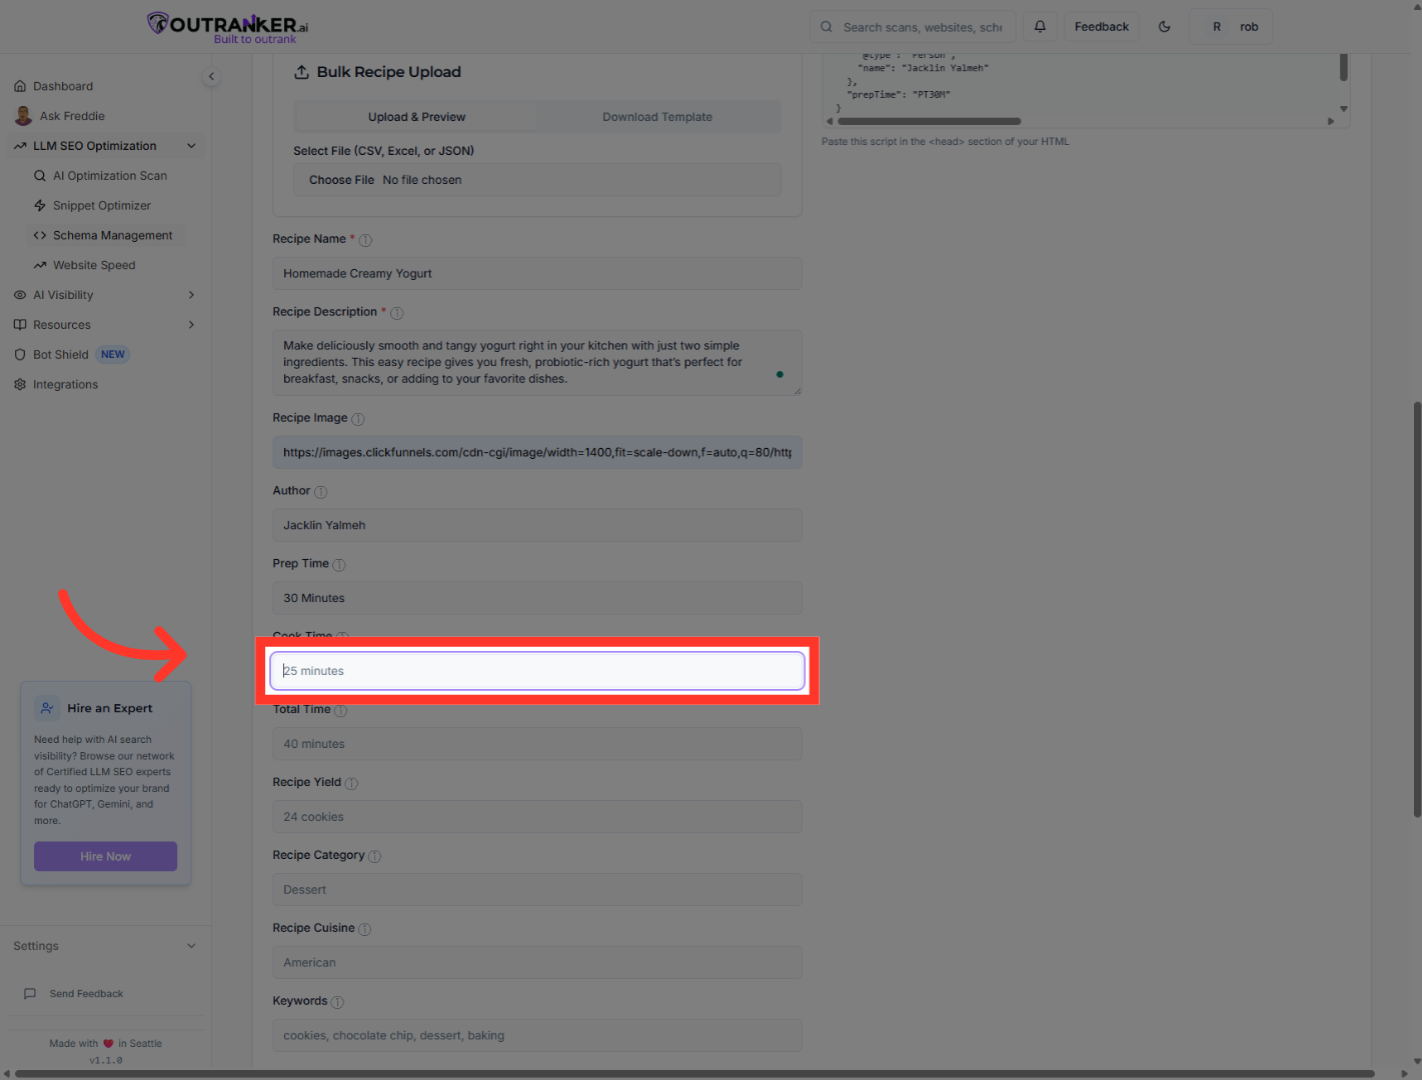
14. Go here
Navigate to the cooking time field to specify the duration required to cook the recipe.
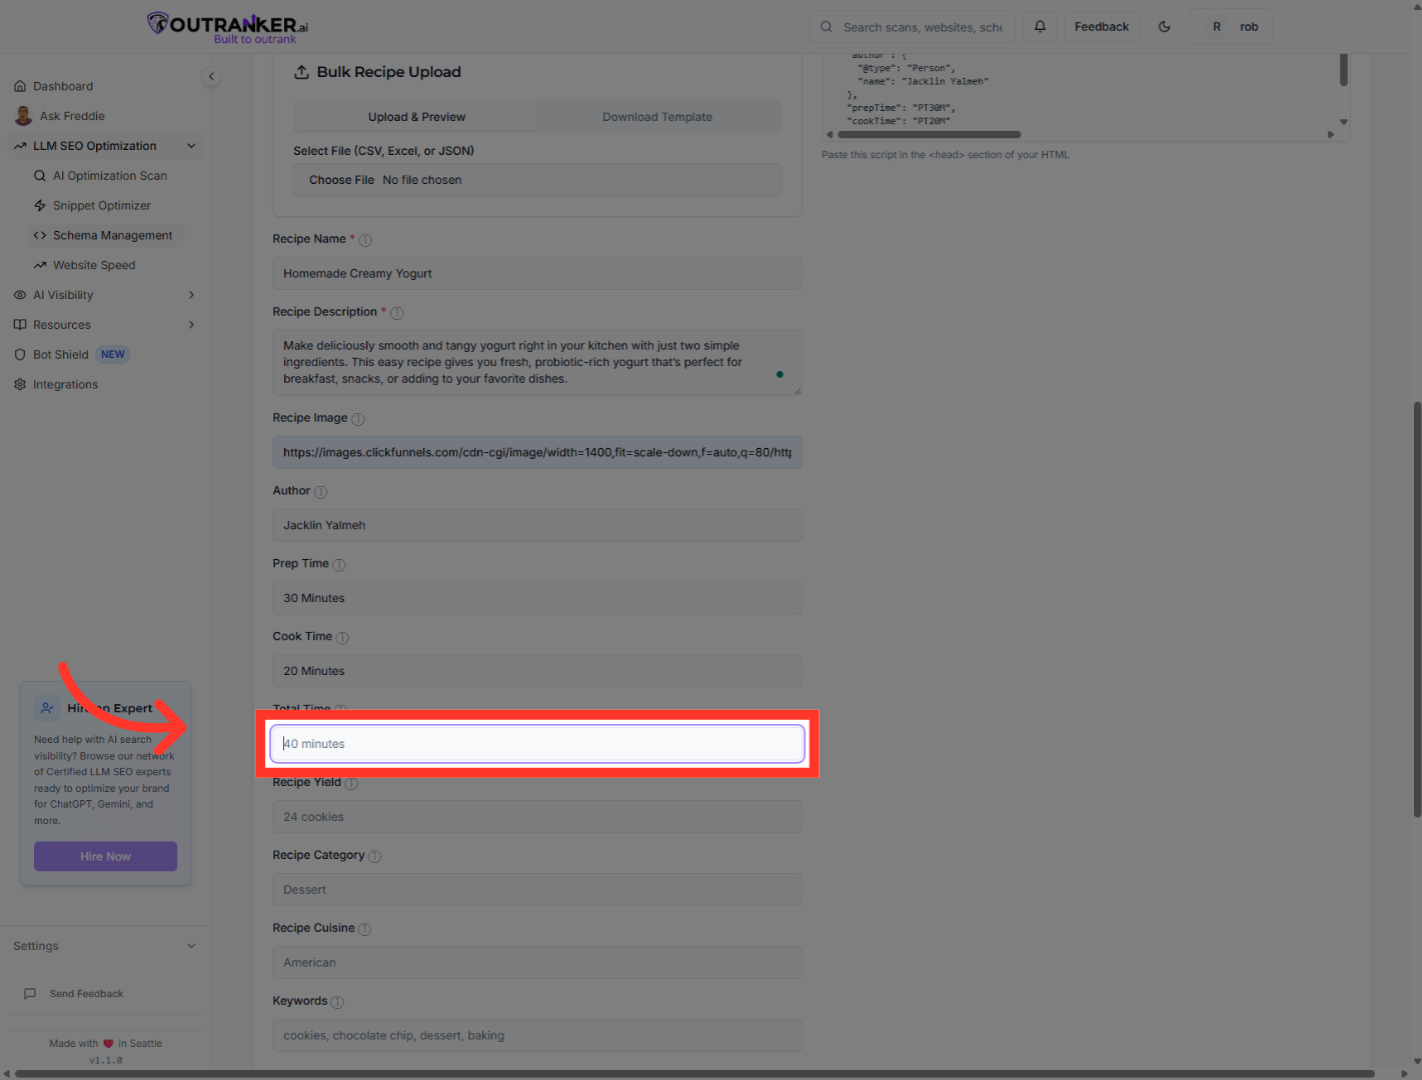
15. Go here
Navigate to the total time field to specify the overall time required for the recipe.
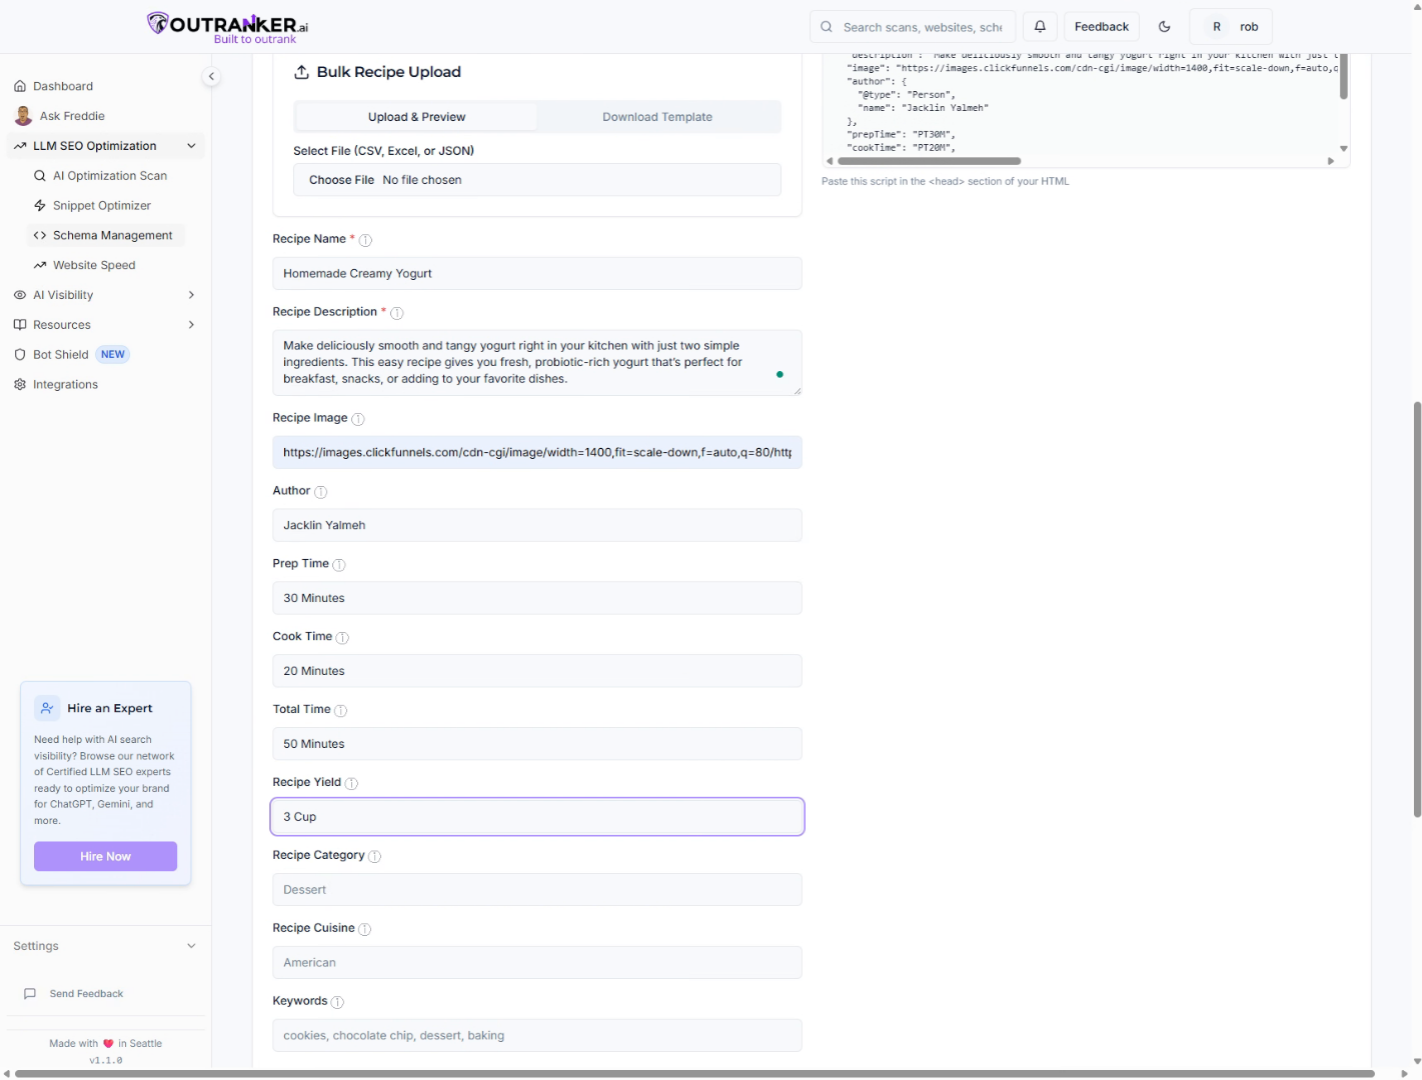
16. Go here
Navigate to the recipe yield field to specify the quantity or servings the recipe produces.
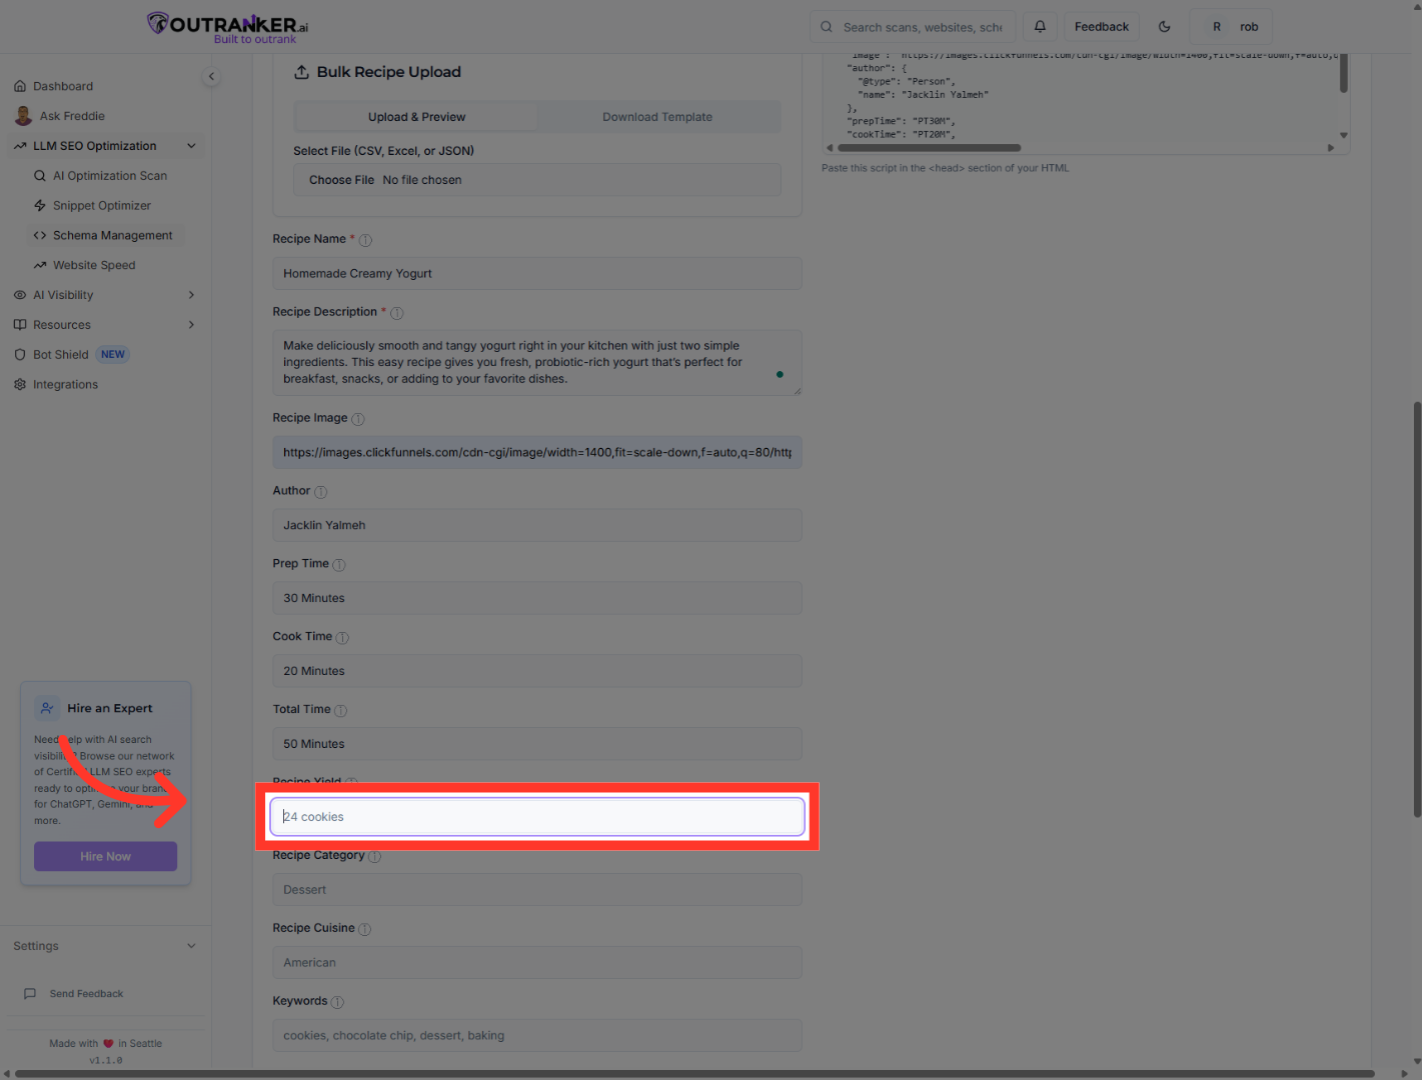
17. Fill in the yield
Fill in the yield with indicate the amount the recipe makes
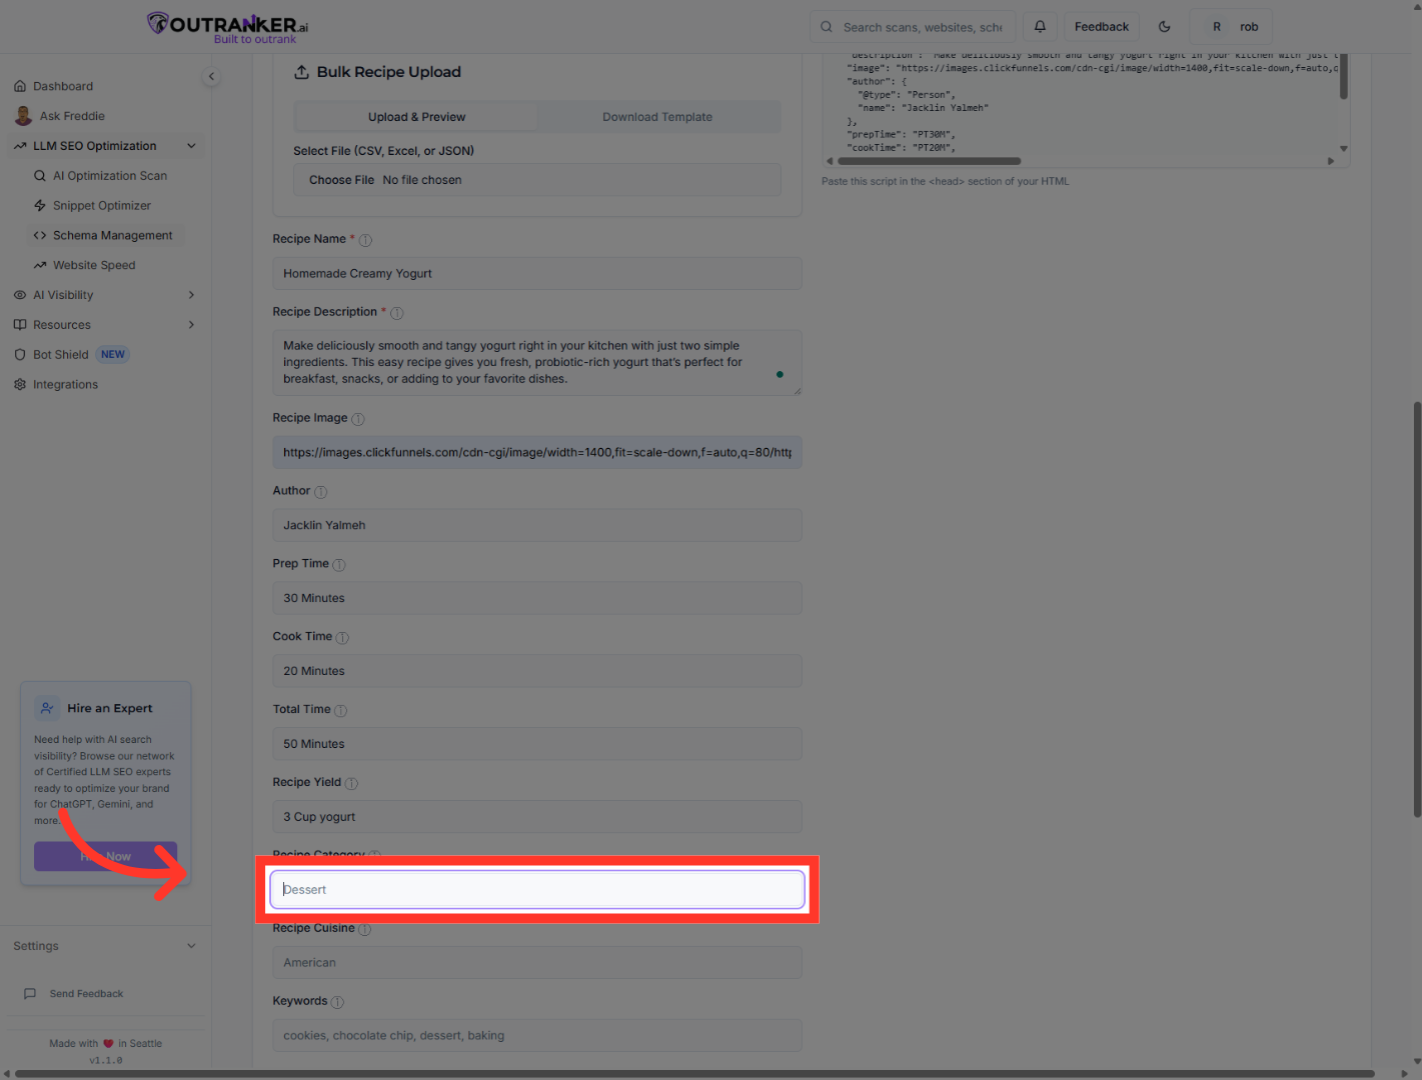
18. Go here
Navigate to the recipe category field to classify the type of dish.
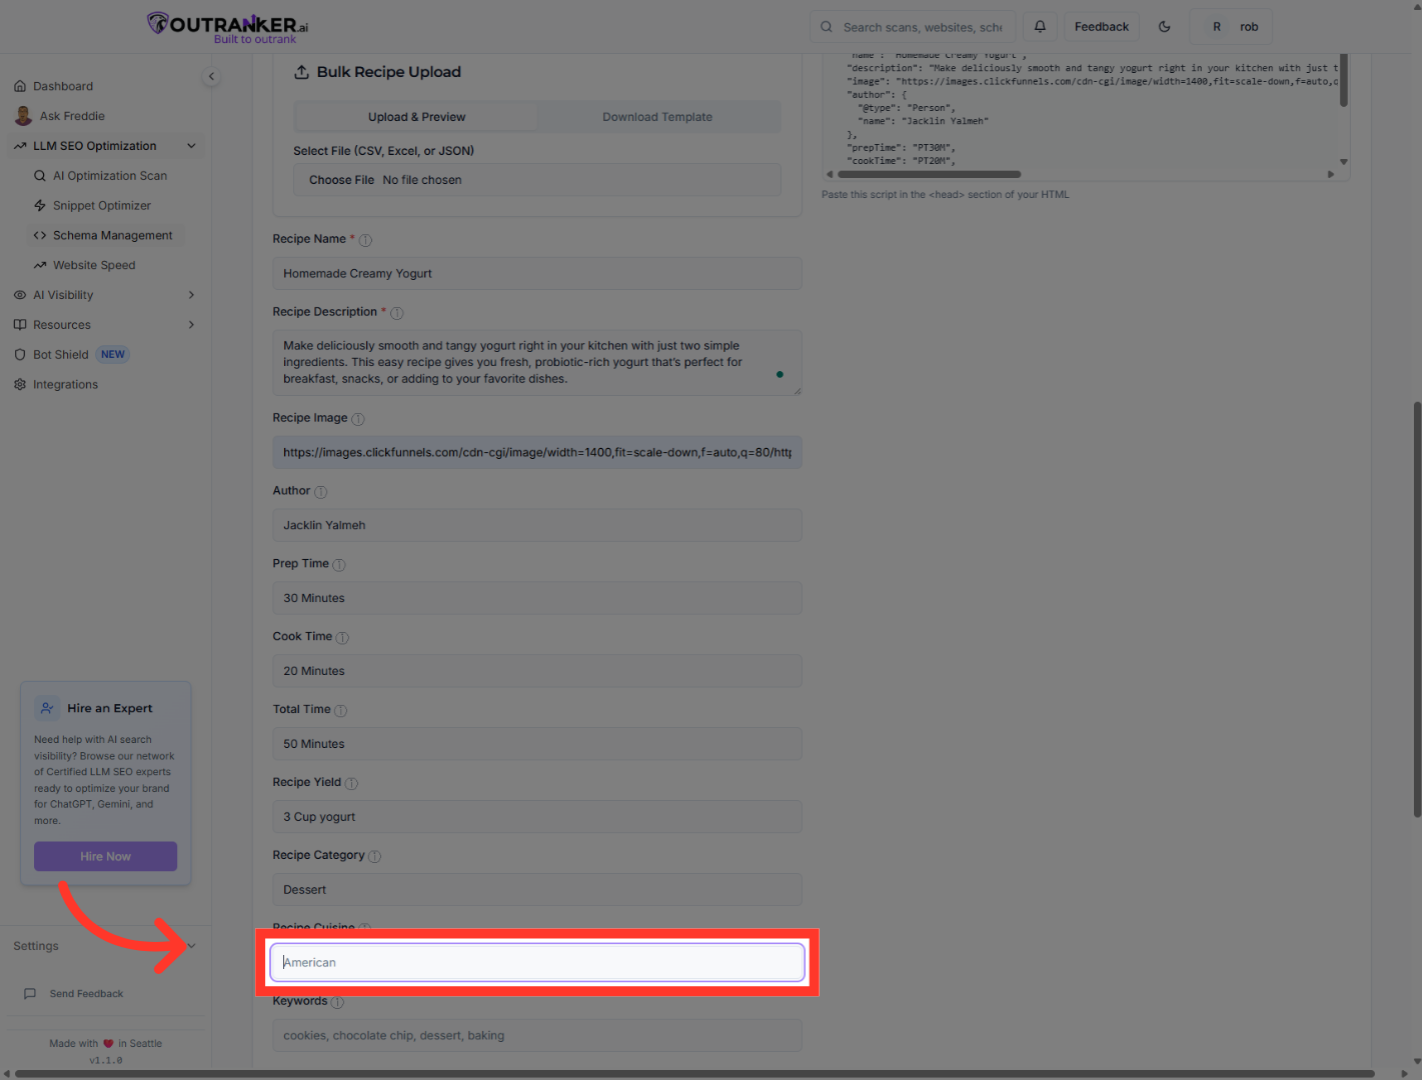
19. Go here
Navigate to the cuisine field to specify the cultural origin of the recipe.
20. Fill "It's Origine"
Fill in the cuisine with "It's Origine" to indicate the recipe's culinary style.

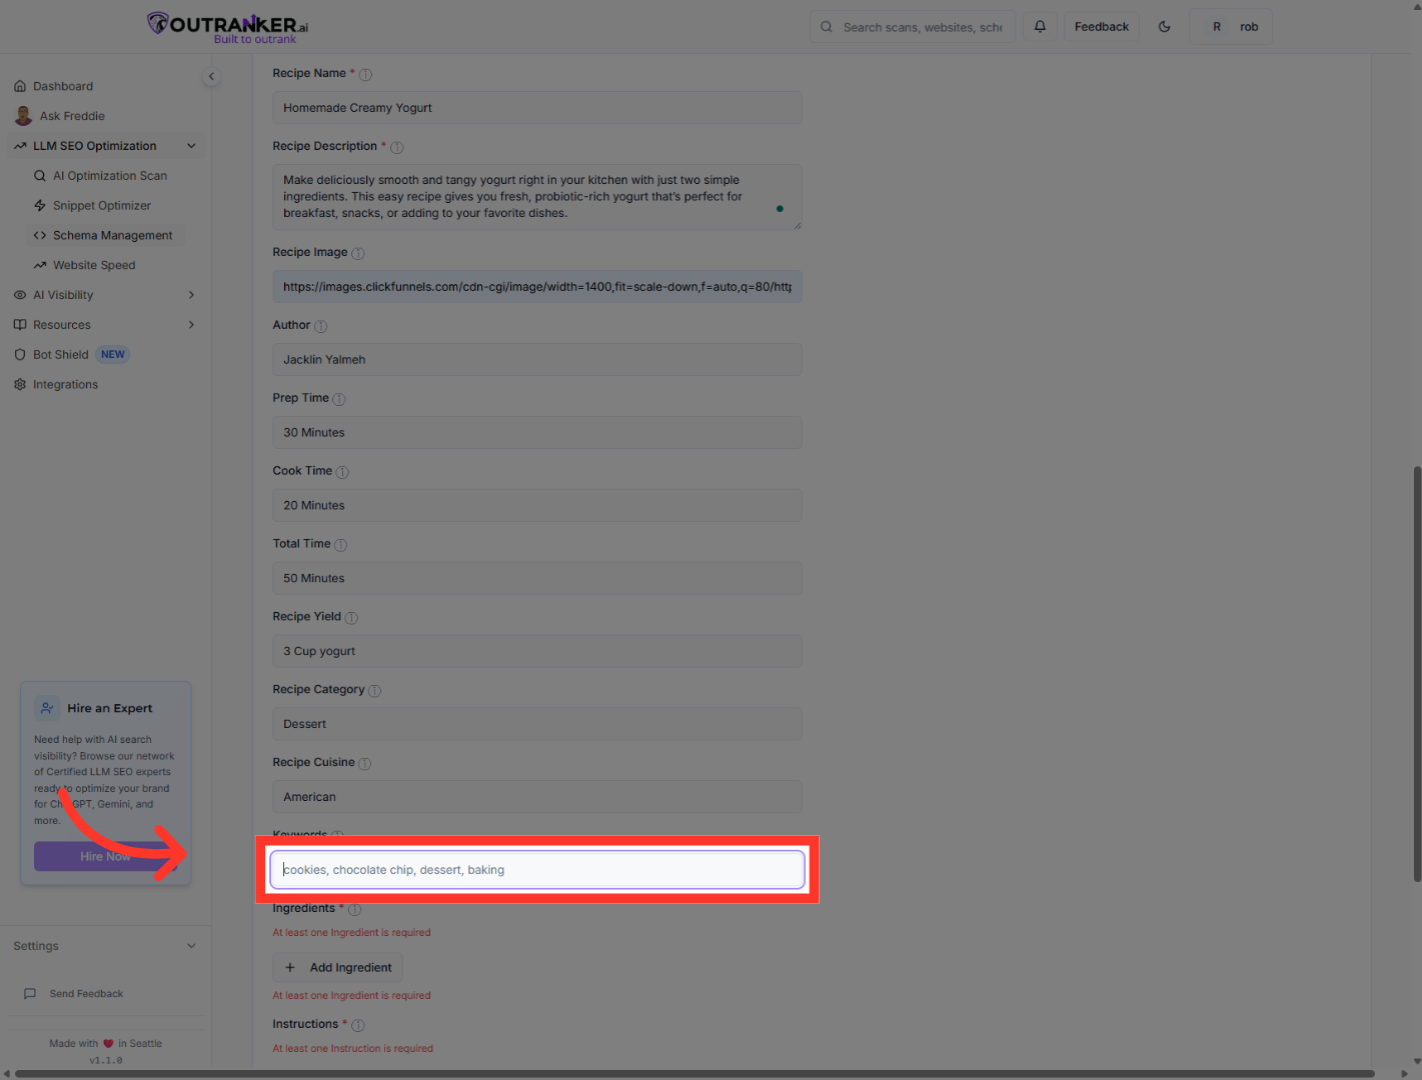
21. Click "Keywords"
Click "Keywords" to select the field where you will add relevant search terms for your recipe.
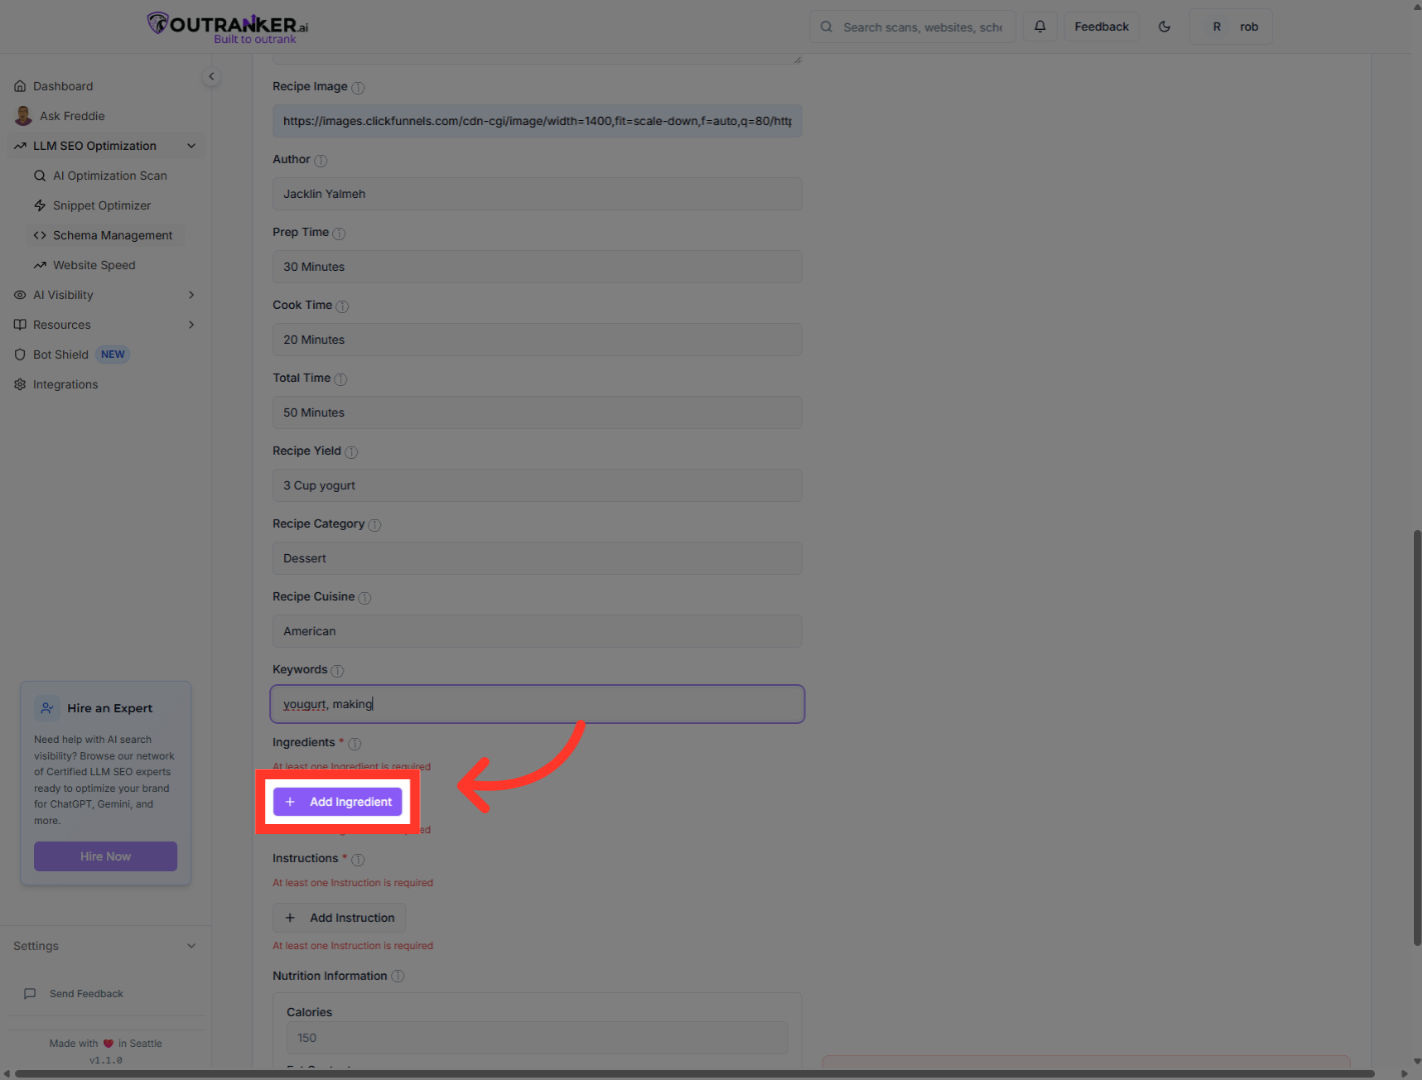
22. Click "Add Ingredient"
Click "Add Ingredient" to begin listing the ingredients required for the recipe.
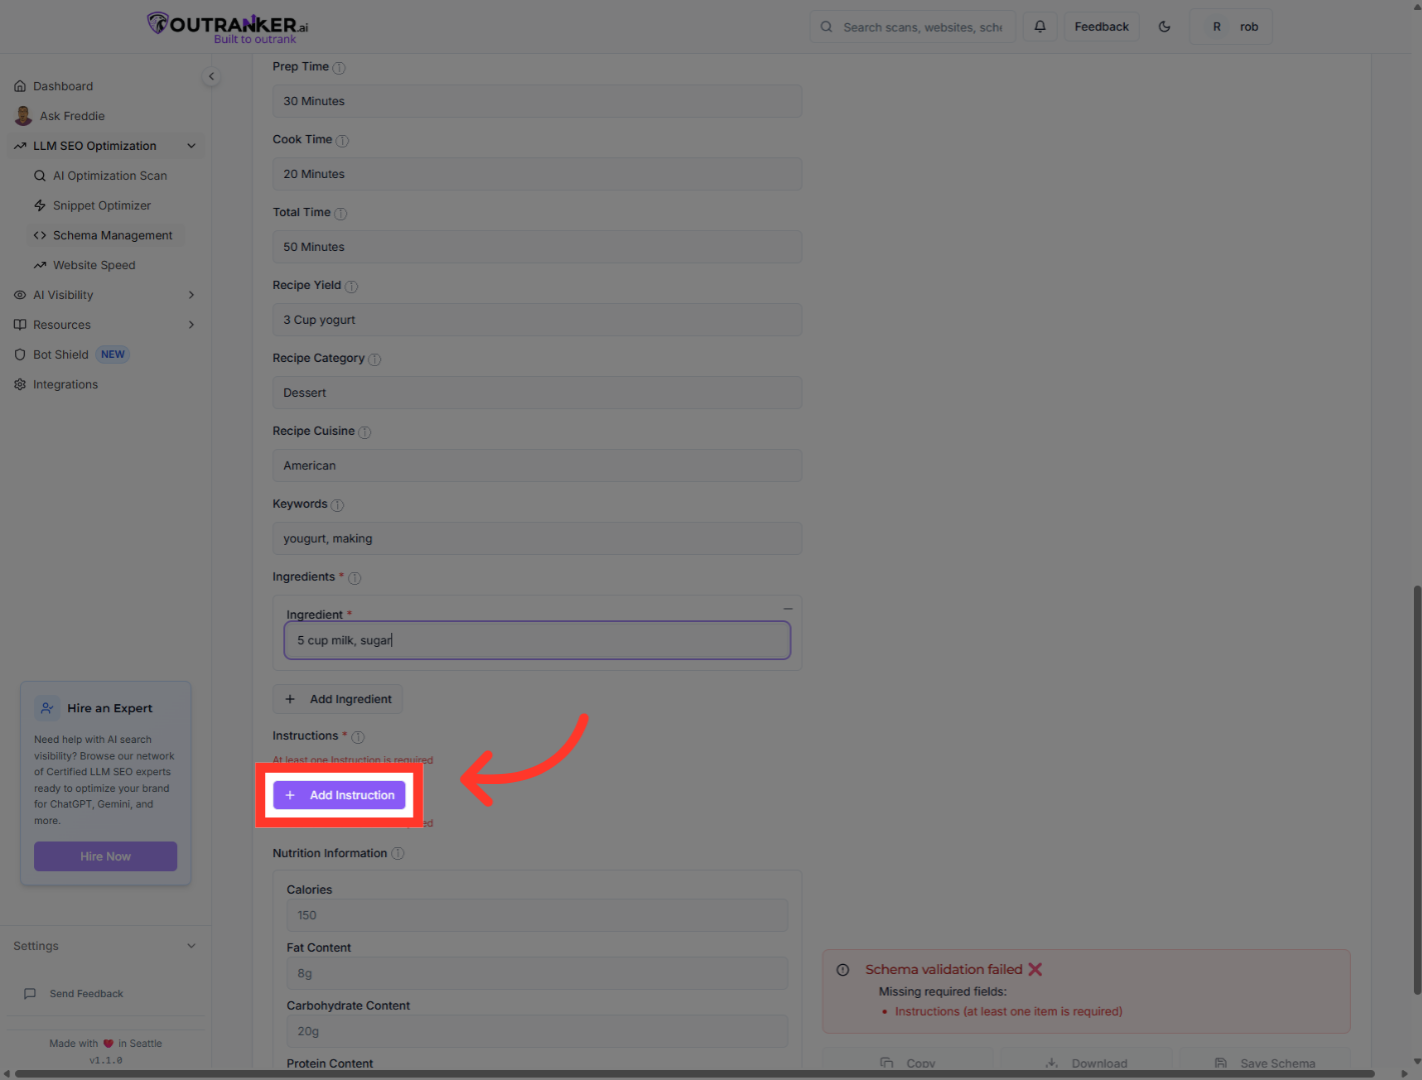
23. Click "Add Instruction"
Click "Add Instruction" to start adding step-by-step cooking instructions for the recipe.
24. Click "Cooking Temperature"
Click the temperature field labeled to set the cooking temperature.

25. Click "JSON LD to copy your JSON LD code"
Click "JSON LD to copy your JSON LD code"

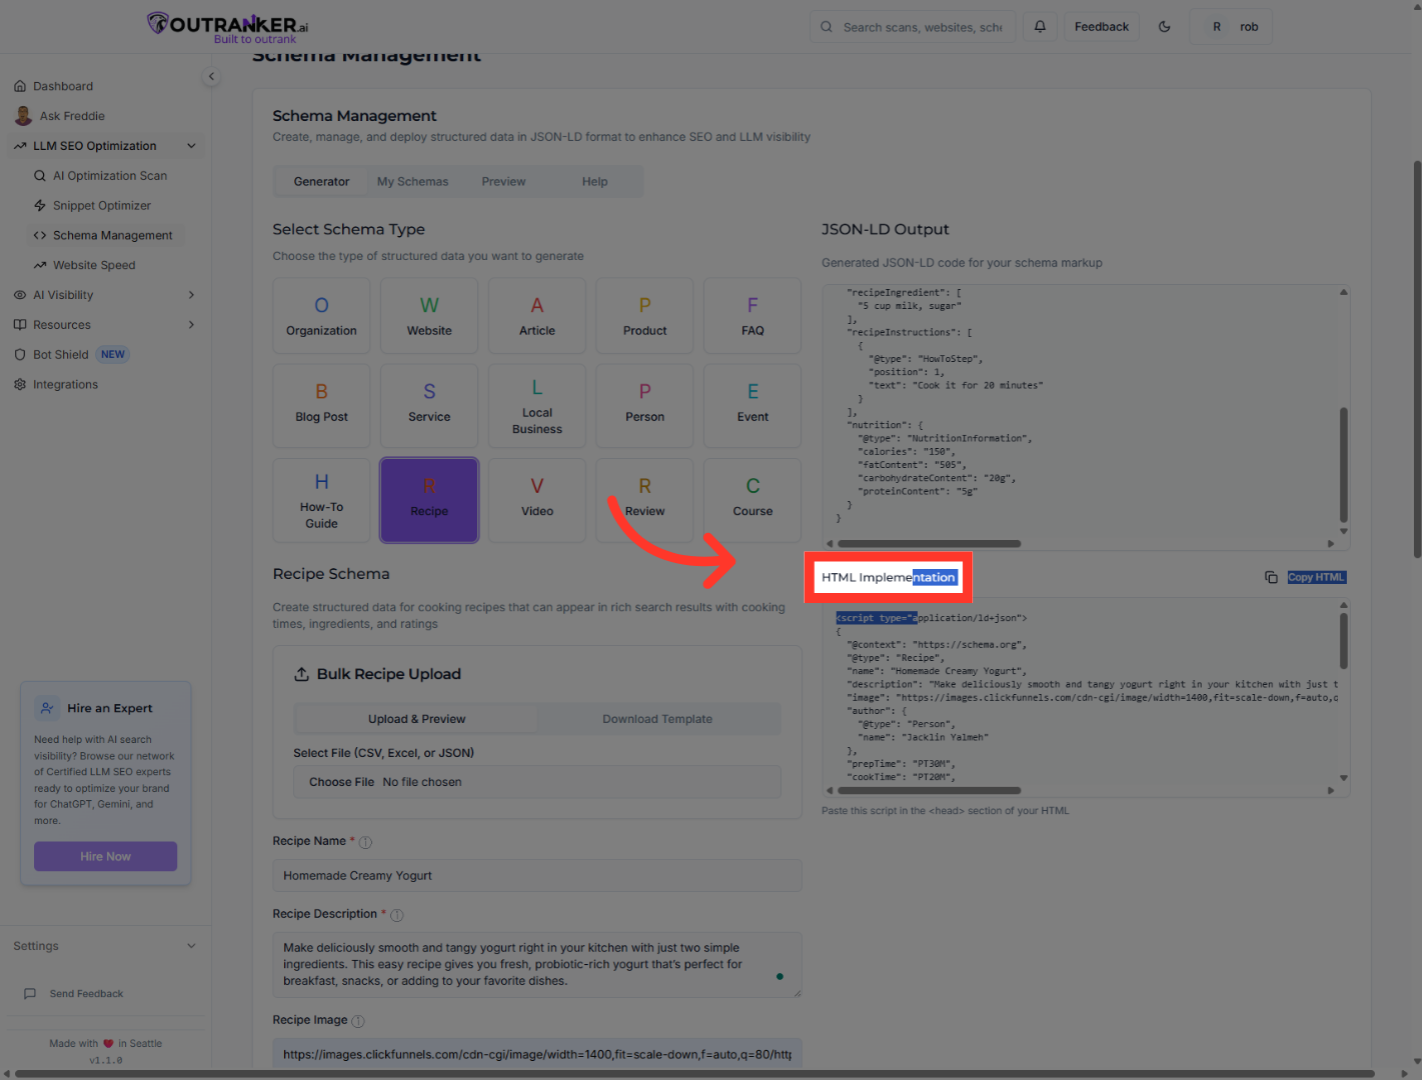
26. Click "HTML Implementation"
Click "HTML Implementation" to view the HTML code for your recipe schema markup.
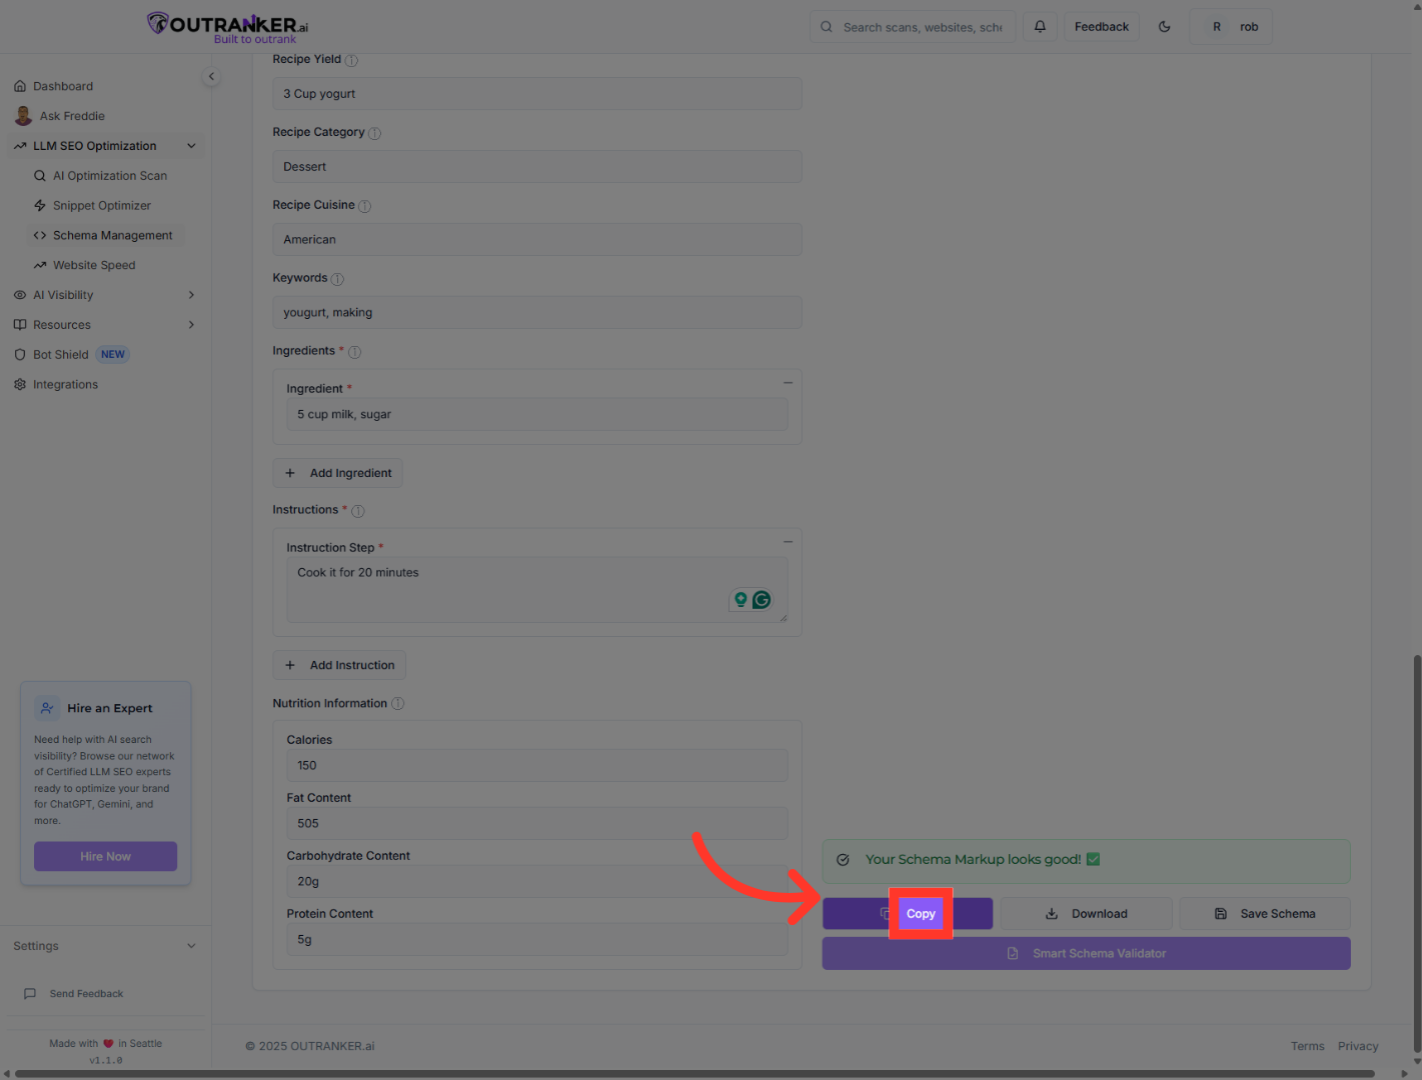
27. Click "Copy"
Click "Copy" to copy the generated schema code to your clipboard for use on your website.
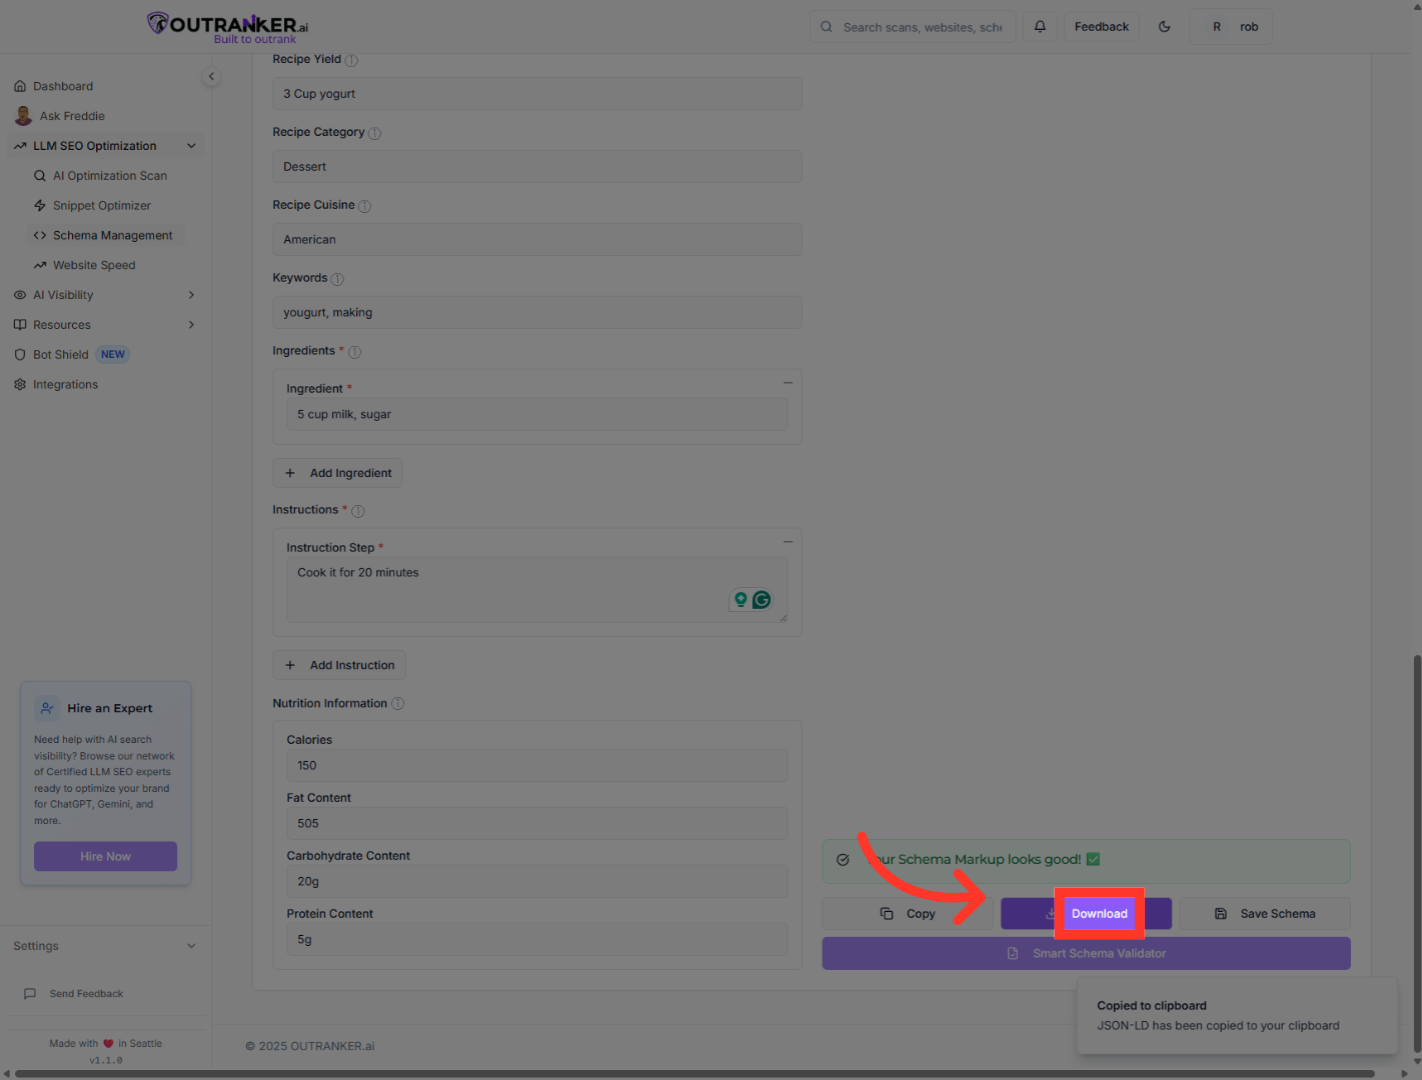
28. Click "Download"
Click "Download" to save the schema code file locally for future use or backup.
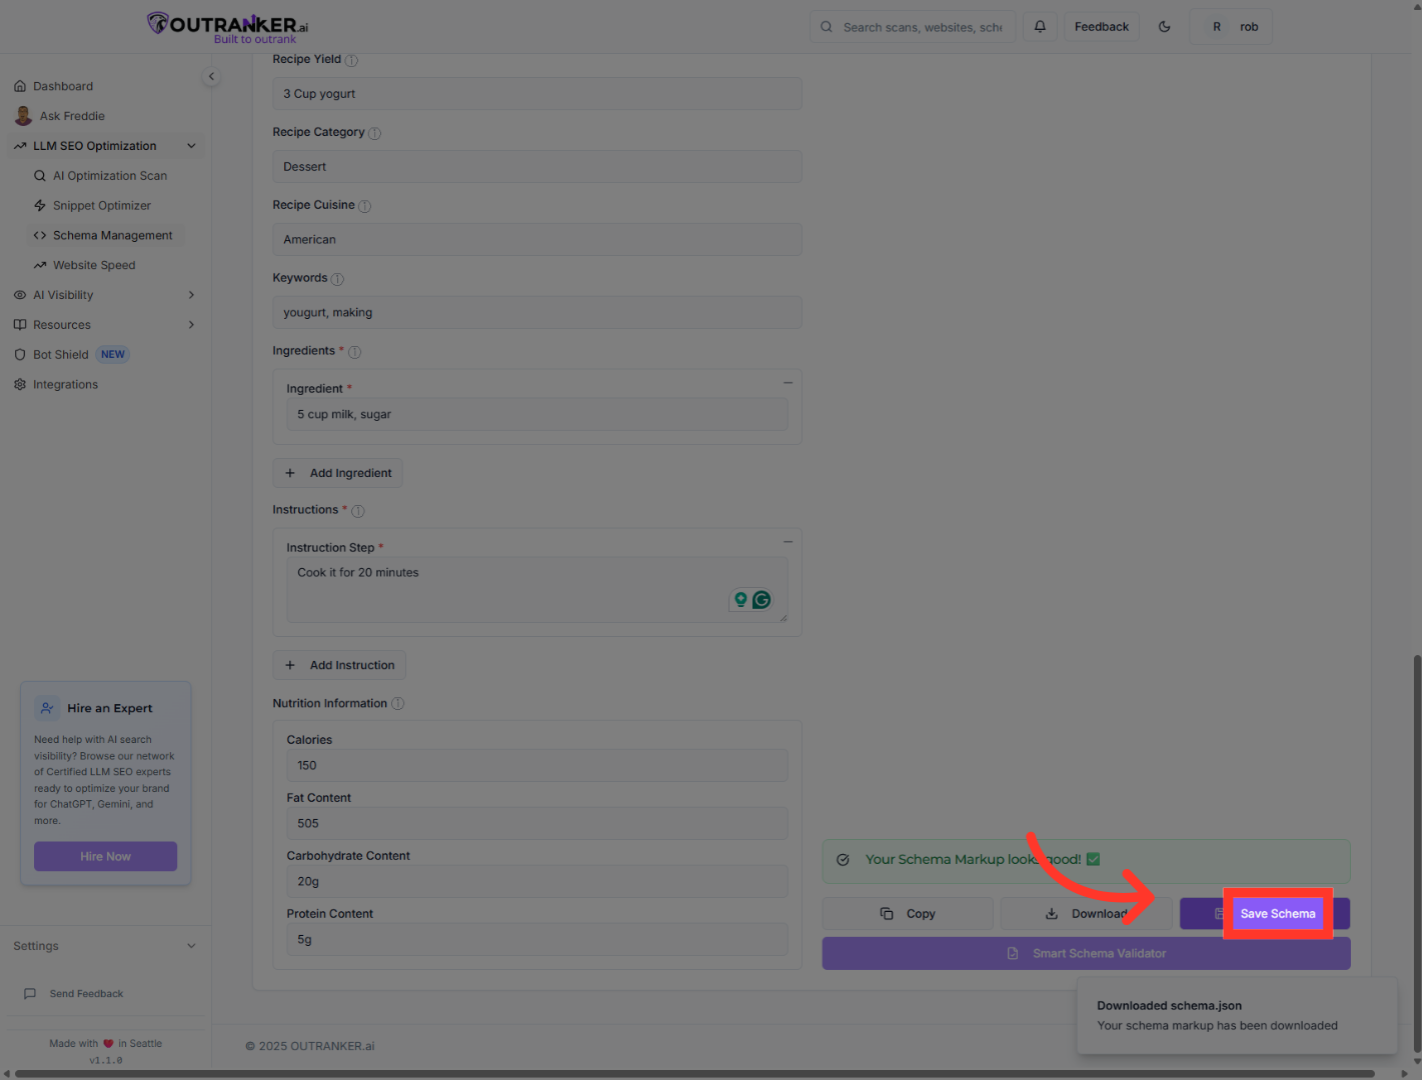
29. Click "Save Schema"
Click "Save Schema" to store your schema configuration within Outranker for later access.
You have successfully generated and saved a Recipe Schema for "Your Recipe" using Outranker's Schema Management. This structured data can now be implemented on your website to enhance S E O and improve search engine visibility. For further optimization, consider exploring additional schema types or integrating this schema with your content management system.
