In this tutorial, you will learn how to manage your settings in OutRanker
Go to www.outranker.ai
1. Introduction
Before you begin, ensure you have access to your account and any necessary branding materials like your agency logo.
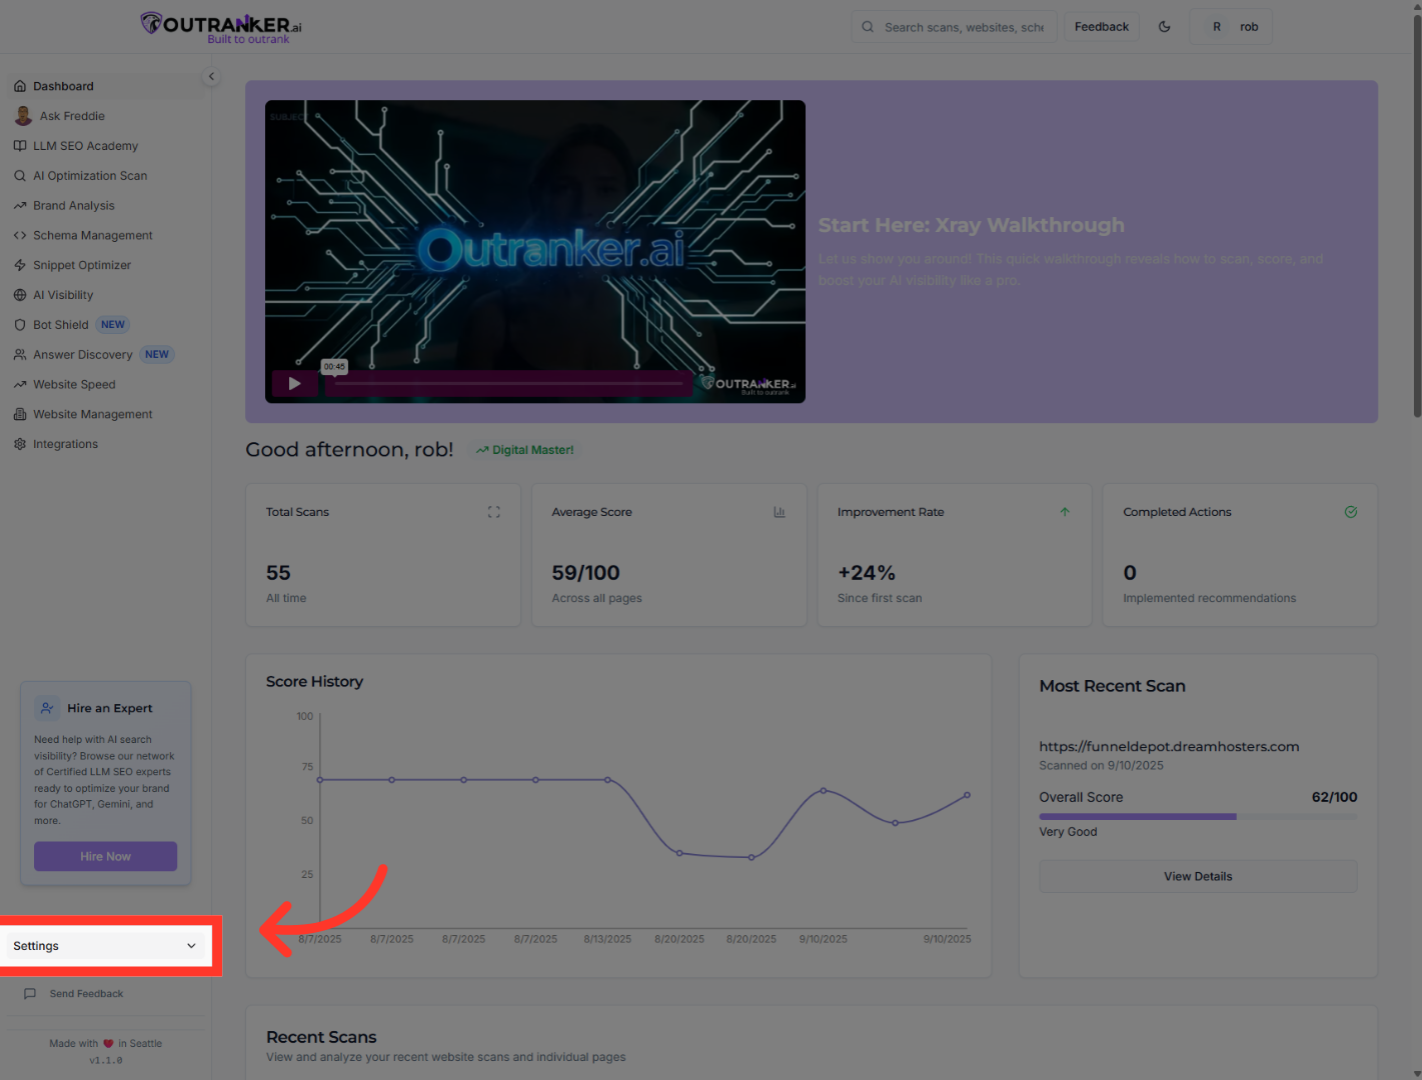
2. Click "Settings"
Click "Settings" to open the main configuration menu where you can adjust your account preferences.
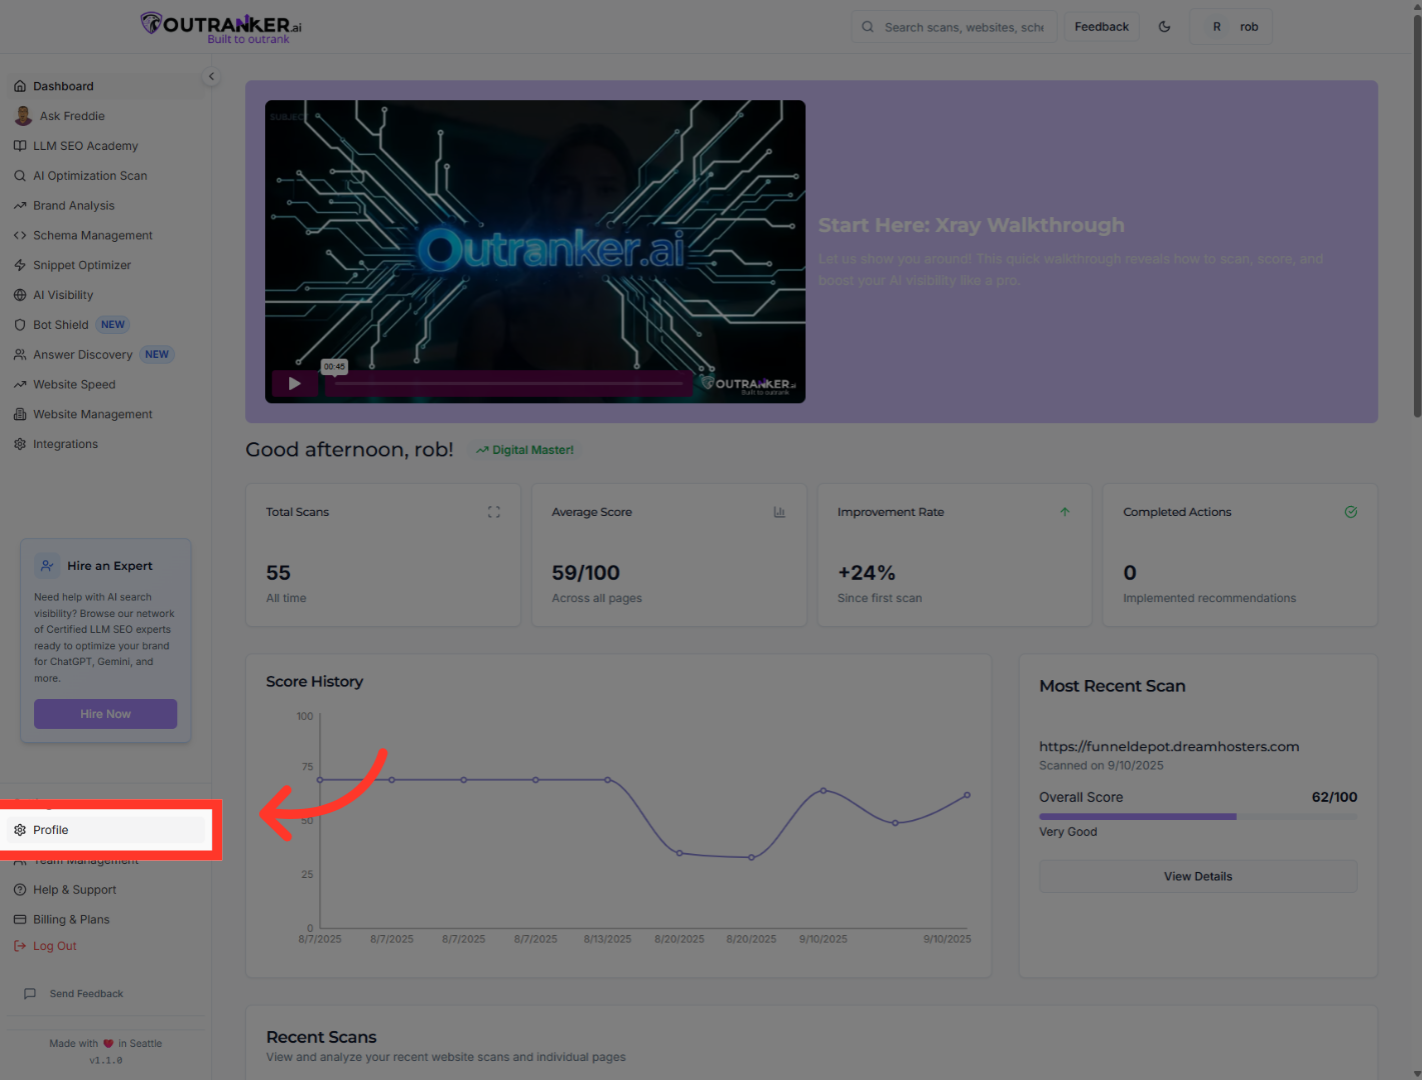
3. Click "Profile"
Click "Profile" to access your personal information and customize your user details.
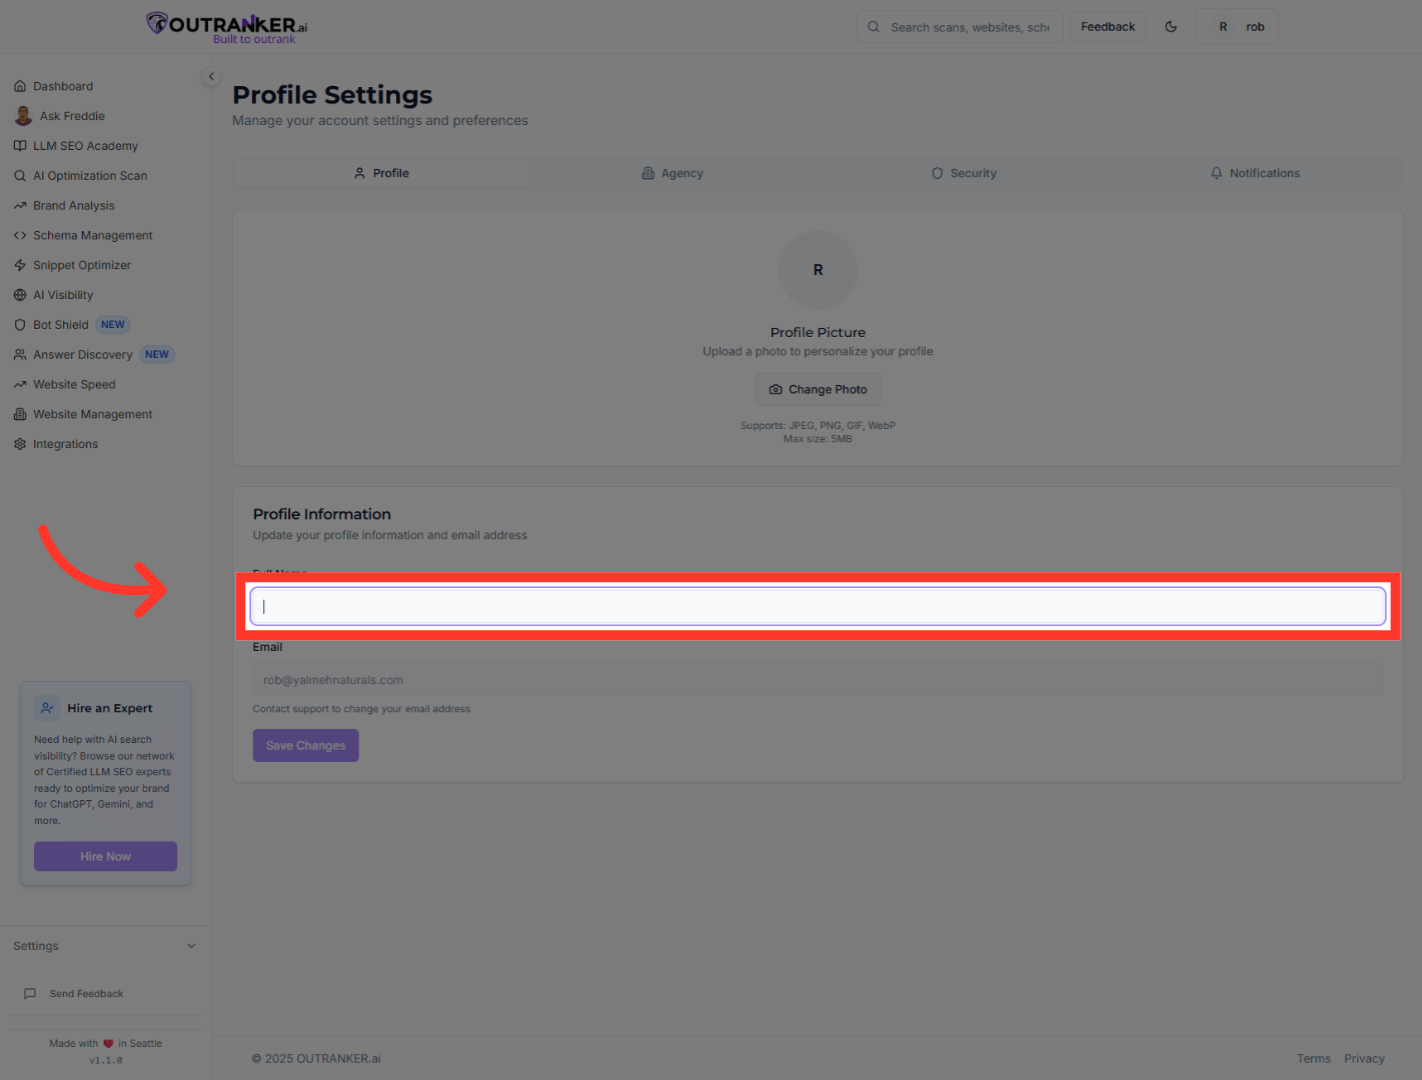
4. Click "Full Name"
Click "Full Name" to edit your display name as it appears in your account.
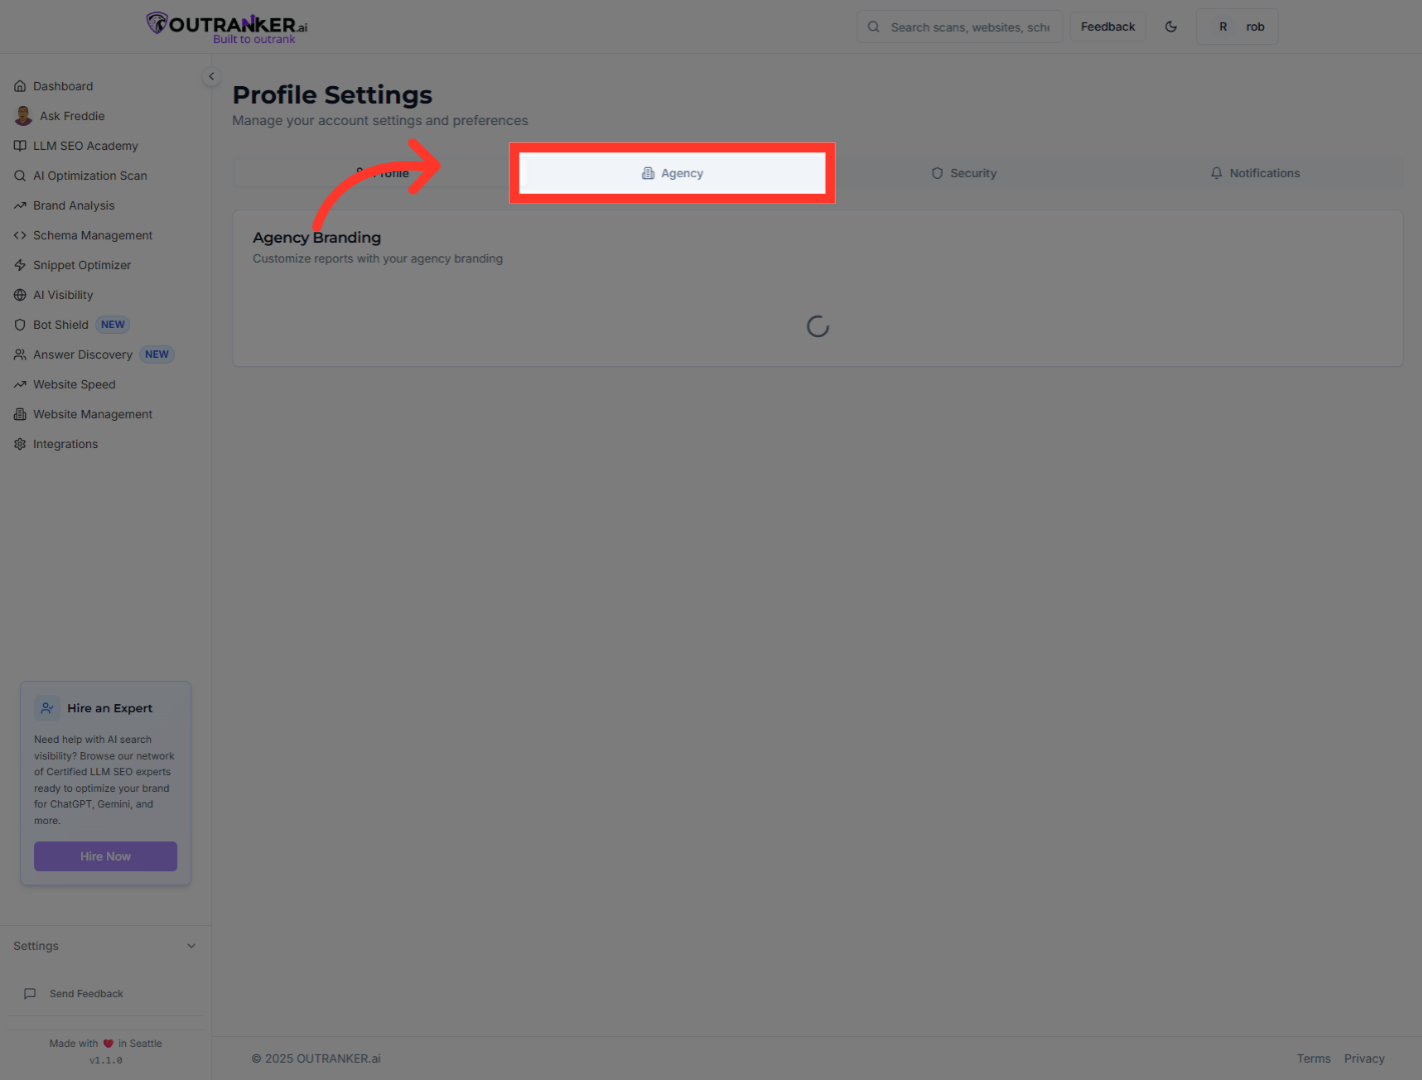
5. Click "Agency"
Click "Agency" to manage your agency-related settings and branding options.
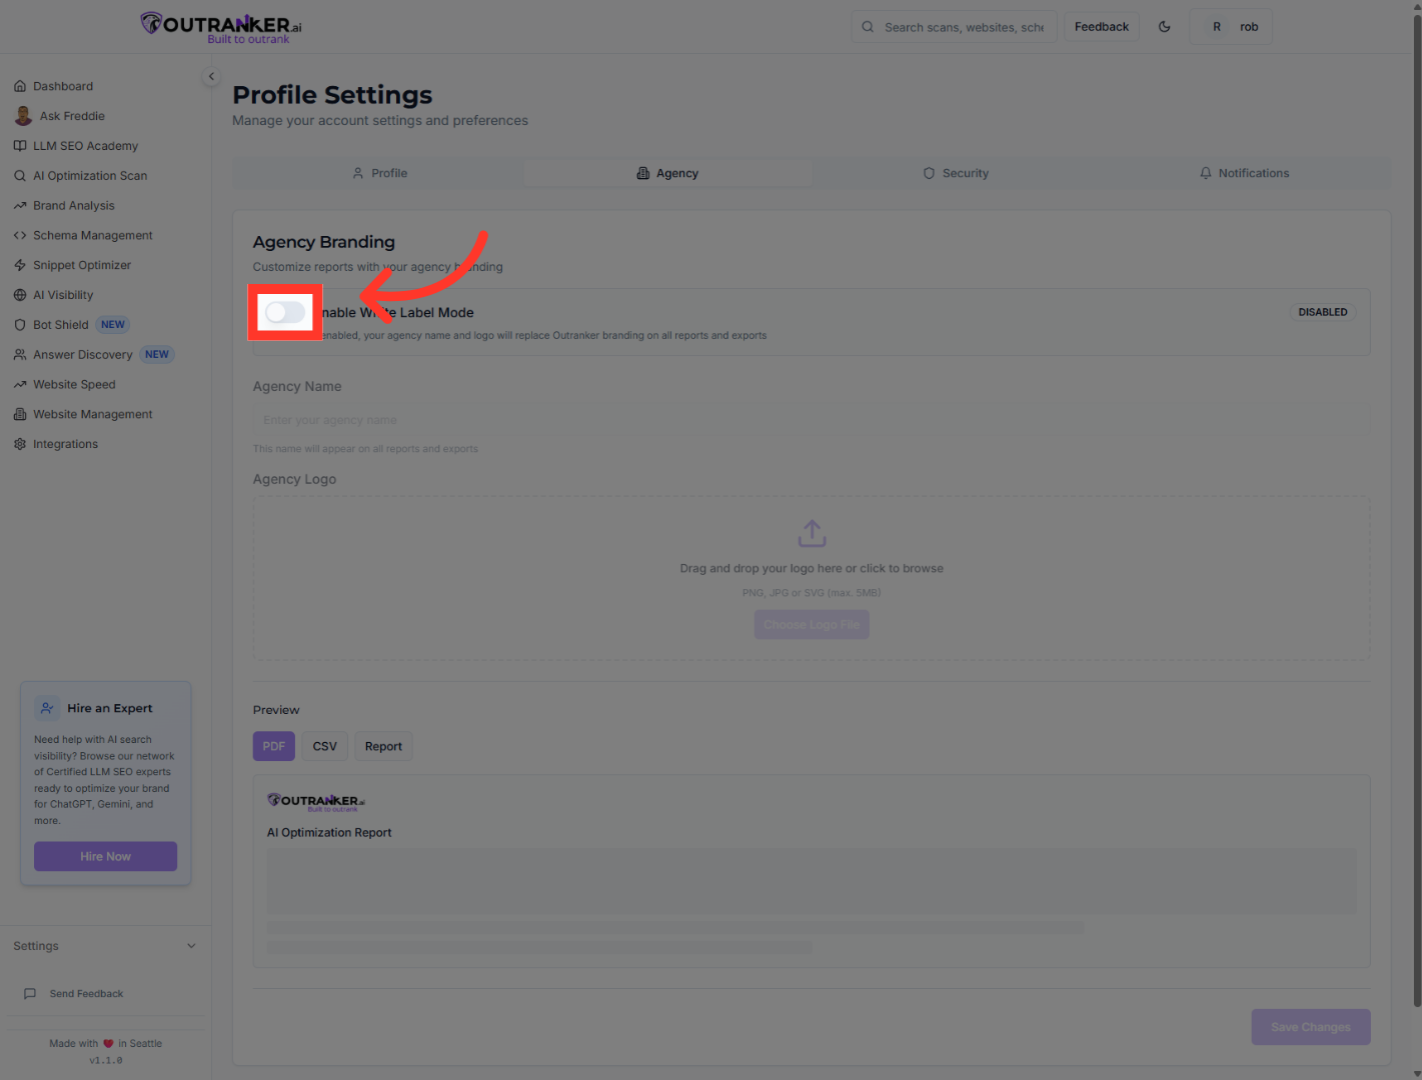
6. Click "Enable White Label Mode"
Click "Enable White Label Mode" to activate branding customization for your agency.
7. Click "Enable White Label Mode"
Click "Enable White Label Mode" once more to finalize enabling white label mode.

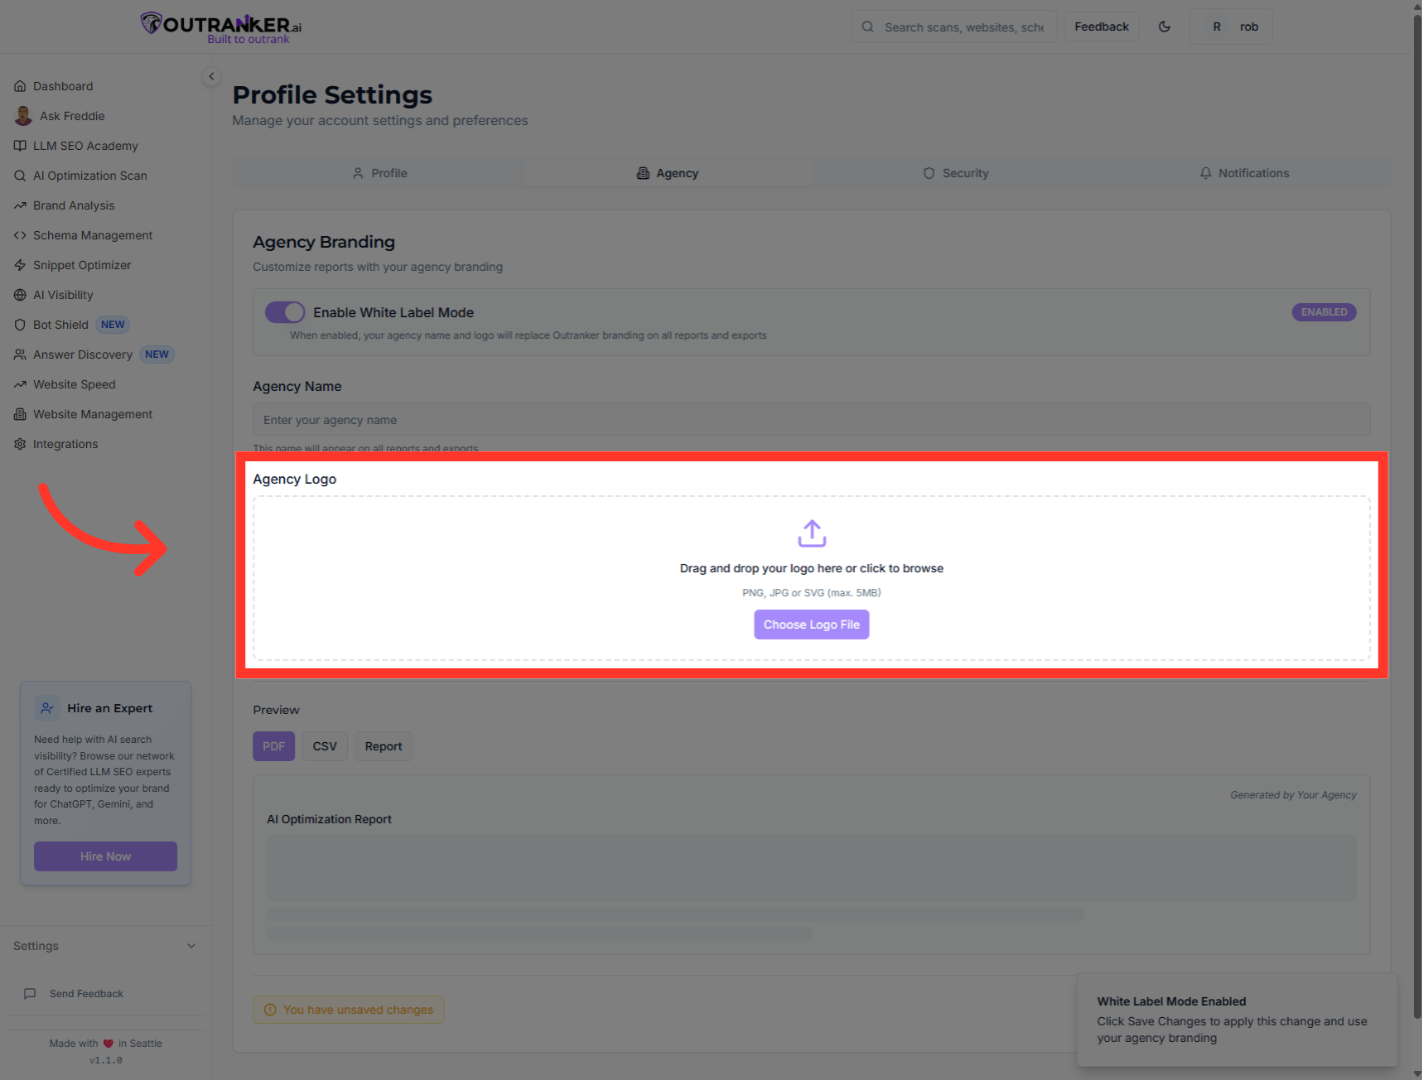
8. Click "Agency LogoDrag and drop your logo here or click to browsePNG, JPG or SVG (max. 5MB)Choose Logo File"
Click the "Agency Logo" area to upload your agency's logo for personalized branding.
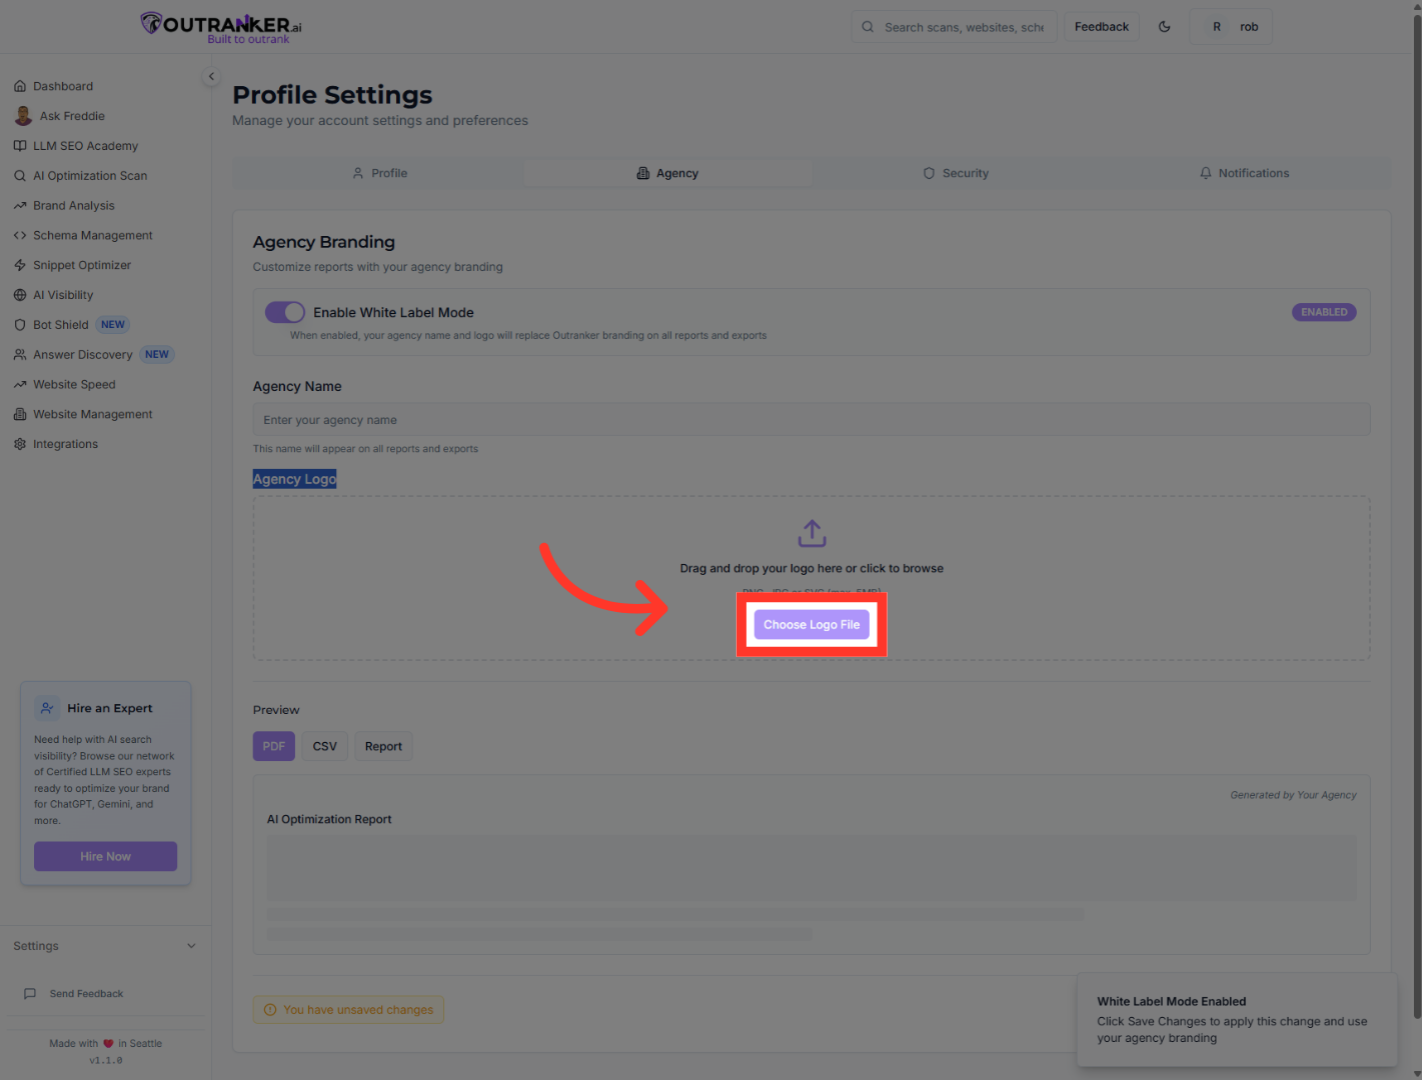
9. Click "Choose Logo File"
Click "Choose Logo File" to browse your computer for the logo image file.
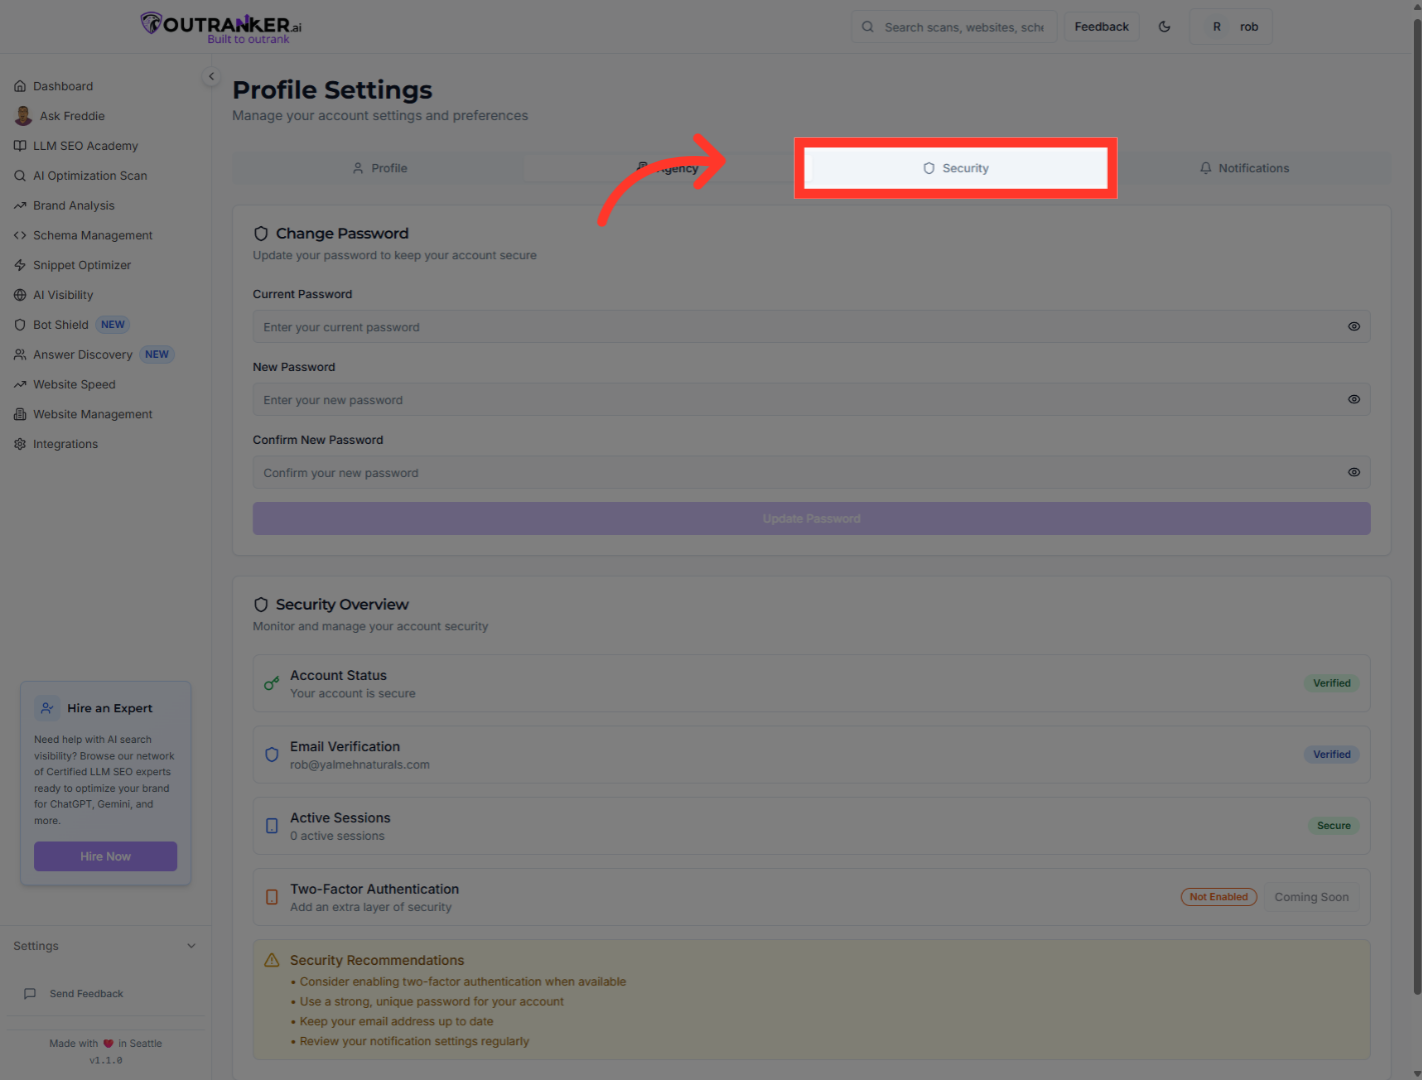
10. Click "Security"
Click "Security" to review and update your account's security settings.
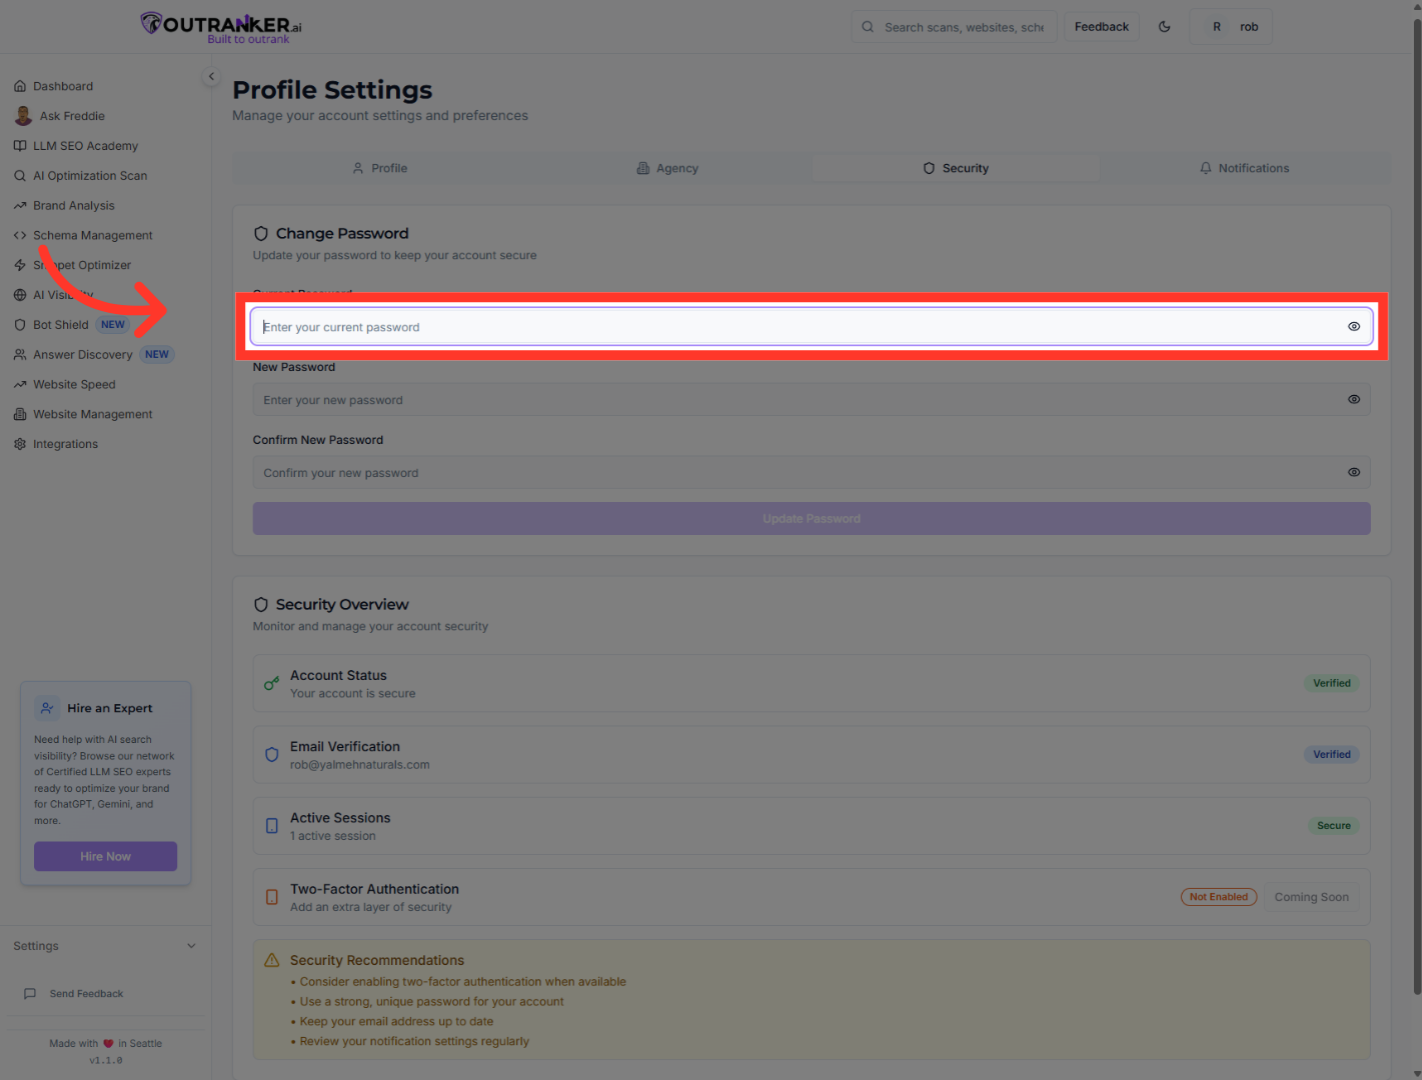
11. Click "Current Password"
Click "Current Password" to enter your existing password for verification.
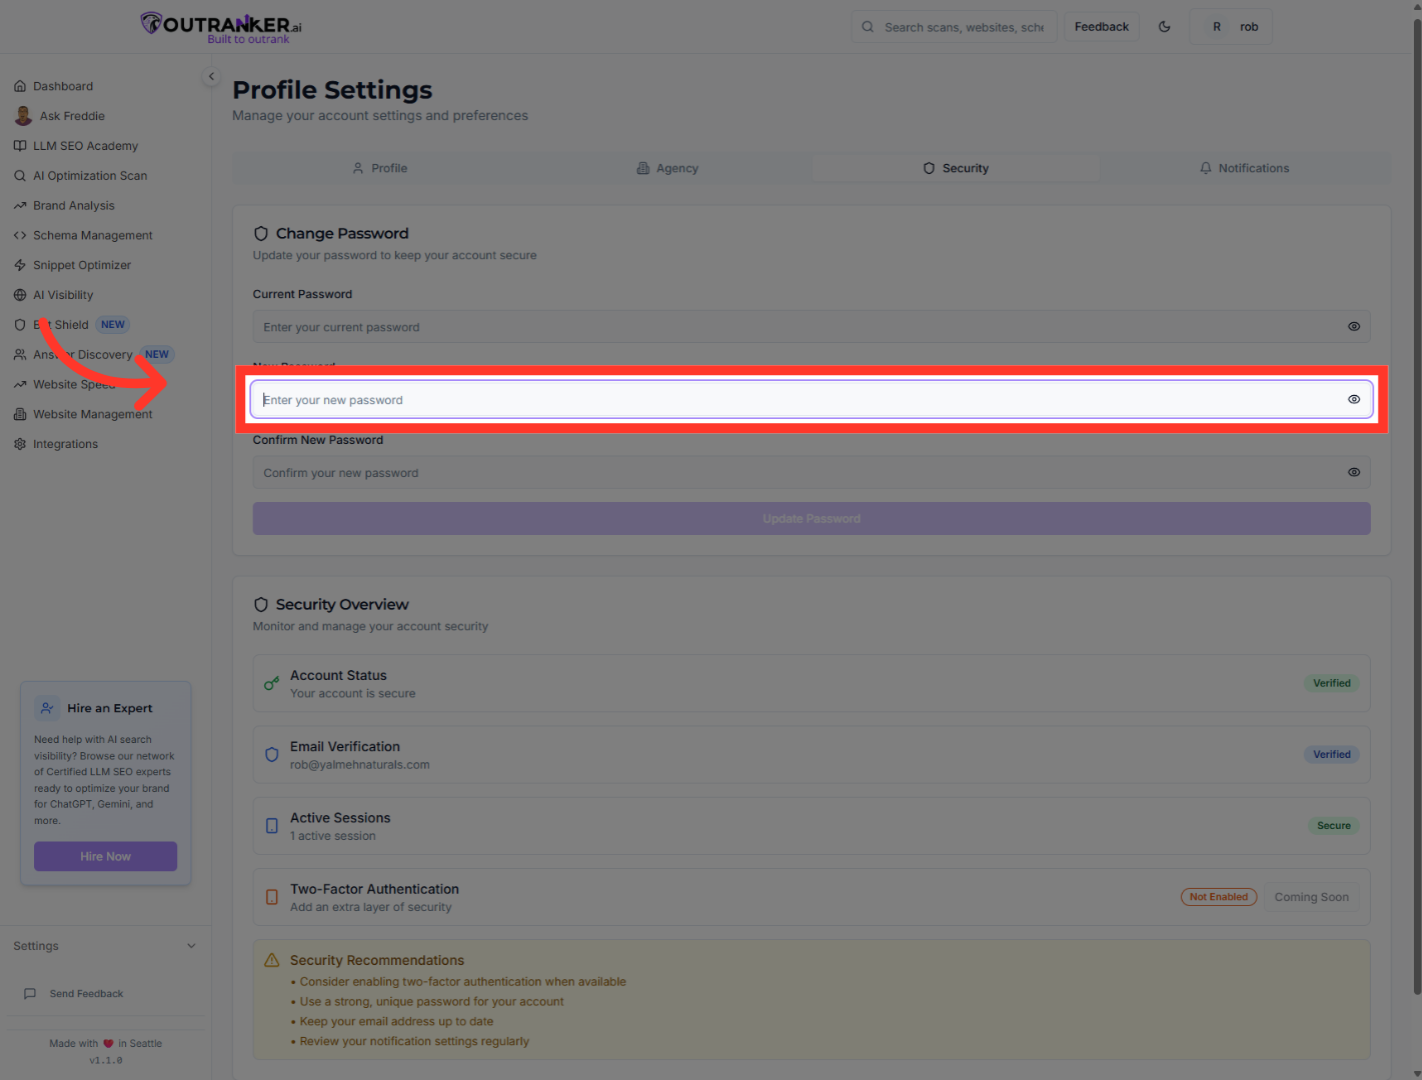
12. Click "New Password"
Click "New Password" to set a new password for your account.
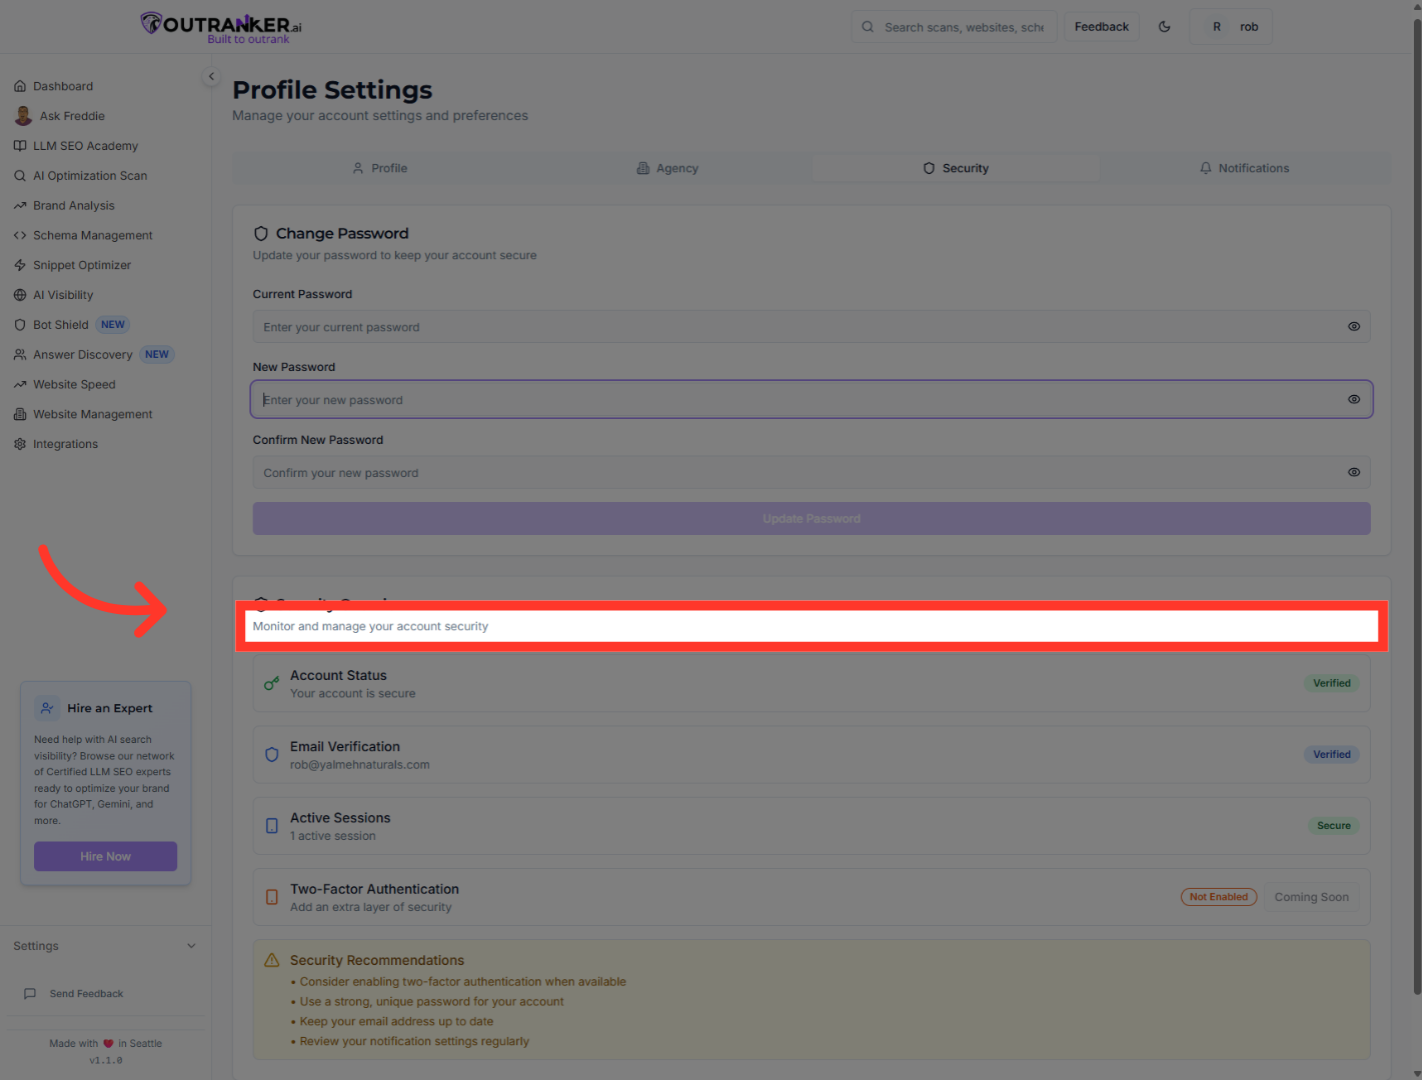
13. Click "Monitor and manage your account security"
Click "Monitor and manage your account security" to review recent security activities and settings.
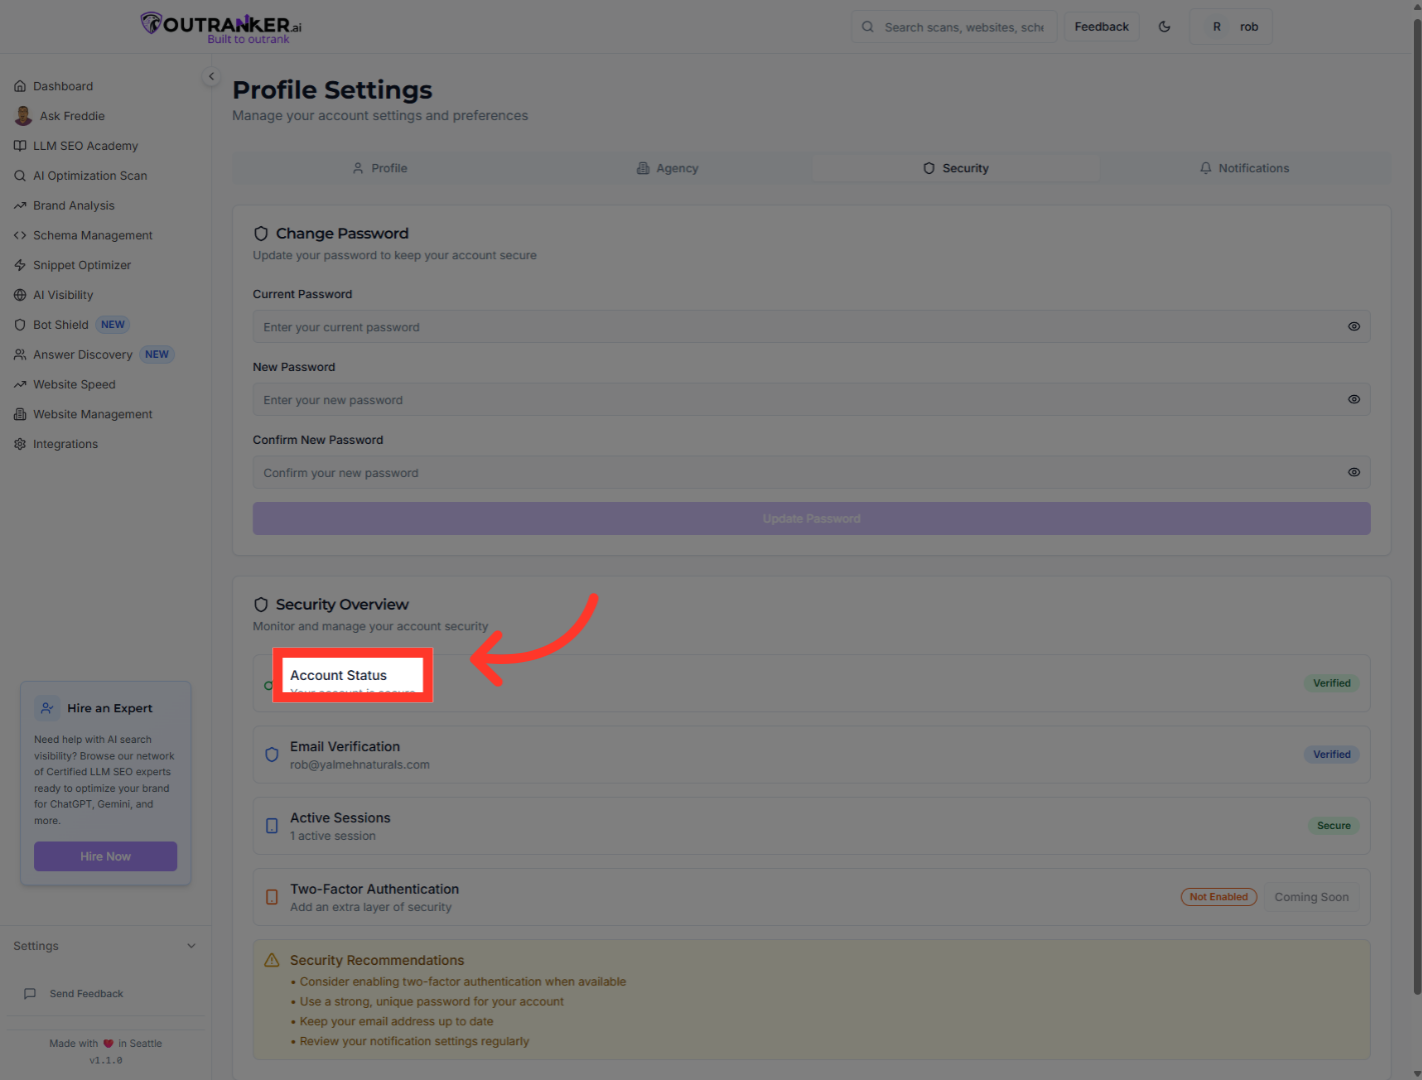
14. Click "Account Status"
Click "Account Status" to check the current status and health of your account.
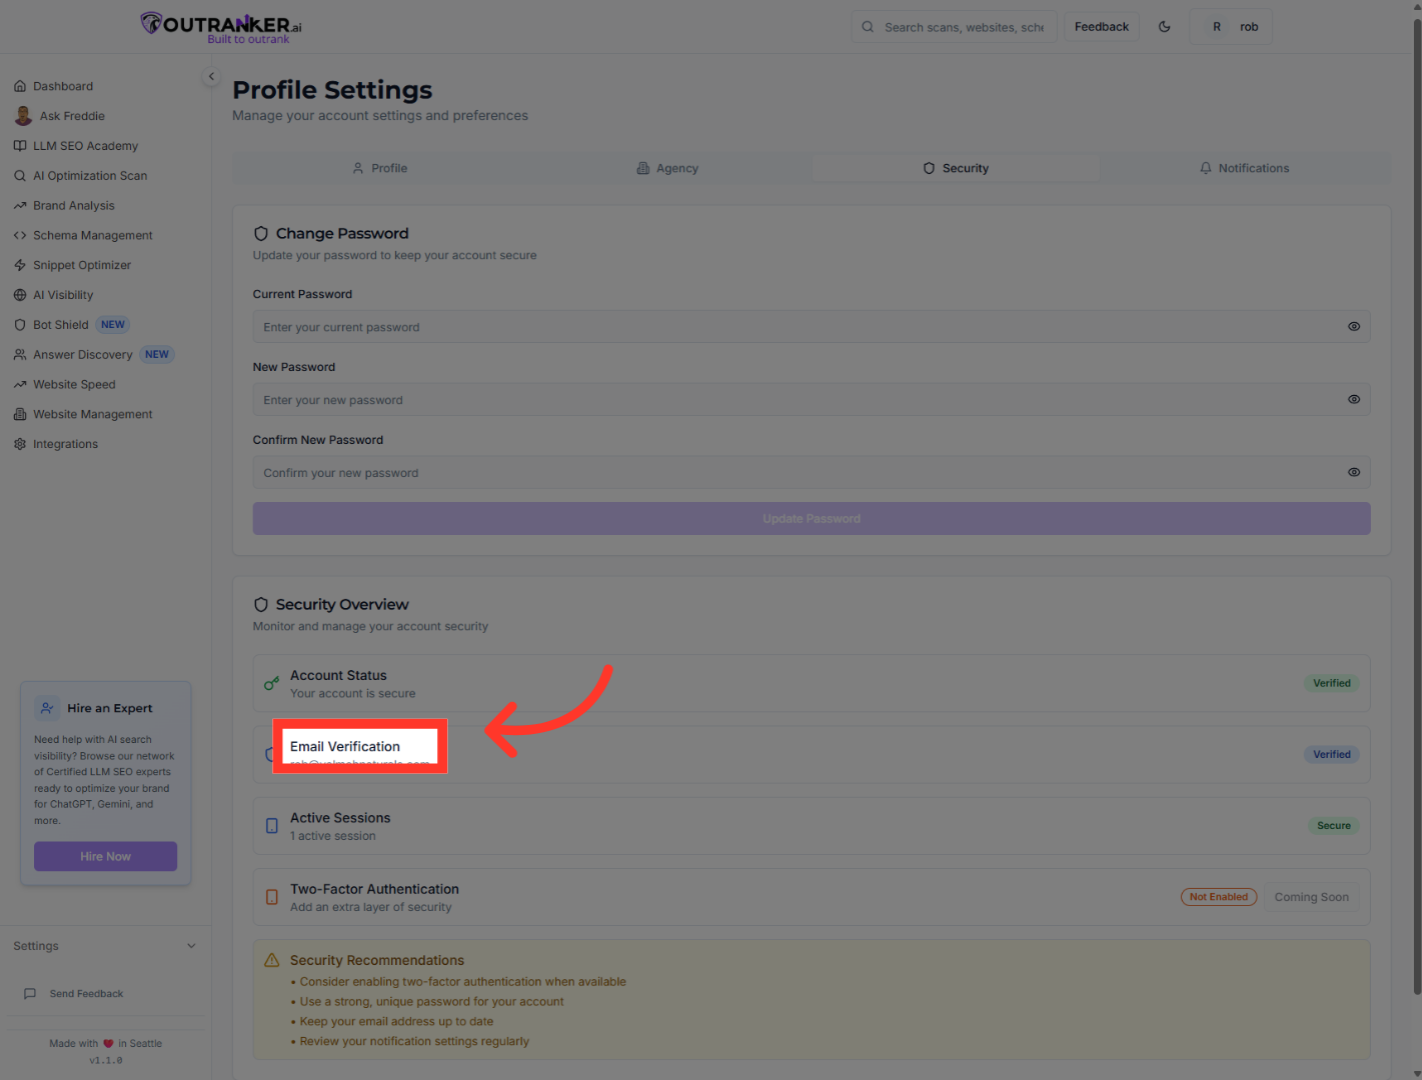
15. Click "Email Verification"
Click "Email Verification" to confirm your email address is verified for account security.
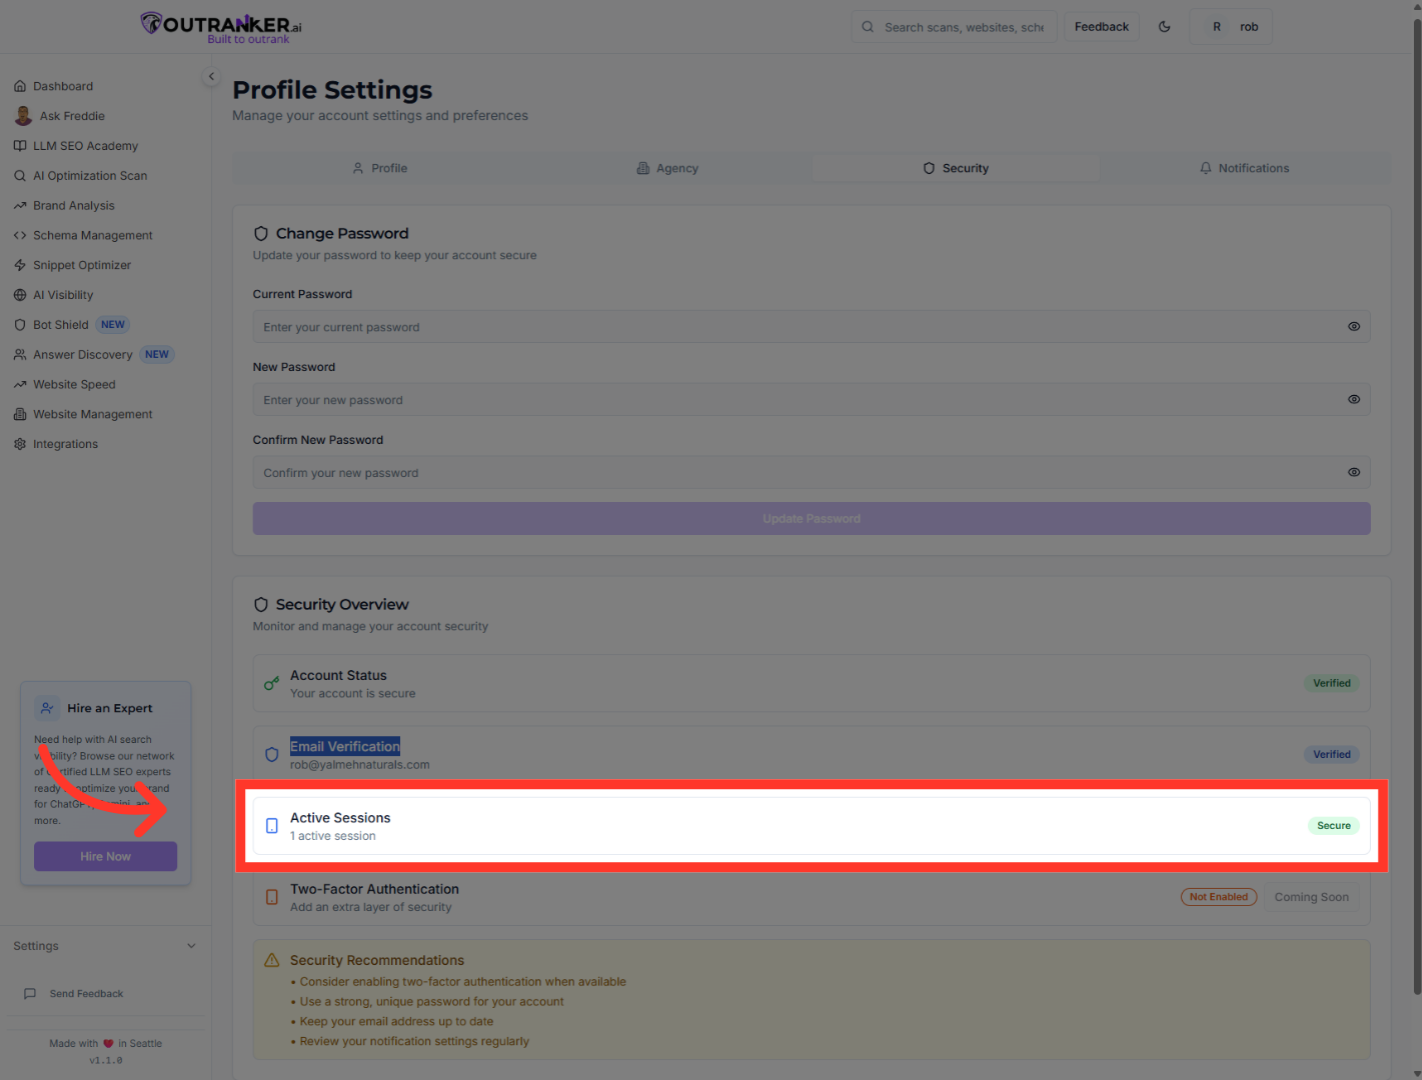
16. Click "Active Sessions1 active sessionSecure"
Click "Active Sessions" to view and manage devices currently logged into your account.
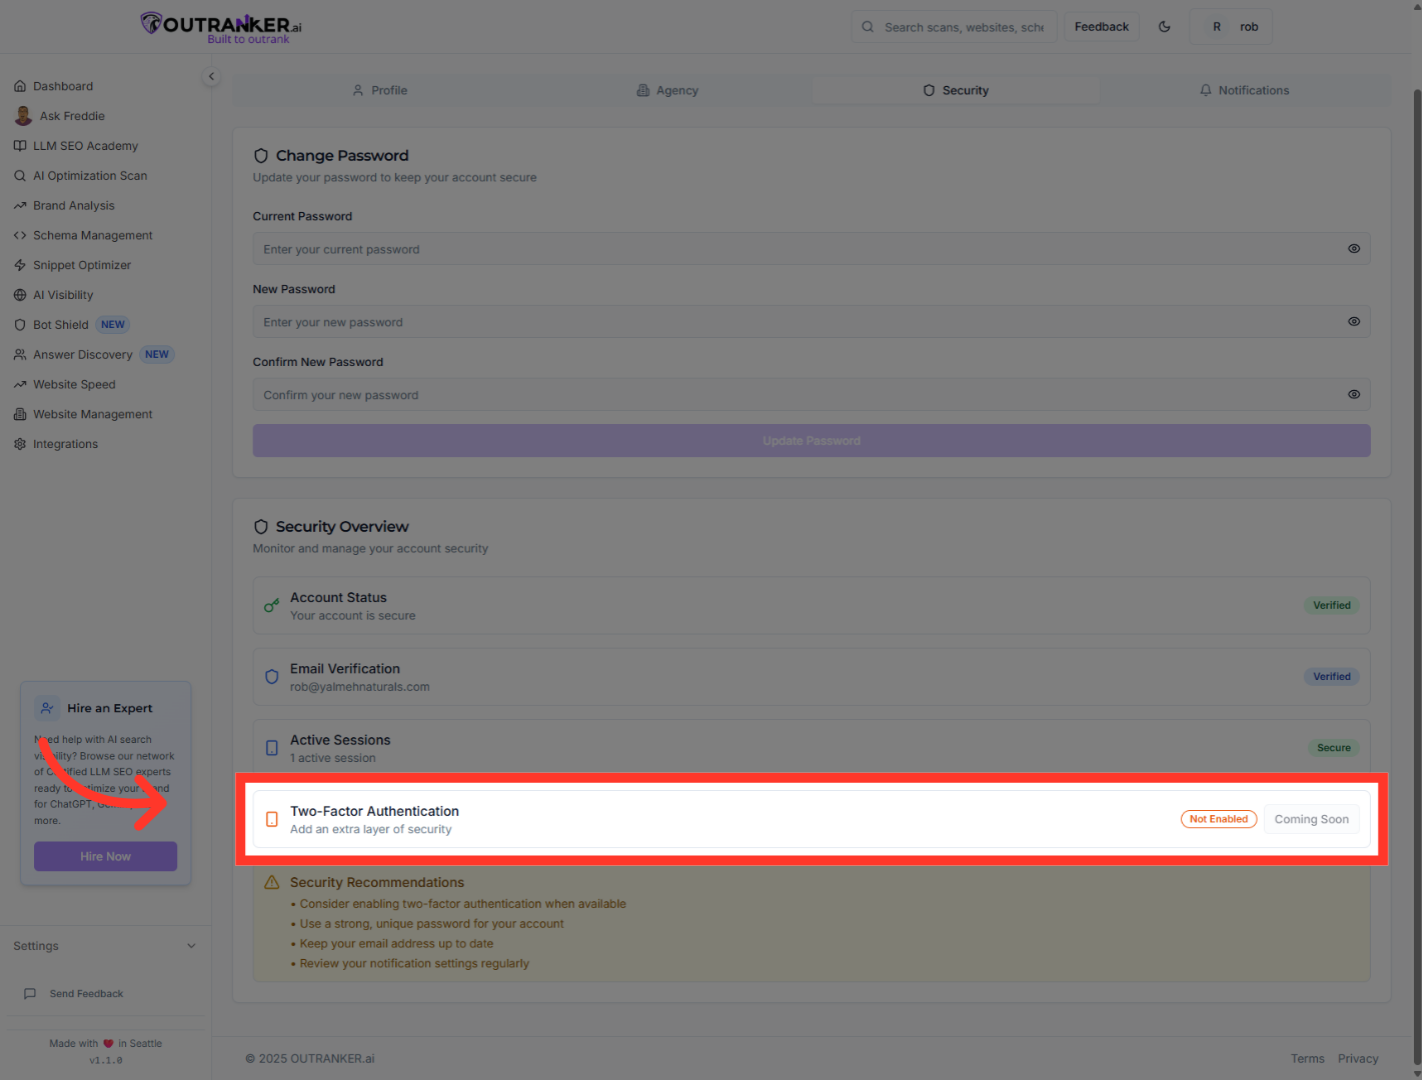
17. Click "Two-Factor AuthenticationAdd an extra layer of securityNot EnabledComing Soon"
Click "Two-Factor Authentication" to add an extra layer of security to your account.
18. Click "Notifications"
Click "Notifications" to customize how and when you receive alerts from OutRanker AI

You have successfully managed your settings in OutRanker AI by updating your profile, enabling white label mode, uploading your agency logo, and reviewing your security options. To further enhance your account security, consider enabling two-factor authentication when it becomes available. For additional customization, explore notification settings to stay informed about important updates.
