This tutorial guides you through generating a review schema using Outranker's Schema Management feature
Go to www.outranker.ai
1. Introduction
You'll learn how to upload or manually input review data, generate structured JSON-LD markup, and save your schema for S E O optimization. Before starting, ensure you have your review data ready in CSV, Excel, or JSON format or prepared for manual entry.

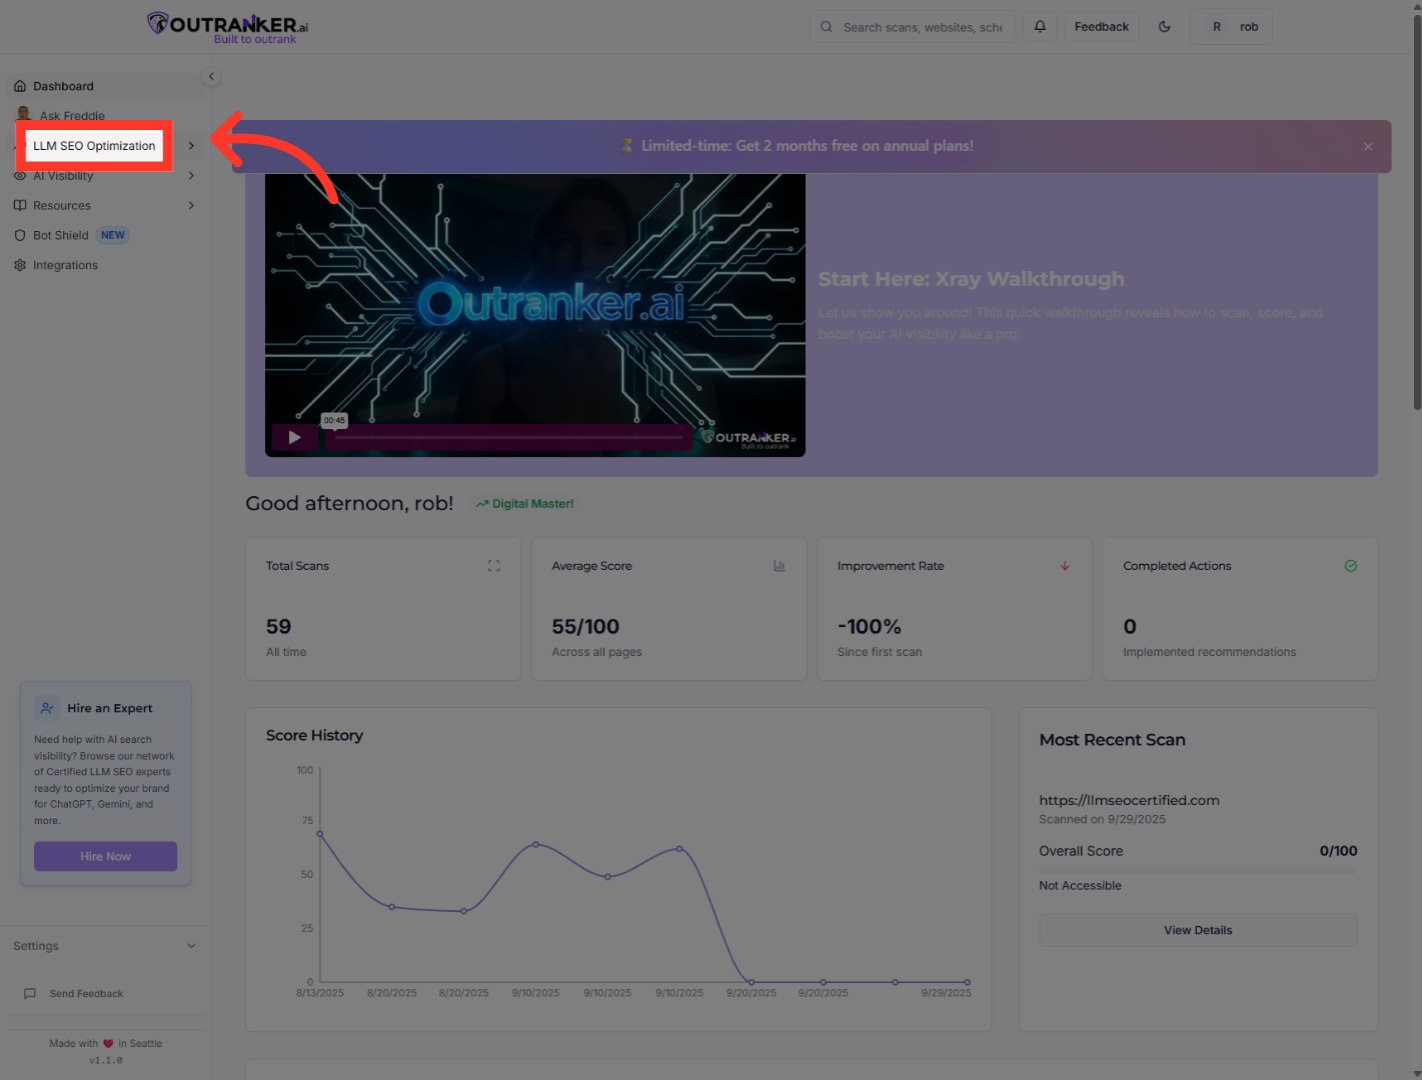
2. Click "LLM SEO Optimization"
Begin by clicking the "LLM S E O Optimization" option in the Outranker dashboard to access S E O -related features.
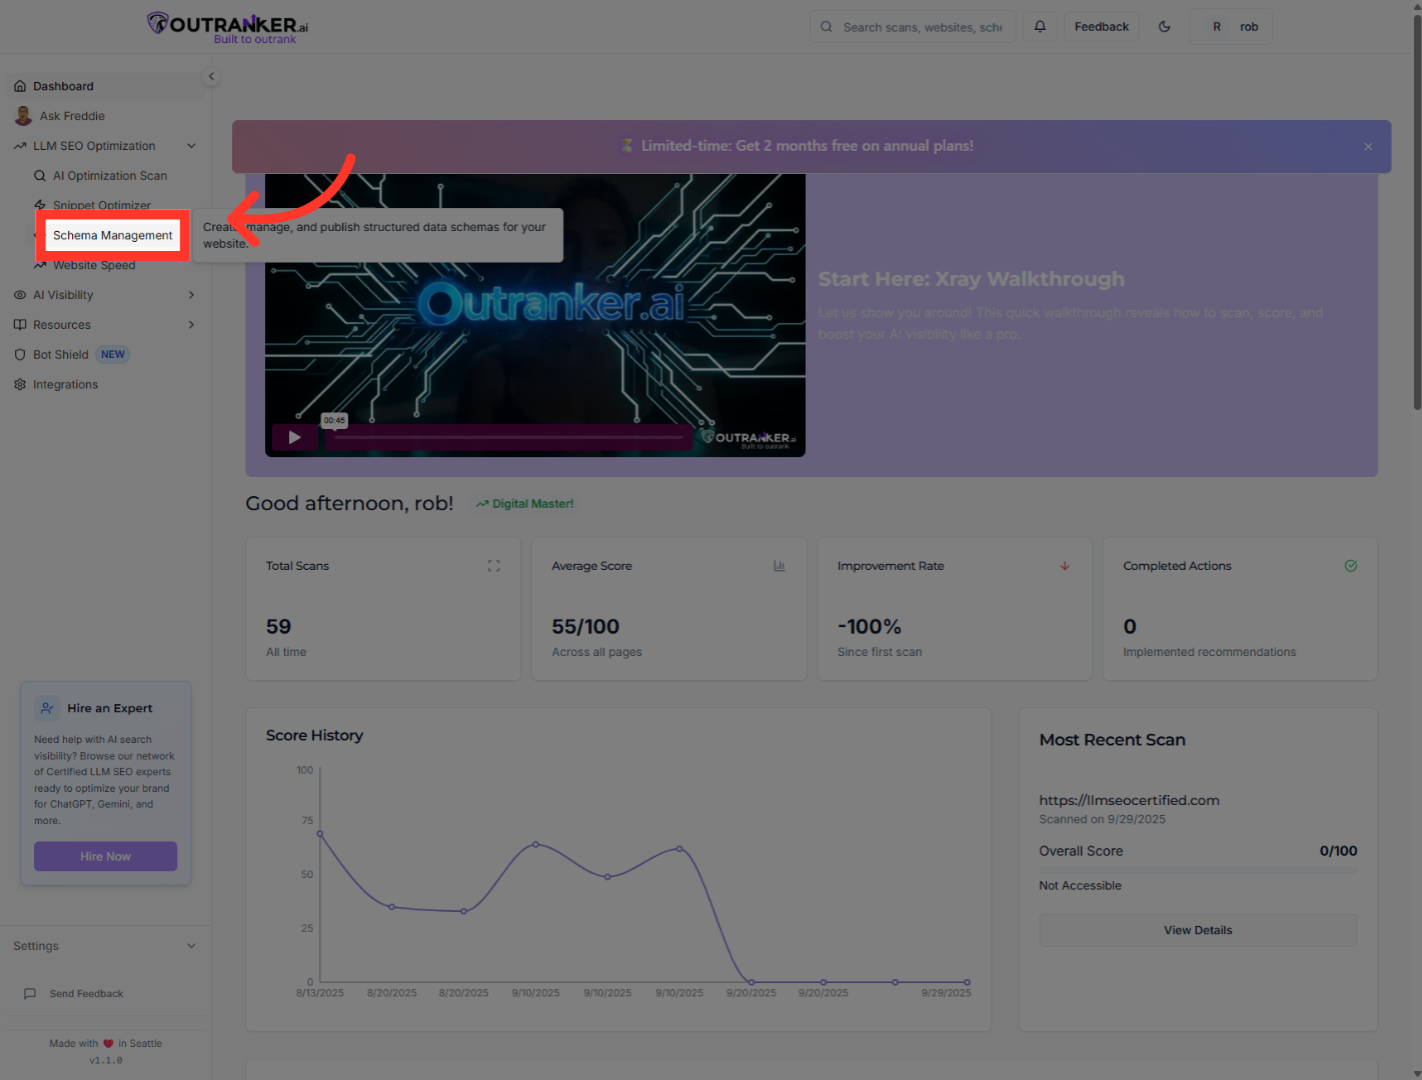
3. Click "Schema Management"
Next, select "Schema Management" to open the section where you can manage your schema markup settings.
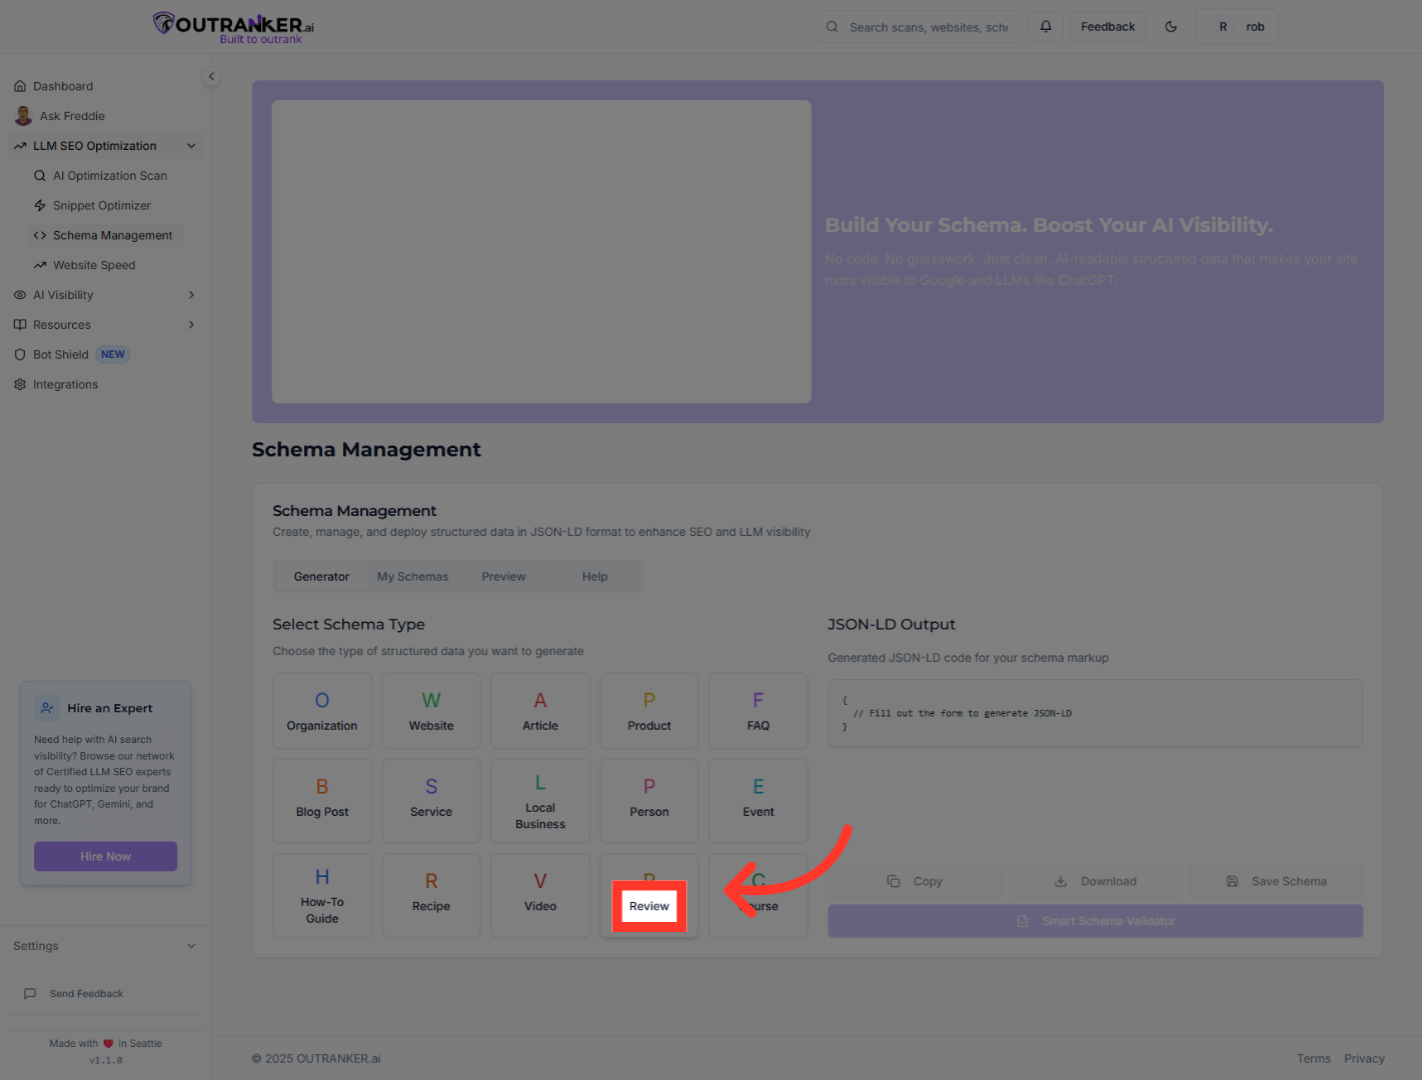
4. Click "Review"
Click on the "Review" tab to focus on review schema options specifically.
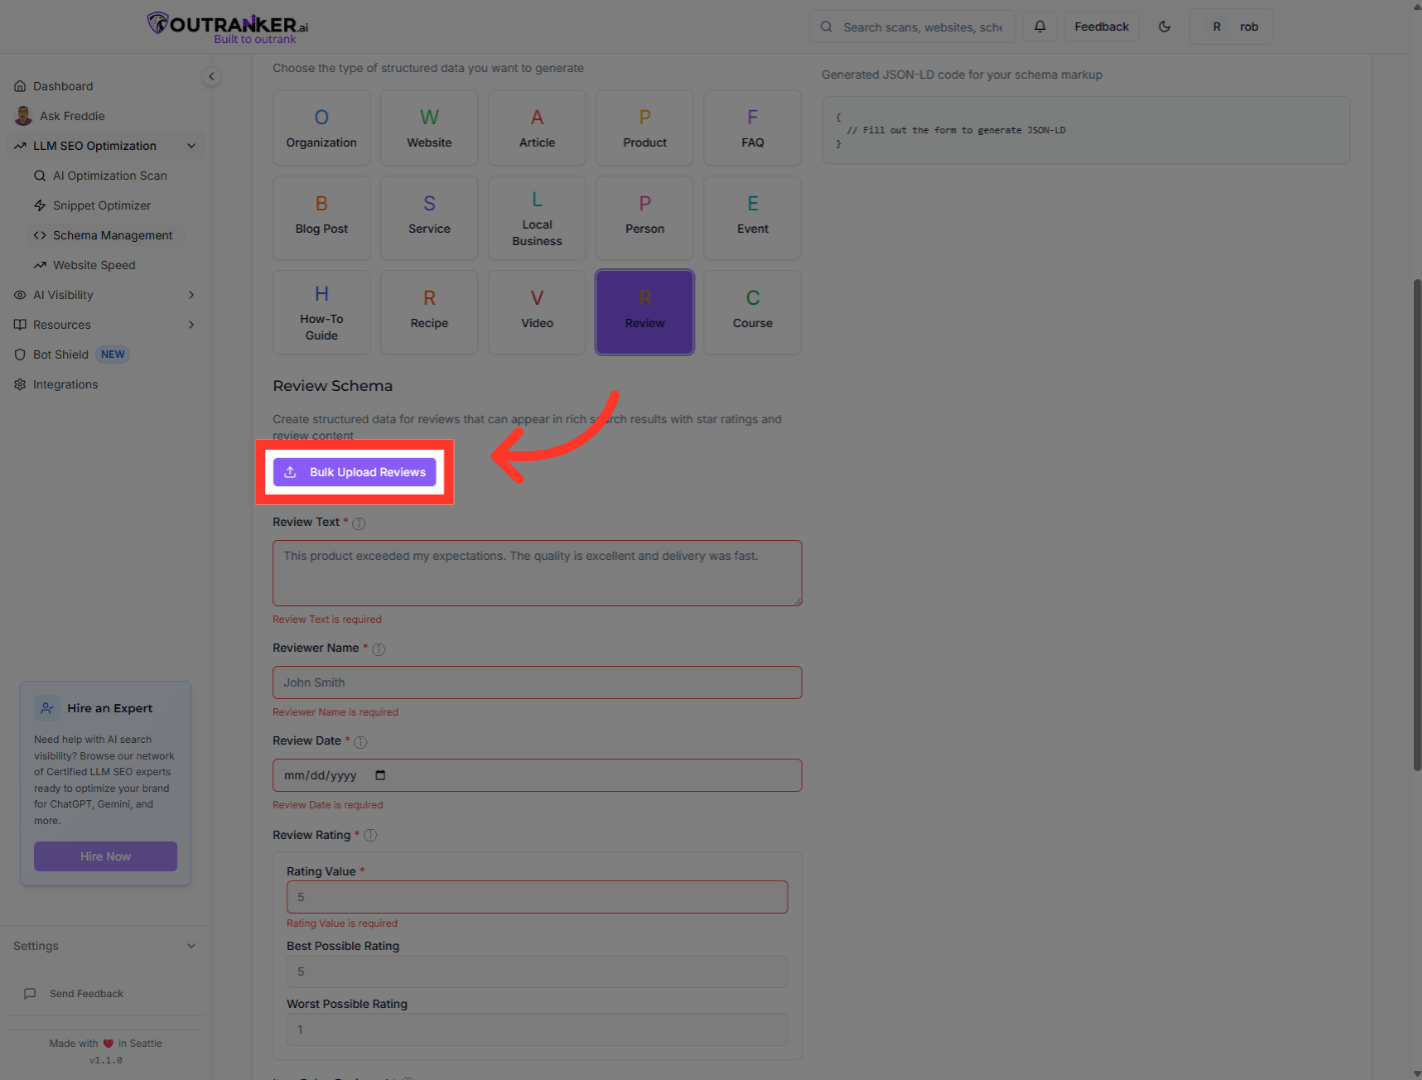
5. Click "Bulk Upload Reviews"
Choose "Bulk Upload Reviews" to upload multiple reviews at once for schema generation.
6. Click "Choose file (CSV, Excel, or JSON)"
Click "Choose file (CSV, Excel, or JSON)" to select the file containing your review data for upload.

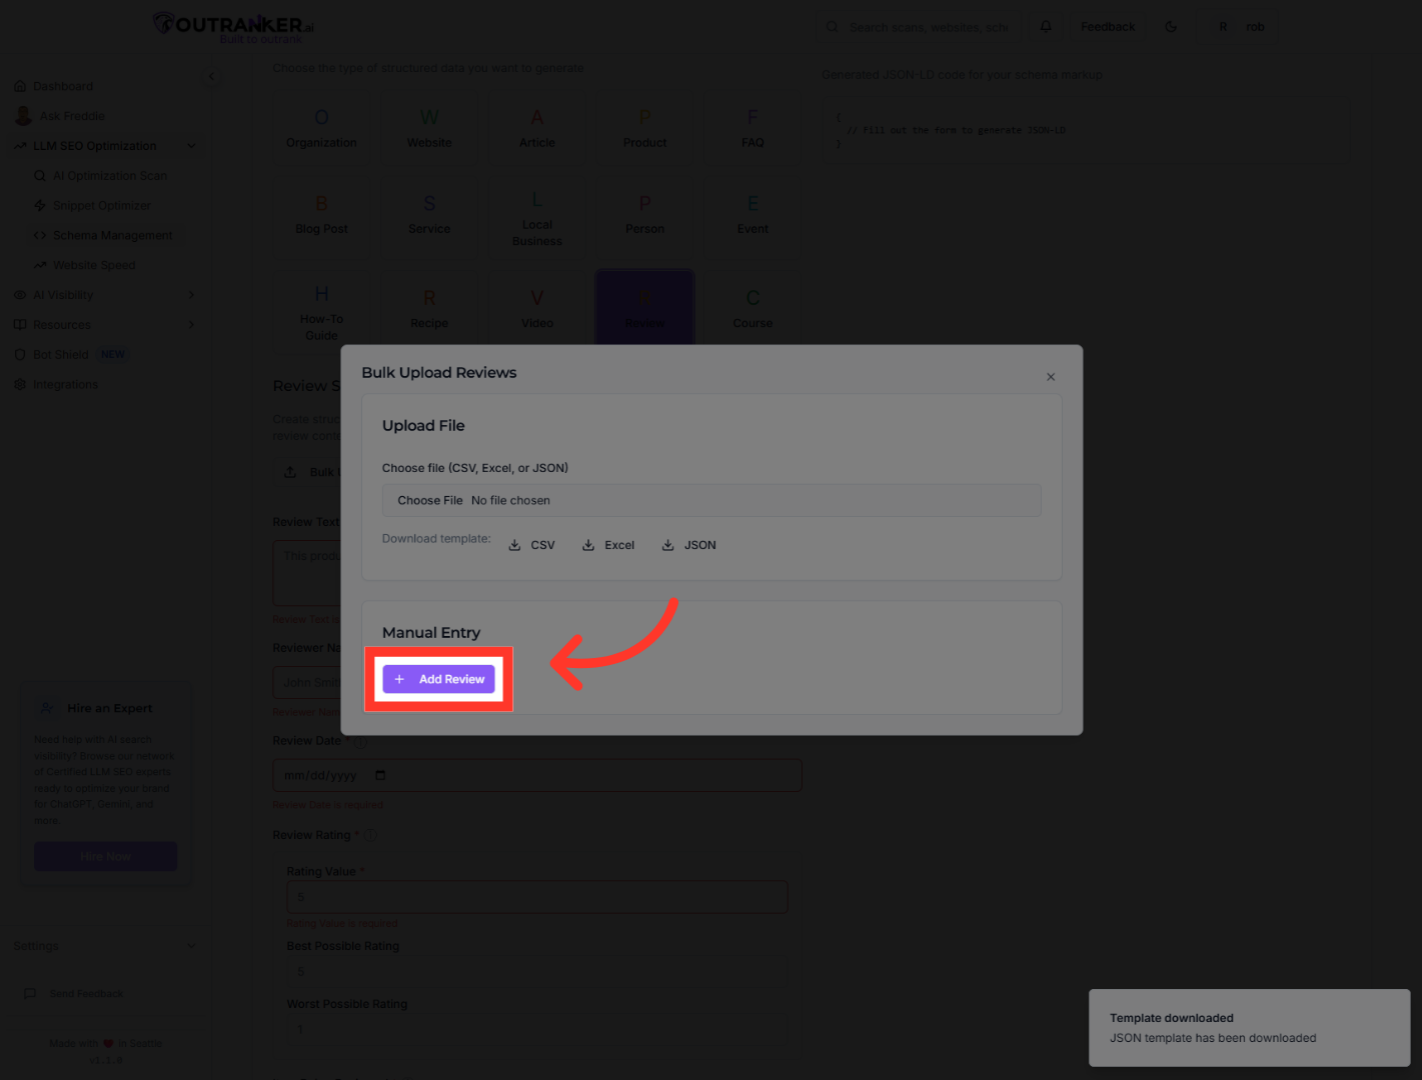
7. Click "Add Review"
Click "Add Review" to manually add a new review entry to your schema management.
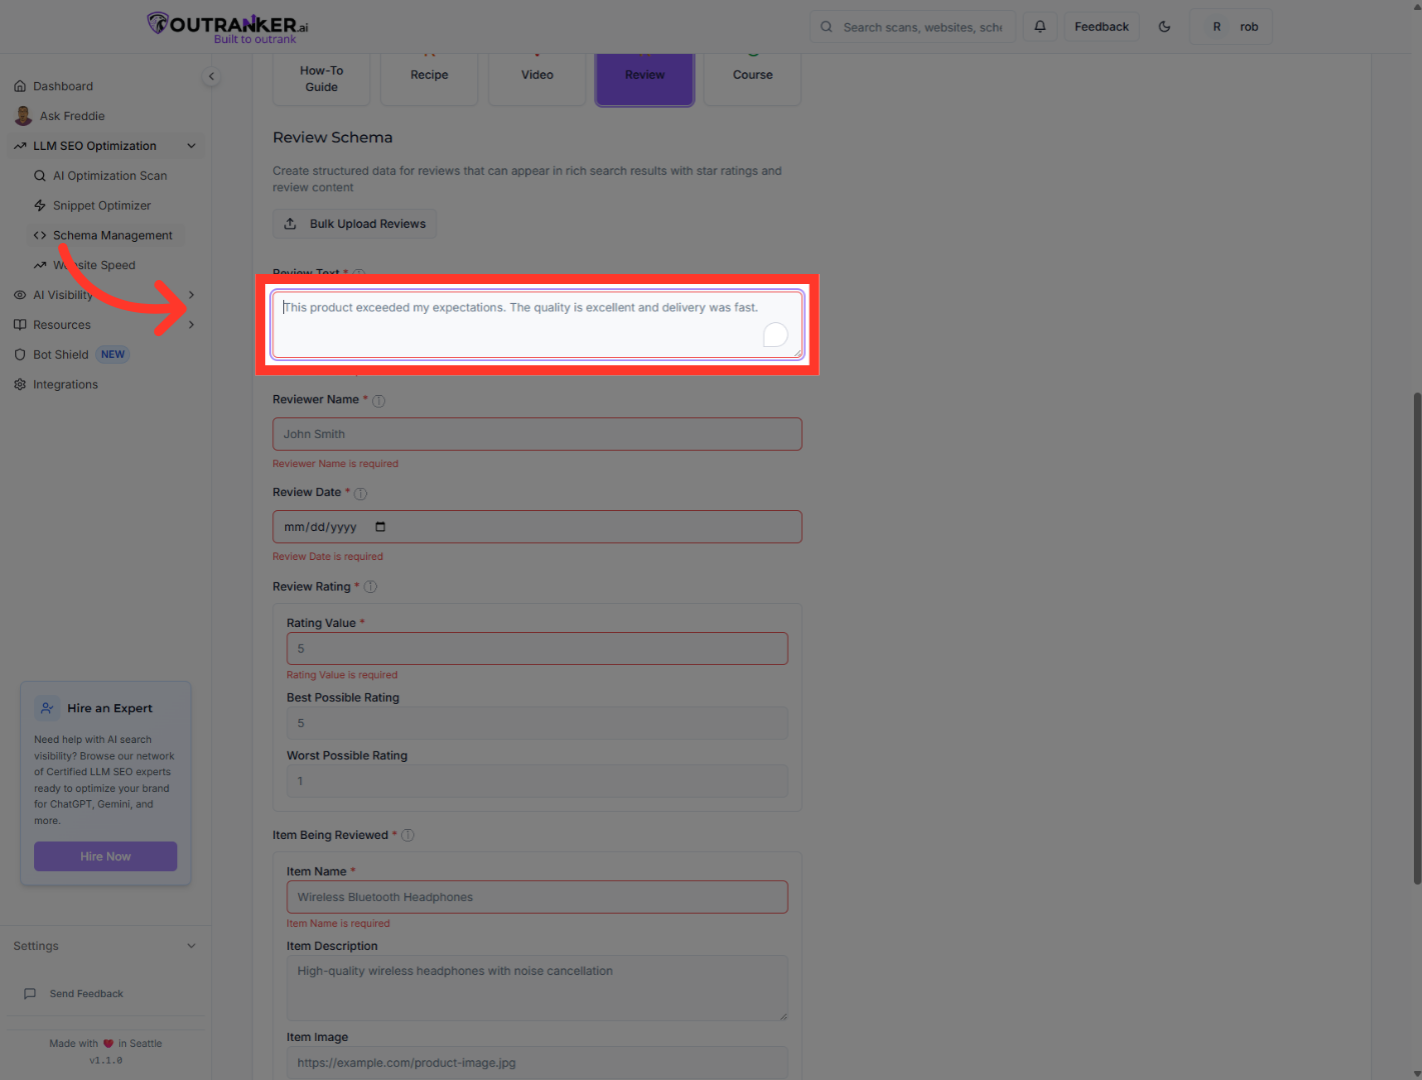
8. Click "Review Text*"
Click the "Review Text*" field to prepare for entering the review content.
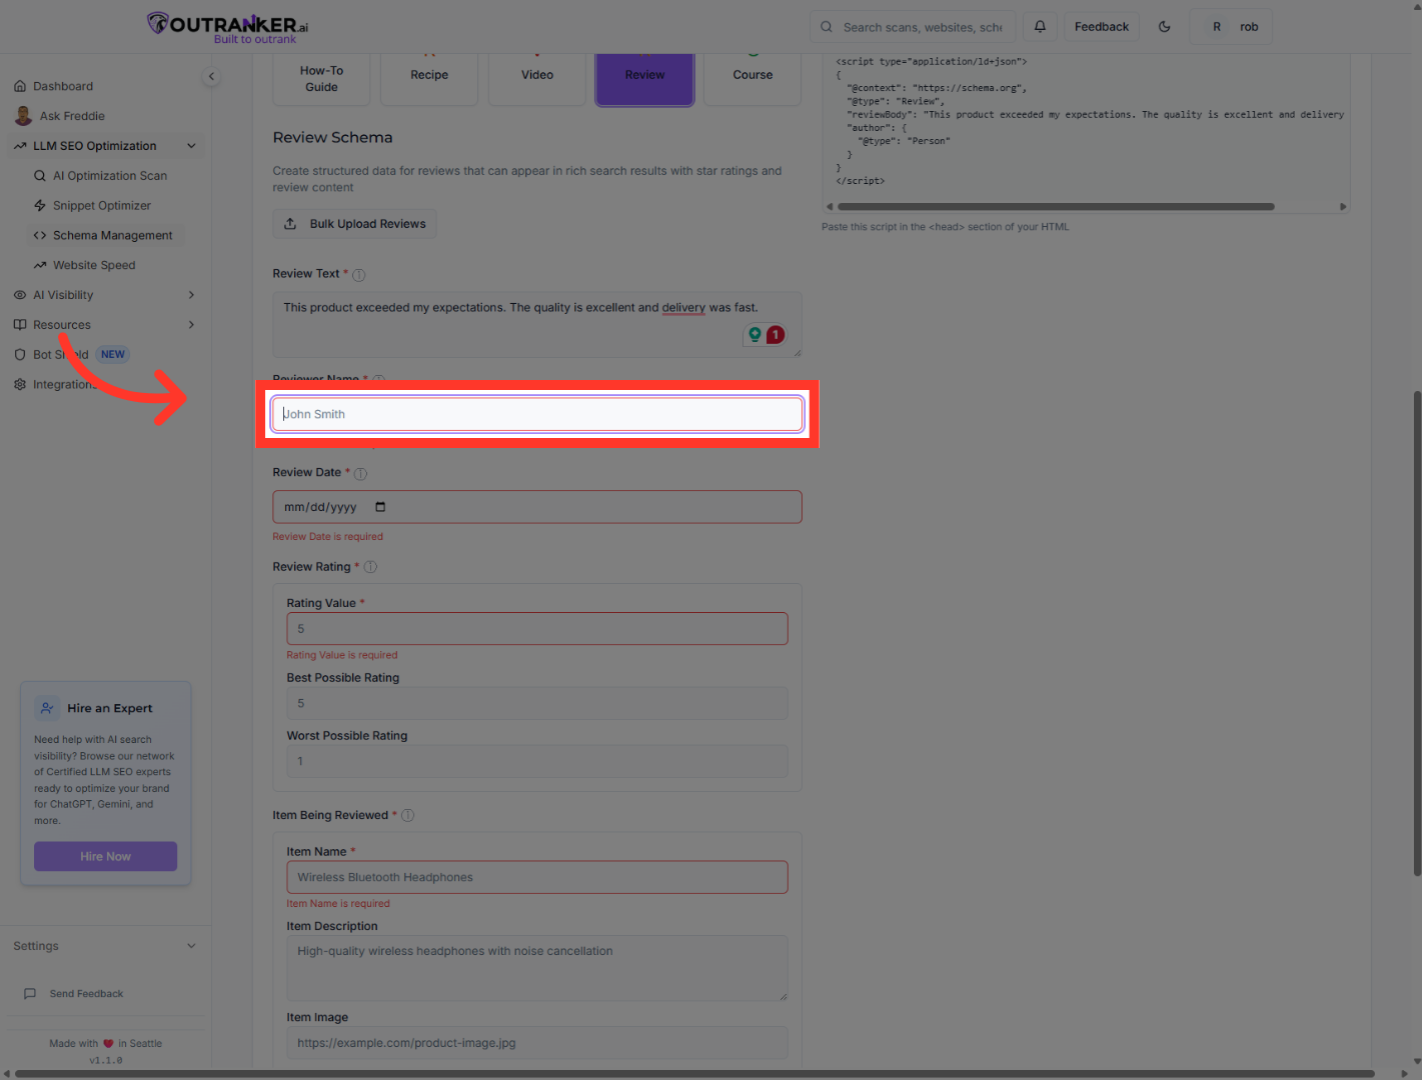
9. Click "Reviewer Name*"
Click the "Reviewer Name*" field to enter the reviewer's name.
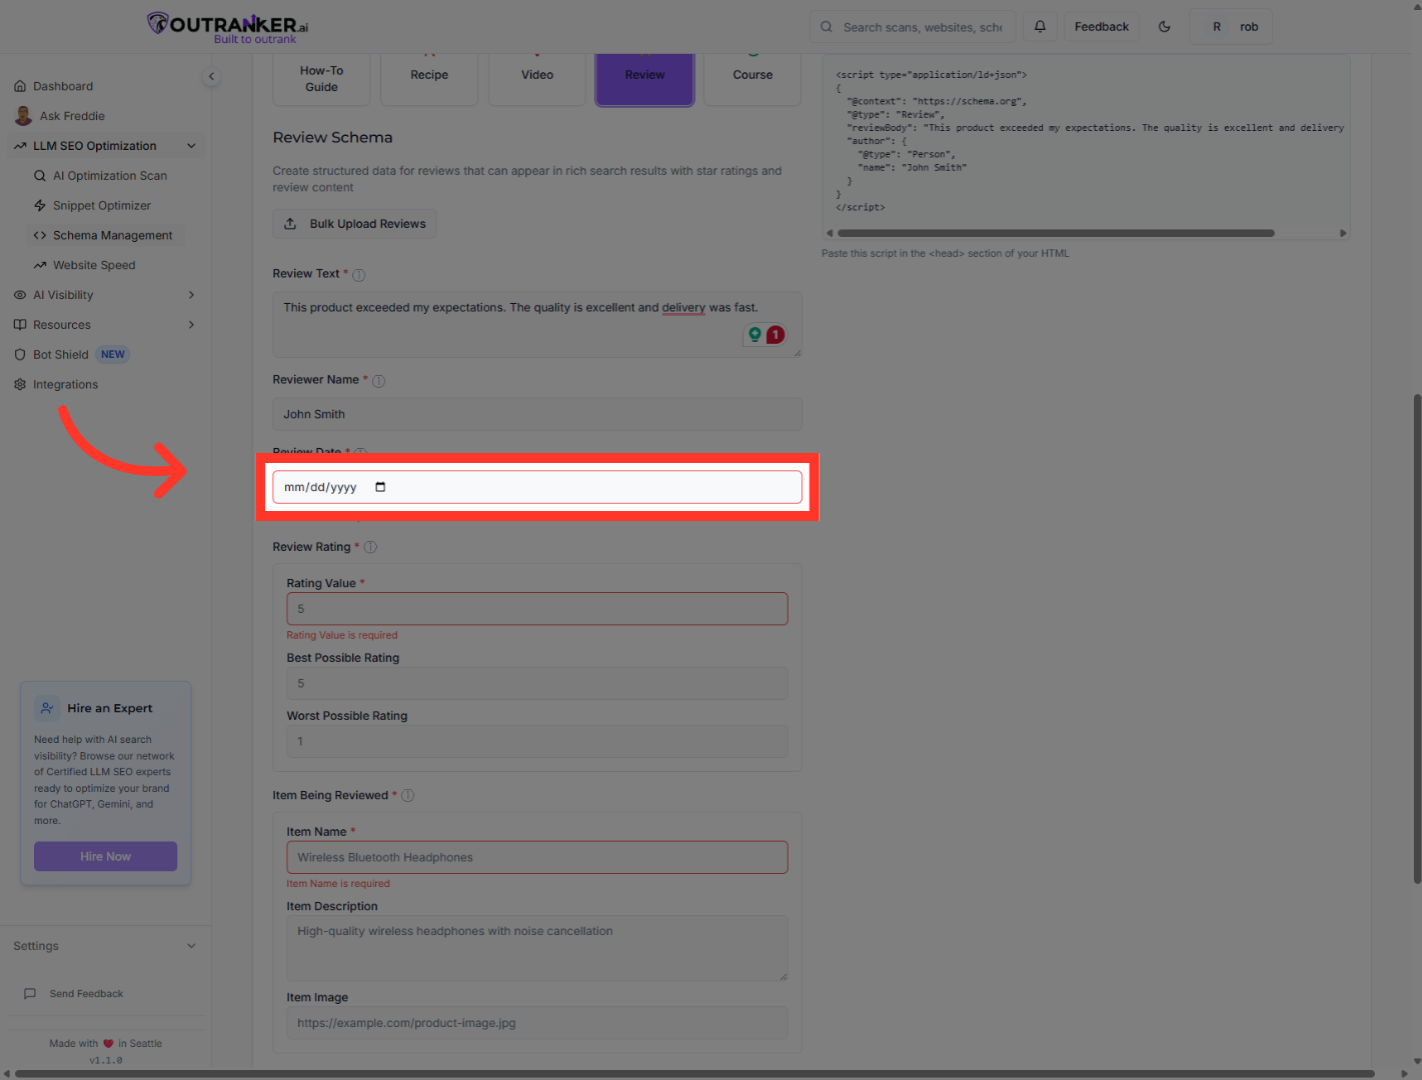
10. Click "Review Date*"
Click the "Review Date*" field to specify the date of the review.
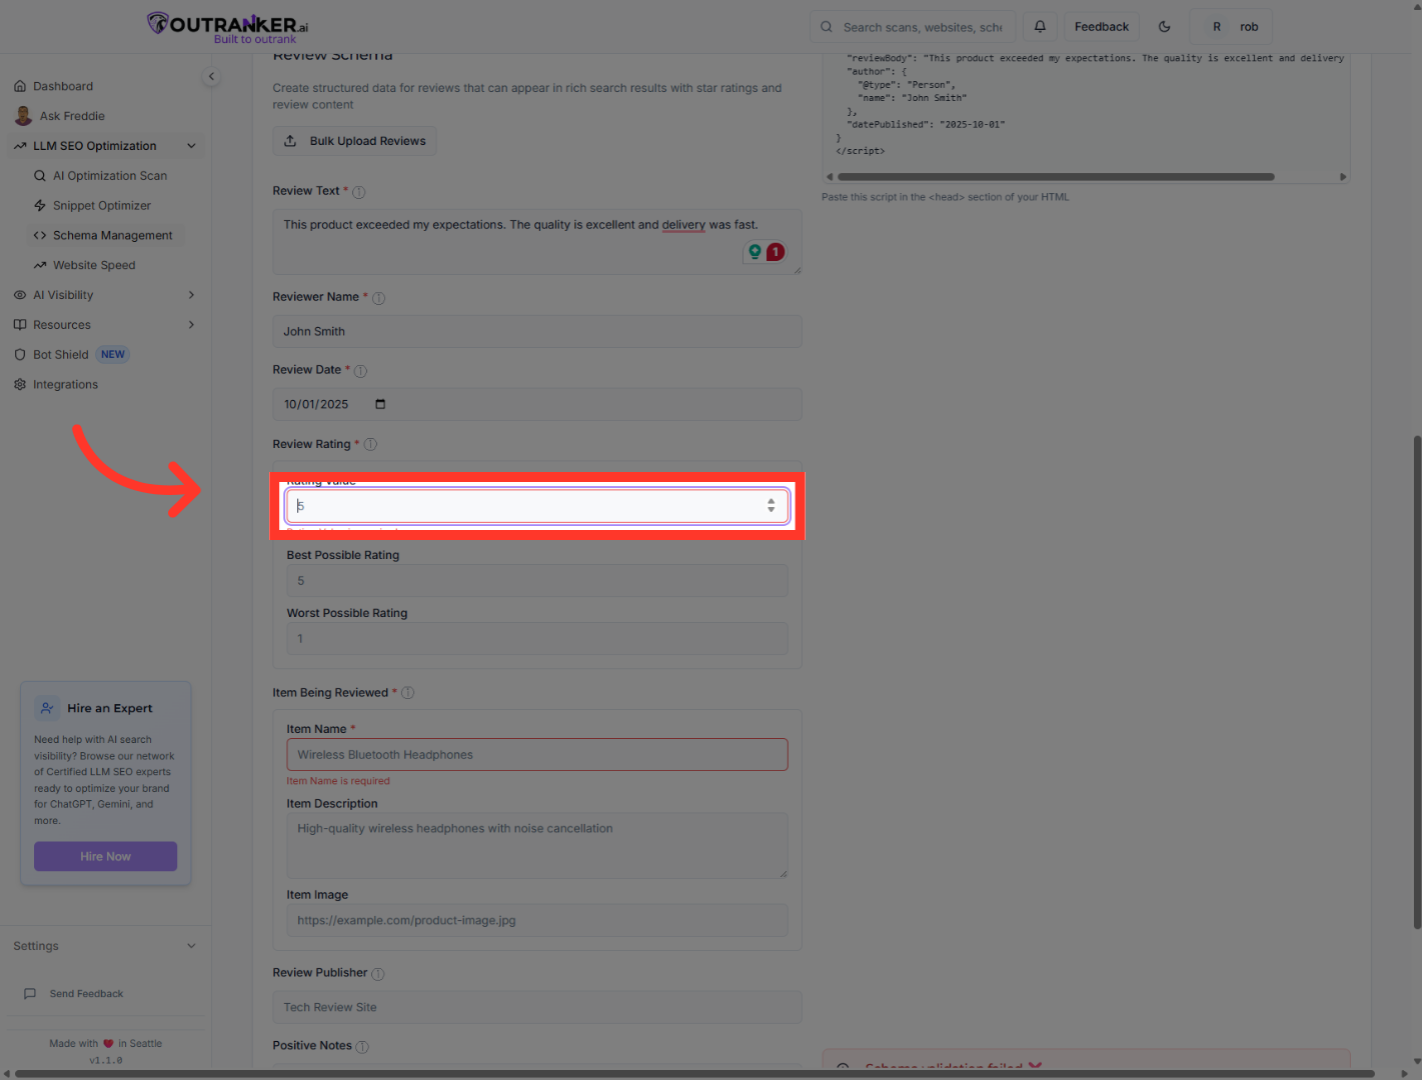
11. Click "Rating Value"
Click the rating value to select the highest rating for the review.
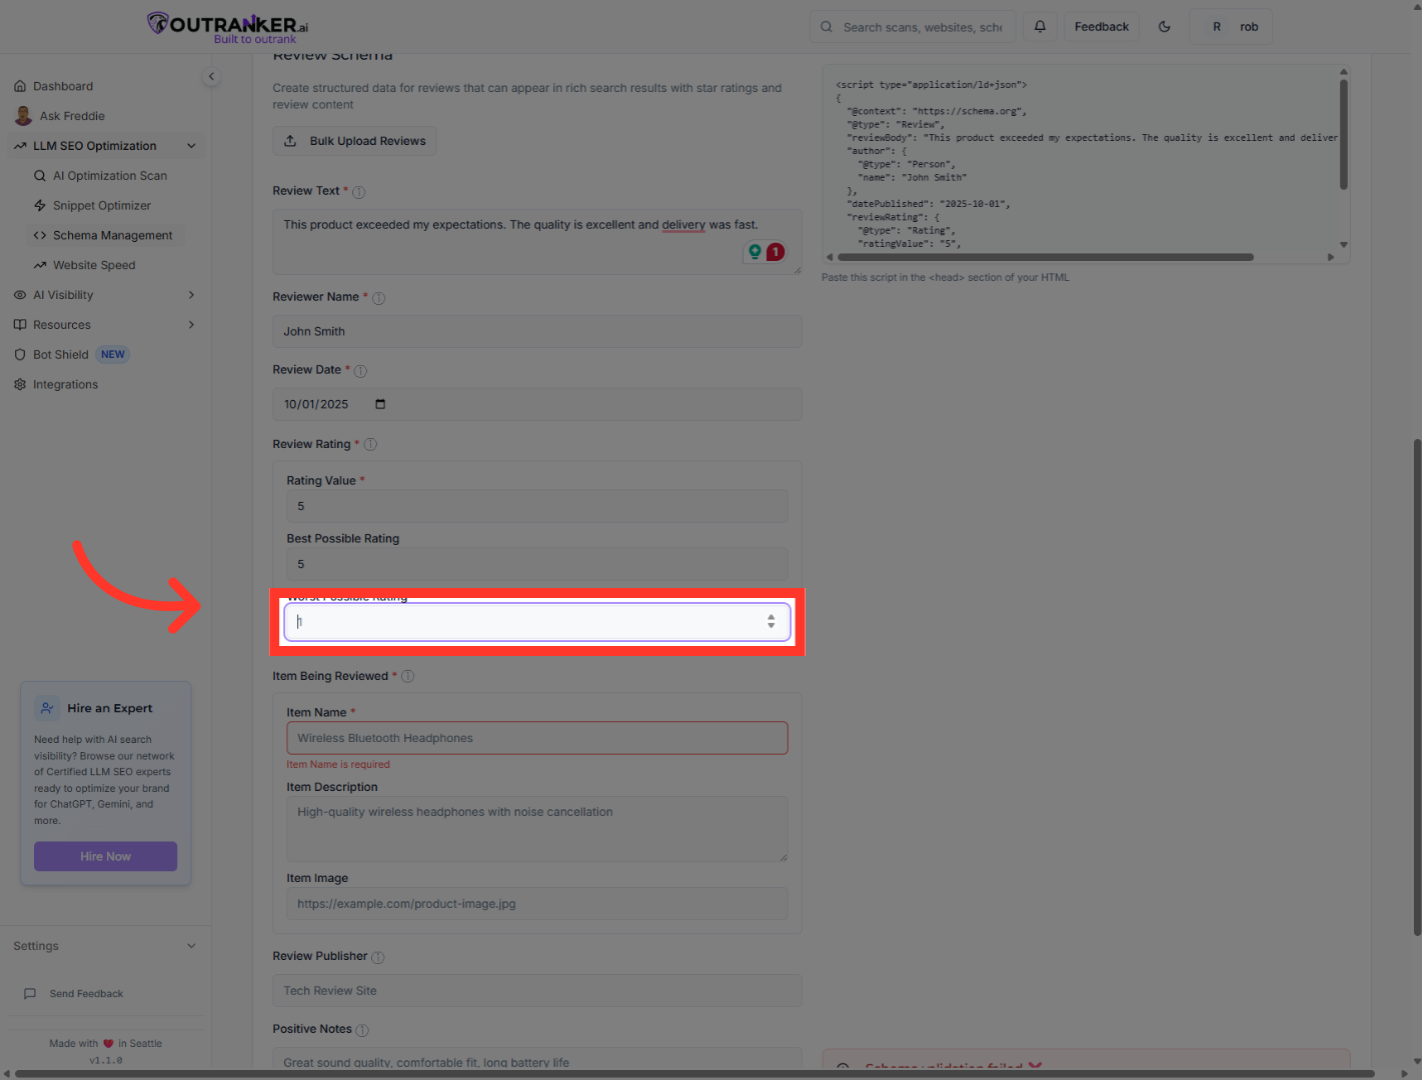
12. Click "Rating Value"
Click the rating value "1" to select a lower rating for a different aspect if applicable.
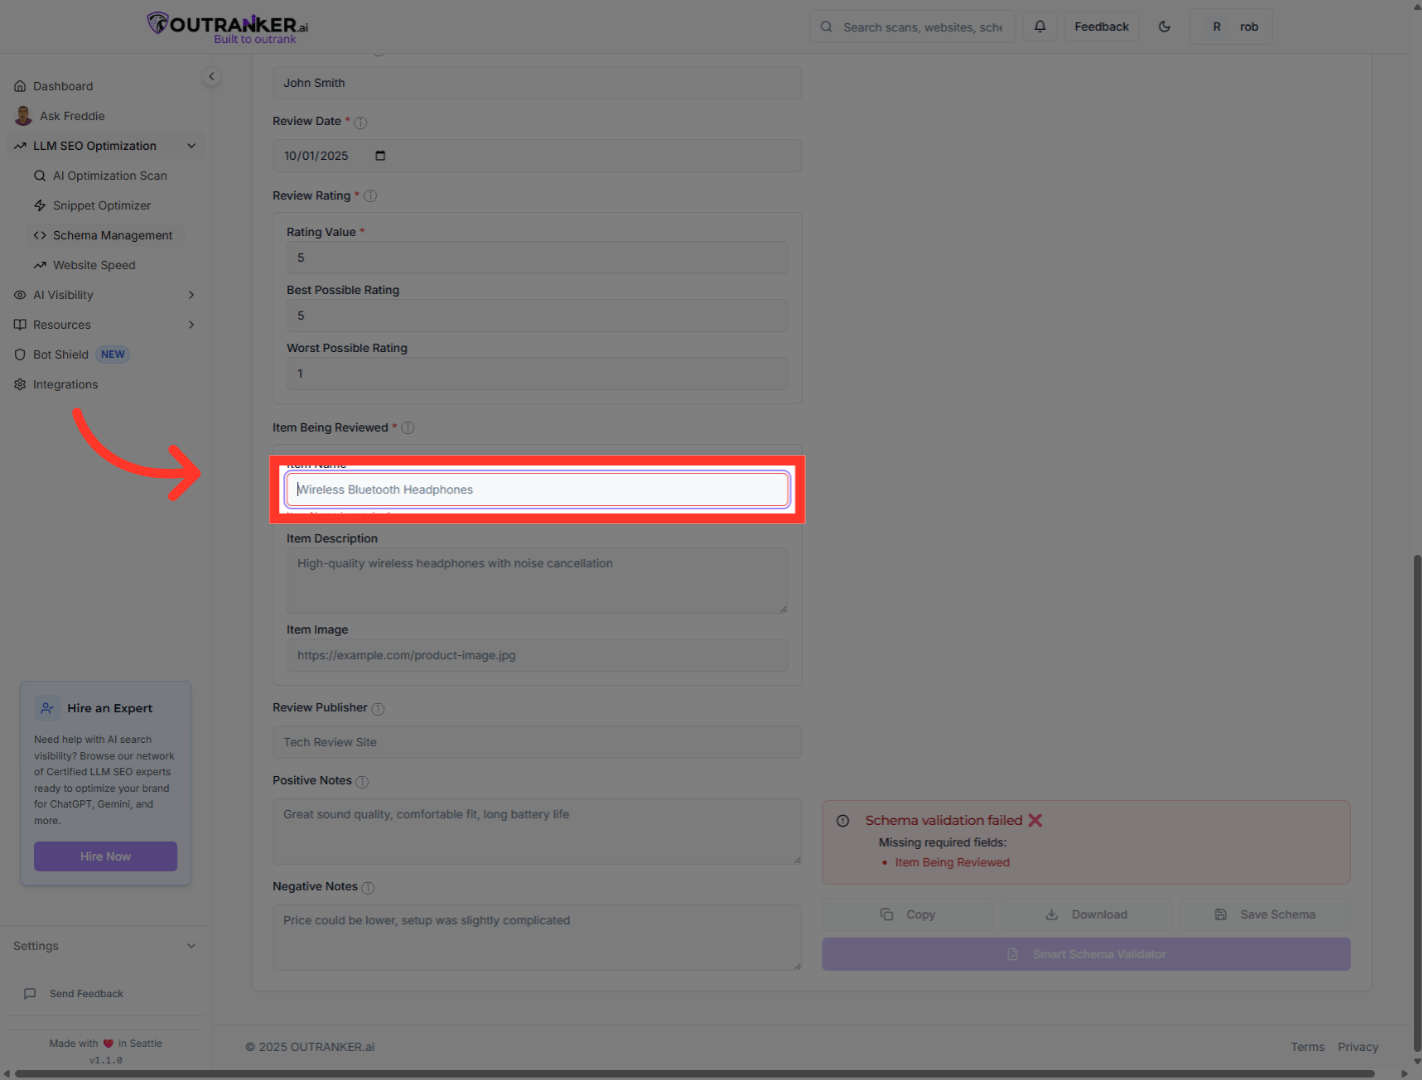
13. Click "Product name field"
Click the product name field labeled to enter the item name.
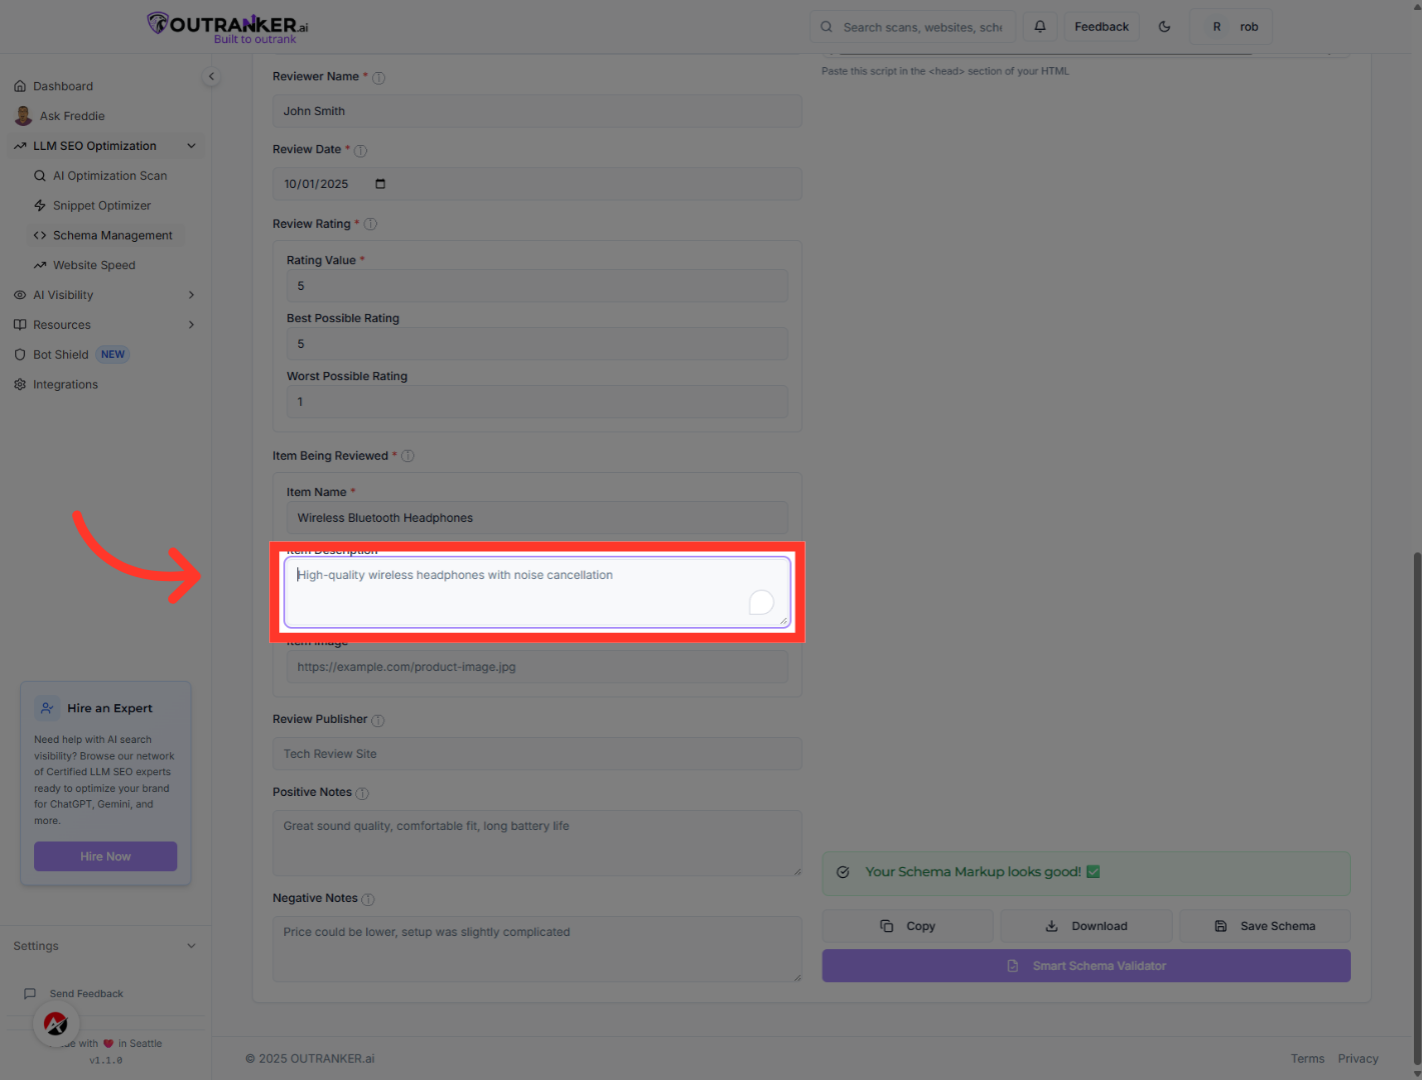
14. Click "Item Description"
Click the item description field to input the product description.
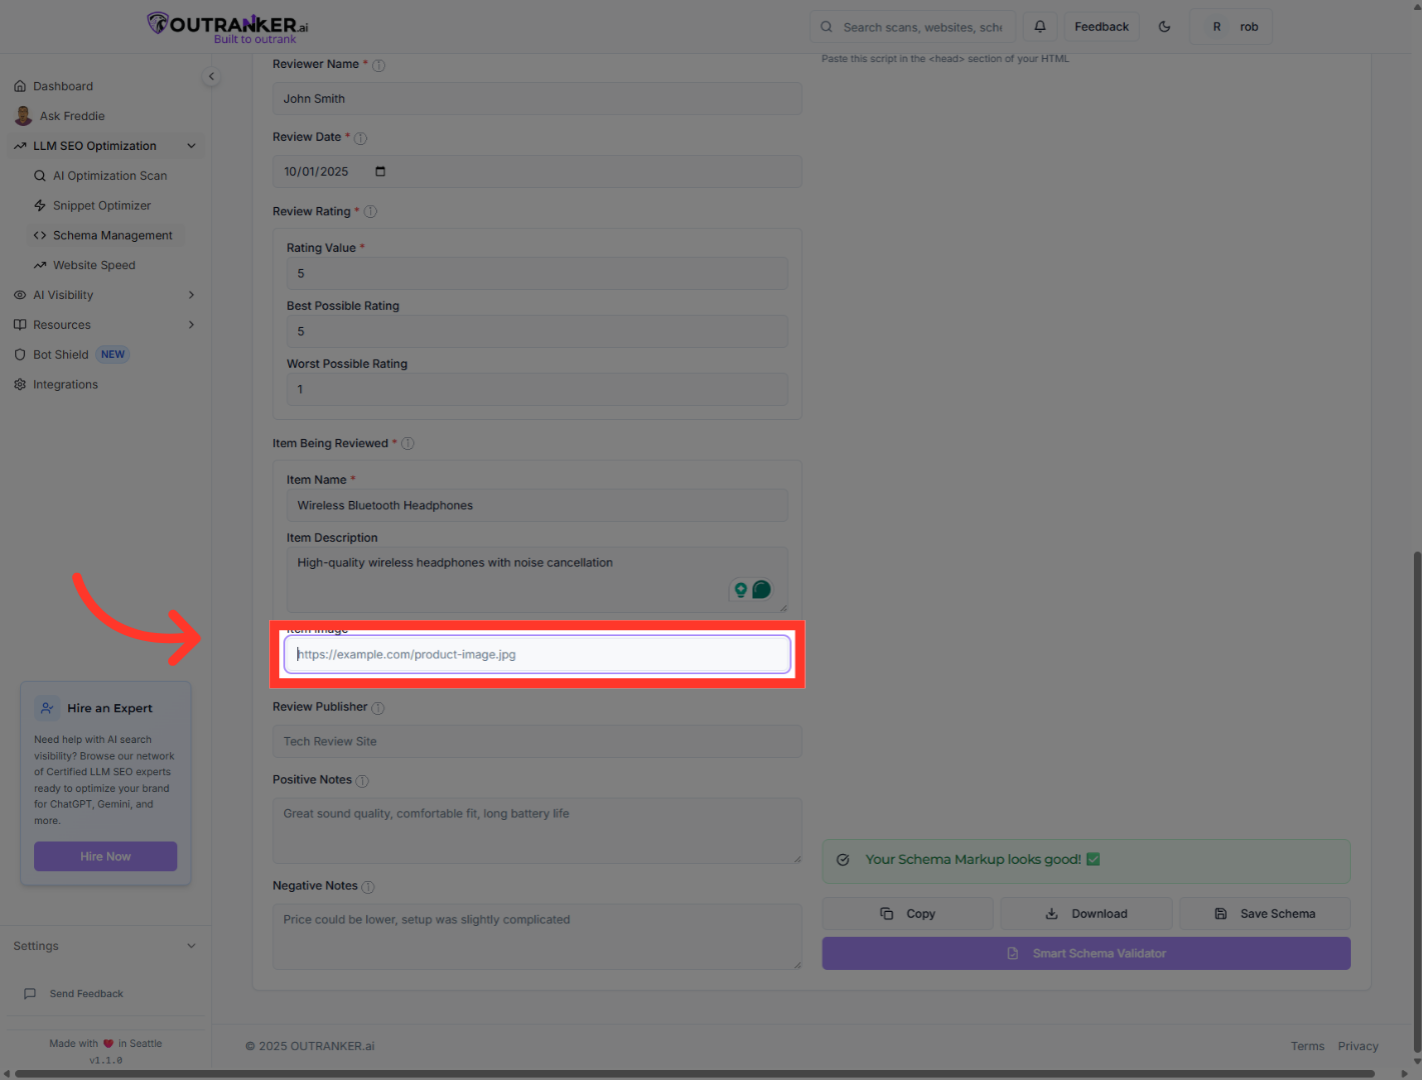
15. Click "On Product Image URL Field"
Click the product image URL field and fill it with link to the product image.
16. Click "Review Publisher"
Click the "Review Publisher" field to enter the publisher's name.

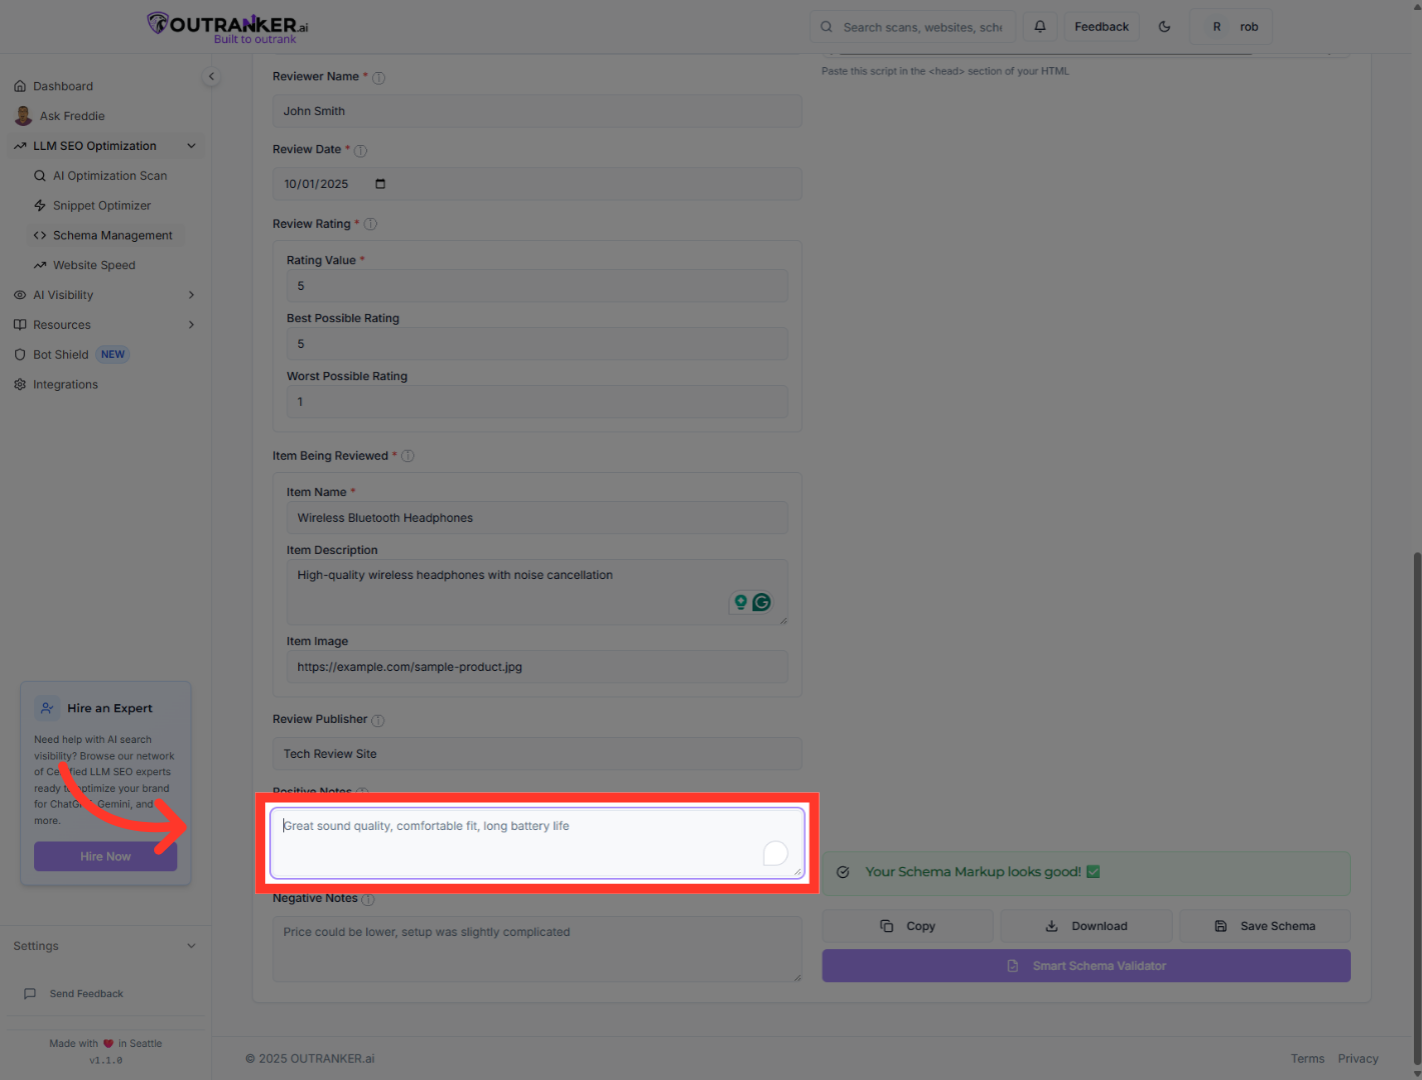
17. Click "Positive Notes"
Click the "Positive Notes" field to enter the positive feedback.
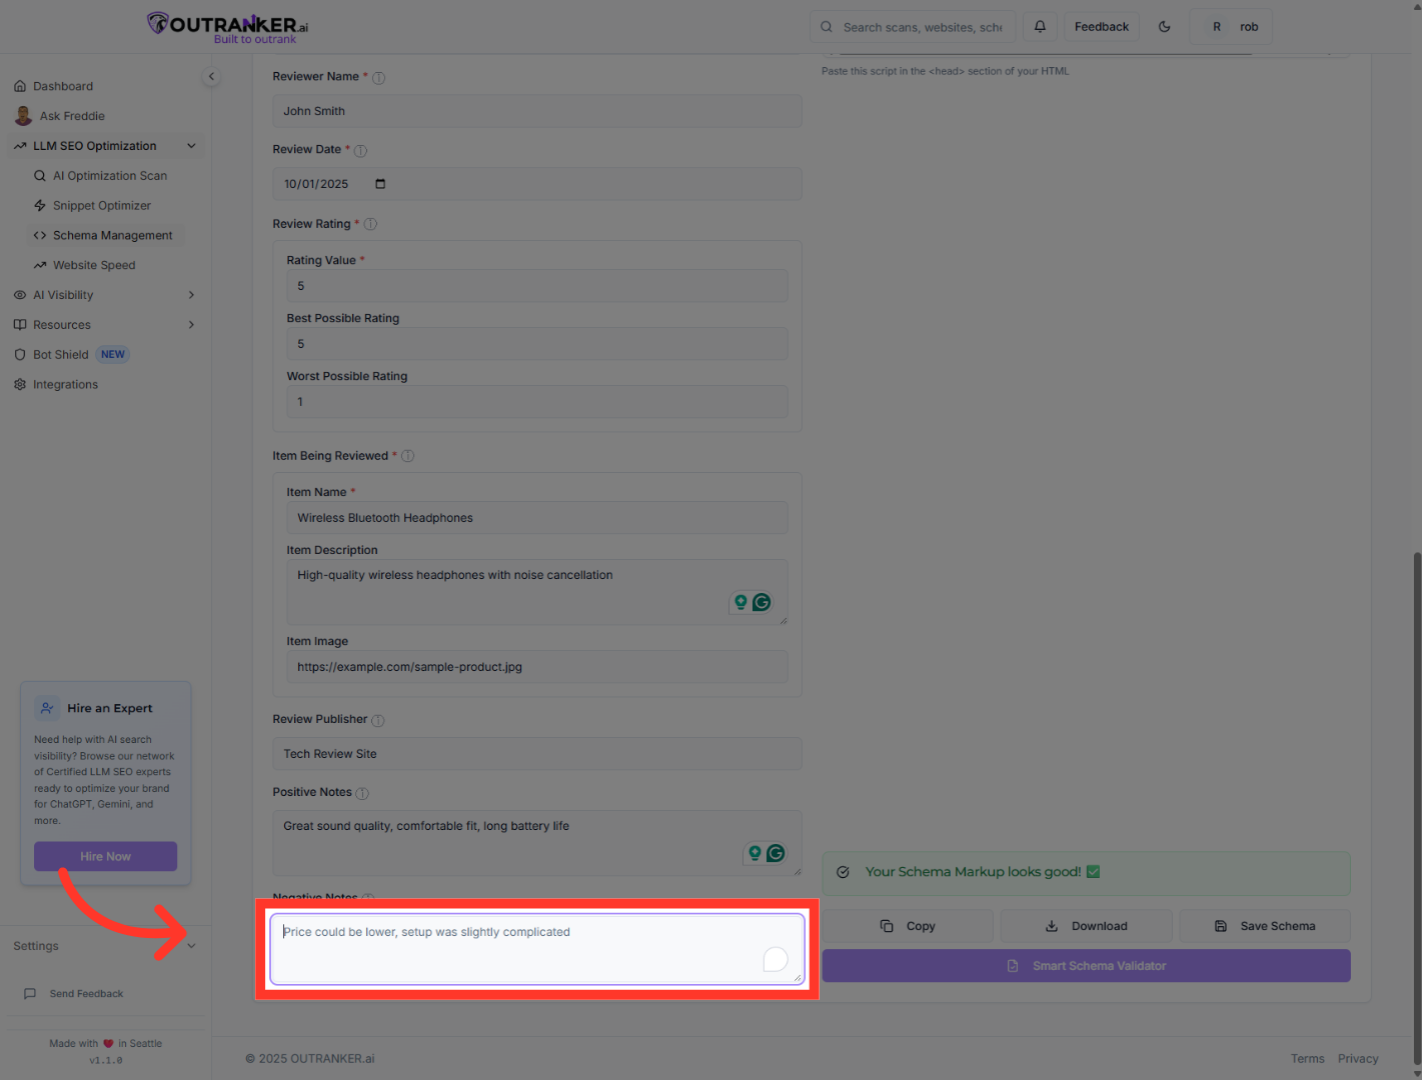
18. Click "Negative Notes"
Click the "Negative Notes" field to enter the negative feedback.
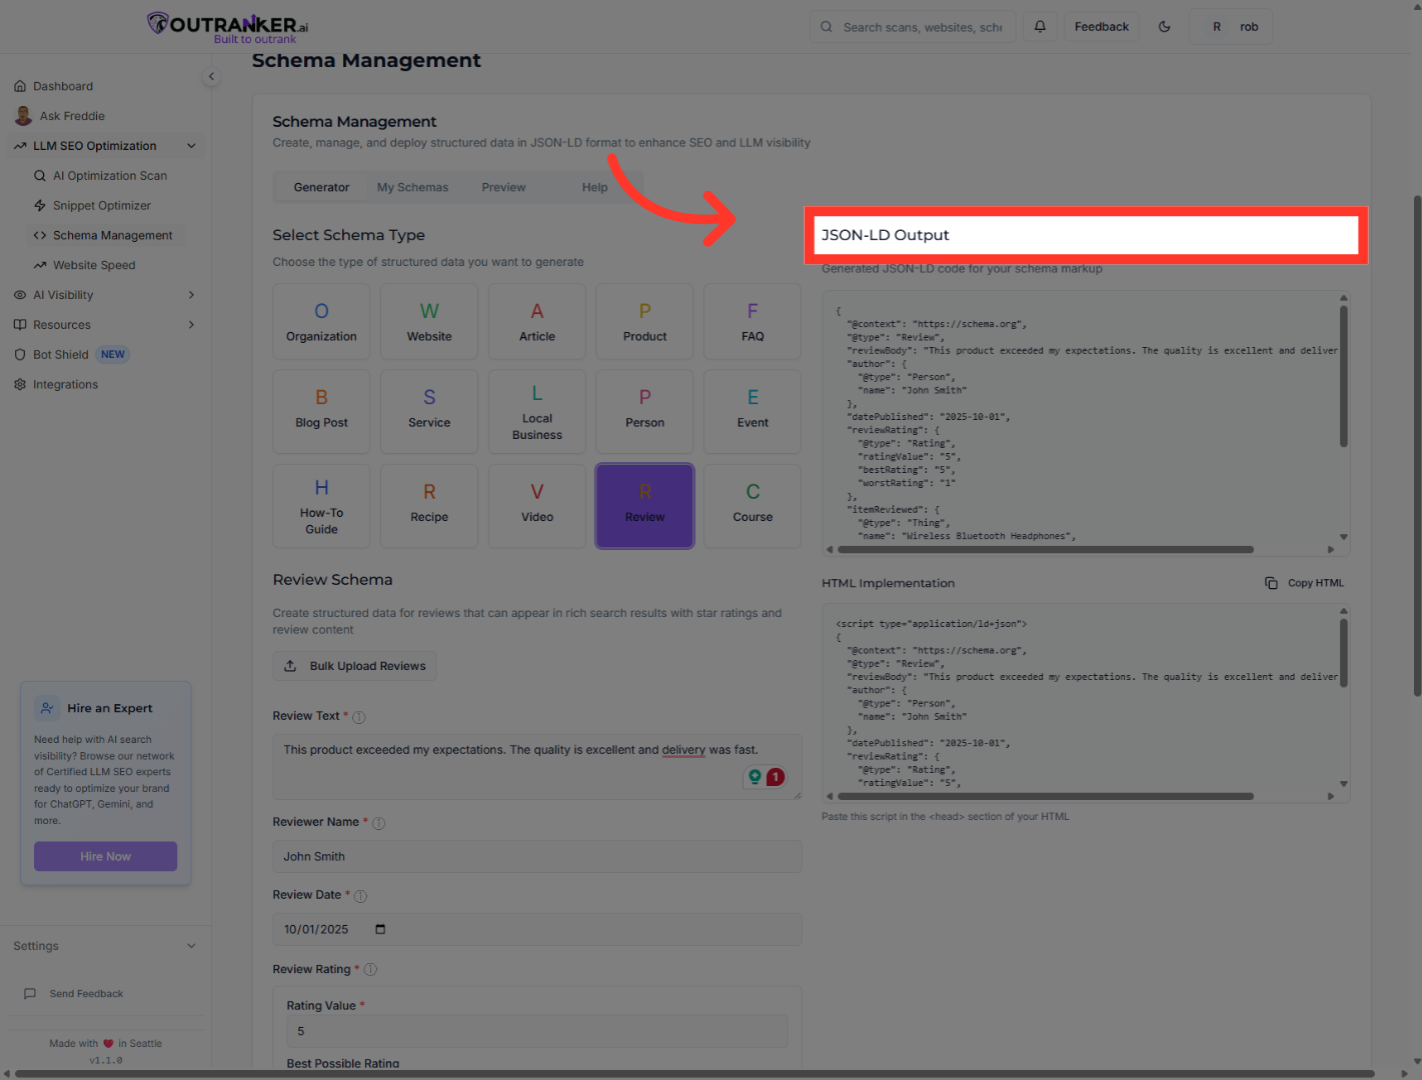
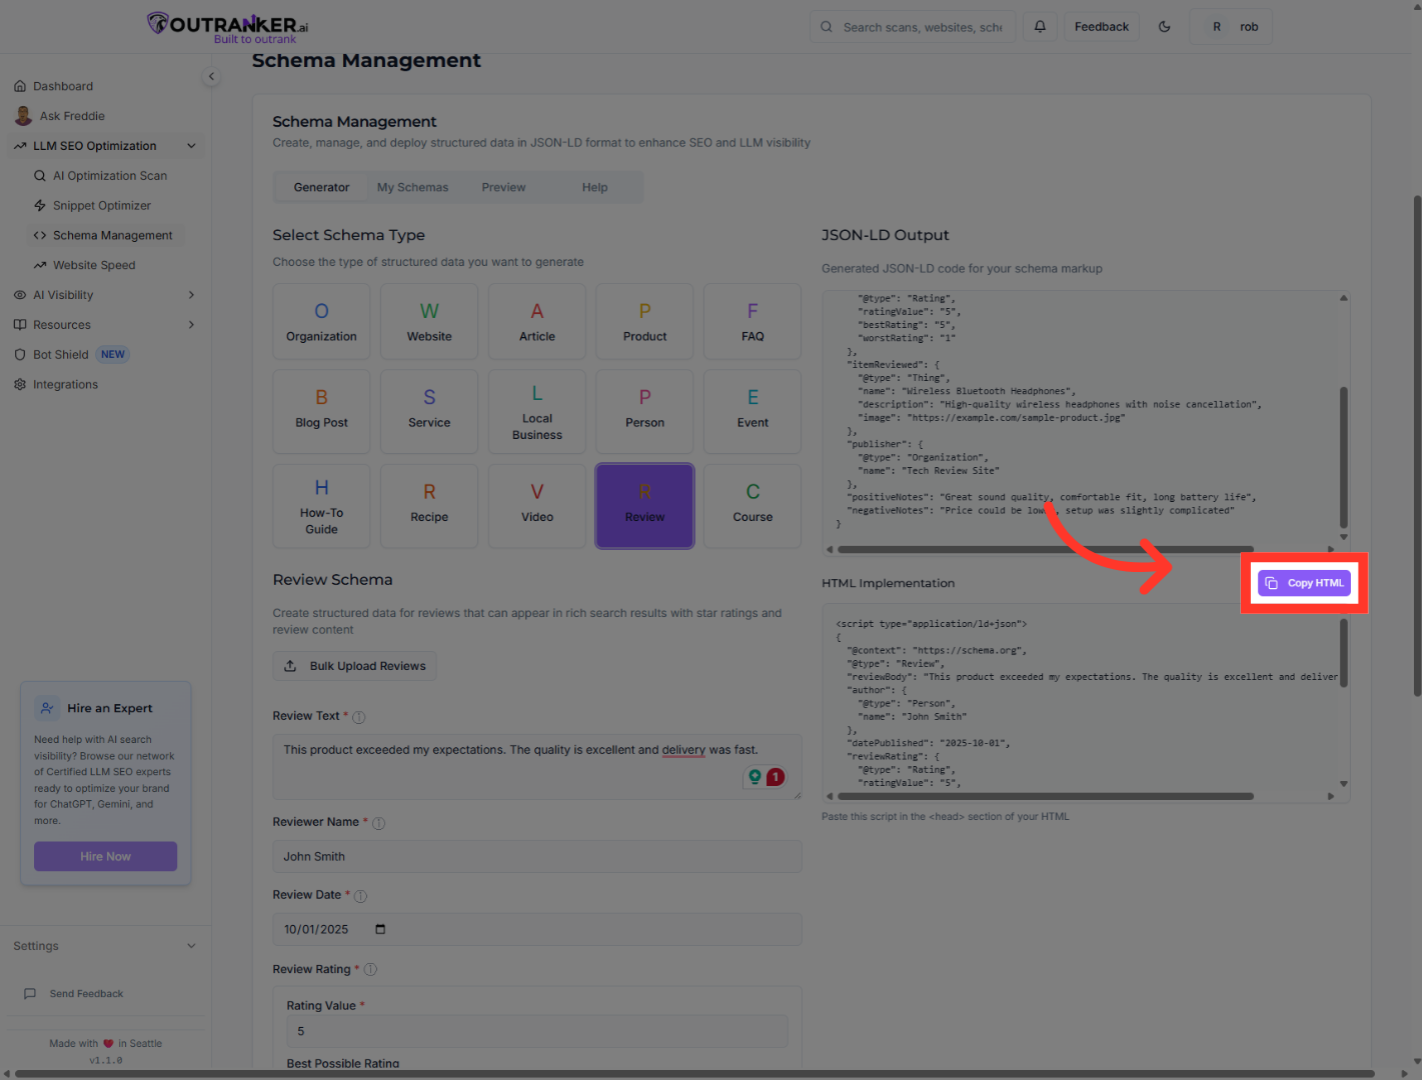
19. Click "JSON-LD Output"
Click "JSON-LD Output" to view the generated JSON-LD code for your review schema.
20. Click "Copy HTML"
Click "Copy HTML" to copy the generated schema markup code to your clipboard.
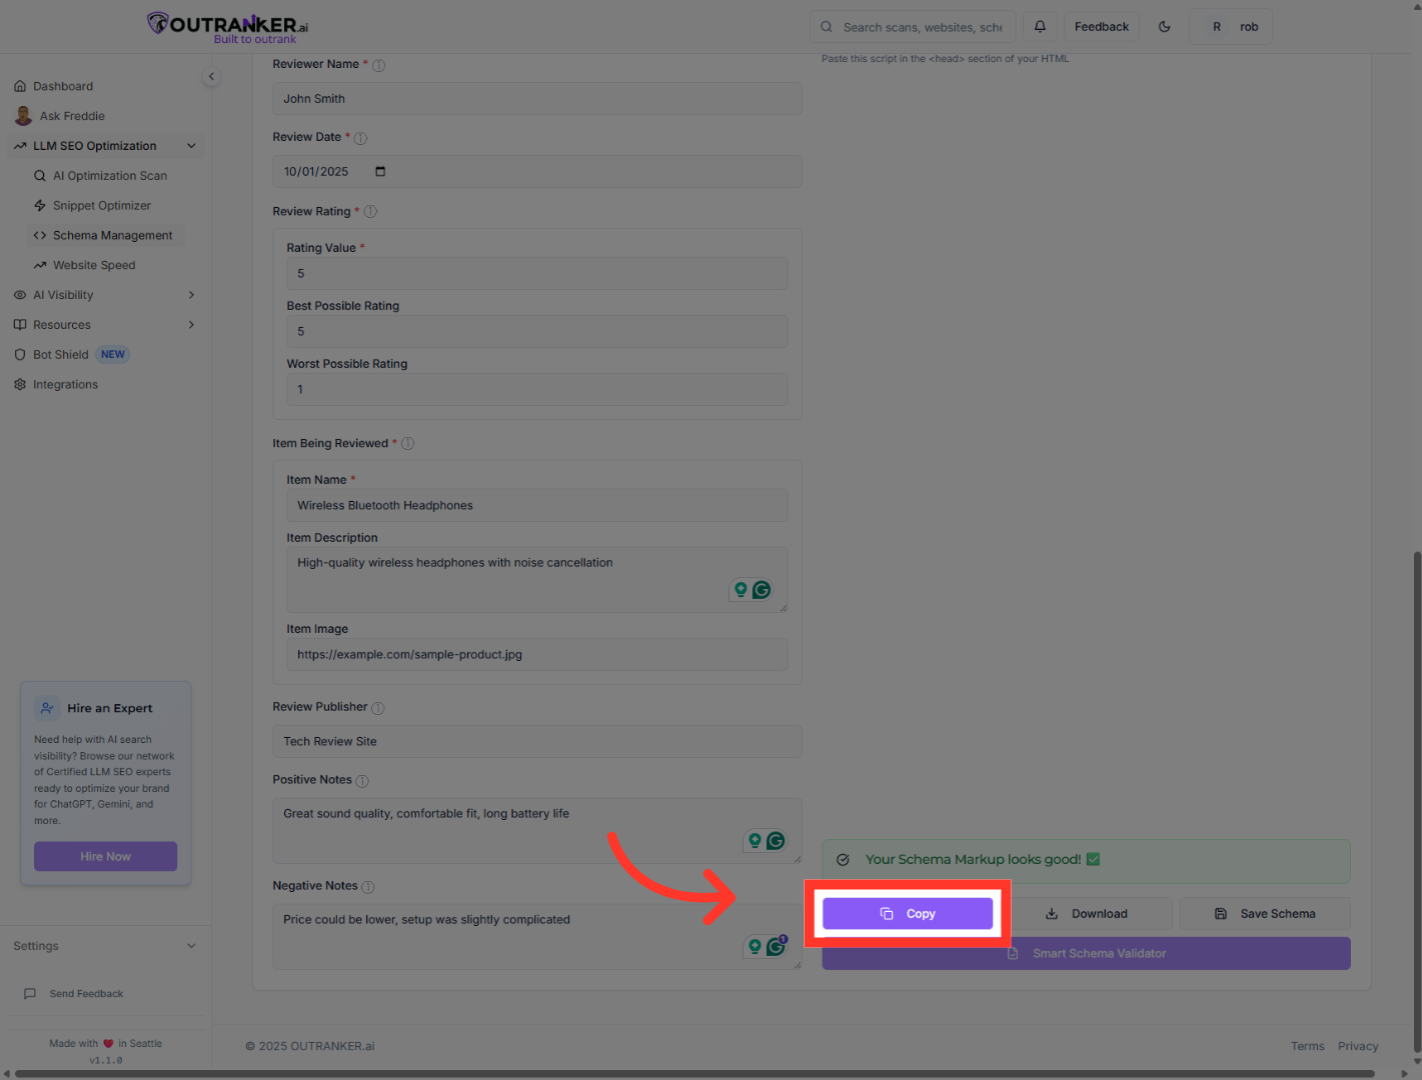
21. Click "Copy"
Click "Copy" to duplicate the schema markup code for use.
22. Click "Download"
Click "Download" to save the generated schema markup file to your device.

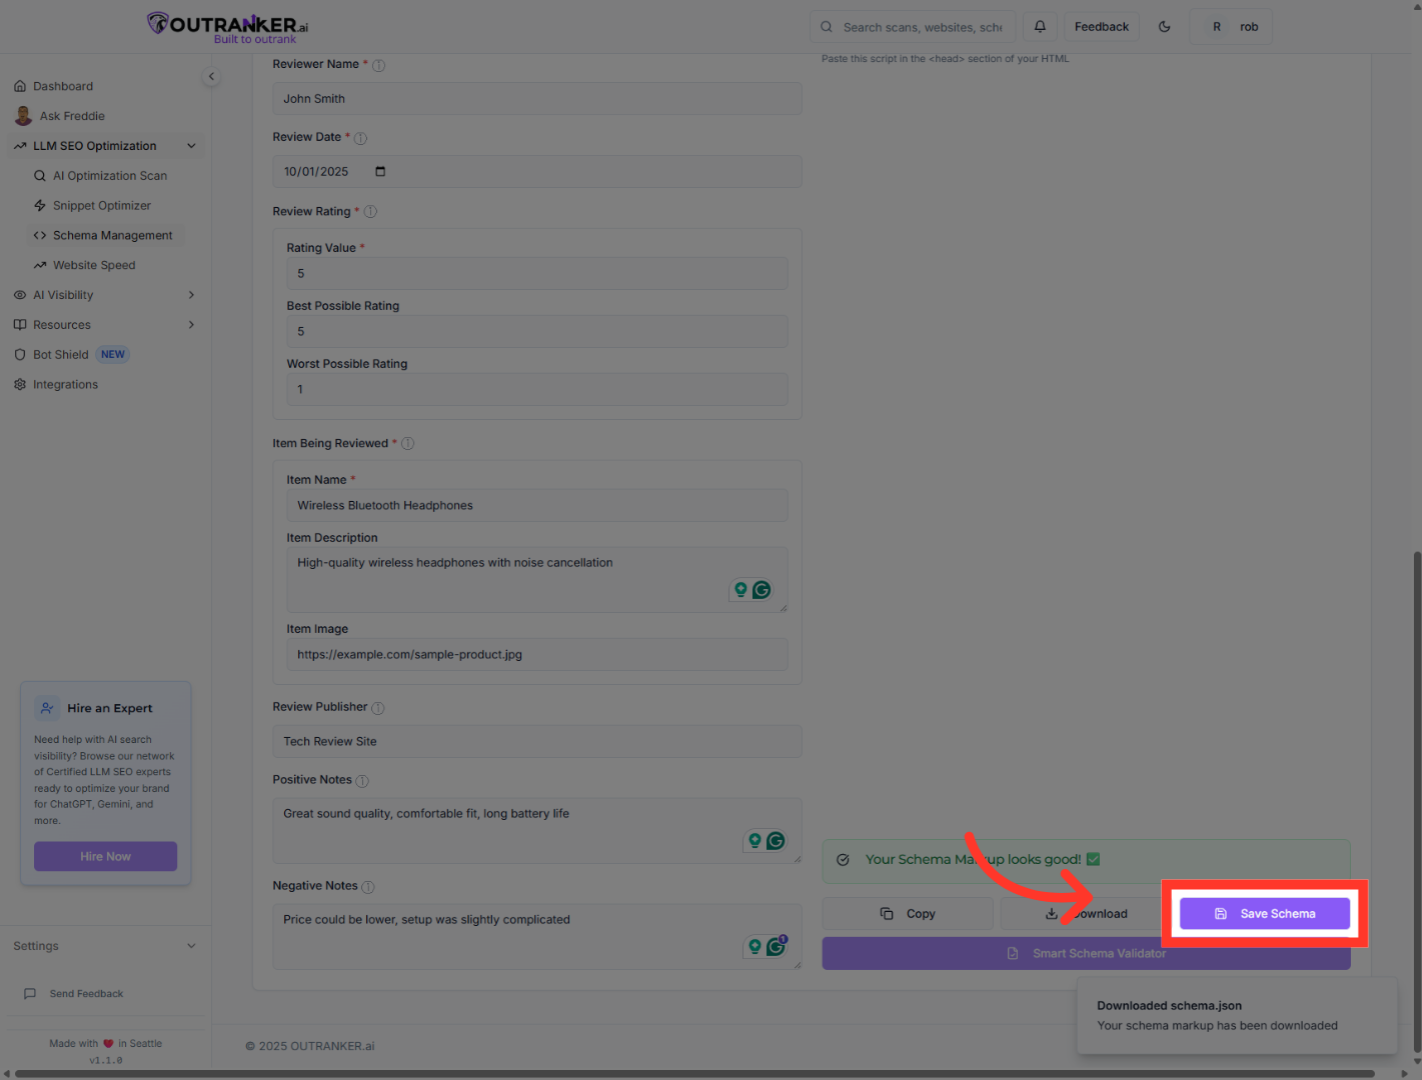
23. Click "Save Schema"
Click "Save Schema" to store your schema configuration within Outranker.
You have successfully generated and saved a review schema using Outranker Schema Management. The process included uploading or manually entering review details, generating JSON-LD markup, and saving the schema for use. To further enhance your SEO, consider creating additional schema types or integrating the markup into your website.
